
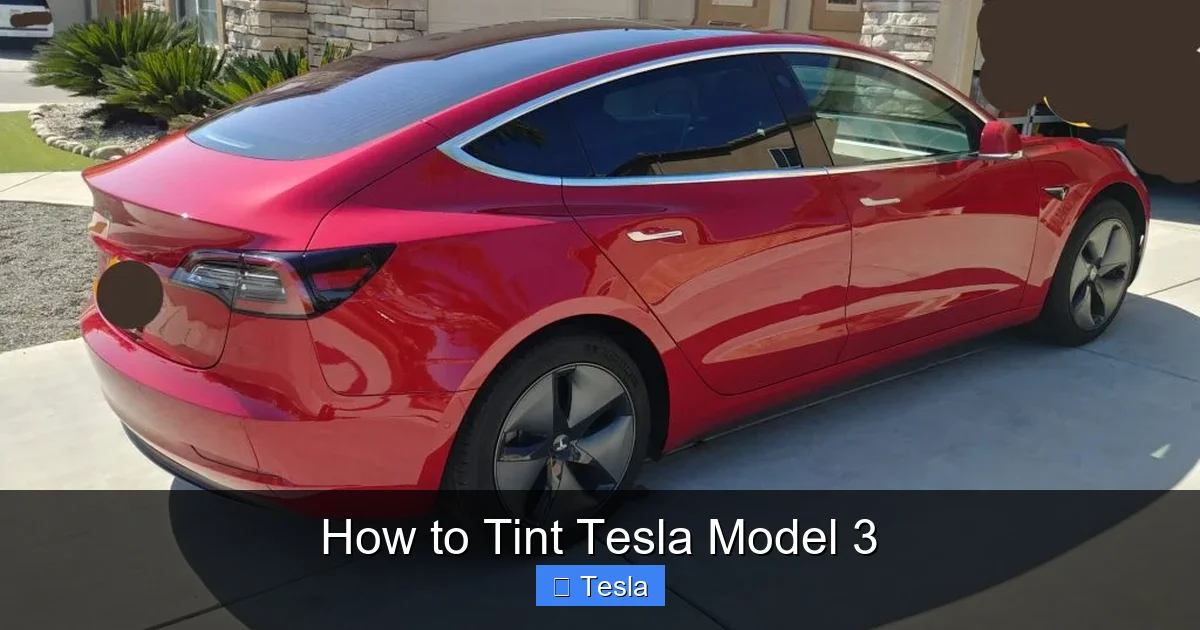
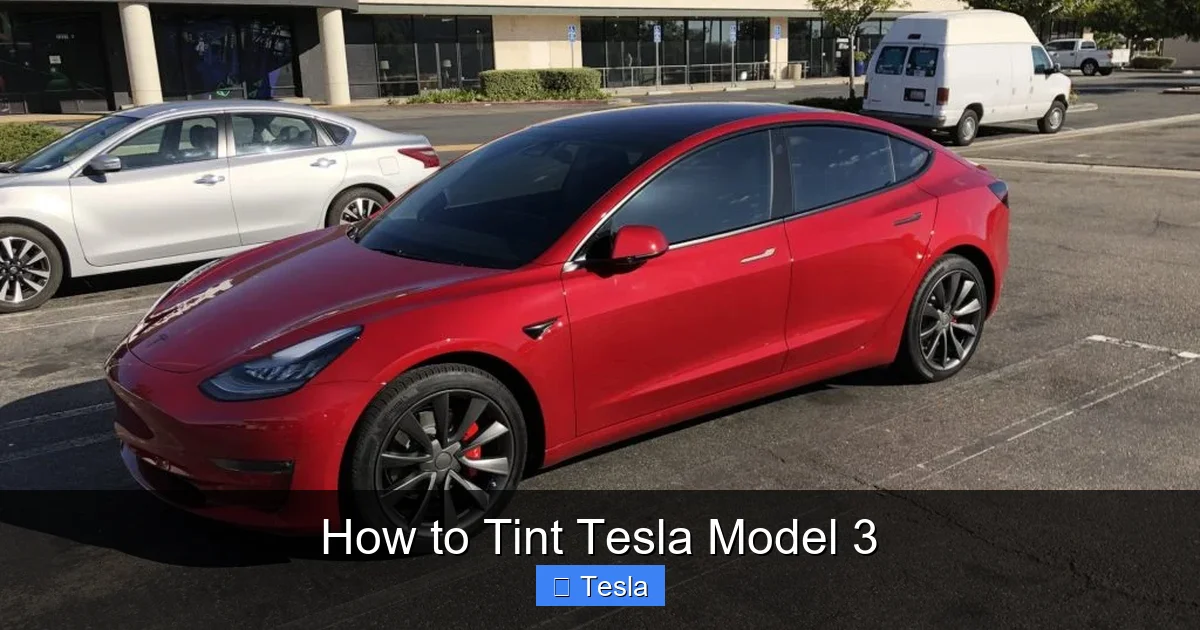
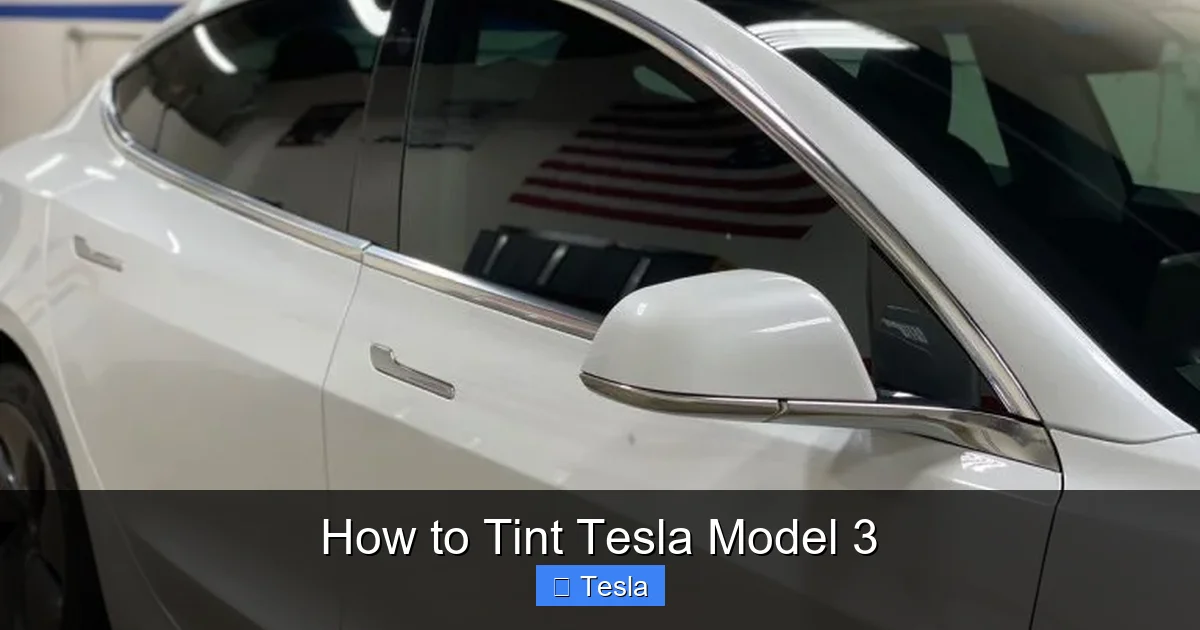
How to Tint Tesla Model 3
Contents
- 1 Key Takeaways
- 2 📑 Table of Contents
- 3 Why Tint Your Tesla Model 3?
- 4 Understanding Tint Laws and Regulations
- 5 Types of Window Tint for Your Tesla
- 6 DIY vs. Professional Installation: Which Path is Right for You?
- 7 The Step-by-Step Tinting Process (Professional Workflow)
- 8 Maintaining Your Tinted Tesla and Troubleshooting
- 9 Conclusion: Your Cooler, More Protected Tesla Awaits
- 10 Frequently Asked Questions

Windshield Cleaning Tool

Portable Air Pump

Car Seat Organizer

Portable Work Light
Tinting your Tesla Model 3 enhances privacy, reduces glare, and combats heat from its massive glass roof. This guide explains legal regulations, compares ceramic vs. dyed films, and weighs DIY against professional installation. Follow our detailed steps for a flawless finish or know when to call an expert.
Key Takeaways
- Legal Compliance is Crucial: Each state sets different Visible Light Transmission (VLT) limits for front, rear, and side windows. Always check local laws before selecting a tint percentage.
- Ceramic Tint is Best for Teslas: Its superior heat rejection is essential for managing the Model 3’s panoramic glass roof, and it won’t interfere with the car’s many sensors and antennas.
- Factory Tint Affects Your Choice: The Model 3 comes with a light factory tint on rear windows. Your aftermarket tint’s final VLT is a combination of the factory tint and your new film.
- Professional Installation Often Pays Off: The complex curvature of Tesla windows and the risk of dust, bubbles, and scratches make pro installation a wise investment for most owners.
- Proper Care Ensures Longevity: Avoid ammonia-based cleaners and use squeegees or microfiber cloths. Wait the full cure time (often 1-4 weeks) before rolling down windows.
📑 Table of Contents
- Why Tint Your Tesla Model 3?
- Understanding Tint Laws and Regulations
- Types of Window Tint for Your Tesla
- DIY vs. Professional Installation: Which Path is Right for You?
- The Step-by-Step Tinting Process (Professional Workflow)
- Maintaining Your Tinted Tesla and Troubleshooting
- Conclusion: Your Cooler, More Protected Tesla Awaits
Why Tint Your Tesla Model 3?
So, you’ve got a Tesla Model 3. It’s a masterpiece of electric engineering, but that stunning all-glass roof? It’s a double-edged sword. In summer, it can turn your cool, minimalist cabin into a solar oven. That’s where window tinting comes in. It’s not just about making your car look sleek and mysterious—though it definitely does that. For the Model 3, tinting is a practical necessity for comfort, protection, and even efficiency.
The benefits are immediate and long-term. First, heat rejection. A high-quality ceramic tint can block up to 60% of solar heat, making a dramatic difference in cabin temperature. This means less strain on your A/C system, which directly translates to a small but measurable boost in your battery’s driving range. Second, UV protection. The sun’s ultraviolet rays fade your interior—your seats, dashboard, and touchscreen—over time. A good tint blocks 99% of these rays, preserving your car’s value and your skin. Third, glare reduction. Whether it’s the morning sun or headlights at night, tint cuts down on eye strain and improves safety. Finally, there’s privacy and security. Tinted windows make it harder to see valuables inside and add a layer of shatter resistance in the event of an accident or break-in attempt.
The Unique Challenge of the Tesla Model 3
Tinting any car requires care, but the Model 3 presents specific challenges. Its windows have complex curves, especially the rear quarter panels. This makes precise cutting and application trickier than on a standard sedan. More importantly, the Model 3 is a rolling computer. Its Autopilot cameras, side repeater cameras, and various antennas are embedded in or near the glass. You must use a tint film that is non-metallic and will not block radio frequency (RF) signals. Metallic tints can severely disrupt Autopilot, Bluetooth, GPS, and cellular connectivity. Ceramic films are the industry standard for Teslas because they are non-conductive and signal-friendly.
Understanding Tint Laws and Regulations
Before you even think about buying film, you need to know the rules. Window tint laws are not federal; they are set by each state (and sometimes by local municipalities). The key metric is Visible Light Transmission (VLT). This is the percentage of visible light that can pass through your window glass and film combined. A 20% VLT tint is darker than a 70% VLT tint because it only allows 20% of light through.
Visual guide about How to Tint Tesla Model 3
Image source: teslatuneup.com
Laws typically specify different VLT limits for the front windshield, front side windows, rear side windows, and rear window. For example, California allows 70% VLT on the front side windows but has no restriction on the rear. New York, however, requires 70% on all windows except the rear, which can be any darkness. Some states, like Texas, allow a “strip” or “eyebrow” on the windshield but have strict rules for the rest. You can find your state’s specific regulations on your local DMV or government website. Violating these laws can result in a fix-it ticket, a fine, and a forced removal of the tint.
Factory Tint: The Starting Point
Here’s a critical fact often missed by first-time Model 3 owners: your car comes with a very light factory tint on the rear glass (back window and rear quarter windows). This factory tint is typically around 80-85% VLT. When you apply an aftermarket film, the final VLT is a combination of both. If your state requires a minimum of 35% VLT on the rear, and your factory tint is 80%, you need to choose an aftermarket film that, when combined, meets or exceeds that 35% threshold. A reputable tint shop will calculate this for you. If you’re doing it yourself, you must understand this math. For the front windows, which have no factory tint, your chosen film’s VLT is the final number.
Types of Window Tint for Your Tesla
Not all tint is created equal. The three main types you’ll encounter are dyed film, carbon film, and ceramic film. For a Tesla, the choice is clear, but understanding the differences is key.

Visual guide about How to Tint Tesla Model 3
Image source: teslatuneup.com
- Dyed Film: The most budget-friendly option. It uses a dye to absorb sunlight and provides good glare reduction. However, it offers poor heat rejection and can fade and turn purple over time, especially in intense sun. It can also contain metals that interfere with signals. Not recommended for Model 3.
- Carbon Film: A step up. It uses carbon particles to block infrared heat (IR) more effectively than dyed film. It doesn’t fade like dyed film and is non-metallic, so it’s signal-safe. It provides a nice matte finish. A decent budget-conscious choice for Teslas if high-end heat rejection isn’t the top priority.
- Ceramic Film: The gold standard. It uses ceramic nano-particles to provide the highest levels of heat and UV rejection without any metal content. It offers exceptional clarity, won’t fade, and is completely safe for all the Model 3’s sensors and electronics. It’s more expensive, but for a car with a giant glass roof, the investment in comfort and protection is well worth it. Brands like 3M Ceramic, LLumar CT, and Huper Optik are top-tier.
IR Rejection vs. TSER
When shopping, you’ll see two key heat-rejection metrics: Total Solar Energy Rejected (TSER) and Infrared Rejection (IRR). TSER is the overall percentage of solar energy (UV, visible light, IR) blocked. IRR is a subset focusing only on the infrared part of the spectrum, which you feel as heat. A high TSER (60%+) is the ultimate goal for a Model 3. Be wary of films that boast a high IRR but have a mediocre TSER; they might be blocking a specific IR wavelength but letting in a lot of overall heat. Ask for the full TSER spec sheet.
DIY vs. Professional Installation: Which Path is Right for You?
This is the biggest decision. Tinting is a skill-based craft. Let’s be honest: a DIY job on a Model 3 is a very ambitious project, even for someone who is handy.
Visual guide about How to Tint Tesla Model 3
Image source: teslatuneup.com
The DIY Approach: Challenges and Rewards
If you’re determined to DIY, you’ll need a dust-free environment (a clean garage is not enough), professional-grade tools (squeegees, spray bottles, heat guns, exacto knives), and high-quality film. The process involves meticulously cleaning the glass, creating a precise template or using pre-cut kits (highly recommended), applying a soap solution, positioning the film, and using the squeegee to expel all bubbles and water. The complex curves of the Model 3’s rear windows mean you’ll be stretching the film with a heat gun—get it wrong, and you create wrinkles or distortions. The risk of getting dust or lint under the film is extremely high, leading to permanent blemishes. A bad DIY job is often more expensive to fix than just paying for a pro upfront. However, if you succeed, you save significant labor costs and gain a new skill. It’s suitable for the highly patient, detail-oriented tinkerer.
Professional Installation: The Smart Choice for Most
For the vast majority of Tesla owners, professional installation is the correct choice. A seasoned installer has done hundreds of Model 3s. They know the exact templates, the precise heat-stretching techniques for those tricky rear quarters, and how to work around the camera housings without damaging them. They work in controlled, clean environments to eliminate contamination. They also often provide a warranty on both the film (e.g., 10 years against fading/bubbling) and the installation labor. When you factor in the cost of buying all the professional tools, the risk of ruining your film, and the immense time investment, the cost of professional tinting is often a bargain. You can get a sense of professional pricing by reading guides like how much to tint a Tesla Model 3.
The Step-by-Step Tinting Process (Professional Workflow)
Even if you hire a pro, it’s fascinating and useful to understand the process. This knowledge helps you vet installers and know what to expect. Here is a simplified breakdown of a professional’s workflow on a Model 3.
- Selection and Quote: You choose your film type (ceramic, etc.) and desired VLT for each window, considering state laws and factory tint. The shop provides a quote.
- Template Creation: The installer will either use a pre-cut digital template or carefully plot and cut the film on a large plotter using your Model 3’s specific window patterns. This is a critical step for accuracy.
- Glass Preparation: This is the most important step for a flawless finish. The technician meticulously cleans the interior side of every window with a specialized cleaner and razor blades, removing all dirt, grease, and old adhesive residue. They then use a clay bar to ensure a perfectly smooth surface. The car is then covered to protect the interior from overspray.
- Film Application: The protective liner is removed from the film, and a slip solution (soapy water) is sprayed on the glass and the film’s adhesive side. The film is positioned and then the technician uses a hard rubber squeegee to push out all the water and air bubbles, working from the center outward. Heat is applied to shrink and conform the film to the complex curves of the rear glass.
- Trimming and Final Squeegee: Excess film is trimmed away with a sharp blade right at the edge of the gasket. A final, thorough squeegeeing ensures no moisture is trapped.
- Curing: The car is left to cure. This is the period where the adhesive fully bonds to the glass. It can take from 24 hours to several weeks, depending on climate and film type. During this time, you must not roll down the windows or aggressively clean them. Small water pockets or haze are normal and will disappear as the film cures.
This entire process for a full car typically takes 2-4 hours for a skilled two-person team.
Maintaining Your Tinted Tesla and Troubleshooting
Your new tint is an investment. Proper care will keep it looking perfect for years.
Do’s and Don’ts of Cleaning
- Do: Wait at least one week (follow your installer’s specific advice) before cleaning the interior glass. Use a soft microfiber cloth or a soft squeegee. Use ammonia-free (Windex-free) cleaners specifically designed for tinted windows, or a simple solution of water and a drop of baby shampoo.
- Don’t: Never use abrasive scrubbers, paper towels, or harsh chemicals like ammonia or vinegar on the interior film. These can scratch and degrade the film over time. Don’t use sharp objects near the window edges.
Common Issues and Solutions
Bubbles or Haze: Small bubbles or a hazy appearance are normal during the curing process. They should vanish within a few days to a couple of weeks as the water evaporates. If large bubbles or persistent haze remain after a month, contact your installer—it could be a poor installation.
Peeling at the Edges: This is usually caused by aggressive cleaning or damage to the seal. Minor edge peeling can sometimes be carefully re-adhered with a tiny amount of soapy water and a squeegee, but major peeling requires a re-tint of that section.
Interference with Sensors: If you notice Autopilot cameras becoming foggy or systems like rain-sensing wipers malfunctioning, it’s possible a metallic film was used or the film was applied incorrectly over the camera lens. This is a serious issue that requires immediate attention from your installer. Always confirm the film is ceramic and signal-safe before installation.
For more complex issues like replacing a damaged window with a tint, you might find resources on how much to replace a Tesla window, but this is a job for Tesla Service Center professionals.
Conclusion: Your Cooler, More Protected Tesla Awaits
Tinting your Tesla Model 3 is one of the most impactful modifications you can make. It directly addresses the inherent challenge of its panoramic glass roof, transforming your driving experience from a potential sweaty ordeal into a cool, comfortable sanctuary. The journey from research to a finished tint involves understanding your state’s VLT laws, selecting a high-performance ceramic film, and making the pivotal decision between a challenging DIY project and the assured results of a professional.
Remember, the goal is a flawless, long-lasting finish that protects your interior and your investment without compromising the Model 3’s advanced technology. If you choose the professional route—which we strongly recommend for most—take the time to find a reputable installer with specific Tesla experience. Ask to see examples of their work on Model 3s. A great tint job is barely noticeable; it just looks like the car was born with perfectly dark, sleek glass. It’s the final touch that makes your Tesla truly feel like your own, cool, and sophisticated command center on wheels.
Frequently Asked Questions
Is it legal to tint the front windshield of a Tesla Model 3?
In nearly all states, tinting the front windshield below the AS-1 line (the solid line at the top of the windshield) is illegal. A non-reflective strip at the very top (often 5-6 inches) is permitted in many states, but the vast majority of the front windshield must remain clear. Always verify your specific state’s law.
How much does professional tinting a Tesla Model 3 typically cost?
For a full car using high-quality ceramic film, you can expect to pay between $800 and $1,500. The price varies based on your region, the specific film brand (e.g., 3M, LLumar, Huper Optik), and whether you tint just the sides and rear or include the large panoramic roof. For a more precise breakdown, see our detailed guide on how much it costs to tint a Tesla Model 3.
Can I tint my Tesla Model 3 myself to save money?
While possible, it is an extremely difficult task due to the Model 3’s complex window curvature and the high risk of dust contamination, bubbles, and scratches. A poor DIY job can be costly to remove and redo. It’s only advisable for those with significant experience in automotive window tinting.
Will window tint affect my Tesla’s Autopilot cameras and sensors?
Yes, if you use the wrong film. Metallic or dyed films with metal particles can block radio frequency signals, severely disrupting Autopilot cameras, GPS, Bluetooth, and cellular connectivity. You must use a non-metallic, ceramic-based film that is explicitly RF-friendly. Always confirm this with your installer or film supplier.
Does tinting void my Tesla’s warranty?
No, tinting your windows does not void your Tesla’s overall new vehicle warranty. However, if an issue arises with a window or a sensor and Tesla can prove it was directly caused by improper tint installation (e.g., damage to a camera lens from a tool), they could deny a warranty claim for that specific component. This is another reason to use a professional installer.
How long does the tint take to cure and when can I roll my windows down?
Curing time depends on film type, climate, and season. In warm, sunny weather, it may take 1-2 weeks. In colder, humid conditions, it can take 4 weeks or more. You should not roll down any windows for at least the first 3-5 days. Always follow your installer’s specific curing instructions to avoid peeling or damage.


