
How to Install a 220v Outlet for a Tesla
Contents
- 1 Key Takeaways
- 2 📑 Table of Contents
- 3 Understanding 220V (240V) vs. 110V (120V) Charging
- 4 Tools, Materials, and Planning You’ll Need
- 5 Safety First: The Non-Negotiable Precautions
- 6 Step-by-Step Installation Guide
- 7 Testing, Labeling, and Final Steps
- 8 Professional Installation vs. DIY: Making the Right Choice
- 9 Beyond the Outlet: The Tesla Wall Connector
- 10 Frequently Asked Questions
Installing a 220V outlet for your Tesla significantly reduces charging time compared to a standard 110V outlet. This project involves working with high-voltage electricity, requiring strict adherence to electrical codes, proper permits, and often a licensed electrician. Key steps include selecting the correct outlet type (like NEMA 14-50), sizing the circuit breaker and wire gauge correctly, and ensuring a proper ground connection. While a skilled DIYer can handle it, the risks of fire or electrocution make professional installation the safest choice for most homeowners.
So, you’ve joined the Tesla family. Welcome to the world of instant torque, over-the-air updates, and silent driving. But there’s one practical question that pops up for almost every new owner: how do I charge this thing at home, and how can I make it faster? Plugging into a standard 110V wall outlet with the included mobile connector works, but it’s agonizingly slow—adding maybe 3-5 miles of range per hour. The obvious solution is a 220V outlet. But what does install a 220V outlet for a Tesla actually involve? Is it a simple weekend project, or a major electrical overhaul? Let’s break it down from start to finish, in plain English.
First, let’s get one thing straight. In North American homes, what we commonly call a “220V outlet” is technically a 240-volt outlet. Your home’s electrical panel provides two “hot” legs, each carrying 120 volts to neutral. A 240V circuit taps into both hot legs, giving you double the voltage. This higher voltage allows for much more power (amperage) to be delivered, which dramatically speeds up charging. A dedicated 220V/240V outlet is the gold standard for convenient, overnight home charging for a Tesla.
But here’s the critical disclaimer: this guide is for informational purposes only. Working with 240-volt electricity is inherently dangerous. Mistakes can cause severe electrocution, fire, or damage to your vehicle’s charging system. Local electrical codes vary. Many areas explicitly require a permit and inspection, and some may mandate that only a licensed electrician performs the work. Your safety and your home’s safety are the top priorities. If you have any doubt, please consult and hire a professional. For those who are experienced with DIY electrical work and understand their local regulations, this article will walk you through the entire process.
Key Takeaways
- Safety is Paramount: Working with 220V power is dangerous. Always turn off the main breaker before starting and verify power is off with a tester. If you are not 100% confident, hire a licensed electrician.
- Permits are Usually Required: Most jurisdictions require an electrical permit for new 220V circuit installation. This ensures the work is inspected and meets code, which is critical for insurance and safety.
- Outlet Type Matters: For Tesla charging, the NEMA 14-50 (50-amp) is the most common and versatile. Ensure your Tesla’s mobile connector has the appropriate adapter or purchase a dedicated connector.
- Correct Wire and Breaker Size is Non-Negotiable: A 50-amp circuit typically requires 6-gauge copper wire. Using undersized wire is a major fire hazard. The breaker must match the outlet and wire rating.
- Grounding and Neutral are Essential: A 4-wire connection (two hot legs, neutral, ground) is mandatory for 220V outlets like the 14-50. Do not omit the ground or bond neutral to ground at the outlet.
- Location and Weatherproofing: Install the outlet in a convenient, protected location. Use a weatherproof “in-use” cover if the outlet is exposed to the elements to prevent moisture ingress.
- Consider Your Future: Installing a 60-amp or larger circuit with a 14-60 outlet provides more headroom for faster charging with a future Tesla Wall Connector, even if you start with a 50-amp setup.
📑 Table of Contents
- Understanding 220V (240V) vs. 110V (120V) Charging
- Tools, Materials, and Planning You’ll Need
- Safety First: The Non-Negotiable Precautions
- Step-by-Step Installation Guide
- Testing, Labeling, and Final Steps
- Professional Installation vs. DIY: Making the Right Choice
- Beyond the Outlet: The Tesla Wall Connector
Understanding 220V (240V) vs. 110V (120V) Charging
Before we grab a tool, it’s vital to understand what we’re trying to achieve. The difference isn’t just about voltage; it’s about power. Power (Watts) = Voltage (Volts) x Amperage (Amps).
The 110V (120V) Baseline
Your Tesla’s mobile connector is a versatile little device. On a standard 120V/15-amp household circuit, it’s limited to drawing 12 amps (80% of the circuit’s capacity for continuous load, per code). That’s 120V x 12A = 1,440 watts. On a 120V/20-amp circuit, it can draw 16 amps, for 1,920 watts. This is why charging is so slow. A Model 3 with a 50 kWh battery would take over 24 hours to charge from nearly empty on a 120V/15A circuit.
The 220V (240V) Advantage
Now, let’s look at a common 240V/50-amp circuit (NEMA 14-50). The mobile connector on this outlet can draw 40 amps (again, 80% of 50A). The math is 240V x 40A = 9,600 watts—over six times the power of the 120V/15A setup! This translates to about 29-37 miles of range per hour, depending on the Tesla model. A full charge from 0% to 100% on a 50-amp circuit typically takes 8-10 hours, making overnight charging perfectly practical. If you want to learn more about the real-world cost implications of different charging setups, including the cost of the outlet itself, you can read our detailed breakdown on how much it costs to install a 220V outlet for a Tesla.
The most common outlet for this purpose is the NEMA 14-50. It has four prongs: two hot blades (angled), a neutral blade, and a ground pin. This 4-wire configuration is crucial for safety and proper operation. Other options exist, like the NEMA 6-50 (which lacks a neutral, used for some EVSEs) or the NEMA 10-30 (older, 3-wire, not recommended for new installs), but the 14-50 is the industry standard for a reason: it’s versatile and code-compliant for EV charging.
Tools, Materials, and Planning You’ll Need
Flying by the seat of your pants is a bad idea when dealing with 240V. Proper planning prevents costly mistakes and dangerous rework.
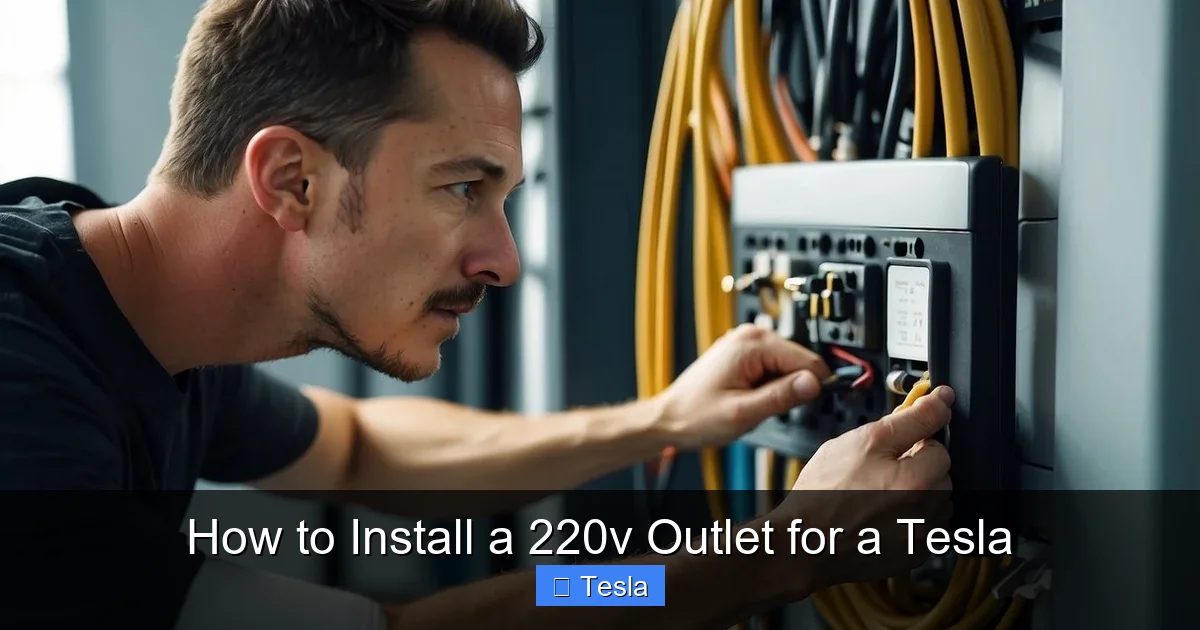
Visual guide about How to Install a 220v Outlet for a Tesla
Image source: koala.sh
Essential Tools
- Safety Gear: Safety glasses, insulated gloves, and voltage tester.
- Hand Tools: Screwdrivers (flathead and Phillips), needle-nose pliers, wire strippers/cutters, utility knife, level, tape measure, and a good flashlight.
- Power Tools (Optional but Helpful): Cordless drill/driver with hole saw bits for drilling through studs/plates, and a fish tape for pulling wire through walls.
- Specialty Tools: A multimeter or dedicated non-contact voltage tester is absolutely mandatory to verify the power is off before touching any wires.
Core Materials
- The Outlet: A NEMA 14-50R (receptacle). Buy a quality brand like Bryant, Hubbell, or Leviton. Do not cheap out here.
- The Breaker: A 2-pole 50-amp breaker that is compatible with your electrical panel brand (Square D, Siemens, GE, etc.). This is not a place for universal breakers unless your panel specifically allows them.
- The Wire: This is critical. For a 50-amp circuit, you typically need 6-gauge (6 AWG) 4-conductor copper wire. This means it contains four separate 6-gauge wires: two hot (usually black and red), one white neutral, and one green or bare copper ground. Some electricians may use 4 AWG for longer runs to prevent voltage drop, but 6 AWG is standard for runs under 100 feet. Aluminum wire (like 4 AWG AL) is sometimes used but requires special terminations and is less common for this application. Always check your local code and the outlet/breaker manufacturer’s specifications.
- Conduit & Fittings: If you are running the wire in an unfinished basement, garage, or outdoors, you’ll need appropriate conduit (like EMT or PVC) and fittings to protect the wire. In finished walls, you may be able to run NM-B (Romex) cable if local code allows, but conduit is often preferred for ease of replacement and protection.
- Electrical Box: A heavy-duty single-gang or two-gang metal box (or a robust plastic box rated for the amperage) to mount the receptacle. A metal box is preferred as it can be grounded.
- Wire Connectors, Grounding Screws, etc.: Wire nuts rated for the wire size, grounding screws for the box, and any required clamps or straps for securing conduit/wire.
The Planning Phase: Map Your Route
Before you buy a single wire, figure out the path from your main electrical panel to the intended outlet location. This is often the hardest part. You need to consider:
- Panel Capacity: Does your panel have two adjacent blank spaces for a new 2-pole breaker? Is there enough physical space? Is your main service rated for the additional load? (A 50-amp circuit adds a potential 9,600-watt load. Most modern 200-amp panels can handle this easily, but older 100-amp panels might be maxed out).
- Route: Can you run the wire through the basement, up a wall, and across the garage ceiling? Will you need to go through finished ceilings or floors? Drilling through fire blocks or floor joists is a major task. The shortest, straightest, and most protected route is best.
- Obstacles: Look for HVAC ducts, plumbing, other electrical wiring, and structural members. You cannot drill through load-bearing studs without a engineer’s approval.
- Outlet Location: Place it where your car will park. Typically, this is on the wall of the garage, on the same side as your Tesla’s charge port. Consider the length of your Tesla’s mobile connector cable (usually 20-25 feet). Mount it at a height of about 18-24 inches from the floor for ease of use.
If this planning phase feels overwhelming, it’s a strong signal to call a pro. A professional electrician can assess your panel and home layout in minutes. You might also want to explore the option of a hardwired Tesla Wall Connector instead of an outlet, which offers more power and a cleaner install. Information on that process can be found in our guide on how much it costs to install a Tesla charger.
Safety First: The Non-Negotiable Precautions
Let’s be brutally clear. The voltage in a 240V circuit is lethal. The amperage available from a 50-amp circuit is more than enough to cause severe burns, cardiac arrest, or start a fire instantly. You must follow these rules without exception.

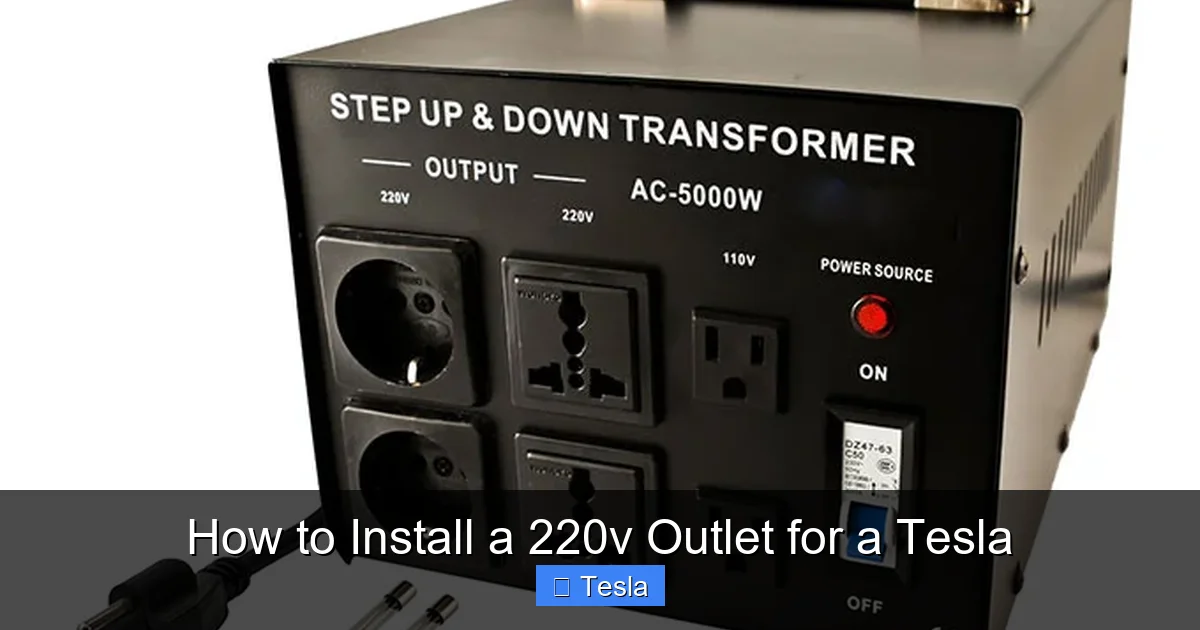
Visual guide about How to Install a 220v Outlet for a Tesla
Image source: dasplace.net
1. The One Rule: De-Energize and Verify
Your first and only action before touching any wire inside the panel is to turn off the main breaker. This cuts power to the entire panel. Then, using your voltage tester, verify that every single terminal in the panel you will be working on is dead. Test between each hot bus bar and neutral, and between the two hot bus bars. Do not assume. Test, test, and test again. Only after confirming zero voltage should you proceed.
2. Permit and Inspection
Call your local building department. Inquire about the permit process for installing a new 240V branch circuit. They will tell you the requirements, fees, and inspection steps. Pulling a permit is usually inexpensive and is your safeguard that the work will be done to code. An inspector will sign off on it, which is crucial for home insurance and future sale. In many areas, the utility company may also need to be notified for significant service upgrades, but a simple new circuit usually doesn’t require that.
3. Know Your Panel and Its Limits
Open your electrical panel. Identify the make and model (Square D Homeline, Siemens, etc.). This determines which breaker you can use. Mixing brands is a fire hazard. Also, look at the main breaker. Is it 100-amp, 150-amp, or 200-amp? A loaded 100-amp panel with an air conditioner, electric range, and now a 50-amp EV charger might be over capacity. An electrician can perform a load calculation.
4. Personal Protective Equipment (PPE)
Wear safety glasses to protect from debris. Insulated gloves are a smart addition. Do not wear jewelry or loose clothing that could catch on something. Stand on a dry surface. If you are wet or in a damp location (like a wet garage), do not proceed.
5. The “I’m Not an Electrician” Clause
This article is a technical overview. If any step is confusing—if you don’t know what a “bus bar” is, if you’re unsure about conduit bends, if the permit process sounds like a foreign language—stop. The cost of a professional installation is cheap insurance against catastrophic failure. The path to becoming a Tesla-certified electrician involves formal training and certification for a reason. You can read more about that rigorous process in our piece on how to become a Tesla certified electrician.
Step-by-Step Installation Guide
Assuming you have your permit, your materials, and a solid plan, here is the general sequence. Remember: Power is OFF at the main breaker and verified dead.
Visual guide about How to Install a 220v Outlet for a Tesla
Image source: voltconverter.com
Step 1: Install the New 2-Pole Breaker
With the main breaker off, remove the panel cover. Identify two adjacent blank spaces on the panel that are on different phases (they will be on opposite sides of the panel; a 2-pole breaker clips onto both). Carefully snap the new 50-amp 2-pole breaker into these slots. The breaker handle will likely have a tie that connects the two poles so they trip together. Do not connect any wires yet.
Step 2: Run the Conduit and Wire
This is the most labor-intensive part. Following your planned route, install the conduit from the panel to the outlet location. Use appropriate fittings and clamps, securing it every few feet. For runs inside walls, you may need to fish the wire through existing holes in studs or drill new ones, ensuring they are at least 1.25″ from the edge of the wood or use nail plates for protection. If running wire in a basement or garage, securing it to joists with staples (not too tight) is common.
Once the conduit is in place (or if using NM cable, the path is drilled), you’ll pull the 6/4G wire (or 6-4 NM-B cable) through. Start at the panel end. You may need to use fish tape to grab the wire and pull it through to the outlet box location. Be gentle; do not nick or kink the wire. Leave several feet of slack in the panel and at the outlet box for connections.
Step 3: Install the Outlet Box and Receptacle
Mount your electrical box securely at the planned height and location. If it’s a metal box, attach a grounding screw and connect the bare/green ground wire from your cable to it with a wire nut. This grounds the box itself. Then, install the NEMA 14-50 receptacle into the box.
Connect the wires to the receptacle terminals: This is critical. The two hot wires (black and red) connect to the two brass-colored terminals (often labeled X and Y). The white neutral wire connects to the silver-colored neutral terminal. The green or bare ground wire connects to the green grounding terminal. Ensure connections are tight, with no exposed copper. Gently tuck the wires back into the box and secure the receptacle.
Step 4: Make the Connections in the Panel
Now, back at the panel. You have your 4-conductor wire coming in. You must connect it to the new breaker and the neutral/ground bars.
- Hot Wires: Connect the black wire to one terminal of the new 2-pole breaker, and the red wire to the other terminal. The order doesn’t matter as long as they are on different poles.
- Neutral Wire: Connect the white wire to the main neutral bus bar in the panel. This is usually a separate bar with many screws, often with a large strap connecting it to the panel case.
- Ground Wire: Connect the green/bare ground wire to the ground bus bar. In most modern panels, the neutral and ground bars are already bonded together at the main service disconnect. Do not connect the ground wire to the neutral bar in a sub-panel. If this is your main panel, the neutral and ground bars are typically one and the same or bonded together. If you are unsure, consult an electrician. This is a fundamental code requirement.
Ensure all connections are torqued properly if your breaker requires it (some do). Double-check that no stray wire strands are touching other terminals or the panel casing.
Step 5: Final Checks and Power Up
Before you replace the panel cover, do a final visual inspection. Are all wires secure? Is the outlet box cover off? Is the receptacle mounted flush? Is there any chance a tool or screw is left inside the panel? Ensure the new breaker is in the “OFF” position. Replace the panel cover securely.
Now, go to your main breaker and turn it back on. Then, turn on your new 2-pole 50-amp breaker. It should stay on. If it trips immediately, you have a short circuit. Turn it off and re-check all your connections, especially ensuring no bare wires are touching the panel or each other.
Testing, Labeling, and Final Steps
With the breaker on, it’s time to verify the outlet is wired correctly and safely.
Testing the Outlet
Use a high-quality multimeter or a dedicated 240V outlet tester. With the receptacle uncovered, carefully test:
- Between the two hot slots (the two vertical blades): You should read ~240V.
- Between each hot slot and the neutral slot (the longer, horizontal blade): You should read ~120V.
- Between each hot slot and the ground hole (the round hole): You should read ~120V.
- Between neutral and ground: You should read a very small voltage, ideally near 0V (a few volts is acceptable due to phantom load).
If any of these readings are wildly different or zero where there should be voltage, turn off the breaker and re-check your wiring. A reading of 0V between the two hots means one of the hot connections is bad or the breaker is faulty.
Labeling and Final Installation
Once tested and verified, install a weatherproof “in-use” cover if the outlet is in a garage or outdoors. These covers have a self-closing flap that protects the receptacle when a plug is inserted. Inside your electrical panel, clearly label the new breaker. Something like “Tesla Charger – 50A” or “240V Outlet – Garage.” This is required by code and helps anyone (including future electricians) know exactly what the circuit does.
Now, plug in your Tesla’s mobile connector with the NEMA 14-50 adapter. Your car should recognize the power and begin charging. On the Tesla’s touchscreen, go to Charging and set the maximum amperage to 40 amps (80% of the 50-amp circuit for continuous charging). You should see the charging rate jump to 29-37 mph.
Professional Installation vs. DIY: Making the Right Choice
We’ve detailed the DIY path, but for the vast majority of people, hiring a licensed, insured electrician is the correct and safest decision. Here’s why.
The Case for Hiring a Pro
A professional electrician does this every day. They can:
- Assess Your Panel: Quickly determine if your panel has space, capacity, and is the right type for a new breaker.
- Navigate Code: They know the local NEC amendments and AHJ (Authority Having Jurisdiction) requirements. They pull the permit, schedule the inspection, and ensure everything is signed off correctly.
- Work Efficiently: They have the tools, experience, and sometimes a crew to run wire quickly, minimizing disruption.
- Assume Liability: Their work is guaranteed and insured. If something goes wrong, their insurance covers it. A DIY mistake could void your homeowner’s insurance policy if it causes a fire.
- Provide Peace of Mind: You get a safe, code-compliant installation without risking your life or your home.
The cost of a professional install for a straightforward 50-amp circuit, including permit and inspection, typically ranges from $800 to $1,500 depending on your location, panel location, and route length. For a complex run or panel upgrade, it can be higher. When you weigh that against the potential cost of a fire, medical bills, or a failed home inspection, it’s a small price to pay.
When DIY Might Be Acceptable
You might consider a DIY installation only if:
- You have extensive, proven experience with household electrical wiring, including working inside main service panels.
- You have thoroughly researched and understand your local electrical code requirements.
- You have pulled the permit and understand the inspection process.
- Your panel is easily accessible, has space, and is a standard, modern design.
- The run from the panel to the outlet is short, simple, and does not require drilling through fire blocks or major structural elements.
- You own all the proper tools and have a multimeter you trust.
- You are physically capable of working in tight spaces and handling heavy wire.
If you check all these boxes and still proceed, follow the guide above meticulously. If you hesitate on any point, call a pro. Remember, becoming a Tesla-certified electrician involves apprenticeships and exams for a reason—this is serious work.
Beyond the Outlet: The Tesla Wall Connector
While a NEMA 14-50 outlet with the mobile connector is an excellent and cost-effective solution, Tesla also offers its dedicated Tesla Wall Connector. This is a hardwired charging station that mounts to your wall.
The Wall Connector offers several advantages:
- Higher Power: It can be configured for up to 48 amps on a 60-amp circuit (or 80 amps with a higher-capacity setup), charging even faster than the mobile connector on a 50-amp outlet.
- Convenience: It has a fixed cable and connector, so you don’t have to store and unplug the mobile connector from the car and the outlet. It’s always ready.
- Wi-Fi and Smart Features: It connects to your home Wi-Fi, allowing you to monitor charging, set schedules, and update firmware.
- Cleaner Look: No bulky adapter hanging from the outlet.
The installation of a Wall Connector is similar in that it requires a dedicated 240V circuit, but it’s hardwired directly to the circuit (no receptacle). The circuit size depends on the Wall Connector’s configured amperage. For a 48-amp Wall Connector, you’d need a 60-amp circuit with 6 AWG wire (or 4 AWG for longer runs). The installation process is very similar—run the wire, install a dedicated breaker, and hardwire the connector’s junction box. The permit and inspection requirements are identical. If you think the Wall Connector is for you, the process and costs are very comparable to a high-amperage outlet install.
Frequently Asked Questions
Do I need a permit to install a 220V outlet for my Tesla?
Yes, in almost all cases a permit is required for new 240V electrical circuits. This ensures the work is inspected and meets safety codes. Your local building department will have specific requirements. Skipping the permit is illegal, dangerous, and can void your insurance or cause problems when selling your home.
What is the best outlet type for charging a Tesla?
The NEMA 14-50 is the most recommended and versatile. It provides 240V and 50 amps with a 4-wire connection (two hots, neutral, ground), which is perfect for the Tesla mobile connector. It’s widely available and supported. For a hardwired Tesla Wall Connector, you wouldn’t use an outlet at all; the unit connects directly to a dedicated circuit.
What size wire and breaker do I need for a Tesla charger?
For a standard 50-amp circuit (NEMA 14-50 outlet), you need a 2-pole 50-amp breaker and 6-gauge (6 AWG) 4-conductor copper wire. This is the most common and code-compliant setup. For a Tesla Wall Connector set to 48 amps, you would need a 60-amp circuit, typically requiring 6 AWG wire for shorter runs or 4 AWG for longer runs. Always follow the specific requirements of your charging equipment and local code.
Can I install a 220V outlet for my Tesla myself?
Technically, a very experienced and knowledgeable DIYer with a solid understanding of electrical codes can do it. However, due to the lethal risks of 240V power, the complexity of working in a main electrical panel, and the legal/permit requirements, we strongly recommend hiring a licensed electrician. The cost of professional installation is a small price for safety and peace of mind.
Why is a separate ground and neutral wire required?
Code requires a 4-wire connection (two hots, neutral, ground) for 240V outlets like the NEMA 14-50. The neutral provides a return path for 120V loads (some EV chargers use it for logic), while the ground is a critical safety path that only carries current during a fault (like a short circuit). Bonding them together at the outlet is a serious code violation and shock hazard.
How much faster is charging on 220V vs 110V?
It’s dramatically faster. On a 110V/15A circuit, you get about 3-5 miles of range per hour. On a properly sized 220V/50A circuit (using the mobile connector at 40A), you get approximately 29-37 miles of range per hour. This means a full overnight charge (0-100%) is possible on 220V, while 110V would take 2-3 days for a long-range battery.


