
How to Sanitize Rv Fresh Water Tank
Contents
- 1 Key Takeaways
- 2 📑 Table of Contents
- 3 Why Sanitizing Your RV Fresh Water Tank Matters
- 4 When Should You Sanitize Your RV Fresh Water Tank?
- 5 What You’ll Need to Sanitize Your RV Fresh Water Tank
- 6 Step-by-Step Guide: How to Sanitize RV Fresh Water Tank
- 7 Tips for a Successful Sanitizing Process
- 8 Common Mistakes to Avoid
- 9 Maintaining a Clean Water System Year-Round
- 10 Conclusion
- 11 Frequently Asked Questions
Sanitizing your RV fresh water tank is essential for safe, clean drinking water and preventing harmful bacteria buildup. This guide walks you through a simple, effective process to keep your water system healthy and your travels worry-free.
Key Takeaways
- Sanitize regularly: Clean your RV fresh water tank at least once a season or before long trips to prevent mold, bacteria, and odors.
- Use the right solution: Household bleach (unscented, non-concentrated) is safe and effective when diluted properly—typically 1/4 cup per 15 gallons of water.
- Flush thoroughly: After sanitizing, rinse the tank and all lines multiple times to remove chlorine residue and ensure safe drinking water.
- Don’t skip the faucets: Run sanitizing solution through all water outlets, including showerheads and outdoor spigots, to clean the entire system.
- Use a water filter: Install a quality inline filter to improve taste and remove residual chlorine after sanitizing.
- Prevent future contamination: Always use a dedicated RV water hose, avoid backflow, and keep tank caps sealed when not in use.
- Test your water: Consider using test strips to check chlorine levels and ensure the system is properly sanitized and flushed.
📑 Table of Contents
- Why Sanitizing Your RV Fresh Water Tank Matters
- When Should You Sanitize Your RV Fresh Water Tank?
- What You’ll Need to Sanitize Your RV Fresh Water Tank
- Step-by-Step Guide: How to Sanitize RV Fresh Water Tank
- Tips for a Successful Sanitizing Process
- Common Mistakes to Avoid
- Maintaining a Clean Water System Year-Round
- Conclusion
Why Sanitizing Your RV Fresh Water Tank Matters
Imagine this: you’re parked at a beautiful campsite, the sun is shining, and you’re ready to enjoy a cold glass of water after a long hike. You turn on the faucet, and instead of crisp, clean water, you get a faint smell of mildew or a weird taste that makes you question everything. Sound familiar? That’s a sign your RV fresh water tank needs sanitizing—and fast.
Your RV’s fresh water tank is the heart of your onboard water system. It holds the water you drink, cook with, and shower in. But over time, even with the best care, bacteria, mold, and algae can grow inside the tank and plumbing lines. These contaminants don’t just affect taste and smell—they can pose real health risks. That’s why learning how to sanitize RV fresh water tank properly isn’t just a good idea; it’s a necessity for safe, enjoyable travel.
Many RV owners overlook this step, assuming that filling up at clean water stations is enough. But even the cleanest water can pick up contaminants from hoses, connections, or stagnant tank conditions. Plus, if you’ve been parked for a while or used your RV infrequently, stagnant water creates the perfect breeding ground for microbes. Sanitizing your tank eliminates these risks and gives you peace of mind every time you turn on the tap.
When Should You Sanitize Your RV Fresh Water Tank?
Knowing when to sanitize your RV fresh water tank is just as important as knowing how. While there’s no one-size-fits-all schedule, there are clear signs and situations that call for a deep clean.
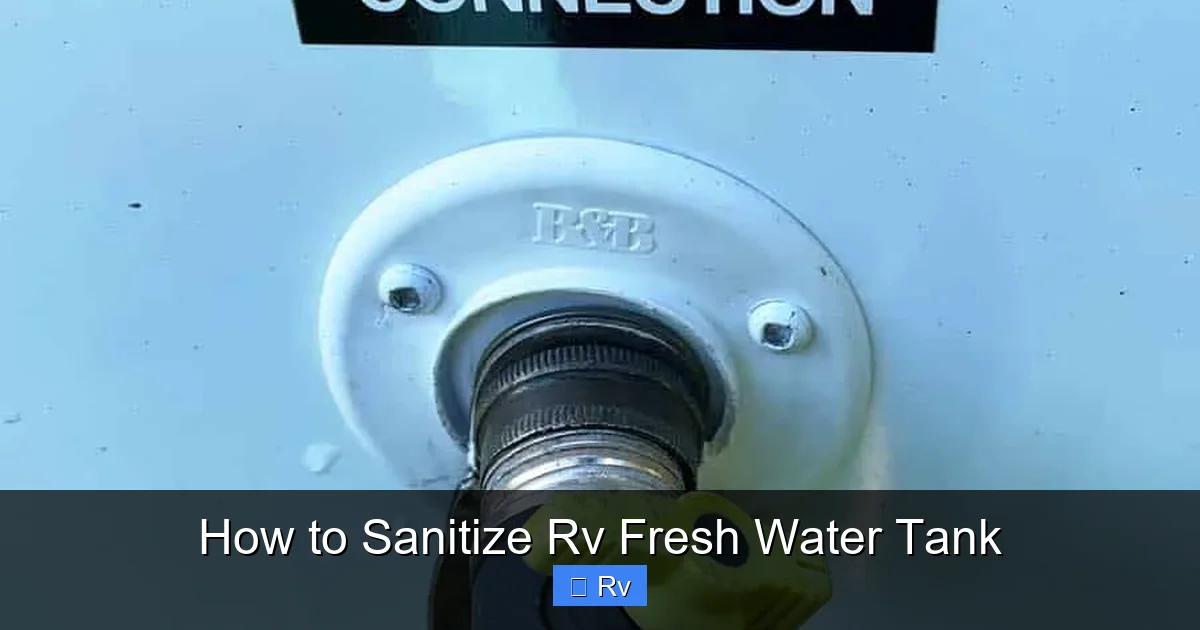
Visual guide about How to Sanitize Rv Fresh Water Tank
Image source: gudgear.com
At the Start of Each Camping Season
If you store your RV over the winter or don’t use it for several months, sanitizing before your first trip is a must. Stagnant water, temperature changes, and humidity can encourage bacterial growth. Think of it like spring cleaning for your water system—a fresh start for the season ahead.
After Long Periods of Inactivity
Even if it’s not winter, leaving your RV unused for a month or more can lead to water stagnation. If you’ve been parked at a seasonal site or stored your rig, run a sanitizing cycle before using the water for drinking or cooking.
When You Notice Odors or Strange Tastes
This is the most obvious sign. If your water smells like rotten eggs, mildew, or chlorine (even when you haven’t added any), it’s time to sanitize. A metallic or earthy taste can also indicate bacterial growth or mineral buildup.
After Using Unknown Water Sources
Filled up at a questionable water spigot? Connected to a friend’s hose that’s been sitting in the sun? Whenever you’re unsure about the quality of the water you’ve added, sanitizing afterward is a smart precaution.
Following Repairs or System Upgrades
Did you recently replace a water pump, install a new filter, or fix a leak? Any time the system is opened or components are changed, there’s a risk of introducing contaminants. Sanitizing ensures everything is clean and safe.
As Part of Routine Maintenance
Even if everything seems fine, aim to sanitize your tank at least once every 3 to 6 months. Regular maintenance prevents problems before they start and keeps your water tasting fresh.
What You’ll Need to Sanitize Your RV Fresh Water Tank
Sanitizing your RV fresh water tank doesn’t require fancy equipment or expensive chemicals. With a few basic supplies, you can do it yourself in under an hour. Here’s what you’ll need:

Visual guide about How to Sanitize Rv Fresh Water Tank
Image source: s3.amazonaws.com
Household Bleach (Unscented, Non-Concentrated)
This is the gold standard for RV water tank sanitizing. Look for regular, unscented bleach—avoid concentrated formulas or those with added scents or dyes. The active ingredient, sodium hypochlorite, kills bacteria, viruses, and mold effectively. A typical dilution is 1/4 cup of bleach per 15 gallons of water in your tank. Always check your tank’s capacity first—most RVs hold between 20 and 100 gallons.
Clean Water Hose (Dedicated to RV Use)
Use a hose that’s only for filling your fresh water tank. Never use the same hose for sewage or garden watering—cross-contamination is a real risk. A white or blue RV-specific hose is ideal, as they’re less likely to leach chemicals.
Funnel (Optional but Helpful)
A funnel makes pouring bleach into the tank easier, especially if your fill port is small or hard to reach. Choose a food-safe plastic or stainless steel funnel.
Measuring Cup or Container
You’ll need to measure the bleach accurately. A simple measuring cup or even an empty bleach cap (most hold about 1 tablespoon) can work for smaller tanks.
Garden Hose or Water Source
You’ll need access to a clean water source to fill the tank and later flush the system. If you’re at a campsite, use the provided water spigot. At home, a standard garden hose works fine.
Bucket or Container for Mixing (Optional)
Some RVers prefer to mix the bleach with a small amount of water before adding it to the tank to ensure even distribution. A 5-gallon bucket works well for this.
Water Test Strips (Recommended)
After sanitizing and flushing, test strips can help you confirm that chlorine levels are safe (ideally below 4 ppm). This is especially useful if you’re sensitive to chlorine taste or have health concerns.
Safety Gear (Optional but Smart)
While bleach is safe when used correctly, it’s wise to wear gloves and safety goggles, especially if you’re handling large amounts or working in a confined space.
Step-by-Step Guide: How to Sanitize RV Fresh Water Tank
Now that you know why and when to sanitize, let’s walk through the process step by step. This method works for most RVs and takes about 30 to 60 minutes, depending on your system size and setup.
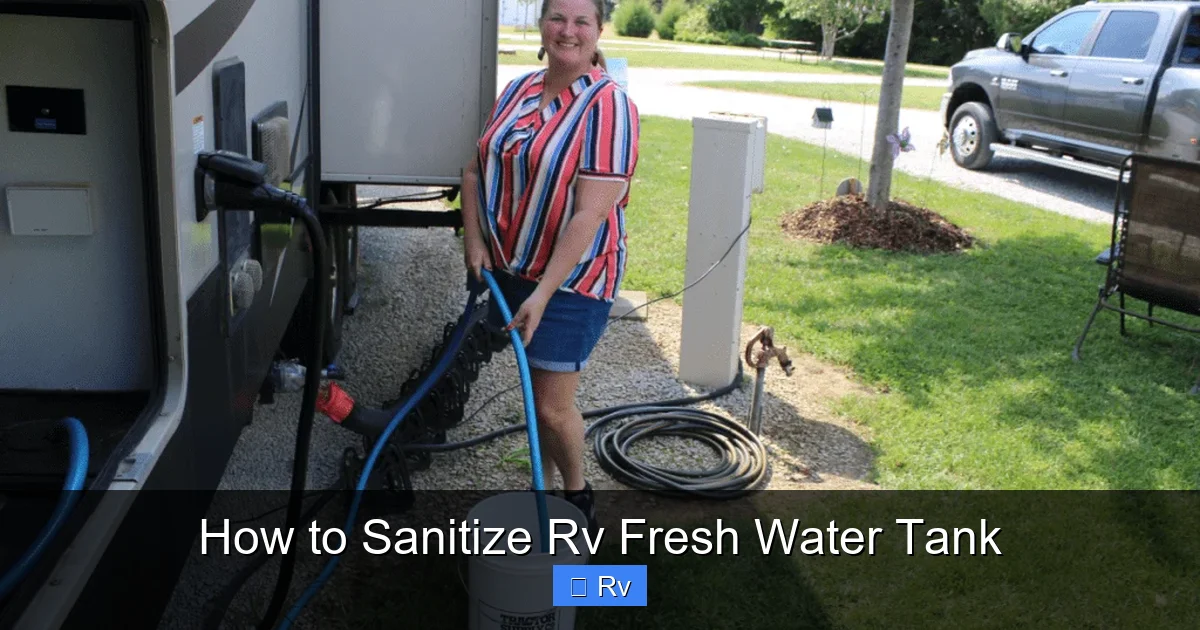
Visual guide about How to Sanitize Rv Fresh Water Tank
Image source: travelswithted.com
Step 1: Drain the Tank Completely
Start by emptying your fresh water tank. Turn on all faucets—indoor and outdoor—and let the water run until it stops. Open the low-point drain valves (usually located under the RV) to remove any remaining water. If your RV has a tank drain plug, remove it as well. This ensures you’re starting with a clean slate.
Step 2: Prepare the Sanitizing Solution
Check your tank’s capacity (found in your owner’s manual or on the tank itself). For every 15 gallons of water, mix 1/4 cup of unscented household bleach. For example, a 45-gallon tank needs 3/4 cup of bleach. If you’re unsure, it’s better to slightly under-dose than overdo it—too much chlorine can damage seals and gaskets.
Step 3: Add the Bleach to the Tank
Using a funnel, pour the measured bleach directly into the fresh water fill port. If you’re mixing it with a little water first, do so in a bucket and then pour it in. Avoid spilling bleach on your RV’s exterior—it can damage paint and decals.
Step 4: Fill the Tank with Fresh Water
Connect your clean RV water hose to a reliable water source and fill the tank completely. The water will dilute the bleach and begin circulating it through the system. Make sure the tank is full to ensure the solution reaches all areas.
Step 5: Circulate the Solution Through All Lines
Turn on the RV’s water pump. Open every faucet—kitchen sink, bathroom sink, shower, outdoor shower, and any other water outlets—until you smell chlorine at each one. This confirms the sanitizing solution has reached all parts of the plumbing. Let the water run for a few seconds at each faucet, then close it.
Step 6: Let It Sit (The Soak Period)
This is a crucial step many people skip. Allow the sanitizing solution to sit in the tank and lines for at least 4 hours—overnight is even better. This gives the chlorine time to kill bacteria, mold, and biofilm clinging to the walls of the tank and pipes.
Step 7: Drain the Sanitizing Solution
After the soak period, drain the tank completely. Open all faucets and low-point drains again. You may notice a strong chlorine smell—that’s normal. Let everything drain thoroughly.
Step 8: Flush the System with Fresh Water
Refill the tank with clean water. Turn on the pump and run water through every faucet again until the chlorine smell is gone. This may take several tank fills, especially in larger RVs. Be patient—rushing this step can leave behind a chemical taste.
Step 9: Test the Water (Optional but Recommended)
Use water test strips to check chlorine levels. If they’re above 4 parts per million (ppm), continue flushing. Once levels are safe, your system is ready to use.
Step 10: Add a Water Filter (Optional)
For the best taste, install an inline water filter on your drinking water line. This removes any residual chlorine and improves flavor, especially if you’re sensitive to chemical tastes.
Tips for a Successful Sanitizing Process
Even with the right steps, a few extra tips can make the process smoother and more effective.
Use Cold Water for Flushing
Hot water can cause chlorine to dissipate faster, making it harder to detect during flushing. Stick to cold water when running the pump and opening faucets.
Don’t Forget the Water Heater
If your RV has a water heater, make sure the sanitizing solution reaches it. Open the hot water faucets during circulation to ensure the heater tank is also cleaned.
Sanitize the Entire System, Not Just the Tank
Bacteria can hide in faucet aerators, showerheads, and even the water pump. Remove and clean these components periodically, and always run sanitizer through them during the process.
Label Your Hoses
Keep a dedicated hose for fresh water only. Label it clearly to avoid accidental cross-use with sewer or garden hoses.
Keep a Sanitizing Log
Note the date you last sanitized your tank in your RV journal or on a sticky note near the fill port. This helps you stay on schedule and track any recurring issues.
Consider a Sanitizing Kit
Some RVers prefer pre-measured sanitizing kits designed for RVs. These often include test strips and instructions tailored to common tank sizes. While not necessary, they can simplify the process for beginners.
Common Mistakes to Avoid
Even experienced RVers can make errors when sanitizing their water tanks. Avoid these common pitfalls to ensure a safe and effective clean.
Using Scented or Concentrated Bleach
Only use regular, unscented bleach. Scented versions contain additives that can leave harmful residues or damage plumbing components.
Overdosing with Bleach
Too much chlorine can corrode seals, damage rubber gaskets, and leave a strong chemical taste. Stick to the recommended ratio—1/4 cup per 15 gallons.
Skipping the Soak Time
Rushing the process by not letting the solution sit means bacteria may survive. The soak period is essential for thorough disinfection.
Not Flushing Enough
Chlorine residue can affect taste and, in high amounts, be unhealthy. Flush until the smell is completely gone—this may take multiple tank fills.
Ignoring Outdoor Faucets and Showerheads
These are often overlooked but can harbor bacteria. Always include them in your sanitizing routine.
Using the Wrong Hose
A garden hose not meant for drinking water can leach chemicals into your system. Always use an RV-safe, drinking-water-certified hose.
Maintaining a Clean Water System Year-Round
Sanitizing your tank is just one part of keeping your RV water system healthy. Ongoing maintenance ensures long-term safety and performance.
Use a Water Filter
Install a high-quality inline filter on your drinking water line. Replace it according to the manufacturer’s instructions—usually every 2,000 to 6,000 gallons.
Keep the Tank Covered
Always keep the fresh water fill cap securely closed to prevent debris, insects, or animals from entering the tank.
Avoid Letting Water Sit Too Long
If you’re not using your RV, drain the tank or add a small amount of bleach (1 teaspoon per 10 gallons) to prevent stagnation. Flush thoroughly before next use.
Inspect Hoses and Connections Regularly
Check for cracks, leaks, or wear on your water hoses and fittings. Replace damaged parts immediately to avoid contamination.
Use a Water Pressure Regulator
High water pressure can damage your plumbing and push contaminants into the system. A regulator protects your RV and ensures consistent flow.
Consider a UV Sterilizer (For Serious RVers)
For those who boondock or use well water, a UV sterilizer can provide an extra layer of protection by killing bacteria as water passes through the system.
Conclusion
Learning how to sanitize RV fresh water tank is one of the most important skills any RV owner can master. It’s not just about taste—it’s about health, safety, and peace of mind. A clean water system means you can enjoy every adventure without worrying about what’s coming out of your tap.
By following this guide, you’ll know exactly when and how to sanitize your tank, what supplies you need, and how to avoid common mistakes. Whether you’re a weekend warrior or a full-time RVer, regular sanitizing keeps your water fresh, your system running smoothly, and your travels worry-free. So next time you hit the road, you can pour that glass of water with confidence—knowing it’s clean, safe, and ready to go.
Frequently Asked Questions
How often should I sanitize my RV fresh water tank?
Sanitize your tank at least once per camping season or every 3 to 6 months. If you notice odors, tastes, or haven’t used your RV in a while, sanitize immediately.
Can I use vinegar instead of bleach to sanitize my tank?
Vinegar can help clean mineral deposits but isn’t strong enough to kill bacteria and viruses. Bleach is recommended for proper sanitizing, though vinegar can be used as a follow-up rinse for odor control.
Is it safe to drink water after sanitizing?
Yes, as long as you flush the system thoroughly until the chlorine smell is gone. Use test strips to confirm safe chlorine levels (below 4 ppm) before drinking.
Can I sanitize my tank with the water heater on?
Yes, but make sure to open hot water faucets during circulation so the sanitizing solution reaches the water heater tank. Turn off the heater during the process to avoid damage.
What if I can’t smell chlorine after adding bleach?
This could mean the bleach was too diluted or has degraded. Check the expiration date on your bleach and ensure you used the correct ratio. If in doubt, repeat the process.
Do I need to sanitize if I only use bottled water?
Yes. Even if you drink bottled water, you still use the tank for cooking, brushing teeth, and showering. Bacteria can still grow and affect your health.


