
How to Install Rv Skylight
Contents
- 1 Key Takeaways
- 2 📑 Table of Contents
- 3 Why Install an RV Skylight?
- 4 Choosing the Right RV Skylight
- 5 Tools and Materials You’ll Need
- 6 Step-by-Step Installation Guide
- 7 Common Mistakes to Avoid
- 8 Maintenance Tips for Long-Term Performance
- 9 When to Call a Professional
- 10 Final Thoughts
- 11 Frequently Asked Questions
Installing an RV skylight can transform your camper’s interior with natural light and ventilation. This guide walks you through every step—from choosing the right skylight to sealing it properly—so you can complete the project safely and effectively.
Key Takeaways
- Choose the right skylight size and type: Match your RV roof dimensions and decide between fixed or vented models based on your needs.
- Measure twice, cut once: Accurate measurements prevent leaks and ensure a snug fit during installation.
- Use proper sealing materials: High-quality butyl tape and RV-specific sealant are essential to prevent water intrusion.
- Work safely on the roof: Use a sturdy ladder, wear non-slip shoes, and consider a roof harness for stability.
- Test for leaks after installation: Spray water around the edges before finishing interior trim to catch issues early.
- Follow manufacturer instructions: Each skylight model has unique requirements—don’t skip the manual.
- Consider professional help if unsure: If you’re uncomfortable with roof work or electrical components (for powered vents), hire an RV technician.
📑 Table of Contents
Why Install an RV Skylight?
Imagine stepping into your RV after a long drive and being greeted by a flood of natural light streaming through the ceiling. That’s the magic of an RV skylight. Not only does it brighten up dim interiors, but it also creates a sense of openness and connection to the outdoors—even when you’re parked in the middle of nowhere. Whether you’re renovating an older rig or upgrading a newer model, adding a skylight is one of the most rewarding DIY improvements you can make.
Beyond aesthetics, skylights offer practical benefits. Many models come with built-in vents that improve airflow, reducing condensation and stuffiness inside your camper. This is especially helpful in humid climates or during cooking and showering. Some even feature built-in blinds or UV-protective glass to control glare and heat. Plus, a well-installed skylight can increase your RV’s resale value by enhancing its comfort and modern appeal.
Choosing the Right RV Skylight
Before you grab your tools, it’s crucial to pick the right skylight for your RV. Not all models are created equal, and choosing poorly can lead to leaks, poor fit, or wasted money. Start by measuring the interior ceiling opening where you plan to install the skylight. Most standard RV skylights are 14″ x 14″ or 14″ x 22″, but double-check your roof’s existing cutout (if replacing) or available space (if installing new).
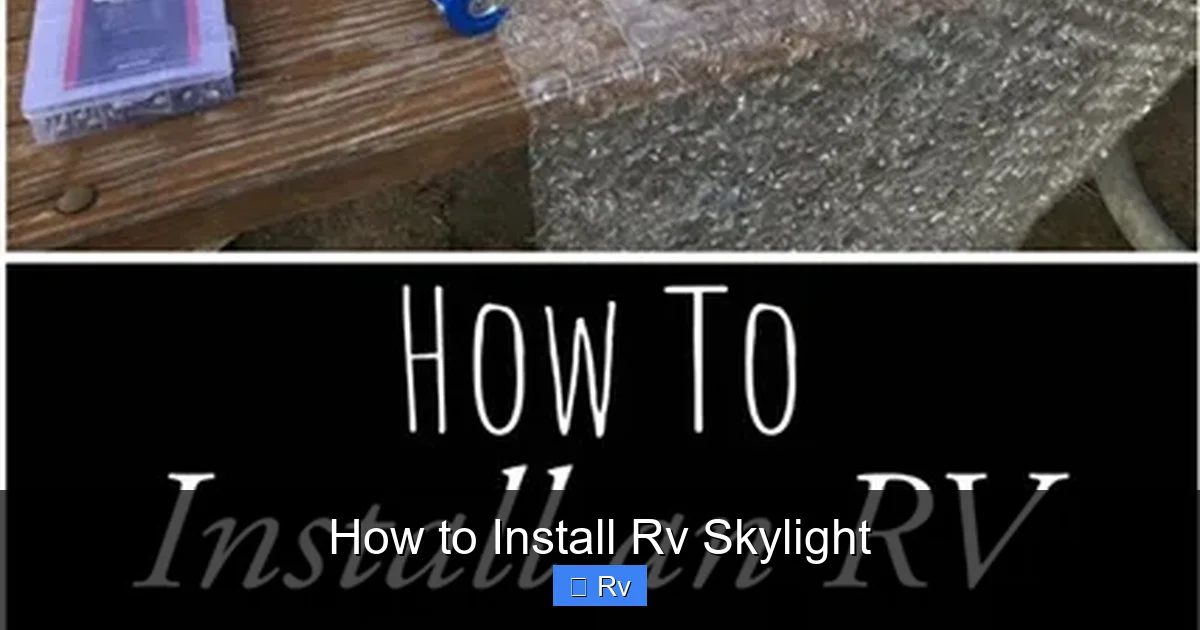
Visual guide about How to Install Rv Skylight
Image source: images.squarespace-cdn.com
Fixed vs. Vented Skylights
Fixed skylights are sealed units that don’t open—they’re perfect if you just want more light without the complexity of a vent mechanism. Vented skylights, on the other hand, include a crank or electric fan to allow airflow. These are ideal for bathrooms, kitchens, or bedrooms where ventilation matters. Electric models often include rain sensors that automatically close the vent if moisture is detected—great for peace of mind.
Material and Glazing Options
Most RV skylights use acrylic or polycarbonate domes. Acrylic is lightweight and offers excellent clarity, but it can crack under impact. Polycarbonate is more durable and impact-resistant, though it may yellow over time without UV protection. Look for double-pane or insulated models if you camp in extreme temperatures—they reduce heat transfer and condensation.
Compatibility with Your RV Roof
RV roofs vary in thickness and material—fiberglass, aluminum, or rubber (TPO/EPDM). Make sure your chosen skylight is compatible. Some kits include adjustable flanges to accommodate different roof thicknesses. Also, check whether your roof has an existing hole. If not, you’ll need to cut one carefully. Always confirm the manufacturer’s recommended roof thickness range before purchasing.
Tools and Materials You’ll Need
Having the right tools on hand makes the installation smoother and safer. You don’t need a full workshop, but a few essentials will go a long way. Here’s a checklist to get you started:
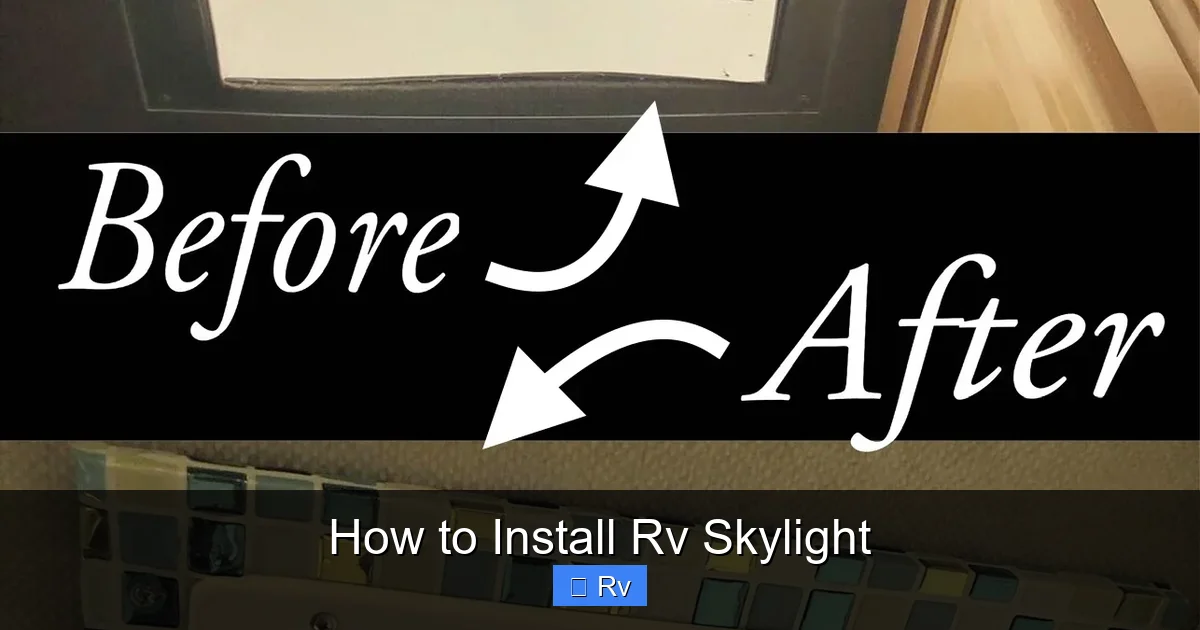
Visual guide about How to Install Rv Skylight
Image source: images.squarespace-cdn.com
- Measuring tape
- Marker or grease pencil
- Jigsaw or reciprocating saw (with fine-tooth blade)
- Drill and drill bits
- Screwdriver set (Phillips and flathead)
- Caulking gun
- Butyl tape (1–2 rolls)
- RV-specific silicone sealant (e.g., Dicor self-leveling lap sealant)
- Utility knife
- Safety gear: gloves, safety glasses, non-slip shoes
- Ladder or roof access platform
- Vacuum and cleaning supplies
Optional but Helpful Tools
If you’re installing an electric vented skylight, you’ll also need wire strippers, electrical tape, and possibly a voltage tester. A helper is strongly recommended—not just to hand you tools, but to spot you on the roof and assist with alignment. A laser level can help ensure your cutout is perfectly square, especially on curved roofs.
Where to Buy Supplies
Most RV supply stores (like Camping World or Lichtsinn RV) carry skylight kits and sealing materials. Online retailers such as Amazon, RV Parts Country, or etrailer.com offer competitive pricing and detailed product specs. Always buy sealant and butyl tape from reputable brands—cheap alternatives often fail within a season.
Step-by-Step Installation Guide
Now for the main event: installing your RV skylight. Take your time, follow each step carefully, and don’t rush—especially when cutting into your roof. A mistake here can lead to costly water damage down the road.
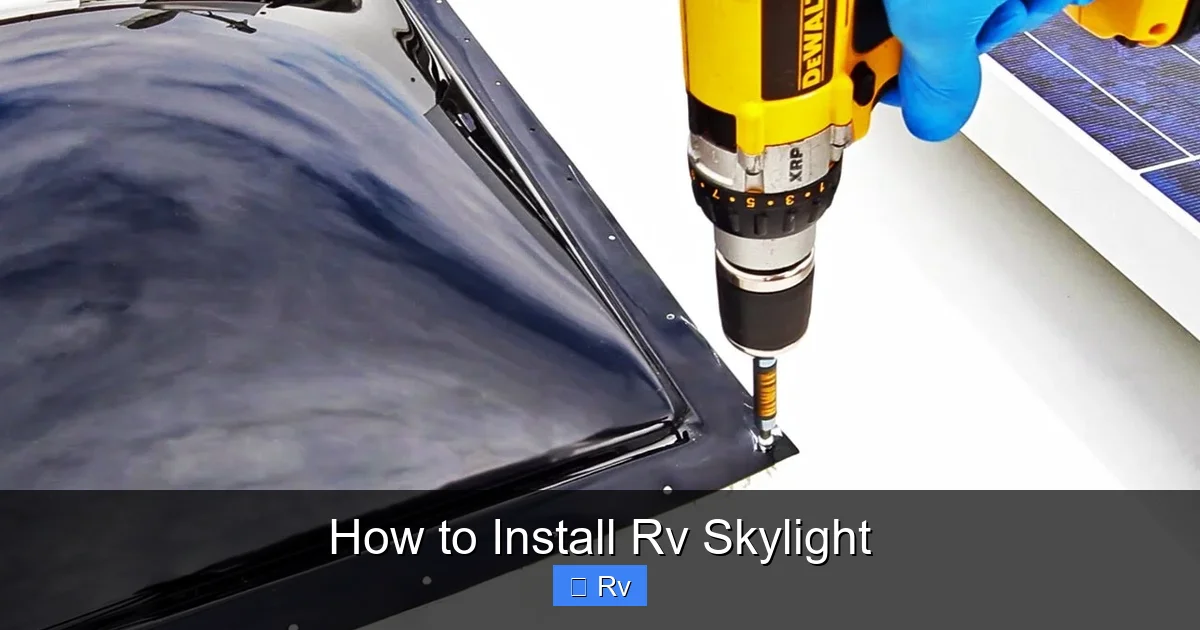
Visual guide about How to Install Rv Skylight
Image source: gocarlife.com
Step 1: Prepare the Work Area
Park your RV on level ground and ensure it’s stable. Clear the roof of debris, dirt, and old sealant. If you’re replacing an existing skylight, remove the old unit completely, including any residual adhesive or foam. Use a putty knife or scraper to clean the surface. Wipe the area with rubbing alcohol to remove oils and ensure proper adhesion for new sealant.
Step 2: Measure and Mark the Cutout
Place the skylight flange (the flat part that sits on the roof) upside down on the roof where you want to install it. Trace around it with a marker. Double-check your measurements—measure diagonally from corner to corner. Both diagonals should be equal; if not, adjust until the square is perfect. This ensures the skylight sits flush and prevents stress on the dome.
Step 3: Cut the Roof Opening
Drill a starter hole inside your marked line—large enough to insert your jigsaw blade. Cut slowly along the traced line, keeping the saw perpendicular to the roof. If your roof is curved, go extra slow to avoid chipping or cracking the material. Once the cut is complete, remove the piece and smooth any rough edges with sandpaper or a file.
Step 4: Apply Butyl Tape
Roll out a continuous strip of butyl tape around the perimeter of the cutout. Press it firmly into place—it should be about ¼” thick and free of gaps. Butyl tape acts as a primary moisture barrier and helps cushion the skylight. Avoid stretching it, as this can cause it to shrink and crack later.
Step 5: Install the Skylight
Carefully lower the skylight into the opening from the outside. Align it with your marks and press down gently to seat it onto the butyl tape. From inside the RV, insert the mounting screws through the flange into the roof. Don’t overtighten—this can warp the flange or crack the dome. Tighten just enough to compress the butyl tape evenly.
Step 6: Seal the Edges
Apply a generous bead of RV-specific silicone sealant around the entire outer edge of the flange. Use your finger or a tool to smooth it into a clean, continuous bead. This secondary seal protects against wind-driven rain and UV degradation. Avoid using household silicone—it won’t hold up to RV conditions.
Step 7: Finish the Interior
Trim the interior ceiling around the skylight with matching trim pieces or caulk for a clean look. If your skylight has a built-in light diffuser or blind, install it according to the manufacturer’s instructions. For electric vents, connect the wiring to your RV’s 12V system (usually near the ceiling light circuit). Test the fan and motor before finalizing the interior finish.
Common Mistakes to Avoid
Even experienced RVers can slip up during skylight installation. Here are some frequent errors and how to dodge them:
Using the Wrong Sealant
Household silicone or roofing tar might seem like quick fixes, but they degrade quickly under UV exposure and temperature swings. Always use sealants designed for RVs, like Dicor or Sika. These remain flexible and adhere well to common RV roof materials.
Skipping the Butyl Tape
Some DIYers rely solely on sealant, thinking it’s enough. But sealant can crack over time. Butyl tape provides a resilient, long-lasting compression seal that moves with your roof. Never skip this step—it’s your first line of defense against leaks.
Overtightening Screws
It’s tempting to crank down those screws to “make sure it’s secure,” but excessive force can crack acrylic domes or distort aluminum flanges. Tighten just until the butyl tape begins to squeeze out slightly around the edges—that’s your cue it’s seated properly.
Ignoring Roof Curvature
Many RV roofs are slightly curved. If your skylight flange is rigid and flat, it may not conform, creating gaps. Look for flexible flanges or use shims to fill minor gaps before sealing. Some installers add a thin layer of closed-cell foam tape under the flange for better conformity.
Not Testing for Leaks
Don’t wait until it rains to find out if you’ve got a leak. After installation, use a garden hose to spray water around the skylight edges for 10–15 minutes. Check the interior for any signs of moisture. If you spot a drip, reapply sealant or adjust the flange as needed.
Maintenance Tips for Long-Term Performance
A well-installed skylight should last for years with minimal upkeep—but a little maintenance goes a long way. Inspect the sealant bead annually, especially before rainy seasons. Look for cracks, peeling, or gaps. Reapply sealant as needed. Clean the dome with mild soap and water; avoid abrasive cleaners that can scratch the surface.
If you have a vented model, lubricate the hinge mechanism and fan motor lightly with silicone spray every six months. Check the rain sensor (if equipped) to ensure it’s free of dirt and functioning properly. And never walk directly on the skylight—even polycarbonate can crack under concentrated weight.
When to Call a Professional
While many RVers successfully install skylights themselves, there are times when it’s smarter to hire a pro. If your RV has a complex roof structure (like a full fiberglass shell), or if you’re not comfortable working at heights, don’t risk it. Electric vent installations involving wiring should also be handled by someone familiar with RV electrical systems. A botched job could void your warranty or lead to mold and structural damage.
That said, with careful planning and the right mindset, most handy campers can tackle this project. Just remember: safety first, patience second, and quality materials always.
Final Thoughts
Installing an RV skylight is more than just a cosmetic upgrade—it’s an investment in comfort, functionality, and enjoyment. Natural light changes the mood of your space, making it feel larger and more inviting. And with proper installation, you’ll gain years of trouble-free use. Whether you’re lighting up a dim bathroom or adding airflow to your bedroom, this project delivers big rewards for a manageable effort.
So gather your tools, review the steps, and take that leap. Your brighter, breezier RV adventures start with a single cut—and a whole lot of natural light.
Frequently Asked Questions
Can I install an RV skylight myself?
Yes, most RV owners with basic DIY skills can install a skylight themselves. Just ensure you have the right tools, follow safety precautions, and use quality sealing materials to prevent leaks.
What size skylight do I need for my RV?
Standard sizes are 14″ x 14″ or 14″ x 22″. Measure your intended installation area carefully and check your RV roof’s existing opening (if replacing) to ensure compatibility.
Do I need to cut a hole in my RV roof?
Yes, unless you’re replacing an existing skylight. Use a jigsaw with a fine-tooth blade and cut slowly along a precisely marked line to avoid damaging the roof structure.
How do I prevent leaks after installation?
Use butyl tape around the flange and apply RV-specific silicone sealant over the edges. Test for leaks with a hose before finishing the interior trim.
Can I install a skylight on a curved RV roof?
Yes, but choose a flexible flange or use shims to accommodate the curve. Avoid forcing a rigid skylight onto a curved surface, as this can create gaps and lead to leaks.
Are electric vented skylights hard to wire?
They require basic 12V wiring knowledge. Connect to an existing ceiling light circuit or a dedicated fuse. If you’re unsure about electrical work, consult an RV technician.


