
How to Test an Rv Battery
Contents
- 1 Key Takeaways
- 2 📑 Table of Contents
- 3 Why Testing Your RV Battery Matters
- 4 Understanding Your RV Battery: Types and Basics
- 5 Tools You’ll Need to Test an RV Battery
- 6 Step-by-Step Guide: How to Test an RV Battery with a Multimeter
- 7 Using a Hydrometer to Test Flooded Lead-Acid Batteries
- 8 When to Replace Your RV Battery
- 9 Tips for Maintaining a Healthy RV Battery
- 10 Conclusion
- 11 Frequently Asked Questions
Testing your RV battery is essential for reliable power on the road. This guide walks you through simple, effective methods using a multimeter, hydrometer, and load tester to check voltage, state of charge, and overall health—so you never get stranded with a dead battery.
Key Takeaways
- Use a multimeter to check voltage: A healthy 12V RV battery should read 12.6V or higher when fully charged and at rest.
- Test under load for real performance: A load tester simulates real-world use and reveals if the battery can hold power under demand.
- Check specific gravity with a hydrometer: This method is best for flooded lead-acid batteries and measures electrolyte density to assess charge level.
- Inspect for physical damage and corrosion: Look for swelling, leaks, or corroded terminals—these are signs of battery failure.
- Maintain proper charging habits: Avoid deep discharges and use a smart charger to extend battery life.
- Test regularly, especially before trips: Monthly checks help catch issues early and ensure your RV is always road-ready.
- Know when to replace: If your battery fails multiple tests or is over 3–5 years old, it’s time for a new one.
📑 Table of Contents
- Why Testing Your RV Battery Matters
- Understanding Your RV Battery: Types and Basics
- Tools You’ll Need to Test an RV Battery
- Step-by-Step Guide: How to Test an RV Battery with a Multimeter
- Using a Hydrometer to Test Flooded Lead-Acid Batteries
- When to Replace Your RV Battery
- Tips for Maintaining a Healthy RV Battery
- Conclusion
Why Testing Your RV Battery Matters
Imagine this: You’ve packed up the RV, loaded the cooler, and hit the open road. You arrive at a beautiful campsite, ready to unwind under the stars. But when you try to turn on the lights, the fridge, or the water pump—nothing happens. The battery is dead. Sound familiar? It’s a frustrating scenario that could have been avoided with a simple battery test.
Your RV battery is the heart of your off-grid power system. It runs everything from interior lights and fans to the furnace and refrigerator when you’re not connected to shore power. Without a healthy battery, your adventure can come to a sudden halt. That’s why knowing how to test an RV battery is one of the most important skills for any RV owner. Whether you’re a weekend warrior or a full-time RVer, regular battery checks help prevent unexpected failures and extend the life of your investment.
Testing your RV battery isn’t just about avoiding inconvenience—it’s about safety and efficiency. A weak or failing battery can leave you without heat in cold weather, refrigeration for food, or lighting at night. Plus, repeated deep discharges can permanently damage the battery, shortening its lifespan and costing you more in replacements. The good news? Testing is quick, easy, and requires only a few basic tools. In this guide, we’ll walk you through every step, from choosing the right tools to interpreting your results and knowing when it’s time for a replacement.
Understanding Your RV Battery: Types and Basics
Before you test your RV battery, it’s important to understand what type you have. Not all RV batteries are created equal, and different types require slightly different testing methods. The most common types used in RVs are flooded lead-acid, AGM (Absorbent Glass Mat), and lithium-ion batteries.
Visual guide about How to Test an Rv Battery
Image source: m.media-amazon.com
Flooded Lead-Acid Batteries
These are the traditional, budget-friendly option. They’re reliable and widely available, but they require regular maintenance, including checking and refilling water levels. Flooded batteries are great for RVers who don’t mind a little upkeep. They’re also ideal for those who want to use a hydrometer to test specific gravity, which gives a precise reading of the battery’s state of charge.
AGM Batteries
AGM batteries are sealed, maintenance-free, and more resistant to vibration—perfect for bumpy roads. They charge faster and can handle deeper discharges than flooded batteries, making them a popular upgrade. However, they’re more expensive and can be damaged if overcharged. Because they’re sealed, you can’t use a hydrometer on them, so voltage testing with a multimeter is your best bet.
Lithium-Ion Batteries
Lithium batteries are the high-performance option. They’re lightweight, last longer (up to 10 years), and can be discharged much deeper without damage. They also charge faster and maintain a steady voltage output. However, they come with a higher price tag and require a compatible charging system. Most lithium batteries have built-in battery management systems (BMS) that monitor health, but you can still use a multimeter to check voltage as a backup.
No matter which type you have, all RV batteries serve the same purpose: storing and delivering 12 volts of DC power. But their internal chemistry and maintenance needs vary, so always check your owner’s manual before testing or maintaining your battery.
Tools You’ll Need to Test an RV Battery
Testing your RV battery doesn’t require a mechanic’s toolkit. With just a few affordable tools, you can get accurate readings and peace of mind. Here’s what you’ll need:
Visual guide about How to Test an Rv Battery
Image source: m.media-amazon.com
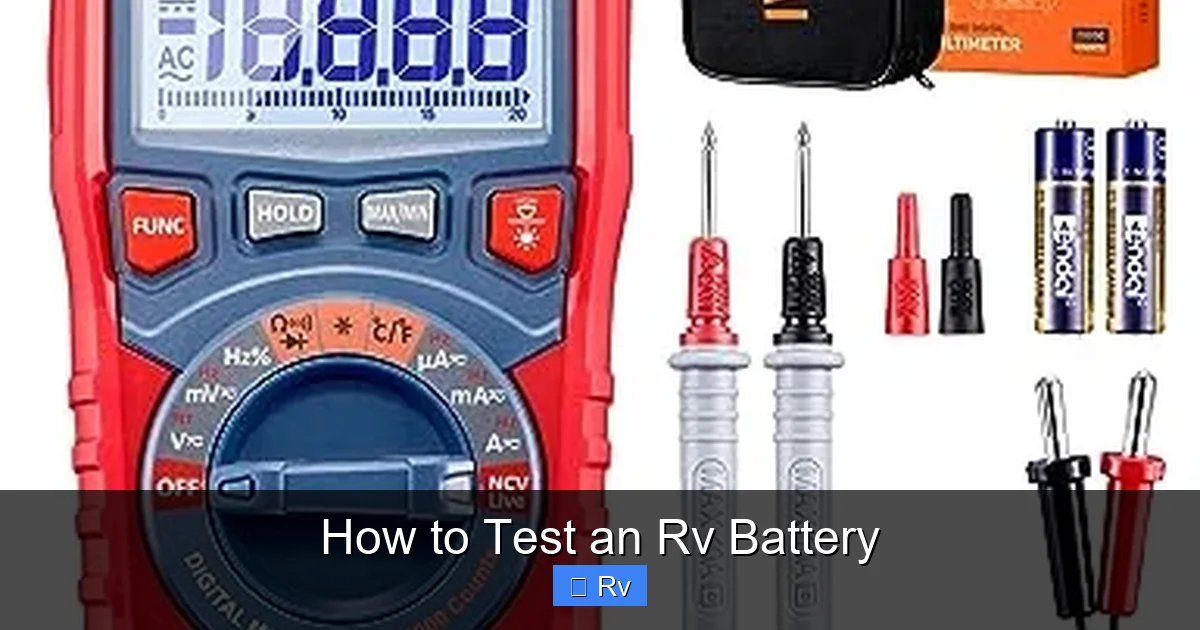
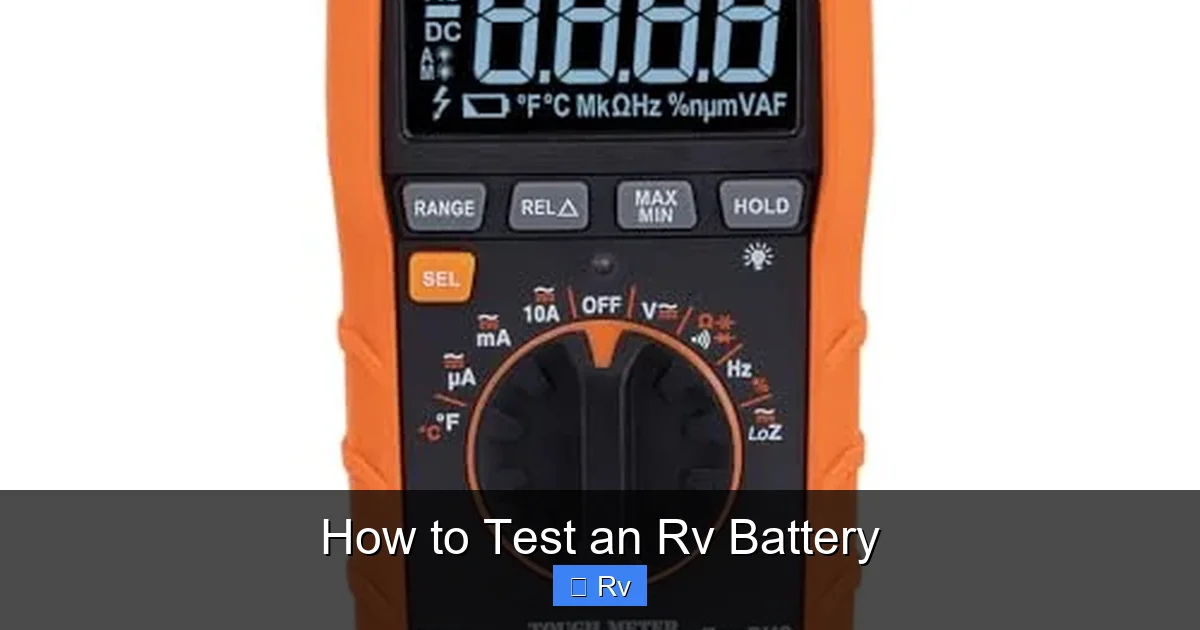
Digital Multimeter
This is the most essential tool for testing an RV battery. A multimeter measures voltage, which tells you the battery’s state of charge. Look for a model with a DC voltage setting (usually labeled “V–” or “VDC”). You don’t need a fancy one—basic models cost under $20 and are widely available at hardware stores or online. Make sure it has clear digital readouts and auto-ranging for ease of use.
Hydrometer (For Flooded Batteries Only)
If you have a flooded lead-acid battery, a hydrometer is a must. This simple tool measures the specific gravity of the electrolyte (the liquid inside the battery), which indicates how charged the battery is. A fully charged battery will have a specific gravity around 1.265, while a discharged one might read 1.120 or lower. Hydrometers are inexpensive and easy to use—just draw electrolyte into the tube, read the float, and compare to the scale.
Load Tester
A load tester applies a simulated electrical load to the battery and measures how well it holds voltage under stress. This is the most accurate way to test battery health because it mimics real-world use. While not essential for every check, a load tester is invaluable for diagnosing weak batteries that appear fine at rest but fail when power is needed. You can buy one or rent one from an auto parts store.
Battery Terminal Cleaner and Wire Brush
Before testing, always clean the battery terminals. Corrosion (a white or green powdery substance) can interfere with readings and reduce performance. Use a wire brush or terminal cleaner to scrub the posts and clamps. A mixture of baking soda and water can help dissolve heavy corrosion. Dry thoroughly before reconnecting.
Safety Gear
Battery acid is corrosive, and hydrogen gas can be explosive. Always wear safety goggles and gloves when handling batteries. Work in a well-ventilated area, and avoid sparks or open flames near the battery. If you’re testing a flooded battery, be extra careful not to spill electrolyte.
With these tools on hand, you’re ready to test your RV battery like a pro. Most of them are one-time purchases that will last for years, making them a smart investment for any RV owner.
Step-by-Step Guide: How to Test an RV Battery with a Multimeter
The multimeter is the go-to tool for most RV battery tests because it’s fast, accurate, and works on all battery types. Here’s how to use it properly:
Visual guide about How to Test an Rv Battery
Image source: progressivedyn.com
Step 1: Prepare the Battery
Make sure the battery has been at rest for at least 2 hours before testing. This means no charging, no discharging, and no loads connected. Why? Because charging or using the battery can give a false high or low reading. Letting it rest allows the voltage to stabilize, giving you a true picture of the state of charge.
Step 2: Set Up the Multimeter
Turn on your multimeter and set it to DC voltage (usually marked as “V–” or “VDC”). If your meter has a range setting, choose 20V or higher. Most multimeters are auto-ranging, so they’ll adjust automatically. Insert the red probe into the “VΩmA” port and the black probe into the “COM” port.
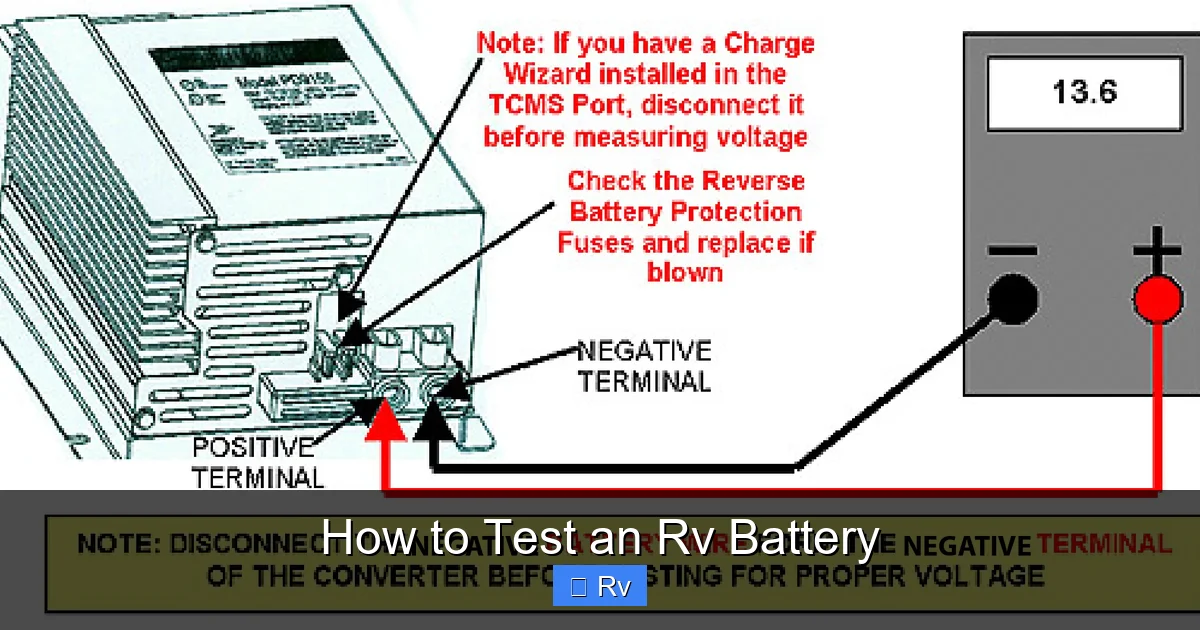
Step 3: Connect the Probes
Touch the red probe to the positive terminal (+) of the battery and the black probe to the negative terminal (–). Make sure the probes make solid contact—don’t just rest them on the surface. Hold them steady for a few seconds until the reading stabilizes.
Step 4: Read the Voltage
Here’s what the numbers mean:
- 12.6V to 12.8V: Fully charged. Your battery is in great shape.
- 12.4V: About 75% charged. Still good, but consider recharging soon.
- 12.2V: Around 50% charged. Time to recharge.
- 12.0V or lower: Less than 25% charged. The battery is deeply discharged and may be damaged.
If your battery reads below 12.4V, it’s time to charge it. But if it’s been fully charged and still reads low, the battery may be failing.
Step 5: Test Under Load (Optional but Recommended)
To get a more accurate assessment, test the battery under load. Turn on a high-draw appliance like the furnace fan or interior lights for about 10–15 seconds. Then, immediately check the voltage again. A healthy battery should drop only slightly (to around 12.0V) and recover quickly when the load is removed. If it drops below 10.5V or takes a long time to recover, the battery is weak.
This method gives you a real-world snapshot of how your battery performs when you need it most. It’s especially useful before a long trip or when storing your RV for the winter.
Using a Hydrometer to Test Flooded Lead-Acid Batteries
If you have a flooded lead-acid battery, a hydrometer offers a more precise way to test its state of charge than voltage alone. Voltage can be misleading—especially if the battery has surface charge from recent charging. A hydrometer measures the specific gravity of the electrolyte, which directly correlates to the battery’s chemical state.
Step 1: Open the Battery Caps
Carefully remove the caps on top of the battery to access the cells. Most flooded batteries have six cells, each containing a mixture of sulfuric acid and water. Be cautious—electrolyte is corrosive. Wear gloves and goggles.
Step 2: Draw Electrolyte into the Hydrometer
Insert the hydrometer’s tube into the first cell and squeeze the bulb to draw in electrolyte. Fill the tube until the float rises freely. Don’t overfill—just enough to lift the float.
Step 3: Read the Specific Gravity
Look at the scale on the float. The number where the liquid surface meets the float is the specific gravity. Compare it to this guide:
- 1.265: Fully charged
- 1.225: 75% charged
- 1.190: 50% charged
- 1.155: 25% charged
- 1.120 or lower: Fully discharged
Test each cell and record the readings. A healthy battery should have consistent readings across all cells (within 0.050 of each other). If one cell is significantly lower, it may be damaged or sulfated.
Step 4: Return Electrolyte and Clean Up
After reading, squeeze the bulb to return the electrolyte to the same cell. Never mix electrolyte between cells. Wipe the hydrometer clean and store it properly. Replace the battery caps securely.
While this method takes a bit more time and care, it’s the most accurate way to assess a flooded battery’s health. It’s especially useful for older batteries or those that have been deeply discharged.
When to Replace Your RV Battery
Even with regular testing and maintenance, RV batteries don’t last forever. Knowing when to replace yours can save you from breakdowns and costly repairs. Here are the key signs it’s time for a new battery:
Age
Most lead-acid batteries last 3–5 years, while AGM batteries may last 4–7 years. Lithium batteries can last 8–10 years or more. Check the manufacture date (usually stamped on the case) and keep track of how long you’ve had the battery. If it’s approaching the end of its expected lifespan, start planning for a replacement.
Failed Load Test
If your battery passes a voltage test but fails under load—dropping below 9.6V when tested with a load tester—it’s no longer reliable. This is a classic sign of internal damage or sulfation.
Swelling or Leaking
Physical damage is a red flag. Swollen sides or a bulging case indicate overcharging or internal failure. Leaking electrolyte is dangerous and means the battery is compromised. Replace immediately.
Corrosion That Won’t Clean
Some corrosion is normal, but if you see heavy, crusty buildup that returns quickly after cleaning, it may indicate a faulty battery or charging system. Persistent corrosion can damage cables and connections.
Inability to Hold a Charge
If your battery won’t hold a charge after a full night on a smart charger, or if it drains quickly even when not in use, it’s likely nearing the end of its life. Parasitic drains (like a faulty light or appliance) can also cause this, so rule those out first.
Don’t wait for a complete failure. Replace your battery proactively to avoid being stranded. When shopping for a new one, consider upgrading to AGM or lithium if your budget allows—they offer better performance and longer life.
Tips for Maintaining a Healthy RV Battery
Testing your battery is only half the battle. Proper maintenance ensures it stays in top condition between checks. Here are some best practices:
Use a Smart Charger
A smart charger automatically adjusts the charging rate based on the battery’s needs. It prevents overcharging, which can damage lead-acid batteries, and ensures a full, safe charge. Look for models with desulfation modes to revive weak batteries.
Avoid Deep Discharges
Lead-acid batteries hate being drained below 50%. Try to recharge before the voltage drops below 12.2V. Lithium batteries are more tolerant, but even they perform best when not fully drained.
Keep It Clean and Tight
Check terminals monthly for corrosion and clean as needed. Ensure connections are tight—loose cables can cause voltage drops and overheating.
Store Properly
If you’re storing your RV for the winter, remove the battery and store it in a cool, dry place. Keep it on a trickle charger or maintainer to prevent self-discharge.
Monitor Regularly
Make battery checks part of your pre-trip routine. A quick voltage test takes less than 5 minutes and can prevent major headaches down the road.
With these habits, your RV battery will serve you well for years—keeping your lights on, your food cold, and your adventures rolling.
Conclusion
Testing your RV battery doesn’t have to be complicated or intimidating. With a multimeter, a little know-how, and regular checks, you can ensure your battery is ready when you are. Whether you’re using a simple voltage test, a hydrometer for flooded batteries, or a load tester for deeper analysis, these methods give you the confidence to hit the road without worry.
Remember, a healthy battery means reliable power, safer travels, and more enjoyable adventures. Don’t wait for a dead battery to remind you of its importance. Test it regularly, maintain it properly, and replace it when needed. Your RV—and your peace of mind—will thank you.
Frequently Asked Questions
How often should I test my RV battery?
Test your RV battery at least once a month, and always before a long trip. If you use your RV frequently or store it for long periods, consider checking it every two weeks to catch issues early.
Can I test a lithium RV battery with a multimeter?
Yes, you can use a multimeter to check the voltage of a lithium battery. However, lithium batteries often have built-in battery management systems (BMS) that monitor health, so the multimeter serves as a backup check.
What voltage indicates a dead RV battery?
A 12V RV battery is considered dead or deeply discharged when it reads 11.9V or lower. At this point, the battery may be damaged and should be recharged immediately or replaced.
Do I need to disconnect the battery to test it?
It’s not always necessary, but for the most accurate reading, disconnect the battery and let it rest for 2 hours before testing. This eliminates surface charge and gives a true state of charge.
Can a bad RV battery damage my RV’s electrical system?
Yes, a failing battery can cause voltage fluctuations that damage sensitive electronics like inverters, converters, and control boards. It’s important to replace weak batteries promptly.
Is it safe to test an RV battery indoors?
It’s best to test batteries in a well-ventilated area, preferably outdoors. Flooded batteries can release hydrogen gas, which is flammable. Always wear safety gear and avoid sparks.


