
How to Unclog Black Tank in Rv
Contents
- 1 Key Takeaways
- 2 📑 Table of Contents
- 3 Understanding Your RV Black Tank: The Basics
- 4 Signs Your Black Tank Is Clogged
- 5 Preventing Clogs: Best Practices for Black Tank Care
- 6 How to Unclog a Black Tank: Step-by-Step Methods
- 7 Advanced Solutions for Stubborn Clogs
- 8 Maintaining a Healthy Black Tank System
- 9 Conclusion
- 10 Frequently Asked Questions
Unclogging a black tank in an RV doesn’t have to be a nightmare. With the right tools, techniques, and regular maintenance, you can keep your waste system flowing smoothly and avoid unpleasant surprises on the road.
Key Takeaways
- Act quickly at the first sign of a clog: Delaying action can lead to backups, odors, and costly repairs.
- Use a tank wand or flush system to break up solids: These tools help dissolve waste and clear minor blockages.
- Never use chemical drain cleaners: Harsh chemicals can damage tank seals and harm your RV’s plumbing system.
- Maintain proper black tank levels before dumping: A full tank ensures better waste breakdown and easier emptying.
- Install a tank rinser or use a garden hose attachment: These help flush out residue and prevent future clogs.
- Regular maintenance prevents most clogs: Use RV-safe toilet paper, add tank treatments, and flush the system after each dump.
- Know when to call a professional: Persistent clogs may indicate a deeper issue requiring expert help.
📑 Table of Contents
Understanding Your RV Black Tank: The Basics
If you’re new to RVing or just need a refresher, let’s start with the basics. The black tank in your RV is the holding tank that collects waste from your toilet. It’s one of the most important—and often most dreaded—parts of your recreational vehicle. Unlike your home plumbing, which connects directly to a sewer system, your RV’s black tank is a sealed, portable container that you must empty manually at designated dump stations.
The black tank is typically made of durable plastic and holds anywhere from 20 to 60 gallons, depending on your RV’s size. It’s connected to the toilet via a pipe and has a valve that you open when it’s time to dump the waste. A separate gray tank collects water from sinks and showers, but the black tank is strictly for toilet waste. Because it deals with solid and liquid waste, it’s prone to clogs, odors, and buildup if not properly maintained.
One of the biggest misconceptions among RV owners is that the black tank can handle anything you flush down the toilet. That’s simply not true. Only human waste and RV-safe toilet paper should go into the black tank. Items like baby wipes, paper towels, feminine hygiene products, and even excessive amounts of regular toilet paper can cause serious blockages. Even “flushable” wipes are a major culprit—they don’t break down like toilet paper and can create dense clumps that clog the tank or the drain valve.
Understanding how your black tank works is the first step in preventing and dealing with clogs. When waste enters the tank, it begins to decompose, but without proper care, solids can settle at the bottom and form a thick layer known as “sludge.” Over time, this sludge can harden and block the outlet valve or the drain pipe, making it impossible to empty the tank. That’s when you know you have a clog—and it’s time to take action.
Signs Your Black Tank Is Clogged
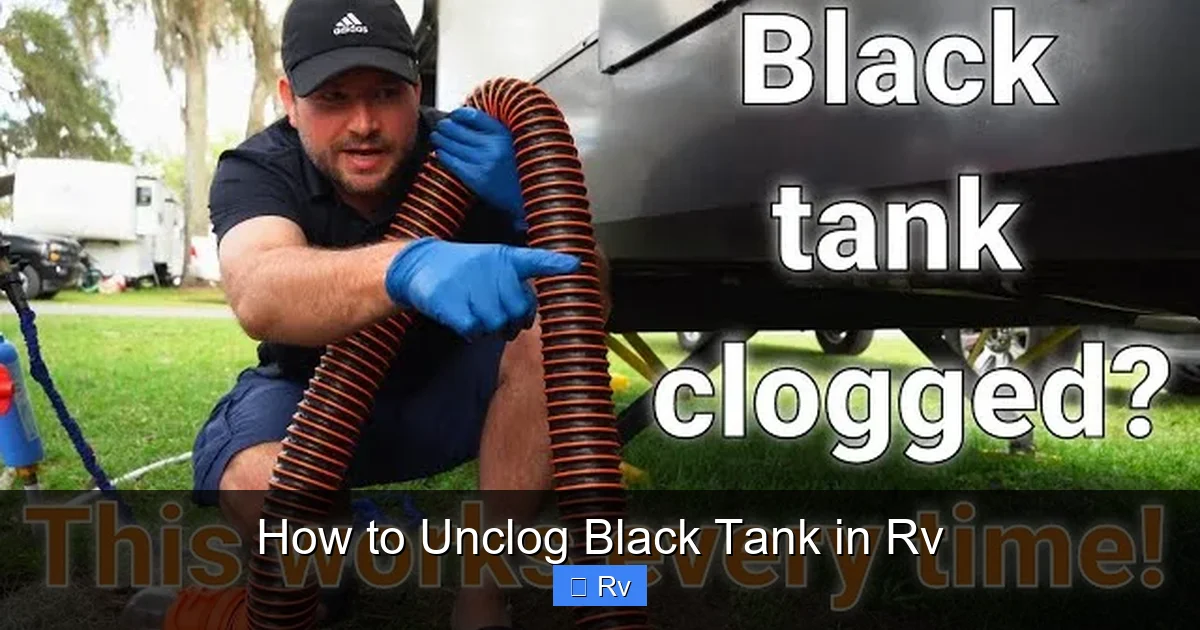
Visual guide about How to Unclog Black Tank in Rv
Image source: i.ytimg.com
Knowing the warning signs of a clogged black tank can save you from a messy and stressful situation. The sooner you identify the problem, the easier it is to fix. Here are the most common indicators that your black tank may be blocked:
One of the first signs is slow draining or incomplete emptying at the dump station. If you open the black tank valve and only a small amount of liquid comes out—or nothing at all—there’s likely a clog. You might also notice that the tank level sensor reads full even after you’ve attempted to dump it. This happens because the sensor is detecting waste that hasn’t fully drained due to a blockage.
Another red flag is a foul odor coming from the toilet or around the dump port. While some smell is normal, a strong, persistent stench could mean waste is trapped and decomposing in the tank. This is especially true if you’ve recently added a deodorizing treatment but the smell hasn’t improved.
You might also experience gurgling sounds from the toilet or drains when you flush. This happens when air can’t flow properly through the plumbing due to a blockage. In severe cases, waste can back up into the toilet bowl or even overflow, which is not only unpleasant but also a health hazard.
If you notice any of these signs, don’t ignore them. A clogged black tank won’t fix itself, and delaying action can lead to more serious problems, like a cracked tank or damaged seals. The good news is that most clogs can be resolved with the right tools and techniques—especially if you catch them early.
Preventing Clogs: Best Practices for Black Tank Care
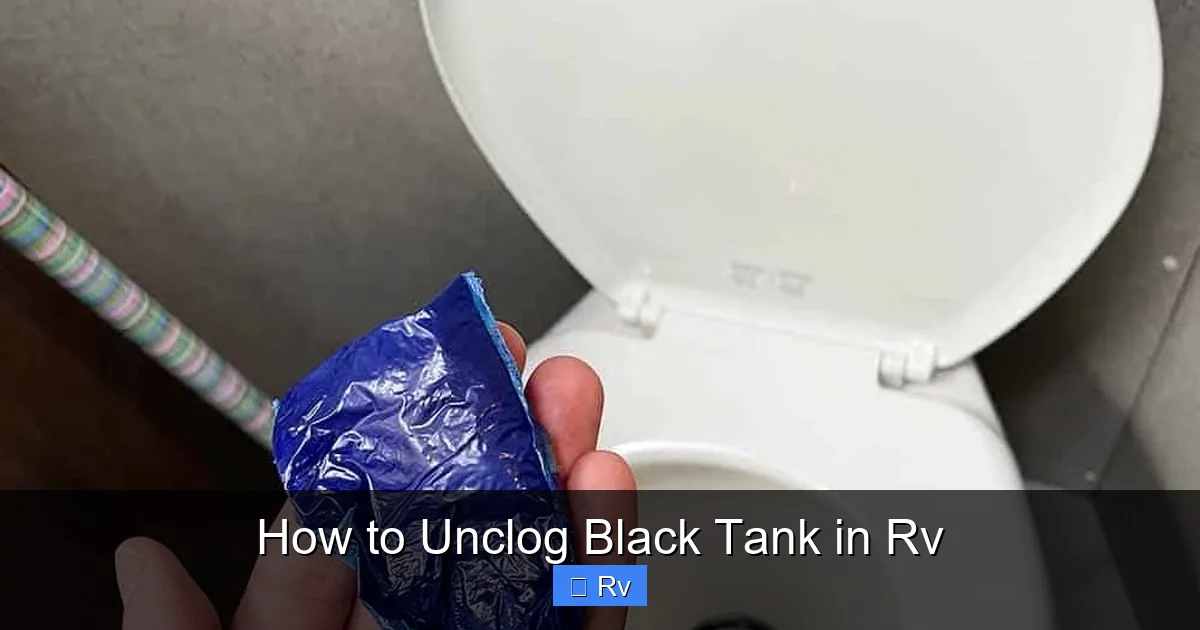
Visual guide about How to Unclog Black Tank in Rv
Image source: gudgear.com
The best way to deal with a clogged black tank is to prevent it from happening in the first place. With a few simple habits, you can keep your waste system running smoothly and avoid the headache of a blocked tank.
First and foremost, only flush human waste and RV-safe toilet paper. Regular household toilet paper may seem fine, but it doesn’t break down as quickly in a black tank. RV-specific toilet paper is designed to dissolve rapidly, reducing the risk of clogs. Look for brands labeled “septic-safe” or “RV-safe” at your local camping store or online.
Avoid flushing anything else—no wipes, tissues, paper towels, or hygiene products. Even items labeled “flushable” can cause problems. Keep a small trash bin in the bathroom for non-flushable items. It’s a small change that makes a big difference.
Another key practice is maintaining proper water levels in the black tank. Always keep at least a few gallons of water in the tank after each use. This helps move waste through the system and prevents solids from sticking to the bottom. A good rule of thumb is to add a few flushes of water after each use, especially if you’re boondocking or not connected to a sewer system.
Use a quality tank treatment regularly. These products contain enzymes and bacteria that break down waste and control odors. There are many options available, including drop-in pods, liquids, and powders. Choose one that’s environmentally friendly and safe for your tank. Avoid harsh chemical treatments like bleach or formaldehyde-based products—they can damage rubber seals and harm beneficial bacteria.
After dumping your black tank, always flush it thoroughly. Most dump stations have a rinse hose or you can use a tank rinser attachment. This helps remove any remaining solids and keeps the tank clean. Some RVs come with built-in black tank flush systems, which make this process even easier.
Finally, don’t let your black tank sit full for long periods. If you’re storing your RV, empty the tank completely and add a little water and treatment to prevent drying and cracking. Regular use and maintenance are the best defenses against clogs.
How to Unclog a Black Tank: Step-by-Step Methods
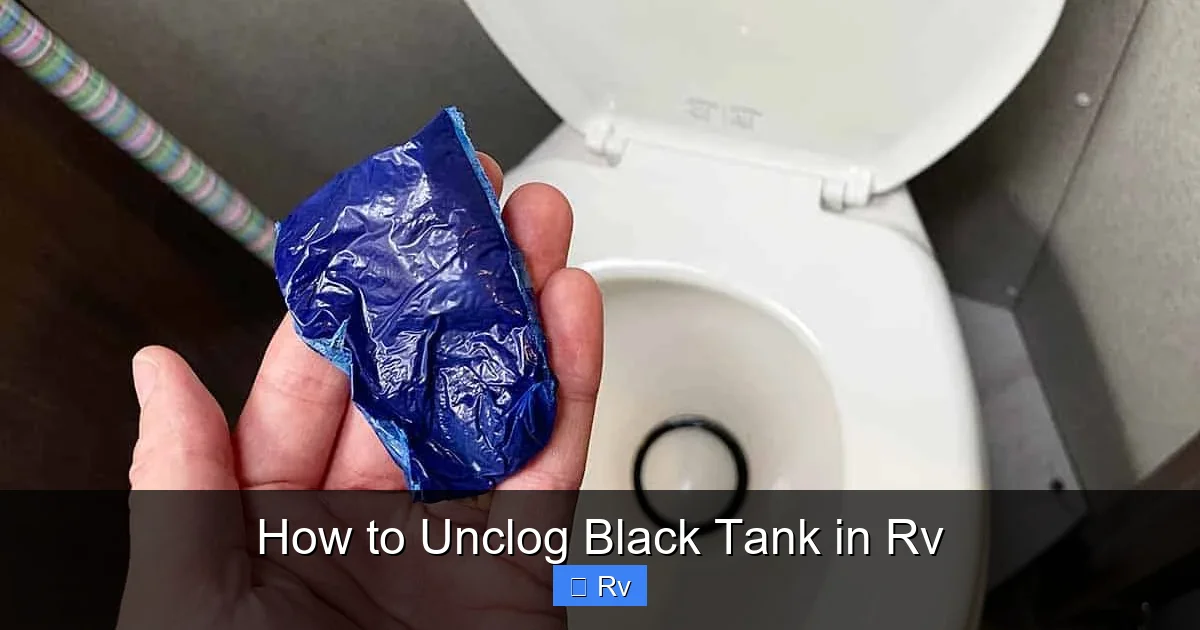
Visual guide about How to Unclog Black Tank in Rv
Image source: gudgear.com
If you’ve noticed signs of a clog, don’t panic. There are several effective methods to unclog your black tank, ranging from simple DIY fixes to more advanced techniques. The key is to act quickly and use the right tools.
Method 1: Use a Tank Wand or Flush Wand
One of the most popular and effective tools for clearing minor clogs is a tank wand, also known as a flush wand. This is a long, flexible hose with a nozzle that you insert into the black tank through the toilet. When connected to a water source, it sprays high-pressure water directly into the tank, helping to break up solids and flush out blockages.
To use a tank wand, start by emptying as much waste as possible at a dump station. Then, insert the wand into the toilet and push it down into the black tank. Turn on the water and move the wand around to target different areas, especially near the drain valve. The pressure will help dislodge sludge and push it toward the outlet.
For best results, use warm or hot water, as it helps dissolve grease and solids more effectively. Some tank wands come with adjustable nozzles for different spray patterns. After flushing, close the valve and let the tank sit for a few hours or overnight to allow the water to soak and break down the waste. Then, attempt to dump again.
Method 2: Try the “Soak and Shake” Technique
If you don’t have a tank wand, the “soak and shake” method can be surprisingly effective. This involves filling the black tank with water and letting it sit to soften the clog, then agitating the tank to loosen the blockage.
Start by adding several gallons of water to the black tank—enough to cover the bottom and submerge any solids. You can do this by flushing the toilet multiple times or using a hose. Then, add a cup of dish soap (preferably biodegradable) to help break down grease and waste.
Next, drive your RV around for 20–30 minutes. The movement will agitate the water and soap mixture, helping to dislodge the clog. Take winding roads or drive over speed bumps to increase the shaking effect. After the drive, park on a level surface and attempt to dump the tank. The combination of soaking and agitation often clears minor blockages.
Method 3: Use a Plunger or Toilet Auger
For clogs near the toilet flange or drain pipe, a plunger or toilet auger can help. A standard plunger may work if the blockage is close to the toilet. Place the plunger over the toilet drain and pump vigorously to create suction and pressure. This can sometimes dislodge a clog in the pipe leading to the tank.
If the clog is deeper, a toilet auger (also called a closet auger) is more effective. This tool has a long, flexible cable with a corkscrew tip that can reach into the pipe and break up blockages. Insert the auger into the toilet and crank the handle to extend the cable. When you feel resistance, rotate and push to break through the clog. Be gentle to avoid damaging the toilet or tank.
Method 4: Try a Homemade Cleaning Solution
If you’re boondocking or don’t have access to tools, a homemade cleaning solution can help. Mix one cup of baking soda with one cup of vinegar and pour it into the toilet. Let it fizz and sit for 30 minutes, then flush with hot water. The reaction helps break down organic matter and can loosen minor clogs.
You can also try adding a cup of laundry detergent (not bleach-based) to the tank. The surfactants in detergent help dissolve grease and solids. Follow with several gallons of water and let it sit before dumping.
Method 5: Use a Black Tank Rinsing System
If your RV has a built-in black tank flush system, use it regularly to prevent and clear clogs. These systems connect to a water hose and spray water into the tank through a dedicated port. They’re especially useful after dumping to rinse out residue.
If you don’t have a built-in system, you can install an aftermarket tank rinser. These attach to the outside of the tank and allow you to flush it from the dump port. They’re affordable and easy to install, and they make maintenance much simpler.
Advanced Solutions for Stubborn Clogs
If the methods above don’t work, you may be dealing with a more serious clog. In these cases, more advanced techniques or professional help may be needed.
Using a Sewer Hose with Backflush Cap
Some RV owners use a sewer hose with a backflush cap to clear stubborn clogs. This cap attaches to the end of the sewer hose and allows you to reverse the flow of water, sending it back into the black tank under pressure. Connect the hose to a water source, attach the backflush cap, and insert the other end into the dump port. Turn on the water to create a powerful flush that can dislodge tough blockages.
Removing the Drain Valve (Last Resort)
If all else fails, you may need to remove the black tank drain valve. This is a messy and time-consuming process, so it should only be done as a last resort. First, empty the tank as much as possible. Then, locate the valve underneath the RV and carefully disconnect it. Use gloves and have a bucket ready to catch any remaining waste.
Once the valve is removed, you can inspect the outlet for blockages and clean it manually. Use a brush or hose to remove any debris. Reinstall the valve carefully, making sure the seal is tight to prevent leaks.
Calling a Professional
If you’ve tried everything and the clog persists, it’s time to call a professional. RV service centers have specialized tools, such as high-pressure jetters and camera inspections, to locate and remove deep clogs. They can also check for damage to the tank or plumbing that may be contributing to the problem.
While professional help can be costly, it’s often worth it to avoid further damage or health risks. Plus, they can provide advice on preventing future clogs based on your specific setup.
Maintaining a Healthy Black Tank System
Once you’ve cleared a clog, the next step is to maintain your black tank to prevent it from happening again. Regular maintenance is the key to a trouble-free RV experience.
Start by establishing a routine. After each trip, empty both the black and gray tanks at a dump station. Always dump the black tank first, followed by the gray tank. The gray water helps flush the sewer hose and reduces odors.
Use a tank treatment every time you dump. This keeps the system clean and controls odors. Rotate between different types of treatments (enzyme-based, bacterial, or eco-friendly) to keep the system balanced.
Inspect your tank sensors regularly. Faulty sensors can give false readings, leading you to believe the tank is full when it’s not—or vice versa. Clean the sensors with a tank rinser or a specialized sensor cleaning tool.
Finally, be mindful of what you flush. Even small items can cause big problems over time. Educate everyone in your travel group about proper black tank use. A little awareness goes a long way.
Conclusion
Unclogging a black tank in an RV might not be the most glamorous part of RVing, but it’s a necessary skill every owner should master. With the right knowledge, tools, and habits, you can keep your waste system running smoothly and avoid the stress of a blocked tank. Remember, prevention is always better than cure—so practice good maintenance, use the right products, and act quickly at the first sign of trouble. Whether you’re a weekend warrior or a full-time RVer, a healthy black tank means more time enjoying the open road and less time dealing with messy problems.
Frequently Asked Questions
Can I use Drano or other chemical drain cleaners in my RV black tank?
No, you should never use chemical drain cleaners like Drano in your RV black tank. These harsh chemicals can damage rubber seals, corrode pipes, and kill the beneficial bacteria that break down waste. Stick to RV-safe treatments instead.
How often should I empty my black tank?
Empty your black tank when it’s about two-thirds full. This ensures there’s enough water to help move waste and prevents solids from settling. Avoid letting it get completely full, as this can lead to clogs and sensor errors.
What kind of toilet paper is safe for RV black tanks?
Use only RV-safe or septic-safe toilet paper. These papers dissolve quickly in water, reducing the risk of clogs. Avoid thick, quilted, or lotion-infused papers, as they break down slowly.
Why does my black tank smell even after dumping?
Persistent odors may be due to residue left in the tank, a faulty vent, or a damaged seal. Flush the tank thoroughly, check the roof vent for blockages, and inspect the toilet flange and drain valve for leaks.
Can I drive with a full black tank?
It’s not recommended to drive with a full black tank for long distances. The weight can affect handling, and sloshing waste can cause odors and sensor issues. Empty the tank before traveling whenever possible.
How do I know if my black tank sensor is working?
Test your sensor by adding a few gallons of water to an empty tank and checking the reading. If it doesn’t show the correct level, the sensor may be coated with waste. Clean it with a tank rinser or sensor cleaning solution.


