
How to Install a 220v Outlet for Tesla Charging
Installing a 220V outlet dramatically speeds up Tesla charging compared to a standard outlet. This project involves working with high-voltage electricity, requiring strict adherence to electrical codes, permits, and safety protocols. While a skilled DIYer can tackle it, many homeowners should hire a licensed electrician to ensure a safe, code-compliant installation. Proper sizing of wire, breaker, and outlet is critical for both performance and safety.
Key Takeaways
- Safety is non-negotiable: Working with 220V is dangerous. Always turn off the breaker at the main panel before starting and verify power is off with a tester. If you are not 100% confident, hire a licensed electrician.
- Permits and inspections are mandatory: Most jurisdictions require an electrical permit for a new 220V circuit. The work must be inspected to ensure it meets code, which is crucial for insurance and home resale.
- Amperage dictates everything: The outlet’s amperage (e.g., 14-50R for 50A) determines the wire gauge (thickness) and breaker size. You cannot use a smaller breaker or thinner wire than the outlet and charger require.
- Wire gauge must match the circuit: Using undersized wire is a fire hazard. For a 50-amp circuit, you typically need 6-gauge copper wire. For 40-amps, 8-gauge is standard. Always check local code and the charger’s manual.
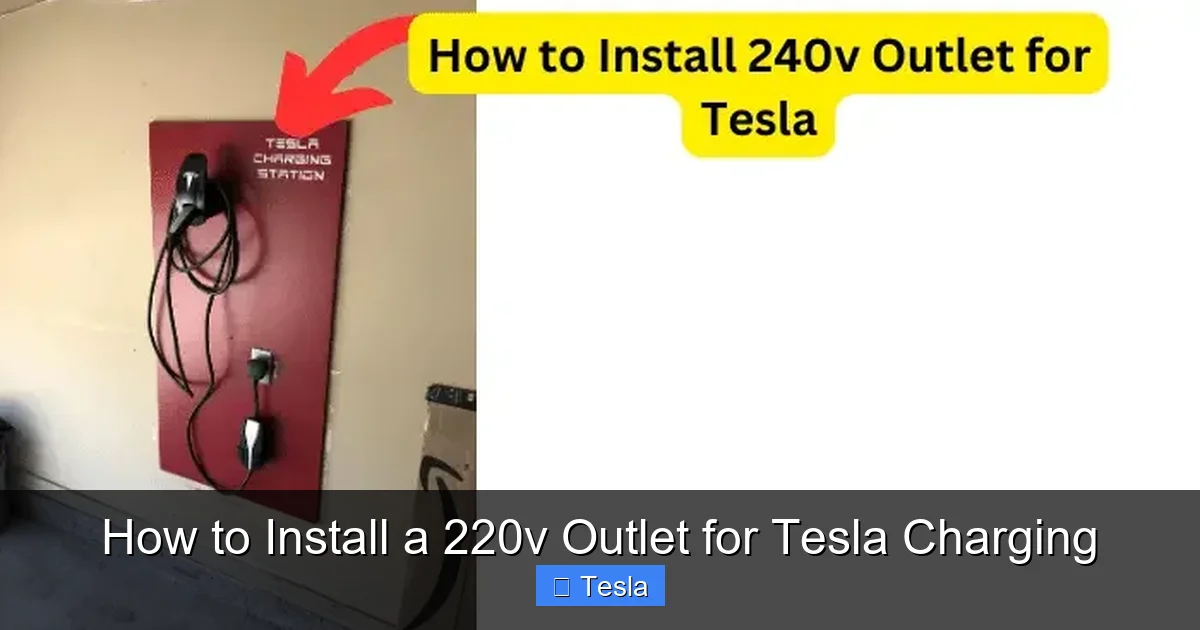
- Choose the correct outlet type: The most common for Tesla is the NEMA 14-50R (4-prong, 50A). Ensure your Tesla Mobile Connector’s adapter matches this outlet. Other options like 10-30R or 6-50R have different wiring and limitations.
- Location and protection matter: Place the outlet where your Tesla can reach it without stretching the cable, ideally on a garage wall. Consider a weatherproof cover if installed outdoors or in a damp location.
- Test before first use: After installation and inspection, use a multimeter or outlet tester to verify correct voltage, polarity, and grounding before plugging in your Tesla.
📑 Table of Contents
- Why Upgrade to 220V for Your Tesla?
- Understanding the Basics: Voltage, Amperage, and Your Tesla
- Tools and Materials You’ll Need
- Safety First: Permits, Panels, and When to Call a Pro
- Step-by-Step Installation Guide (For the Confident DIYer)
- Testing, Troubleshooting, and First Charge
- Optimizing Your New 220V Setup
Why Upgrade to 220V for Your Tesla?
So, you’ve joined the electric vehicle revolution and are loving your Tesla! But that trickle-charging from a standard 120V household outlet… it’s slow. Like, “add 3-5 miles of range per hour” slow. If you’re anything like me, you want your car ready for the day without an overnight wait. That’s where a 220V outlet comes in.
Think of it this way: your standard outlet is a garden hose. A 220V outlet is a fire hose. The jump from Level 1 (120V) to Level 2 (240V) charging transforms your ownership experience. Instead of waking up to a car that’s barely more charged, you’ll get 20-40 miles of range per hour, depending on your circuit’s amperage. A full charge from empty on a long-range Model 3 can happen in about 6-8 hours instead of 2-3 days.
But here’s the critical part: installing a 220V outlet isn’t a simple plug-and-play project. It’s a permanent electrical circuit addition to your home. This guide will walk you through the entire process, from planning to final testing. We’ll be clear about what a confident DIYer can do and, more importantly, when you absolutely must call a pro. Your safety and your home’s safety are the top priorities.
Understanding the Basics: Voltage, Amperage, and Your Tesla
What Does 220V/240V Even Mean?
You’ll hear “220V” and “240V” used interchangeably. Technically, in North American homes, we get two 120V “hot” wires from the utility. A 240V circuit (which we call 220V for short) uses both hot wires, providing double the voltage. This higher voltage is what allows for much faster power transfer to your car’s onboard charger.
Visual guide about How to Install a 220v Outlet for Tesla Charging
Image source: teslord.com
The Amperage (A) Game: 40A vs. 50A
Voltage is the pressure; amperage is the flow. The amperage rating of your circuit (e.g., 40-amp or 50-amp) determines the maximum charging speed. Your Tesla’s onboard charger has a limit. For most Teslas, a 50-amp circuit (NEMA 14-50 outlet) is the sweet spot, delivering up to 32-amps of actual charging power (80% of the circuit’s capacity for continuous load). A 40-amp circuit is also very capable. The specific outlet you install must match the amperage of the circuit breaker and the wire you run.
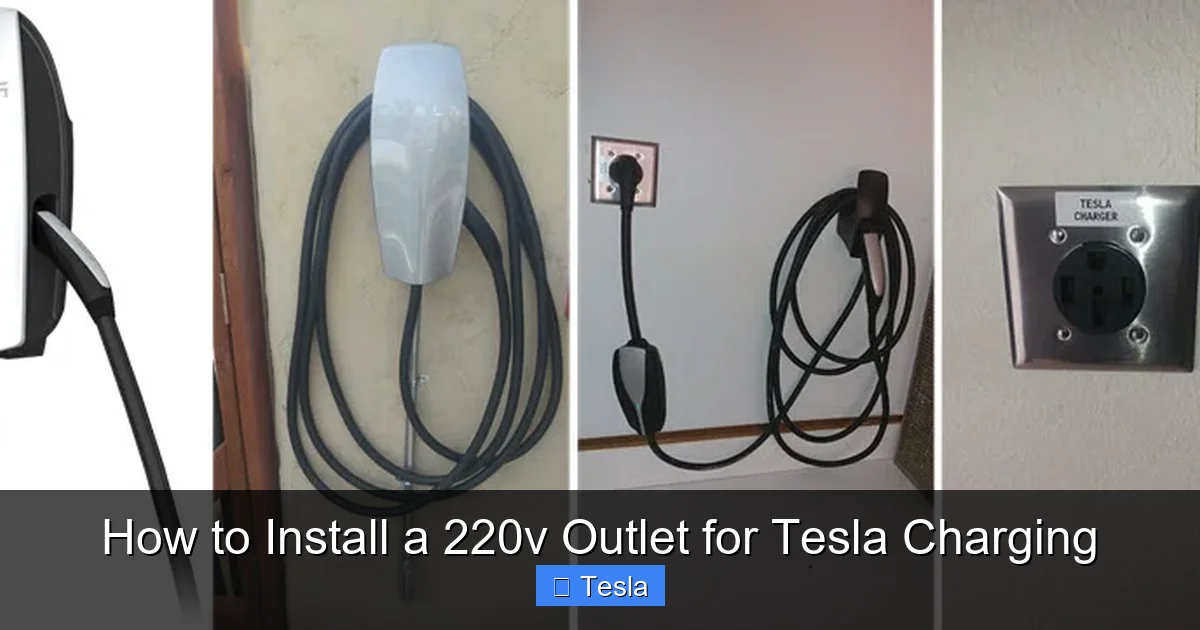
The Mobile Connector is Your Key
Tesla vehicles come with a Mobile Connector (formerly the Universal Mobile Connector). This is the cable that plugs into your wall outlet and into the car. It comes with a set of adapters for different outlet types. To use a 220V outlet, you need the correct adapter. The most common and versatile is the NEMA 14-50 adapter. This is a 4-prong plug (two hot, one neutral, one ground) rated for 50 amps. You can purchase additional adapters directly from Tesla or third-party suppliers for other outlet types like NEMA 6-50 (3-prong, no neutral, common for dryers/RVs) or NEMA 10-30 (old-style 3-prong dryer outlet, 30A). Never use a “cheater” adapter to plug a 14-50 plug into a 10-30 outlet—this bypasses the ground and is a serious safety hazard.
Tools and Materials You’ll Need
Before you start, gather everything. A mid-day run to the hardware store because you forgot a wire nut is a major frustration. Here’s your comprehensive checklist:
Visual guide about How to Install a 220v Outlet for Tesla Charging
Image source: premoelectric.com
- Circuit Breaker: A 2-pole breaker matching your desired amperage (40A or 50A) that fits your specific electrical panel brand (Square D, Siemens, etc.).
- Electrical Wire: The correct gauge (thickness) for your amperage and the distance from the panel to the outlet. For a 50A circuit, you typically need 6-gauge 4-conductor copper wire (two hot, one neutral, one ground). For 40A, 8-gauge is standard. This is the most common point of failure for DIYers—undersizing the wire is a fire code violation and danger.
- Outlet Receptacle: A NEMA 14-50R (for 50A) or 14-40R/6-50R, etc., rated for the amperage. Get a high-quality, heavy-duty brand. If the outlet is in a garage or outdoors, get a “tamper-resistant” (TR) and/or weather-resistant (WR) model.
- Outlet Box: A new-work or old-work electrical box rated for the location. Metal boxes are more durable and provide a better ground path.
- Conduit (if needed): If you are running wire through an unfinished basement, crawlspace, or outdoors, you will likely need PVC or EMT conduit to protect the wire. Check local code.
- Wire Connectors, Wire Strippers, Cable Clamps: Quality wire nuts for the size wire you’re using, and connectors to secure the wire to the outlet and panel.
- Tools: Drill with long drill bits, fish tape, voltage tester/non-contact tester, multimeter, screwdrivers, wire strippers, lineman’s pliers, level, tape measure, utility knife, and appropriate safety gear (gloves, safety glasses).
Pro Tip: Before buying a single item, draw a simple plan. Measure the exact distance from your panel to the intended outlet location. This distance will affect your wire cost and may influence your wire gauge choice (long runs can require a slight upsizing to prevent voltage drop). For a detailed breakdown of material costs, which can vary wildly by region, you might want to review a resource on how much it costs to install a 220V outlet for a Tesla.
Safety First: Permits, Panels, and When to Call a Pro
The Legal and Safe Way: Pulling a Permit
Let’s be brutally clear: you must obtain an electrical permit from your local building department before touching a single wire. This isn’t bureaucracy; it’s your safety net. The permit process ensures your plans are reviewed, and the final inspection verifies the work is safe and to code. Skipping this is illegal, voids your insurance, and is a massive red flag if you ever sell your home. The inspector is on your side—they want you to be safe too.
Visual guide about How to Install a 220v Outlet for Tesla Charging
Image source: store.autelenergy.com
Assessing Your Electrical Panel
This is the first technical hurdle. Open your main electrical panel. Do you have two adjacent, unused breaker spaces? You need a 2-pole breaker, which occupies two slots. Is your panel full? You may need a subpanel or a tandem breaker (if your panel allows it), which complicates things immensely. Also, check the panel’s amperage rating (e.g., 100A, 200A). Adding a 50A circuit to a 100A panel that’s already near capacity could overload the main service. This is a calculation a licensed electrician must perform. If your panel is old, a “Zinsco” or “Federal Pacific” brand, or shows signs of damage (burn marks, melted plastic), it needs replacement before adding anything. This is a pro job.
The “I’m Not an Electrician” Red Flags
Be honest with yourself. If any of these are true, stop and call a pro:
- You are uncomfortable working inside your main electrical panel.
- Your panel is full, outdated, or shows any damage.
- You are unsure how to properly size wire for the distance and amperage.
- Local code requires conduit in your planned run and you’ve never bent conduit.
- Your garage or basement has no clear, drillable path from the panel to the outlet location.
Hiring a professional isn’t a failure; it’s a smart, responsible decision. A certified electrician will pull the permit, do the job right, and provide the inspection paperwork. Many electricians are also Tesla Certified Electricians who understand the specific needs of EV charging installations. The cost of a professional install, which you can read more about in articles on how much it costs to install a Tesla charger, includes their expertise, insurance, and peace of mind.
Step-by-Step Installation Guide (For the Confident DIYer)
Disclaimer: This is for educational purposes. You assume all risk. Local codes supersede this guide. If at any point you are unsure, STOP and consult a licensed electrician.
Step 1: Plan and Prepare
With your permit in hand, locate your panel and outlet spot. Turn off the main breaker to the entire panel. Use a non-contact voltage tester on every breaker to confirm power is off. This is your most important safety check. Plan your wire route. The easiest path is often along basement joists, through walls, or in conduit across the garage ceiling. Avoid running wire where it could be damaged (e.g., across a concrete floor without conduit).
Step 2: Install the Outlet Box and Run Wire
Mount your new electrical box at the chosen location, using a level. Drill holes through studs/joists as needed to fish the 4-conductor wire (2 hots, neutral, ground) from the panel location to the box. Use fish tape to pull the wire through. If running in conduit, pull the individual THHN/THWN wires through the conduit. Leave extra wire (about 12 inches) in both the panel and the outlet box for connections.
Step 3: Make Connections at the Outlet
Strip about 3/4 inch of insulation from each wire. A NEMA 14-50 outlet has four screws: two brass-colored screws for the hot wires (X and Y), a silver screw for the neutral (W), and a green screw for the ground (G). Connect the two black (or red) hot wires to the brass screws, the white neutral wire to the silver screw, and the bare/green ground wire to the green screw. Tighten screws firmly. Gently push the wires and outlet into the box, secure the outlet, and attach the cover plate.
Step 4: Connect the Circuit Breaker and Wires in the Panel
This is the most dangerous step. If you are not comfortable here, hire a pro. Identify an empty, adjacent pair of slots in your panel. Install the 2-pole breaker by snapping it into place. The breaker handle must be in the OFF position. Route the two hot wires from your new cable to the breaker’s terminal screws (one wire per screw). Connect the white neutral wire to the neutral bus bar in the panel. Connect the bare/green ground wire to the ground bus bar. In most modern panels, the neutral and ground bus bars are already bonded at the main service panel. Do not add a separate bonding screw or strap—this is only for subpanels. Ensure all connections are tight, no stray wire strands are exposed, and the wire’s insulation isn’t pinched.
Step 5: Final Check and Power On
Double-check every connection. Ensure the outlet cover is on. Go to the outlet and use a multimeter to test for ~240V between the two hot slots, 120V between each hot slot and the neutral slot, and continuity/very low resistance between the ground slot and a known ground (like a water pipe or the panel’s ground bar). With everything checked, turn the main breaker back on, then flip your new 2-pole breaker to ON. Use your outlet tester on the new outlet to verify correct wiring.
Testing, Troubleshooting, and First Charge
Once the outlet is powered and inspected (if required), it’s showtime. Plug your Tesla Mobile Connector with the NEMA 14-50 adapter into the new outlet. Plug the other end into your car. On the Tesla’s touchscreen, go to Charging. You should see the charging icon and the amperage setting. By default, it will set to the maximum the circuit allows (e.g., 32A for a 50A circuit). You can adjust this down if needed.
Common Issues and Fixes
- No power at outlet: Breaker tripped? Check for a short or overload. Re-check all connections in the panel and outlet. Did the inspector find a problem?
- Charger says “Reduced Charging” or “Check Power”: This often means the circuit can’t sustain the set amperage. Voltage drop from a long wire run or an undersized wire can cause this. You may need to lower the amperage setting in the car or, in a worst-case, re-run a larger gauge wire.
- Breaker trips immediately: A dead short somewhere in the wiring. Unplug everything and check connections. A tool dropped in the box? A wire strand touching the box? This requires systematic debugging.
Your first charge should be monitored. Feel the outlet and cord after an hour. They should be warm, not hot. Any excessive heat indicates a poor connection or undersized wire—a fire risk. Stop charging and investigate immediately.
Optimizing Your New 220V Setup
Now that you have fast charging, let’s make it even better. Consider installing a dedicated 60-amp circuit and a Wall Connector instead of using the Mobile Connector. The Wall Connector is a hardwired, permanent station that can deliver up to 48A on a 60A circuit, charging even faster. It’s also more convenient and weatherproof. The installation process is similar but requires hardwiring instead of an outlet. For many, the ultimate setup is a Wall Connector on a 60A circuit, providing the fastest possible home charge.
Also, think about load management. If you have other large appliances (AC, dryer, oven) on the same panel, you might need a “load-sharing” or “intelligent” breaker that prevents all major loads from kicking on at once and tripping the main breaker. Some advanced Wall Connectors can also manage this themselves.
Finally, remember that your home’s electrical system is a living thing. Adding a major load like an EV charger changes the equation. If you’re planning other major renovations or additions, it’s worth having an electrician do a full panel analysis to ensure your service can handle future needs. This is especially relevant if you’re considering other Tesla-related upgrades, like a high-performance wrap or PPF, which might involve other contractors working in your garage—you want your electrical to be bullet-proof.
Frequently Asked Questions
Can I use a dryer outlet (NEMA 10-30 or 14-30) for my Tesla?
Yes, you can use the appropriate Tesla Mobile Connector adapter for a 14-30 (4-prong, 30A) or 10-30 (3-prong, 30A) outlet. However, a 30A circuit will charge slower than a 50A circuit. The 10-30 is an older, 3-wire setup (hot, hot, neutral) with no separate ground, which is less ideal. A 14-30 is better as it has a dedicated ground. Always ensure the outlet is properly wired and grounded before use.
Do I really need a permit for a 220V outlet?
Absolutely, yes. A permit is required by electrical code for any new permanent circuit. It ensures the work is inspected for safety. An unpermitted installation is illegal, will fail a home inspection, and could void your homeowner’s insurance if an electrical fire occurs.
What’s the difference between hiring an electrician for an outlet vs. a Tesla Wall Connector?
The core electrical work—running a dedicated circuit from your panel—is very similar. The main difference is the endpoint. An outlet installation ends with a receptacle you plug into. A Wall Connector is hardwired directly to the circuit, requiring a few different final connections but often a simpler, more permanent mount. The permit and inspection process is identical for both.
My garage has no power. Can I still install a 220V outlet?
Yes, but it’s a larger project. You would first need to run power from your main panel to the garage, which may involve trenching for underground conduit or running wire through the house. This significantly increases cost and complexity, making a professional installation highly advisable.
How long does a DIY 220V outlet installation take?
For a skilled DIYer with all tools and materials, a straightforward run from a nearby, accessible panel to an interior garage wall might take 4-8 hours, not including time for the permit inspection. For a complex run, through finished walls, or if panel work is difficult, it could take a full weekend or more.
Is a 220V outlet for Tesla charging safe for indoor use?
Yes, absolutely. In fact, installing it in a garage is the most common and recommended location. You must use an outlet rated for indoor/damp locations (often marked ” garage” or “damp location”). Ensure the outlet is mounted on a wall, not the floor, and use a cover that stays on when a plug is inserted to prevent accidental contact with live prongs.


