How to Repair Exterior Rv Walls
Contents
Repairing exterior RV walls doesn’t have to be overwhelming. With the right tools, materials, and a little patience, you can fix cracks, delamination, and water damage to keep your RV strong and safe. This guide walks you through every step—from inspection to finishing—so you can tackle repairs like a pro.
Key Takeaways
- Inspect regularly: Catching damage early prevents costly repairs and keeps your RV weathertight.
- Identify the damage type: Know whether you’re dealing with delamination, cracks, rot, or sealant failure to choose the right fix.
- Use the right materials: Fiberglass, epoxy, and RV-specific sealants ensure durable, long-lasting repairs.
- Work in dry, warm conditions: Moisture and cold temperatures can ruin adhesives and sealants.
- Re-seal all seams and joints: Prevent future leaks by reapplying high-quality sealant after any repair.
- Consider professional help for major damage: Structural issues or large delamination may need expert attention.
- Maintain after repair: Regular cleaning and inspections extend the life of your RV’s exterior.
📑 Table of Contents
Why Exterior RV Wall Repairs Matter
Your RV’s exterior walls are its first line of defense against the elements. Whether you’re cruising down the highway or parked at a scenic campsite, those walls protect you from rain, wind, UV rays, and temperature swings. Over time, though, even the toughest materials can wear down. Cracks appear, panels separate, and water sneaks in where it shouldn’t. Ignoring these issues doesn’t just hurt your RV’s looks—it can lead to mold, rot, and expensive structural damage.
That’s why knowing how to repair exterior RV walls is a must-have skill for any RV owner. Whether you’re a weekend warrior or a full-time traveler, staying on top of maintenance keeps your home-on-wheels safe, dry, and ready for the next adventure. The good news? Most exterior wall repairs are doable with basic tools and a bit of know-how. You don’t need to be a contractor—just someone who cares about their rig.
Common Types of Exterior RV Wall Damage
Before you start any repair, it’s important to understand what kind of damage you’re dealing with. Not all issues are created equal, and the fix depends on the problem. Let’s break down the most common types of exterior RV wall damage you might encounter.
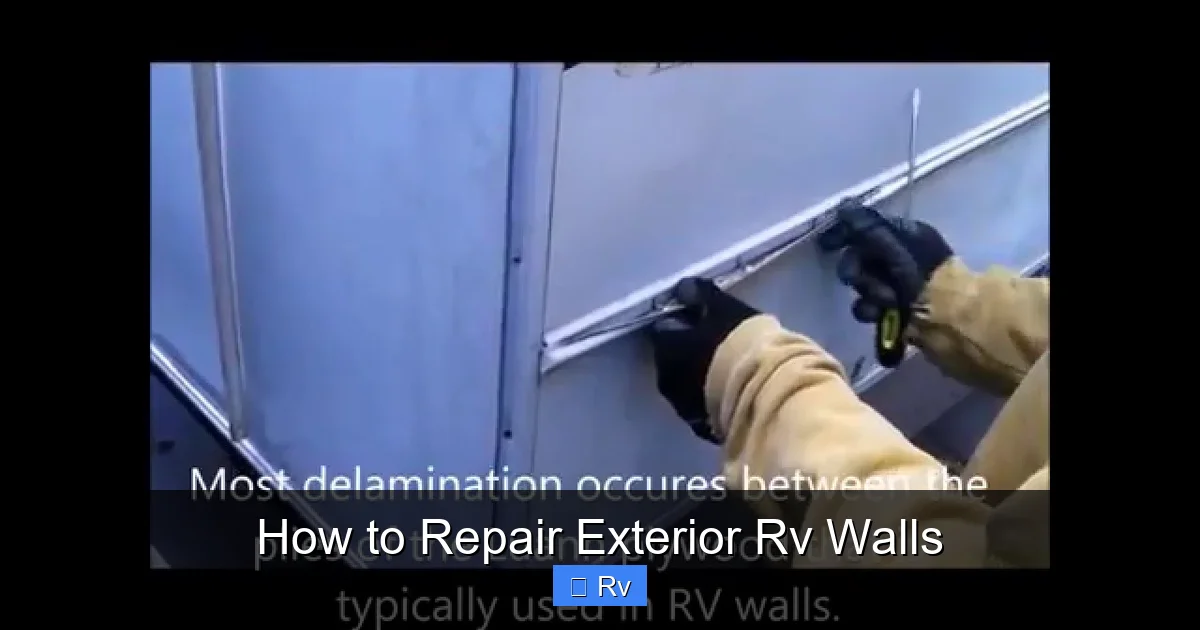
Visual guide about How to Repair Exterior Rv Walls
Image source: i.ytimg.com
Delamination
Delamination happens when the outer fiberglass skin separates from the inner core material—usually foam or wood. This creates a soft, spongy spot when you press on the wall. It’s often caused by water intrusion that breaks down the adhesive bond. You might notice bubbling paint, ripples, or a hollow sound when tapping the surface. Delamination can spread quickly if not addressed, so it’s one of the most serious issues to watch for.
Cracks and Chips
Small cracks and chips are common, especially on older RVs or those exposed to rough roads and weather. These usually start at stress points like corners, around windows, or near rivets. While they may seem minor, even tiny cracks can let in moisture, leading to bigger problems down the road. Fiberglass cracks are especially common and can often be repaired with epoxy or fiberglass resin.
Water Damage and Rot
Water is the enemy of any RV. If sealants fail or seams crack, water can seep behind the walls and cause rot in the core material. This is especially common around windows, vents, and roof edges. Signs include soft spots, discoloration, or a musty smell. If the core is wood, it may swell or crumble. In severe cases, the wall may need partial replacement.
Sealant Failure
Sealant is what keeps water out of the seams and joints on your RV’s exterior. Over time, it dries out, cracks, or pulls away from the surface. This is one of the easiest problems to spot and fix. Look for gaps around windows, doors, roof vents, and sidewall seams. Re-sealing is a quick, inexpensive way to prevent water damage.
Hail and Impact Damage
Hail, flying rocks, or accidental bumps can dent or puncture your RV’s walls. Aluminum-sided RVs may show dents, while fiberglass models can crack or chip. Small dents can often be popped out or filled, but deep punctures may require patching or panel replacement.
Tools and Materials You’ll Need
Having the right tools and materials makes all the difference when repairing exterior RV walls. You don’t need a full workshop, but a few essentials will help you do the job right. Here’s a list of what to gather before you start.
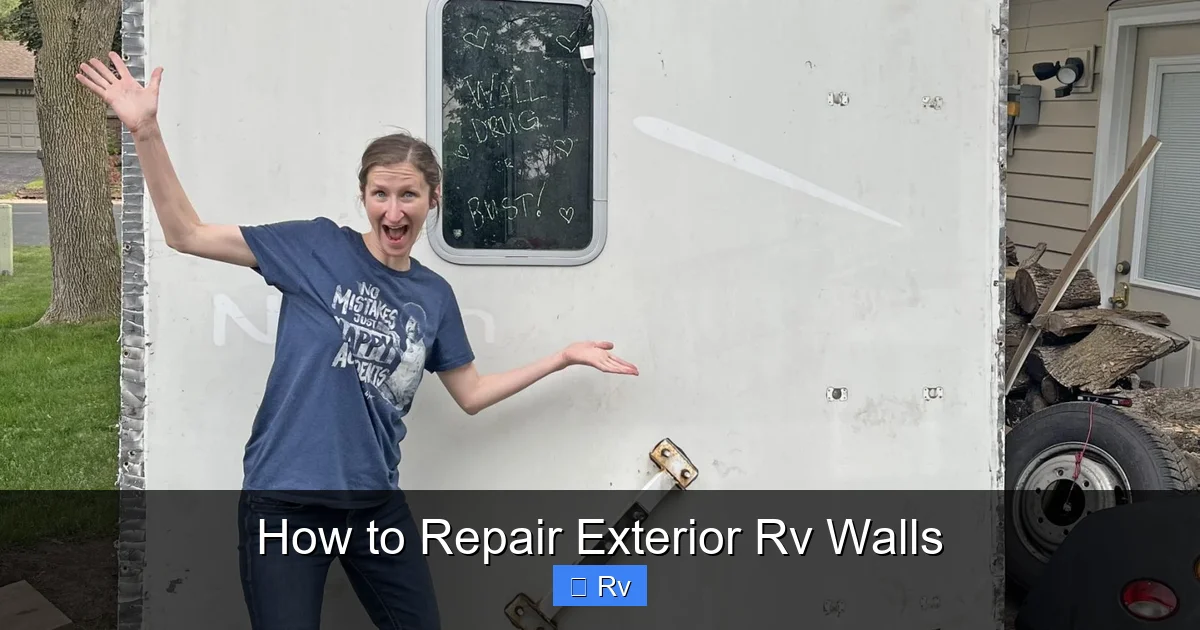
Visual guide about How to Repair Exterior Rv Walls
Image source: gocarlife.com
Basic Tools
- Utility knife: For cutting away old sealant or damaged material.
- Wire brush or sanding block: To clean and roughen surfaces for better adhesion.
- Putty knife or scraper: For applying fillers and smoothing repairs.
- Drill and bits: For injecting epoxy or removing rivets.
- Heat gun or hair dryer: To soften delaminated areas for re-bonding.
- Measuring tape and marker: For marking repair areas.
Repair Materials
- Epoxy resin or fiberglass repair kit: Ideal for filling cracks and re-bonding delaminated panels.
- RV-specific sealant: Use self-leveling or non-sag sealant depending on the area (e.g., Dicor or SikaFlex).
- Fiberglass cloth or mat: For reinforcing larger repairs.
- Body filler or Bondo: For smoothing dents and small imperfections (use marine-grade for durability).
- Primer and exterior paint: To match your RV’s finish after repair.
- Waterproof tape: For temporary protection during repairs.
Safety Gear
- Gloves: Nitrile or rubber gloves protect your hands from chemicals and sharp edges.
- Safety goggles: Essential when sanding or drilling.
- Respirator mask: Use when working with epoxy, fiberglass, or paint fumes.
- Work clothes: Wear old clothes you don’t mind getting dirty.
Pro tip: Always work in a well-ventilated area, preferably outdoors or in a garage with the door open. And never rush—taking your time ensures a better, longer-lasting repair.
Step-by-Step Guide to Repairing Exterior RV Walls
Now that you know what to look for and what tools to use, let’s walk through the actual repair process. Whether you’re fixing a small crack or tackling delamination, these steps will help you get professional results.
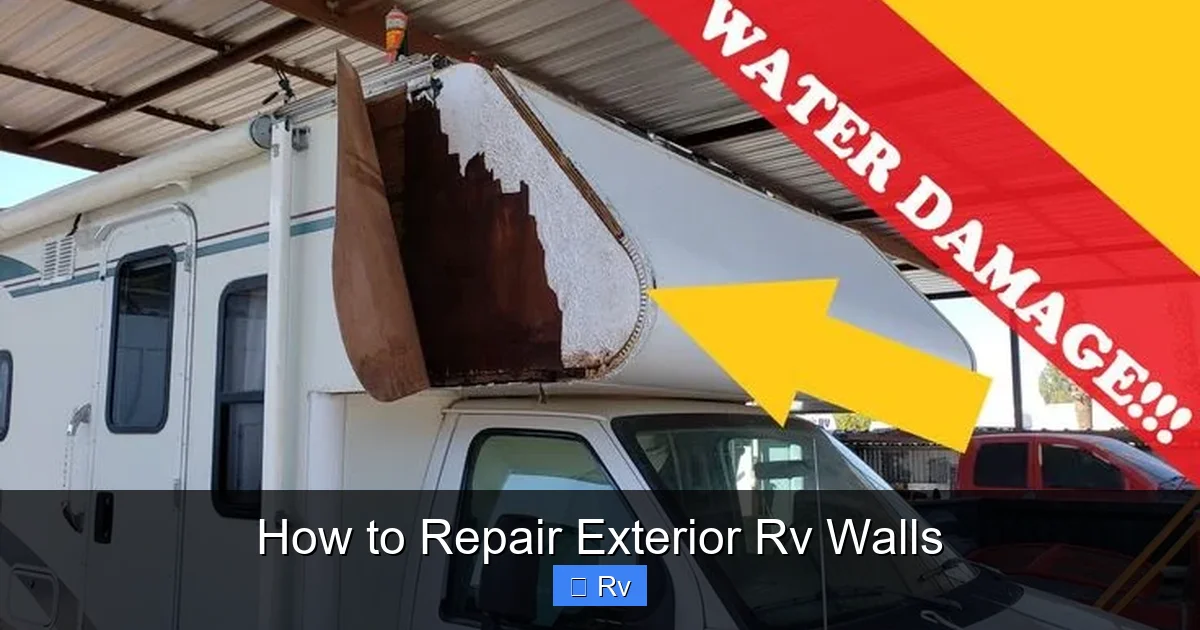
Visual guide about How to Repair Exterior Rv Walls
Image source: i.pinimg.com
Step 1: Inspect and Identify the Damage
Start by giving your RV a thorough inspection. Walk around the exterior and look for signs of damage—bubbling paint, soft spots, cracks, or gaps in sealant. Use your hands to press on the walls and listen for hollow sounds. Pay special attention to high-risk areas like roof edges, windows, and corners.
Take photos and make notes so you can track what needs fixing. If you find water damage, try to trace where the leak might be coming from. Sometimes the entry point isn’t directly above the damage—water can travel along framing or insulation.
Step 2: Clean the Area
Before any repair, clean the damaged area thoroughly. Use soap and water to remove dirt, grease, and old sealant. Let it dry completely. Then, use a wire brush or sandpaper to roughen the surface. This helps adhesives and sealants bond better.
For delamination, you may need to remove loose material. Use a utility knife to cut away bubbled or flaking sections. Be careful not to cut too deep—you just want to remove the damaged outer layer.
Step 3: Repair Delamination
Delamination is one of the trickiest repairs, but it’s doable with epoxy. Here’s how:
- Drill small holes (about 1/8 inch) into the delaminated area, spaced 2–3 inches apart. These will be used to inject epoxy.
- Use a syringe or epoxy injector to fill the cavity with marine-grade epoxy. Work from the bottom up to let air escape.
- Clamp or weigh down the area to press the layers together while the epoxy cures. Use wooden blocks to distribute pressure evenly.
- Let the epoxy cure for at least 24 hours, or as directed by the manufacturer.
- Sand the surface smooth and fill any remaining gaps with epoxy or filler.
For large delaminated areas, you may need to remove the entire panel and re-laminate it. This is more advanced and may require professional help.
Step 4: Fix Cracks and Chips
Small cracks in fiberglass can be repaired with a fiberglass repair kit. Here’s the process:
- Sand the crack and surrounding area with 80-grit sandpaper to create a rough surface.
- Mix the epoxy resin and hardener according to the instructions.
- Apply the epoxy into the crack using a putty knife. For deeper cracks, layer the epoxy and let each layer cure slightly before adding the next.
- If the crack is wide, embed a piece of fiberglass cloth into the wet epoxy for extra strength.
- Once cured, sand the repair smooth and apply a second coat if needed.
For aluminum-sided RVs, use a metal filler or Bondo designed for automotive use. Sand and paint to match the original finish.
Step 5: Address Water Damage and Rot
If you find soft or crumbling material behind the wall, you’ll need to remove the damaged core. This is more involved but necessary to prevent further deterioration.
- Cut out the damaged section using a rotary tool or jigsaw. Be careful not to damage surrounding areas.
- Remove the rotten core material completely. Use a vacuum to clean out debris.
- Replace the core with a new piece of marine plywood or rigid foam insulation, cut to fit.
- Re-bond the outer skin using epoxy or construction adhesive. Clamp until fully cured.
- Seal all edges with waterproof sealant.
This repair requires precision and patience. If you’re not confident, consider hiring a professional.
Step 6: Re-Seal All Seams and Joints
Even if you didn’t find major damage, it’s a good idea to re-seal all exterior seams after any repair. Old sealant breaks down over time and loses its effectiveness.
- Remove all old sealant using a scraper or heat gun. Clean the area with rubbing alcohol.
- Apply a bead of high-quality RV sealant (like Dicor Self-Leveling Lap Sealant for roofs or SikaFlex for vertical seams).
- Smooth the sealant with a wet finger or tool for a clean finish.
- Let it cure for at least 24–48 hours before exposing it to water.
Focus on areas around windows, doors, roof vents, and sidewall seams. These are the most common leak points.
Step 7: Sand, Prime, and Paint
Once all repairs are complete and cured, it’s time to make your RV look good again.
- Sand the entire repaired area with fine-grit sandpaper (220 grit) until smooth.
- Wipe away dust with a tack cloth.
- Apply a primer designed for fiberglass or metal, depending on your RV’s material.
- Once the primer is dry, paint with exterior-grade paint that matches your RV’s color.
- Apply at least two coats, sanding lightly between coats for a professional finish.
If you’re not sure about the color, take a small sample to an auto paint shop for matching. Some RVs have custom colors, so this step may take a little extra effort.
Preventing Future Damage
Repairing your RV’s exterior walls is important, but preventing damage in the first place is even better. A little maintenance goes a long way in keeping your rig in top shape.
Regular Inspections
Make it a habit to inspect your RV’s exterior every few months—especially before and after long trips. Look for cracks, soft spots, and failing sealant. Catching problems early saves time and money.
Keep It Clean
Wash your RV regularly with mild soap and water. Dirt and grime can hide damage and trap moisture. Avoid harsh chemicals that can degrade sealants or paint.
Re-Seal Annually
Even if you don’t see damage, re-seal all seams and joints once a year. This simple step prevents leaks and extends the life of your RV’s exterior.
Protect from the Elements
When parked, use RV covers or park in shaded areas to reduce UV exposure. If you’re in a rainy climate, consider using rain gutters or extendable awnings to divert water away from seams.
Drive Carefully
Road debris is a common cause of dents and cracks. Avoid driving too fast on gravel roads, and stay alert for loose rocks or construction zones.
When to Call a Professional
While many exterior RV wall repairs are DIY-friendly, some situations call for expert help. Don’t hesitate to call a professional if:
- The delamination covers a large area (more than 2–3 square feet).
- There’s significant structural damage or framing issues.
- You’re unsure about the extent of water damage behind the walls.
- The repair requires removing large panels or rewiring.
- You don’t have the tools or confidence to do the job safely.
A professional RV repair shop has the experience and equipment to handle complex issues. It’s better to spend a little money now than risk a bigger problem later.
Final Thoughts
Learning how to repair exterior RV walls might seem daunting at first, but with the right approach, it’s totally manageable. Most repairs come down to careful inspection, proper materials, and patience. Whether you’re fixing a tiny crack or re-bonding a delaminated panel, taking the time to do it right pays off in the long run.
Your RV is more than just a vehicle—it’s your home, your adventure mobile, and your escape from the everyday. Keeping it in great shape means more safe, comfortable, and worry-free trips. So grab your tools, give your rig some love, and get back on the road with confidence.
Frequently Asked Questions
How often should I inspect my RV’s exterior walls?
You should inspect your RV’s exterior walls at least every 3–6 months, and always before and after long trips. Regular checks help catch damage early and prevent costly repairs.
Can I repair delamination myself?
Yes, small to moderate delamination can be repaired at home using epoxy and clamps. However, large or structural delamination may require professional help to ensure safety and durability.
What’s the best sealant for RV exterior repairs?
Use high-quality RV-specific sealants like Dicor (for roofs) or SikaFlex (for vertical seams). These are designed to flex with your RV’s movement and resist UV damage.
How do I know if my RV wall has water damage?
Look for soft spots, discoloration, bubbling paint, or a musty smell. Press on the wall—if it feels spongy or sounds hollow, there’s likely water damage behind it.
Can I use regular Bondo on my RV?
Regular Bondo isn’t ideal for RVs because it can crack with flexing. Use marine-grade filler or epoxy instead, which are more flexible and waterproof.
Do I need to repaint after repairing RV walls?
Yes, repainting helps protect the repair and keeps your RV looking good. Use exterior-grade paint and primer for the best results and longest lifespan.