
How to Remove an Rv Refrigerator
Contents
- 1 Key Takeaways
- 2 📑 Table of Contents
- 3 Why You Might Need to Remove an RV Refrigerator
- 4 Pre-Removal Preparation: Safety and Planning
- 5 Accessing the Refrigerator: Removing Trim and Panels
- 6 Disconnecting Gas, Electrical, and Water Lines
- 7 Removing Mounting Hardware and Extracting the Fridge
- 8 Post-Removal Steps: Cleaning and Inspection
- 9 Tips for Reinstallation or Replacement
- 10 Conclusion
- 11 Frequently Asked Questions
Removing an RV refrigerator isn’t as simple as unplugging a kitchen fridge—it involves disconnecting gas, electrical, and plumbing lines safely. This guide walks you through every step, from preparation to final removal, so you can tackle the job with confidence and avoid costly mistakes.
Key Takeaways
- Turn off all power sources first: Always disconnect the RV from shore power and turn off the 12V battery to prevent electrical shock or damage.
- Shut off the propane supply: Locate and close the propane valve before disconnecting gas lines to avoid leaks or fire hazards.
- Drain and disconnect the water line (if applicable): Some RV fridges have ice makers or water dispensers that require water line disconnection.
- Remove interior trim and access panels: Most RV refrigerators are secured behind cabinetry and require careful removal of trim pieces.
- Use proper lifting techniques: RV fridges are heavy and awkward—get a helper and use a dolly or appliance straps to avoid injury.
- Label all connections before disconnecting: Take photos or use tape labels so you can easily reconnect everything during reinstallation.
- Inspect the cavity after removal: Check for damage, mold, or pests that may have built up behind the fridge.
📑 Table of Contents
- Why You Might Need to Remove an RV Refrigerator
- Pre-Removal Preparation: Safety and Planning
- Accessing the Refrigerator: Removing Trim and Panels
- Disconnecting Gas, Electrical, and Water Lines
- Removing Mounting Hardware and Extracting the Fridge
- Post-Removal Steps: Cleaning and Inspection
- Tips for Reinstallation or Replacement
- Conclusion
Why You Might Need to Remove an RV Refrigerator
There are several reasons you might find yourself needing to remove an RV refrigerator. Maybe yours has stopped cooling properly and needs repair or replacement. Perhaps you’re upgrading to a larger or more energy-efficient model. Or maybe you’re doing a full RV renovation and need access to the space behind the fridge for insulation, wiring, or plumbing work.
Whatever your reason, it’s important to understand that RV refrigerators are not like household fridges. They’re built into tight spaces, connected to multiple systems, and often weigh over 100 pounds. Removing one requires careful planning, the right tools, and a solid understanding of safety procedures. Rushing through the process can lead to damaged components, gas leaks, electrical shorts, or personal injury.
In this guide, we’ll walk you through the entire process of how to remove an RV refrigerator—step by step. Whether you’re a seasoned RVer or a first-timer, you’ll learn how to do it safely, efficiently, and with minimal hassle. Let’s get started.
Pre-Removal Preparation: Safety and Planning
Before you even think about touching the fridge, you need to prepare your RV and yourself for the job. This isn’t a “just pull it out” kind of task. It’s more like disassembling a small appliance puzzle with gas, electricity, and water lines involved. Taking the time to prepare will save you time, money, and stress down the road.
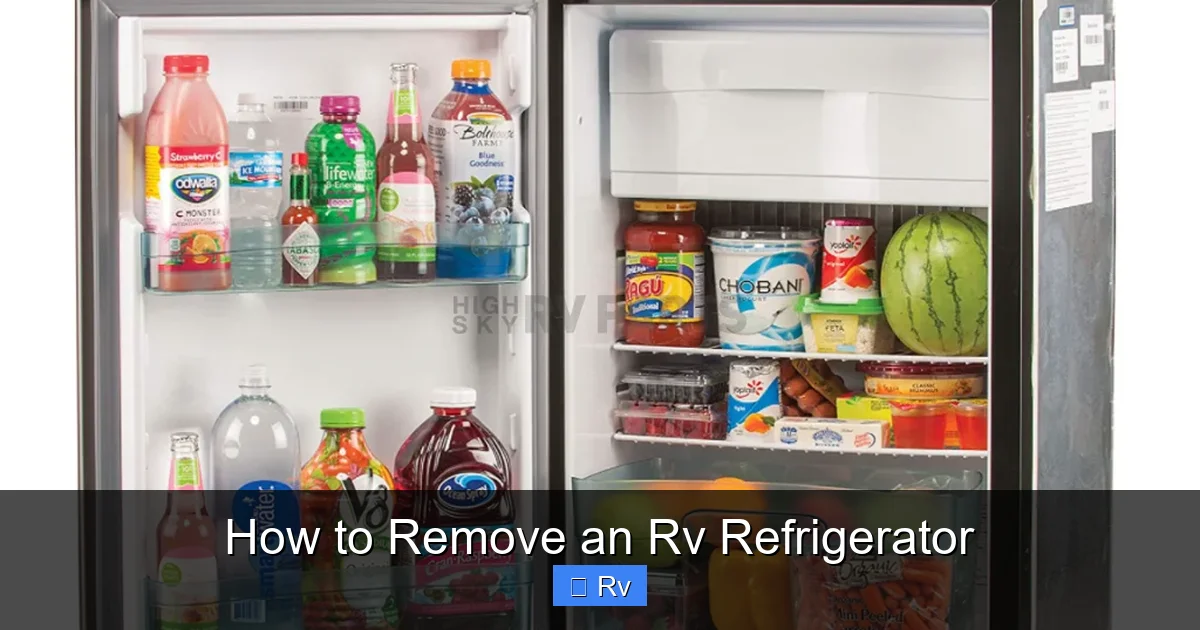
Visual guide about How to Remove an Rv Refrigerator
Image source: highskyrvparts.com
Gather Your Tools and Supplies
You’ll need a few basic tools to remove an RV refrigerator. Here’s a checklist:
- Socket wrench set (typically 10mm and 13mm sockets)
- Screwdrivers (Phillips and flathead)
- Adjustable wrench
- Propane leak detector or soapy water solution
- Electrical tape and wire nuts
- Appliance dolly or furniture sliders
- Work gloves and safety glasses
- Zip ties or labels for marking wires and hoses
- Flashlight or work light
Having these tools ready will make the process smoother. If you don’t have a propane leak detector, you can use a simple mixture of dish soap and water—apply it to gas connections and watch for bubbles, which indicate a leak.
Turn Off All Power Sources
Safety starts with power. Before doing anything, disconnect your RV from shore power. If you’re plugged into an electrical outlet at a campsite or at home, unplug it. Next, go to your RV’s battery compartment and disconnect the negative terminal of the 12V battery. This prevents accidental short circuits when working near electrical connections.
Some RV fridges also have a dedicated 120V AC power connection inside the fridge compartment. If yours does, make sure that’s turned off at the breaker panel as well. Double-check with a non-contact voltage tester if you’re unsure.
Shut Off the Propane Supply
Most RV refrigerators run on propane (LP gas), electricity, or both. Since propane is flammable and potentially dangerous, you must shut it off before disconnecting any gas lines. Locate your RV’s main propane tank and turn the valve clockwise to close it. Then, open a burner on your stove for a few seconds to release any pressure in the line.
Next, find the propane supply line that feeds the refrigerator. It’s usually a small copper or flexible hose running from the main line to the back of the fridge. Use an adjustable wrench to carefully loosen the connection. Have your soapy water solution ready to check for leaks after disconnecting.
Drain and Disconnect Water Lines (If Applicable)
Not all RV fridges have water lines, but if yours has an ice maker or water dispenser, you’ll need to disconnect the water supply. First, turn off the water pump or shut off the city water connection. Then, locate the water line—usually a small plastic or copper tube—connected to the back of the fridge.
Place a bucket or towel underneath to catch any residual water. Use pliers or your hands to loosen the compression fitting or push-to-connect fitting. Once disconnected, cap the line with a plastic plug or tape it off to prevent leaks.
Clear the Area and Protect Your RV
Move any nearby furniture, cabinets, or appliances that might block your access. Lay down cardboard or moving blankets on the floor to protect your RV’s flooring from scratches or dents. If you’re working inside a tight space, consider removing cabinet doors or trim pieces to give yourself more room.
Also, take a few photos of the fridge and its connections before you start. These will serve as a reference when it’s time to reinstall or replace the unit. Label wires, hoses, and screws with tape or zip ties so you don’t mix them up later.
Accessing the Refrigerator: Removing Trim and Panels
RV refrigerators are typically installed behind cabinetry and secured with trim pieces. To access the fridge itself, you’ll need to remove these covers carefully. Rushing this step can result in cracked wood, broken clips, or damaged finishes.
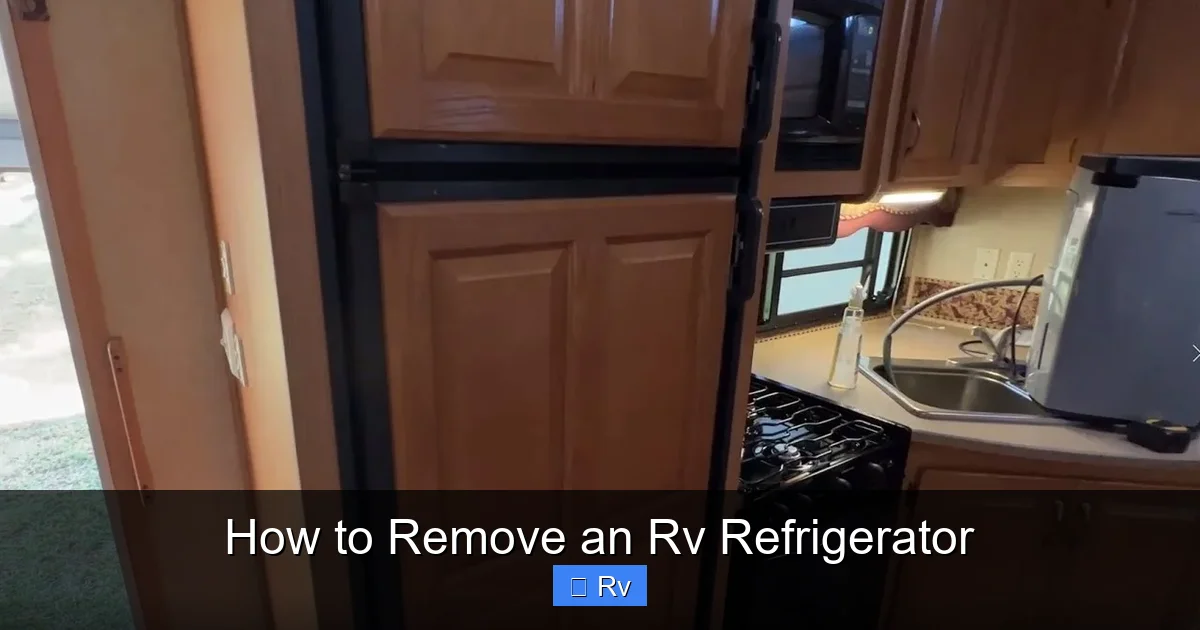
Visual guide about How to Remove an Rv Refrigerator
Image source: i.ytimg.com
Remove Interior Cabinet Trim
Start by opening the cabinet doors around the fridge. Look for trim pieces—usually thin strips of wood or plastic—that frame the refrigerator opening. These are often held in place with screws or plastic clips.
Use a screwdriver to remove any visible screws. For clips, gently pry them loose with a flathead screwdriver or trim removal tool. Work slowly and evenly to avoid snapping the trim. If a piece feels stuck, double-check for hidden screws or adhesive.
Once the trim is off, you should see the front of the refrigerator and possibly some mounting brackets. Take note of how everything fits together—this will help during reinstallation.
Open the Refrigerator Door and Remove Shelves
Open the fridge and freezer doors fully. Remove all shelves, drawers, and bins. These can be heavy and awkward, so take them out one at a time. Place them on a soft surface to avoid scratching.
Some models have a control panel or thermostat inside the fridge. If yours does, take a photo of the wiring before disconnecting anything. Use electrical tape to label the wires if needed.
Access the Back of the Fridge
Now you need to get to the back of the refrigerator. In most RVs, this means removing an exterior access panel on the outside of the coach. Go outside and locate the panel—it’s usually near the bottom rear of the fridge cavity and secured with screws.
Remove the screws and carefully pull the panel away. You should now see the back of the fridge, including the cooling unit, gas line, electrical connections, and possibly the water line. This is your workspace for the next steps.
Disconnecting Gas, Electrical, and Water Lines
This is the most critical part of the removal process. You’re dealing with potentially hazardous connections, so take your time and double-check everything.
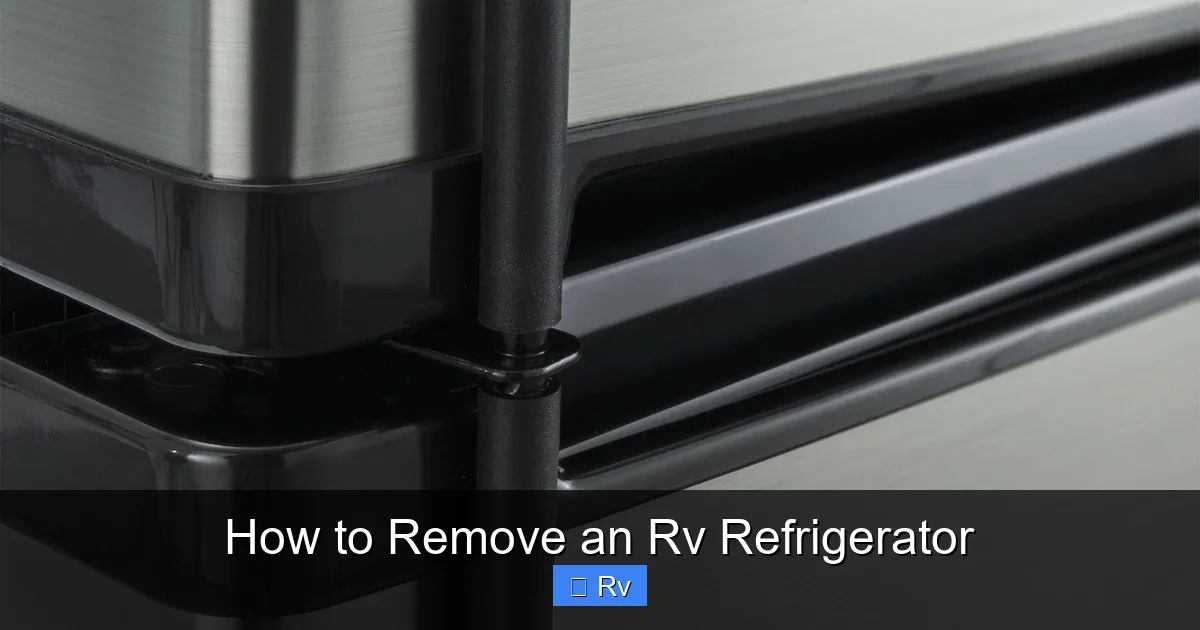
Visual guide about How to Remove an Rv Refrigerator
Image source: cdn11.bigcommerce.com
Disconnect the Propane Line
Locate the propane line connected to the back of the refrigerator. It’s usually a small copper tube or a flexible hose with a flare nut. Use two wrenches—one to hold the fitting steady and one to loosen the nut—to avoid twisting the line.
Once loose, carefully pull the line away. Immediately cap the open end of the line with a propane line cap or tape it securely. This prevents dirt, moisture, or insects from entering the system.
Use your soapy water solution to check for leaks at the connection point. If you see bubbles, tighten the fitting slightly or replace the washer if necessary.
Disconnect Electrical Connections
RV fridges typically have two types of electrical connections: 12V DC and 120V AC. The 12V line powers the control board and igniter, while the 120V line provides backup power when plugged into shore power.
Start with the 12V connection. It’s usually a two-wire harness with a plug or wire nuts. Disconnect it and label the wires (e.g., “red = positive, black = negative”). If there are wire nuts, unscrew them and separate the wires.
Next, locate the 120V AC connection. This may be a plug-in cord or hardwired into a junction box. If it’s plugged in, simply unplug it. If it’s hardwired, turn off the breaker, then disconnect the wires and cap them with wire nuts.
Take a photo of the wiring setup before disconnecting anything. This will make reinstallation much easier.
Disconnect the Water Line (If Present)
If your fridge has a water line, now’s the time to disconnect it. As mentioned earlier, place a bucket underneath to catch any drips. Loosen the fitting and pull the line free.
Cap the open end of the water line to prevent contamination. If you’re replacing the fridge, consider installing a shut-off valve on the water line for future convenience.
Removing Mounting Hardware and Extracting the Fridge
With all connections disconnected, it’s time to free the refrigerator from its mounting brackets and slide it out.
Remove Mounting Brackets and Screws
Look for metal brackets or screws securing the fridge to the cabinet or floor. These are usually located at the top, bottom, or sides of the unit. Use your socket wrench or screwdriver to remove them.
Some fridges are also held in place by a rear mounting bracket. You may need to reach behind the unit or use a long extension on your wrench. Be careful not to damage the cooling fins or insulation.
Loosen the Refrigerator from the Cavity
Once all hardware is removed, gently rock the fridge back and forth to break it free from any sealant or insulation. Don’t force it—if it’s stuck, double-check for missed screws or clips.
Some models have a foam gasket around the edges that may be glued in place. Use a plastic pry tool to carefully separate it without damaging the cabinet.
Lift and Remove the Refrigerator
RV refrigerators are heavy—often 100 to 150 pounds or more. Never try to lift one alone. Get a helper, and if possible, use an appliance dolly or furniture sliders.
Position the dolly at the base of the fridge. Tilt the unit slightly and slide the dolly underneath. Secure the fridge to the dolly with straps to prevent it from tipping.
Slowly roll the fridge out of the cavity. Have your helper guide it from the front to avoid hitting walls or cabinets. Once it’s clear, move it to a safe storage area or prepare it for disposal or recycling.
Post-Removal Steps: Cleaning and Inspection
With the fridge out, don’t just close everything up and forget about it. Take this opportunity to inspect and clean the cavity.
Inspect for Damage or Pests
Look inside the fridge cavity for signs of water damage, mold, or pest infestations. Mice and insects love to nest behind appliances. If you see droppings or nesting material, clean it out thoroughly and consider installing a mesh barrier to prevent future access.
Check the floor and walls for rot or soft spots. If you find damage, repair it before installing a new fridge.
Clean the Area
Use a vacuum and damp cloth to clean out dust, debris, and any spilled coolant or oil. If there’s old sealant or adhesive, scrape it off with a putty knife.
Wipe down the access panel and reinstall it securely. This keeps the elements out and maintains your RV’s insulation.
Cap and Secure All Lines
Make sure all gas, water, and electrical lines are properly capped and secured. Use zip ties to bundle loose wires and keep them out of the way.
If you’re not replacing the fridge right away, consider covering the openings with plastic sheeting to prevent moisture buildup.
Tips for Reinstallation or Replacement
If you’re installing a new fridge, the process is essentially the reverse of removal—but with a few extra considerations.
Choose the Right Replacement
Measure the cavity carefully before buying a new fridge. Consider the type (absorption vs. compressor), size, and power requirements. Compressor fridges are more efficient but require more power.
Test Before Final Installation
Before securing the new fridge, plug it in and test all functions—cooling, lighting, ice maker, etc. Make sure it’s working properly before sealing everything up.
Reconnect Lines Carefully
Use your photos and labels to reconnect gas, water, and electrical lines. Double-check all connections for tightness and leaks.
Once everything is connected, turn on the propane and power, and monitor the fridge for the first few hours to ensure it’s cooling properly.
Conclusion
Removing an RV refrigerator is a challenging but manageable task if you take it step by step. By preparing properly, disconnecting all utilities safely, and using the right tools, you can avoid common pitfalls and complete the job without incident.
Remember, safety is paramount—always shut off power and propane before starting. Take your time, label everything, and don’t hesitate to ask for help when lifting heavy components. Whether you’re repairing, replacing, or upgrading, knowing how to remove an RV refrigerator gives you greater control over your RV’s functionality and comfort.
With this guide, you’re well-equipped to tackle the job with confidence. Happy RVing!
Frequently Asked Questions
Can I remove an RV refrigerator by myself?
It’s possible, but not recommended. RV refrigerators are heavy and awkward to handle. Having a helper reduces the risk of injury and makes the process much easier.
Do I need to empty the fridge before removing it?
Yes, always remove all food, shelves, and drawers before starting. This reduces weight and prevents spills or damage during removal.
What if my RV fridge is leaking coolant?
Coolant leaks are serious and often require professional repair. If you suspect a leak, stop the removal process and consult an RV technician. Handling refrigerant requires special training and equipment.
Can I replace my RV fridge with a residential model?
Generally, no. Residential fridges aren’t designed for the vibrations, power fluctuations, and space constraints of an RV. Stick with RV-specific models for safety and performance.
How do I know if my fridge is secured with brackets?
Most RV fridges have mounting brackets at the top or sides. Check inside the cabinet and behind the access panel. If you don’t see screws, look for metal clips or straps holding the unit in place.
What should I do with the old fridge?
Check with local recycling centers or appliance retailers. Many offer pickup or drop-off services for old refrigerators. Some may even pay you for it if it’s in working condition.


