
How to Put a Soft Top on a Jeep
Contents
- 1 Key Takeaways
- 2 📑 Table of Contents
- 3 Understanding Your Jeep’s Soft Top System
- 4 Essential Tools and Preparation
- 5 Step-by-Step Installation: The Rear First Method
- 6 Model-Specific Considerations and Common Pitfalls
- 7 Post-Installation Check and Care
- 8 Troubleshooting Common Issues
- 9 Frequently Asked Questions
Installing a Jeep soft top is a manageable DIY project with the right preparation and patience. This guide covers everything from gathering tools to the final tension adjustments, ensuring a snug, weathertight fit. Follow our detailed steps to transform your Jeep from a hardtop fortress to an open-air adventurer.
There’s nothing quite like the feeling of the wind in your hair and the sun on your face when you lower the top on your Jeep. It transforms your vehicle from a simple mode of transport into an experience. But what do you do when that freedom is hindered by a damaged, old, or simply missing soft top? Installing a new one might seem daunting—a massive, floppy piece of vinyl and fabric that looks like it belongs on a circus tent. However, with a calm approach, the right tools, and a clear understanding of the process, putting a soft top on your Jeep is a very achievable weekend project. This guide will walk you through every single step, demystifying the process and giving you the confidence to tackle it yourself.
We’ll start with the absolute essentials: what you need, how to prepare your Jeep and your workspace, and then dive into the meticulous, step-by-step installation. We’ll cover the critical nuances for different Jeep models and top styles, common pitfalls to avoid, and how to care for your new investment so it lasts for years of open-air adventures. Think of this not as a rigid instruction manual, but as a friendly, detailed walkthrough from someone who’s been in your garage, covered in vinyl scraps, and wondering if they’ll ever get that last snap to cooperate.
Key Takeaways
- Preparation is Everything: A clean workspace, organized parts, and a thorough inspection of the old top and mounting points prevent major issues later.
- Enlist a Helper: Soft tops are large, awkward, and require alignment. One person simply cannot manage the rear section safely or correctly.
- Work in Good Weather: Install on a clean, dry, calm day. Wind, rain, or extreme cold will make the vinyl stiff and the process frustrating.
- Follow the Sequence: Start at the rear and work forward. Securing the rear window first creates a reference point for the side and front sections.
- Check for Fit Before Final Tightening: Ensure all windows align perfectly with the body and each other before fully tensioning all straps and snaps.
- Regular Maintenance Extends Life: Clean the top regularly with proper products and store it properly when not in use to prevent cracking and fading.
- Don’t Force It: If a component doesn’t fit, stop and reassess. Forcing snaps or misaligning panels leads to permanent damage and leaks.
📑 Table of Contents
Understanding Your Jeep’s Soft Top System
Before you touch a single tool, it’s crucial to understand that not all Jeep soft tops are created equal. The installation process varies significantly between different Jeep Wrangler generations (TJ, JK, JL, JT) and even between factory-style tops and aftermarket replacements. The fundamental principles remain the same, but the specific components, fasteners, and sequence are model-specific.
Factory vs. Aftermarket Tops
Factory tops are designed to integrate perfectly with your Jeep’s body and header. They often use a combination of snaps, Velcro, and tension straps. Aftermarket tops, like those from Bestop or Smittybilt, are engineered to match OEM fitment but may use slightly different mounting hardware or require minor adjustments. Always, always consult the specific instructions that came with your new top. They are your primary reference. This guide provides a universal framework that applies to nearly all traditional frameless soft tops.
Key Components to Identify
Familiarize yourself with these parts before you begin:
- The Top (Sail Panel & Main Skirt): The large main section that covers the passenger compartment.
- Rear Window: Often a separate, zippered panel that installs first to create a rear seal.
- Side Curtains/Quarter Panels: The sections that cover the rear side windows and the area behind the front seats.
- Header/Header Seal: The forward-most part that attaches to the windshield frame. It has a rubber seal that presses against the windshield glass.
- Bow(s): Some tops have removable metal or fiberglass bows that provide shape and tension.
- Straps, Snaps, and Velcro: The fastening system. Pay close attention to which strap goes where.
- Drain Tubes: Small hoses that channel water from the header area out of the vehicle. These are easy to miss!
Essential Tools and Preparation
Rushing into installation without proper prep is the number one cause of frustration, damaged parts, and a top that doesn’t fit. Gather your tools and prepare your environment meticulously.
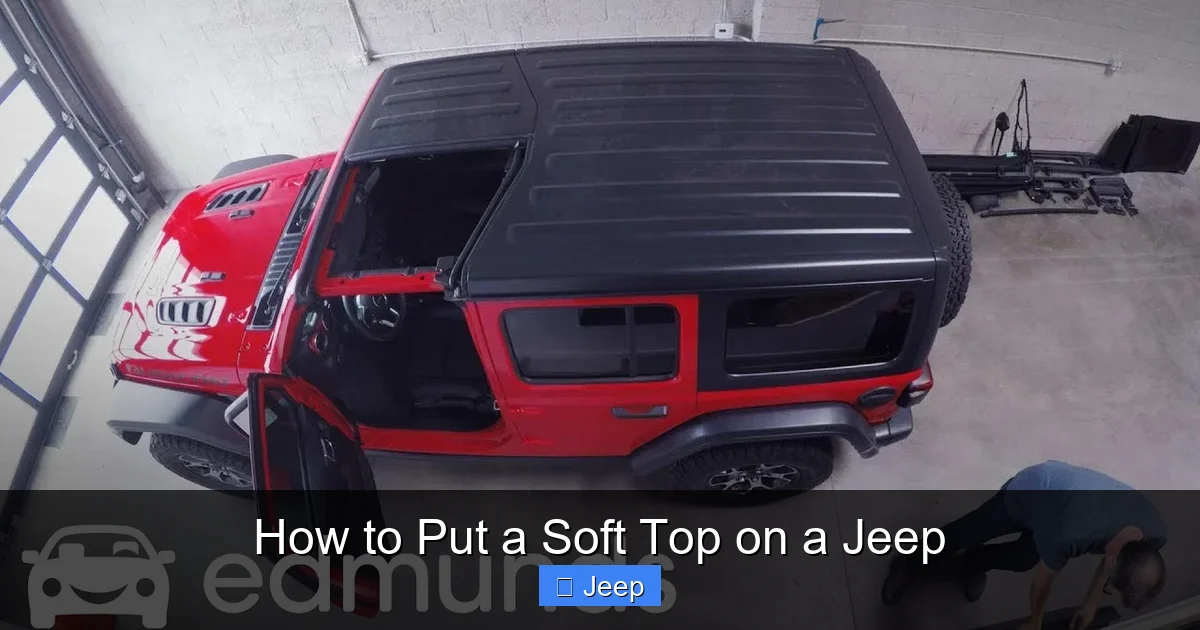
Visual guide about How to Put a Soft Top on a Jeep
Image source: i.ytimg.com
Tool Checklist
You likely have most of these already:
- Socket Set & Ratchet: Usually 10mm, 13mm, and 15mm sockets for removing the old top’s bolts and securing the new header.
- Screwdrivers: Both flat-head and Phillips for prying clips and adjusting.
- Trim Removal Tools (Plastic Pry Tools): These are critical. They prevent you from marring the Jeep’s interior trim or the soft top material itself when prying clips. You can find inexpensive sets at any auto parts store.
- Rubber Mallet: For gently tapping components into alignment without damaging them.
- Flashlight or Work Light: You’ll be working under the top and in the tailgate area. Good lighting is non-negotiable.
- Clean Rags & Mild Cleaner: To wipe down the windshield frame, roll bars, and body mounting points before installation.
- Assistant: As mentioned, this is your most important “tool.” Do not attempt this alone.
Preparing Your Jeep and Workspace
1. Choose the Right Day and Location: A warm, dry, calm day is ideal. Vinyl becomes stiff and brittle in cold weather and is very difficult to stretch. Wind will turn your top into a sail. Work in a shaded area or garage to prevent sun-baking the vinyl, which makes it temporarily stretchy and then shrink as it cools, causing fit issues.
2. Remove the Old Top (If Applicable): If you’re replacing an existing top, take it off first. This gives you a perfect reference for how it all fits together. Take photos from multiple angles as you remove each component. Label straps with masking tape if they aren’t obvious. Store the old top carefully; you may need to reference it.
3. Clean the Mounting Surfaces: This is a step many skip and regret. Use your cleaner and rags to thoroughly wipe down:
- The windshield header channel and the windshield frame itself.
- The roll bar padding and any metal brackets.
- The rear tailgate area and the rear header channel.
- Any body side channels or snaps.
Dirt, dust, and old adhesive can prevent a proper seal and scratch your new top. While you’re down there, inspect the rubber seals on the windshield and tailgate. Replace them if they are cracked or hardened. A poor seal here will cause leaks regardless of your top’s condition.
Step-by-Step Installation: The Rear First Method
The universal golden rule of soft top installation is: Start at the rear and work your way forward. This creates a stable, anchored base to pull the rest of the top towards, ensuring proper tension and alignment. Rushing to the front first is a recipe for a wrinkled, ill-fitting mess.
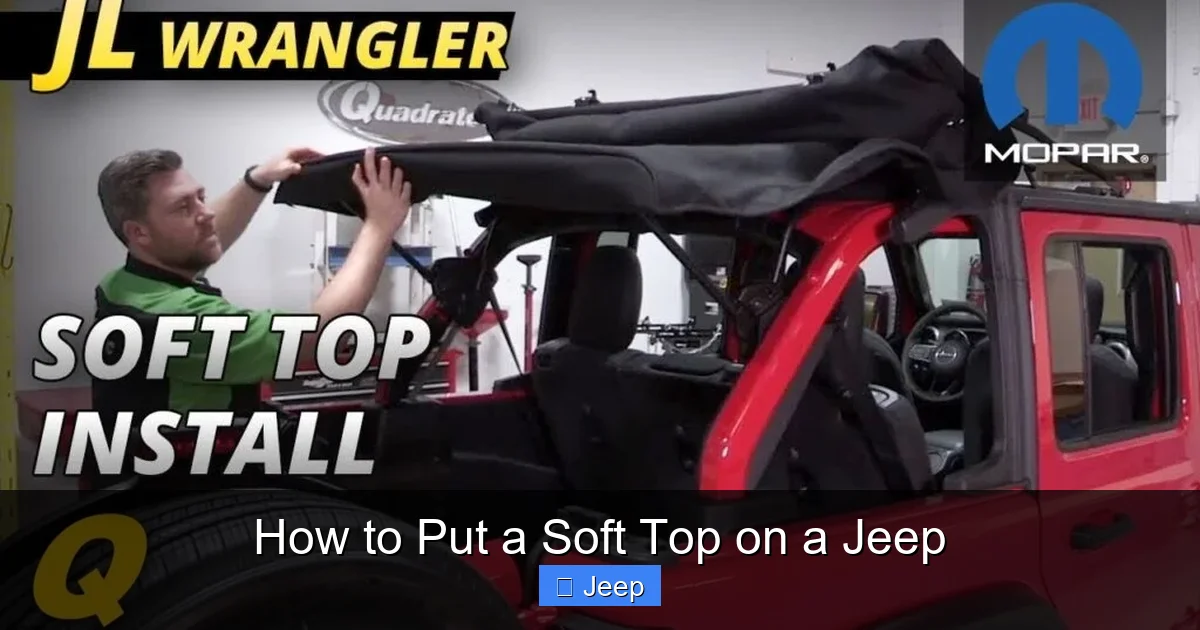
Visual guide about How to Put a Soft Top on a Jeep
Image source: adventurejeep.com
Step 1: Install the Rear Window
This is your foundation. Unfold the rear window panel. It will have a zipper that attaches to the main top and a bottom edge with snaps or a Velcro strip that attaches to the rear header channel on the tailgate.
- Locate the rear header channel on the tailgate. It’s a rubber or plastic piece that runs horizontally.
- Starting at one corner, align the window’s bottom edge with the channel. Work your way across, snapping or securing the Velcro. It may help to use your plastic pry tools to get the first few snaps started without tearing the material.
- Once the bottom is secure, zip the window to the corresponding zipper on the main top section. This zipper is usually located on the inside face of the main top. You’ll feel it click into place.
- Check the fit. The window should sit flush against the glass of the rear window (if your Jeep has one) or create a smooth surface. There should be no gaps or puckering.
Step 2: Position the Main Top (Sail Panel & Skirt)
With your helper, lift the main top section. This is the heaviest and most awkward part. The goal is to get it roughly positioned over the passenger compartment and attached to the rear header.
- Feed the rear edge of the main top (which has the zipper for the rear window) into the rear header channel on the tailgate. This is the same channel you just secured the rear window to. The zipper should engage smoothly.
- Now, drape the main top forward over the roll bars. It will be very loose and floppy. Don’t worry about tension yet. Your immediate goal is to get the front edge (the header) roughly aligned with the windshield frame.
- Locate the header on the top. It’s the reinforced, often padded, leading edge. It will have holes or slots that align with bolts on the windshield frame.
Step 3: Secure the Header to the Windshield Frame
This is the most critical alignment step. The header must sit perfectly in the channel of the windshield frame.
- With your helper holding the top centered and slightly forward, start inserting the header bolts through the holes in the header and into the threaded holes in the windshield frame. Hand-tighten them all first. Do not use a ratchet yet.
- Once all bolts are started, look at the fit. The rubber seal on the header should be compressed evenly against the windshield glass all the way across. There should be no gaps. If the seal is pinched on one side or there’s a visible gap on the other, the header is misaligned.
- To adjust, you may need to loosen all bolts slightly, have your helper gently pull the top side-to-side to center it, and then retighten. A rubber mallet can be used to gently tap the header into the center of the channel.
- Once perfectly aligned, torque the bolts to the manufacturer’s specification (usually found in the instructions) with your ratchet. A snug, even seal here is your primary defense against water leaks.
Step 4: Install the Side Curtains/Quarter Panels
These panels fill the gap between the main top and the rear window, covering the rear side windows and the area behind the front seats.
- Identify the inside edge of the side curtain. It will have snaps or heavy-duty Velcro that attach to the vertical ribs or channels on the inside of the roll bar.
- Starting at the rear, attach this inner edge to the roll bar. Work your way forward. These attachments are often the trickiest because they require you to reach behind the seat and work in a tight space. Your helper can pull the panel taut from the outside to make this easier.
- Once the inner edge is secure, the outer edge of the side curtain should have snaps or a zipper that connects to the main top. Engage these. You should now have a continuous, taut surface from the front header, over the roll bar, to the rear window.
Step 5: Final Tensioning and Strap Adjustment
Your top is now fully assembled but likely still has some wrinkles. The final step is to tension it properly using the various straps.
- Rear Straps: These are usually located on the lower rear edge of the main top or side curtains. They attach to anchors on the tailgate or rear body. Tighten these first. They pull the rear of the top down and aft, removing major wrinkles.
- Side/Header Straps: There are often straps along the sides that connect to the door surrounds or the front header. Tighten these systematically. Go side-to-side, making small adjustments on each. The goal is an even, drum-tight surface with no sagging “pockets.”
- Check All Snaps and Zippers: Give everything a final once-over. Ensure every snap is fully engaged and every zipper is completely closed. A single missed snap can create a flap that catches wind and causes damage.
Pro Tip: The top may look slightly loose when first installed. Vinyl needs a day or two in the sun to fully stretch and conform to its new shape. Re-check tension after 24-48 hours and make final adjustments.
Model-Specific Considerations and Common Pitfalls
While the general process is the same, your specific Jeep model changes the details.
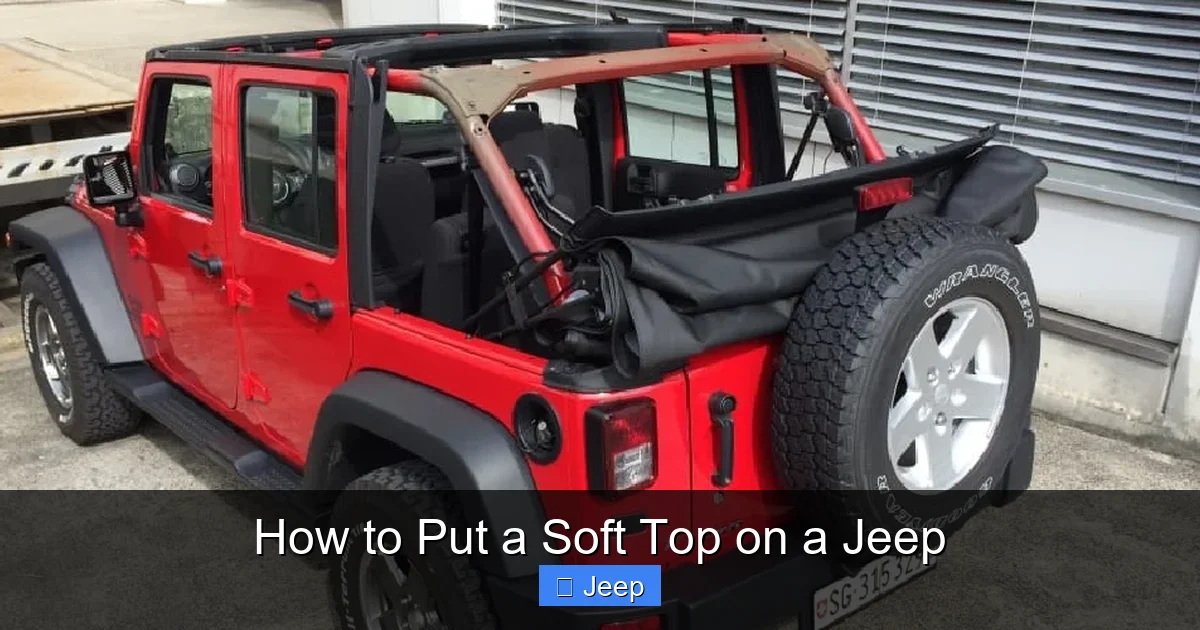
Visual guide about How to Put a Soft Top on a Jeep
Image source: jeepfixes.com
Jeep Wrangler TJ (1997-2006)
TJs have a classic, simpler system. The header uses large bolts that clamp directly to the windshield frame. The main challenge is often the rear window, which is a single large piece with many snaps to the tailgate. Patience is key. Ensure the tailgate seal is in perfect condition, as TJs are notorious for leaks here if the seal is compromised.
Jeep Wrangler JK/JKU (2007-2018)
JKs introduced a more complex system with a frameless design. The header has a specific orientation and a rubber seal that must be perfectly seated. The side curtains are large and connect to both the header and the main top. A common issue is the side curtain not hooking properly into the channel on the roll bar, leading to a gap. Use your trim tools to firmly seat the plastic retaining strip.
Jeep Wrangler JL/JT (2018-Present)
The JL (and Gladiator JT) have a premium, more integrated system. They often feature a “Easy Top” mechanism with levers and cables for easier removal. Installation is similar but pay close attention to the cable routing and lever engagement. The JL also has a small “sunrider” panel in the header that must be aligned correctly. Consult your owner’s manual for JL-specific details.
Universal Pitfalls to Avoid
- Forgetting the Drain Tubes: These small hoses are tucked into the header channel. If not routed correctly, water will pour into your passenger compartment. Find them and ensure they exit cleanly through the firewall or cowl area.
- Misaligning the Header: This causes leaks and makes the whole top look crooked. Take your time here. It’s the most important alignment.
- Over-Tightening Straps: This can permanently stretch and distort the vinyl, creating a “bowed” look. Tighten until taut, not until you hear the vinyl scream.
- Skipping the Clean: A single grain of sand between the header and windshield becomes a scratch over time. Clean diligently.
- Ignoring the Manual: Your specific top’s instructions are law. Use them alongside this guide.
Post-Installation Check and Care
Your top is on. Now what? A quick check and some initial care will set you up for success.
The Water Test
Before you declare victory, perform a water test. Have a friend (or use your garden hose) spray water over the entire top, focusing on seams, the header seal, and the rear window. Get inside the Jeep and check for any drips. Pay special attention to the corners. A small leak at this stage is much easier to fix than after a long road trip. Often, a minor leak is just a misaligned snap or a strap that needs a tiny bit more tension.
Initial Stretch and Final Tension
As mentioned, vinyl is a living material. Drive your Jeep for a few days with the top up. The combination of sun heat, vibration, and wind will cause it to settle. Re-inspect all straps and snaps after this break-in period. You’ll likely need to give everything one final, gentle tightening. This is normal and part of the process.
Routine Maintenance for Longevity
A well-maintained soft top can last 5-10 years or more.
- Cleaning: Use a dedicated vinyl cleaner and protectant (like those from Chemical Guys or Meguiar’s). Never use household cleaners, ammonia, or abrasive brushes. A soft microfiber mitt and a gentle soap designed for vinyl is best. Clean it at least twice a year, more often if you drive in dusty or salty conditions.
- Storage: If you plan to store the top (or your Jeep) for an extended period, remove the top. Store it flat or loosely rolled, never folded tightly, which creates permanent creases. Keep it in a cool, dry place out of direct sunlight.
- Lubrication: Periodically apply a silicone-based spray to zippers and snaps to keep them operating smoothly. Do not use oil-based products, as they can degrade the vinyl.
- Inspection: Every few months, check for small tears, seam separation, or cracked seals. Catching a small issue early with a vinyl repair kit can save you from a costly replacement later.
Troubleshooting Common Issues
Even with perfect installation, you might encounter some quirks. Here’s how to handle them.
Wrinkles and “Puckering”
Cause: Usually uneven tension or the top not being fully stretched during initial installation.
Fix: Systematically loosen and retighten all straps. Start from the rear and work forward. Sometimes, the main top needs to be pulled sideways slightly. If wrinkles persist after a week of sun exposure, they may be permanent from improper initial fit.
Whistling or Flapping at High Speeds
Cause: A seal is not fully engaged, or a strap is loose. The most common culprit is the header seal not being fully compressed or the side curtain not being seated in its channel.
Fix: Stop the vehicle safely. Check the header bolts—are they tight? Visually inspect the seal along the entire windshield. Press on the top to see if air is getting in. Check all side curtain attachments. A small piece of duct tape over a suspect seam can confirm the source of the whistle.
Persistent Leaks
Cause: Could be a damaged seal, a misaligned component, or a hole in the top itself.
Fix: Perform the water test methodically. Isolate the leak by having one person spray while another is inside with a flashlight. Once found, reseat the component. If the leak is from a hole in the vinyl, you’ll need a proper vinyl patch kit. For chronic leaks from a header seal, the seal itself may need replacement.
Difficulty Zipping or Snapping
Cause: Misalignment, dirt in the zipper/snap, or the material being too cold/stiff.
Fix: Ensure the mating parts are perfectly aligned. Clean the zipper teeth with a toothbrush and vinyl cleaner. Apply a zipper lubricant. If it’s cold, warm the area with a hairdryer on low heat (keep it moving!). Never force a zipper; you’ll break the slider.
Frequently Asked Questions
How long does it take to put a soft top on a Jeep for the first time?
For a first-timer with all tools ready, plan on 2 to 4 hours. With experience and the same model Jeep, you can get it down to under an hour. The key is not rushing and having a good helper.
Can I install a Jeep soft top by myself?
Technically, you can for some steps, but we strongly advise against it for the main installation. The rear section is heavy, awkward, and requires precise alignment that is nearly impossible for one person to achieve without risking damage to the top or your Jeep. One helper is the minimum; two is even better.
Should I install my soft top in cold weather?
Avoid it if possible. Cold makes vinyl stiff and brittle, causing it to crack and resist stretching. It also makes snaps and zippers incredibly difficult. If you must, warm the top in a garage for 24 hours first and work on a sunny day. Expect a much harder process.
How do I clean my soft top after installation?
Use a dedicated automotive vinyl cleaner and a soft microfiber mitt. Work in sections, rinse thoroughly with a gentle spray, and let it air dry completely. Apply a vinyl protectant after cleaning to block UV rays and maintain flexibility. Never use abrasive brushes or harsh chemicals.
What is the best way to store a soft top when not in use?
Remove it from the Jeep. Clean it first. Store it flat in a cool, dry, dark place, or loosely rolled (not folded) in a large cotton bag. Avoid places with temperature extremes or direct sunlight, which will dry it out and cause cracking.
What common mistakes do people make when installing a Jeep soft top?
The biggest mistakes are: not cleaning the mounting surfaces, forgetting the drain tubes, forcing components that don’t fit, over-tightening straps, and trying to do it alone. Always reference your specific instructions, work in good weather, and take your time with the header alignment.


