
How to Drain Rv Water Heater
Contents
- 1 Key Takeaways
- 2 📑 Table of Contents
- 3 Why Draining Your RV Water Heater Matters
- 4 When Should You Drain Your RV Water Heater?
- 5 Tools and Supplies You’ll Need
- 6 Step-by-Step Guide to Draining Your RV Water Heater
- 7 Inspecting and Replacing the Anode Rod
- 8 Common Mistakes to Avoid
- 9 Winterizing Your RV Water Heater
- 10 Conclusion
- 11 Frequently Asked Questions
Draining your RV water heater is a simple but essential maintenance task that prevents sediment buildup, extends appliance life, and ensures clean hot water. This guide walks you through the process safely, whether you’re a beginner or seasoned RVer, with clear steps and pro tips.
Key Takeaways
- Drain your RV water heater regularly to remove sediment and prevent corrosion, ideally every 3–6 months or before winter storage.
- Always turn off the power and let the water cool before draining to avoid burns or electrical hazards.
- Use the drain plug or anode rod opening depending on your water heater model—most RVs use a standard 1/2-inch drain plug.
- Flush the tank with fresh water after draining to clear out remaining debris and improve efficiency.
- Inspect the anode rod during draining and replace it if it’s more than 50% corroded to protect the tank from rust.
- Never operate the water heater dry—always refill the tank before turning the power back on to prevent damage.
- Winterize properly after draining if storing your RV in cold climates to avoid frozen and cracked tanks.
📑 Table of Contents
Why Draining Your RV Water Heater Matters
Owning an RV means embracing freedom, adventure, and the open road. But with that freedom comes responsibility—especially when it comes to maintaining your home on wheels. One of the most overlooked yet critical maintenance tasks is draining your RV water heater. You might think, “It’s just hot water—how much trouble can it be?” But neglecting this simple chore can lead to costly repairs, reduced efficiency, and even complete system failure.
Over time, minerals like calcium and magnesium in your water supply settle at the bottom of the water heater tank. This buildup, known as sediment, acts like insulation, forcing the heating element to work harder to warm the water. The result? Higher energy consumption, longer wait times for hot water, and eventually, overheating or burnout of the heating components. In extreme cases, sediment can cause the tank to crack or leak, especially during freeze-thaw cycles in winter.
Draining your RV water heater isn’t just about performance—it’s about protection. A well-maintained water heater lasts longer, performs better, and keeps your showers warm and your dishes clean. Whether you’re a full-time RVer or a weekend warrior, taking 20 minutes a few times a year to drain your water heater can save you hundreds in repairs down the road.
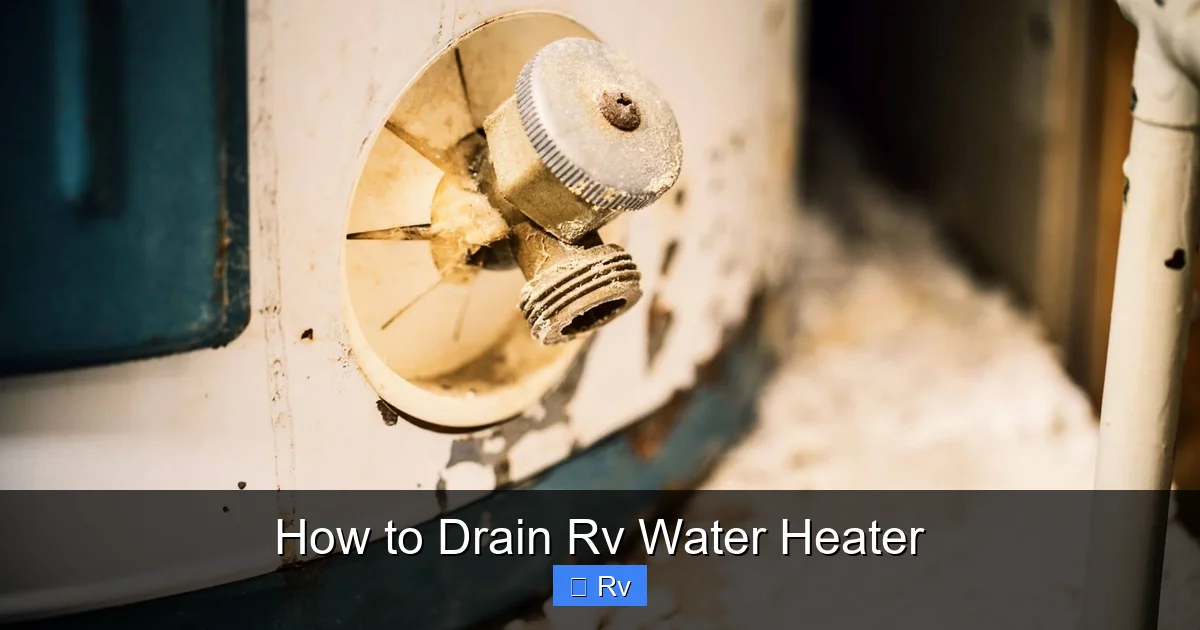
When Should You Drain Your RV Water Heater?
Visual guide about How to Drain Rv Water Heater
Image source: beezzly.com
Timing is everything when it comes to RV water heater maintenance. You don’t need to drain it every time you return from a trip, but there are specific moments when it’s absolutely necessary.
First and foremost, drain your water heater before winter storage. If you live in a cold climate or plan to store your RV where temperatures drop below freezing, water left in the tank can freeze and expand, cracking the tank or damaging connections. Draining the tank eliminates this risk and is a key step in winterizing your RV.
Another ideal time is every 3 to 6 months during active use. If you’re traveling frequently or living in your RV full-time, sediment accumulates faster. Draining the tank regularly helps maintain efficiency and prevents long-term damage. If you notice your hot water taking longer to heat up, or if the water has a metallic taste or cloudy appearance, it’s a strong sign that sediment is building up and it’s time to drain.
Additionally, drain the water heater after long periods of inactivity. If your RV has been sitting unused for a month or more, stagnant water can promote bacterial growth or corrosion. A quick drain and refill refreshes the system and ensures safe, clean hot water when you’re ready to hit the road again.
Finally, always drain the water heater before performing any maintenance, such as replacing the anode rod or inspecting the heating element. This makes the process safer and gives you full access to internal components.
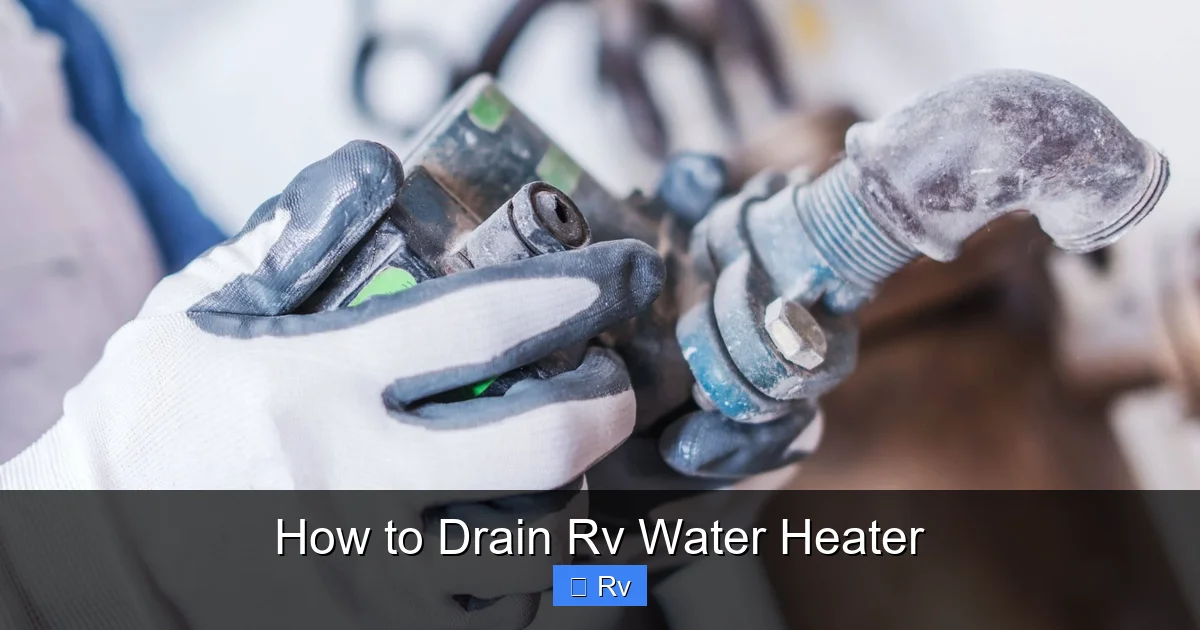
Tools and Supplies You’ll Need
Visual guide about How to Drain Rv Water Heater
Image source: beezzly.com
Before you start draining your RV water heater, gather the right tools and supplies. Having everything ready beforehand makes the process smoother and safer. You don’t want to be halfway through and realize you’re missing a key item.
Here’s a simple checklist:
– **Garden hose** – A standard 5/8-inch garden hose is perfect for draining the tank. Make sure it’s long enough to reach from your RV to a safe drainage area, like a sewer inlet or grassy spot (avoid draining onto pavement or into storm drains).
– **Adjustable wrench or pliers** – You’ll need this to loosen the drain plug or anode rod. A socket wrench with a 1-1/16” socket works well for most anode rods.
– **Teflon tape** – Also known as plumber’s tape, this helps create a watertight seal when reattaching the drain plug or anode rod.
– **Bucket or container** – Useful for catching the initial flow of water when you first open the drain, especially if you’re working in a tight space.
– **Safety gloves and goggles** – Even though the water should be cool, it’s smart to protect your hands and eyes from any unexpected splashes or debris.
– **Flashlight** – Helps you see into tight spaces under the RV, especially if your water heater access panel is in a dim area.
– **Replacement anode rod (optional)** – If your current rod is worn, now’s the perfect time to replace it.
Most of these items are common household tools, so you likely already have them on hand. If not, they’re inexpensive and available at any hardware or RV supply store. Investing in a good-quality wrench and Teflon tape now will save you frustration later.
Step-by-Step Guide to Draining Your RV Water Heater
Visual guide about How to Drain Rv Water Heater
Image source: beezzly.com
Now that you’re prepared, let’s walk through the actual process of draining your RV water heater. Follow these steps carefully to ensure a safe and effective drain.
Step 1: Turn Off the Power and Water Supply
Safety first! Before doing anything, make sure the water heater is completely off. If you have an electric water heater, turn off the breaker at your RV’s main electrical panel. For gas-powered models, turn off the gas supply valve. This prevents the heating element from running dry, which can cause irreversible damage.
Next, shut off the cold water supply to the water heater. This is usually a valve located near the water pump or city water connection. If you’re connected to city water, disconnect the hose. If you’re using the onboard tank, turn off the water pump.
Step 2: Let the Water Cool Down
Never drain a hot water heater while the water is still hot. Hot water can cause burns, and steam can build up pressure inside the tank. Wait at least 2–4 hours after the last use before draining. If you’re unsure, feel the outside of the water heater tank—if it’s warm, give it more time.
Step 3: Open a Hot Water Faucet
This step is often overlooked but crucial. Open a hot water faucet somewhere in your RV—like the kitchen sink or shower. This relieves pressure in the system and allows air to enter the tank, which helps the water drain smoothly. Without this, you might get a slow drip instead of a full flow.
Step 4: Locate the Drain Plug or Anode Rod
Most RV water heaters have a drain plug on the bottom of the tank, usually accessible through an exterior access panel. It’s typically a 1/2-inch hex head plug. Some models, especially newer ones, use the anode rod as the drain point. The anode rod is a sacrificial metal rod that attracts corrosion to protect the tank. It’s usually located on the side or top of the water heater and has a large hex head.
Check your owner’s manual if you’re unsure which type your RV has. If you can’t find the drain plug, look for a panel on the outside of your RV near the water heater—this is usually where the access point is.
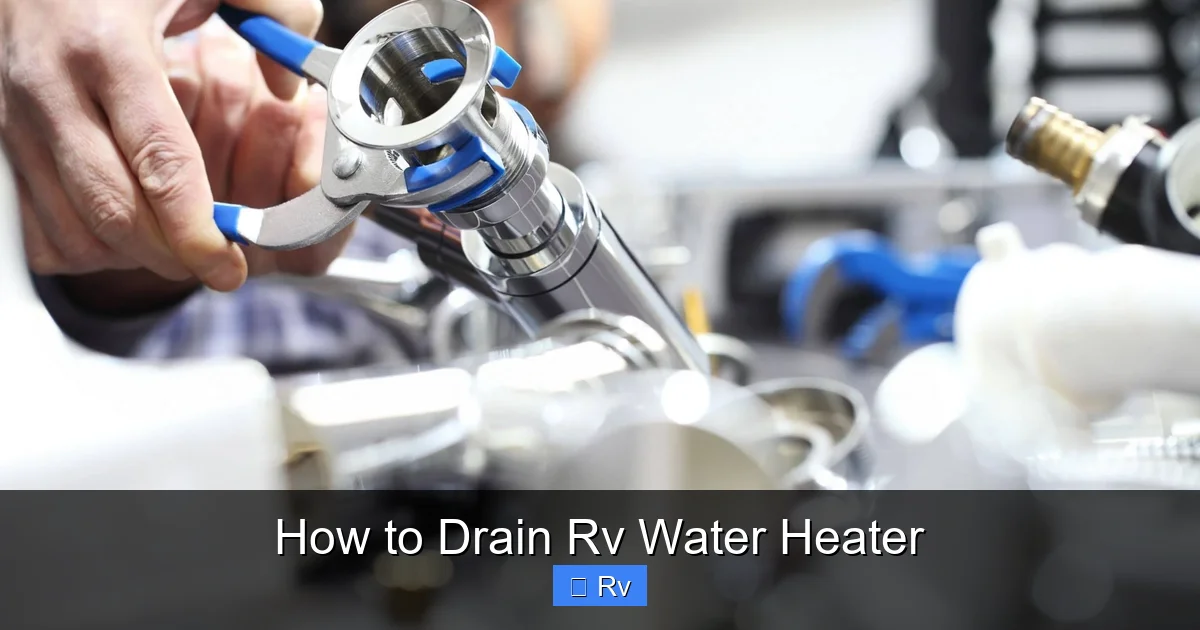
Step 5: Attach the Hose and Drain the Tank
Place one end of your garden hose onto the drain plug or anode rod. Run the other end to a safe drainage area. Make sure the hose is secure and won’t come loose during draining.
Using your wrench, slowly loosen the drain plug or anode rod. Be ready—water will start flowing immediately. Let the tank drain completely. This may take 5–10 minutes, depending on the tank size (most RV water heaters hold 6–10 gallons).
If you’re using the anode rod as the drain, remove it completely and let the water flow out. You’ll likely see sediment and debris coming out with the water—this is normal and a good sign that you’re clearing the tank.
Step 6: Flush the Tank (Optional but Recommended)
Once the tank is empty, you can flush it to remove any remaining sediment. Turn the water supply back on for a few seconds, then shut it off and drain again. Repeat this 2–3 times until the water runs clear. This extra step helps ensure a thorough clean.
Step 7: Reinstall the Drain Plug or Anode Rod
After draining and flushing, it’s time to reassemble. If you removed the anode rod, inspect it first. If it’s more than half corroded, replace it with a new one. Wrap the threads of the drain plug or anode rod with Teflon tape to prevent leaks, then screw it back in tightly—but don’t over-tighten, as this can strip the threads.
Step 8: Refill the Tank and Restore Power
Close the hot water faucet you opened earlier. Turn the water supply back on and let the tank fill completely. You’ll know it’s full when water flows steadily from the hot water faucet. Once full, turn the power or gas back on.
Let the water heat up for about 30 minutes before using it. This gives the system time to stabilize and ensures you’re getting hot water safely.
Inspecting and Replacing the Anode Rod
The anode rod is one of the most important—and often neglected—components of your RV water heater. It’s made of magnesium or aluminum and is designed to corrode in place of the tank, protecting it from rust and extending its lifespan.
During the draining process, take a close look at the anode rod. If it’s less than 1/2 inch thick or more than 50% worn down, it’s time to replace it. A fully corroded rod offers no protection, leaving your tank vulnerable.
Replacing the anode rod is simple. Just unscrew the old one (using a socket wrench if needed), insert the new one, and tighten it securely with Teflon tape on the threads. Most RVers replace their anode rod once a year, but if you use hard water or camp in areas with high mineral content, you may need to do it more often.
Some newer RVs use a “non-sacrificial” anode rod made of aluminum-zinc alloy, which lasts longer but doesn’t protect as effectively. If you’re unsure what type you have, check your owner’s manual or consult an RV technician.
Common Mistakes to Avoid
Even simple tasks can go wrong if you’re not careful. Here are some common mistakes RVers make when draining their water heater—and how to avoid them.
First, never drain a hot water heater. Always let it cool completely. Draining hot water can cause burns and damage the tank due to thermal shock.
Second, don’t forget to open a hot water faucet. Without it, the tank won’t drain properly due to a vacuum effect.
Third, avoid over-tightening the drain plug or anode rod. Use hand pressure plus a quarter turn with the wrench—enough to seal, but not so much that you strip the threads.
Fourth, never turn the power back on before the tank is full. Running the heating element dry can burn it out in seconds.
Finally, don’t skip the anode rod inspection. It’s easy to forget, but it’s one of the best ways to protect your investment.
Winterizing Your RV Water Heater
If you’re storing your RV for the winter, draining the water heater is just the first step. You also need to winterize the entire system to prevent freezing damage.
After draining, use an air compressor to blow out any remaining water from the tank and lines. Alternatively, you can use RV antifreeze. Pour a quart of non-toxic RV antifreeze into the water heater through the anode rod opening, then reinstall the rod. This ensures no water is left to freeze.
Don’t forget to bypass the water heater when winterizing the rest of your plumbing system. Most RVs have a winterizing bypass kit that redirects antifreeze around the water heater, saving you from wasting gallons of antifreeze.
Conclusion
Draining your RV water heater might not be the most exciting part of RV ownership, but it’s one of the most important. It’s a simple, quick task that pays big dividends in performance, safety, and longevity. By following the steps in this guide, you’ll keep your water heater running efficiently, avoid costly repairs, and enjoy hot showers no matter where the road takes you.
Make it a habit—drain every few months, inspect the anode rod, and winterize properly. Your RV will thank you with reliable service for years to come. So next time you’re prepping for a trip or storing for the season, take 20 minutes to give your water heater the care it deserves. It’s a small effort with a big payoff.
Frequently Asked Questions
How often should I drain my RV water heater?
You should drain your RV water heater every 3 to 6 months during active use, and always before winter storage. If you notice reduced hot water performance or sediment in the water, drain it sooner.
Can I drain my RV water heater while it’s hot?
No, never drain a hot water heater. Always let the water cool for at least 2–4 hours to prevent burns and avoid thermal shock that can damage the tank.
What happens if I don’t drain my RV water heater?
Over time, sediment builds up, reducing efficiency, increasing energy use, and potentially causing overheating or tank failure. It can also lead to corrosion and leaks.
Do I need to replace the anode rod every time I drain the water heater?
No, only replace the anode rod if it’s more than 50% corroded or less than 1/2 inch thick. Most RVers replace it once a year, but check it during each drain.
Can I use regular antifreeze in my RV water heater?
No, never use automotive antifreeze. Only use non-toxic RV antifreeze, which is safe for potable water systems and designed for RV plumbing.
What if my water heater won’t drain completely?
Make sure a hot water faucet is open to break the vacuum. If it still won’t drain, the drain plug may be clogged with sediment—try flushing the tank or using a hose to clear the opening.


