
How to Use a Tesla Tire Repair Kit
A Tesla tire repair kit is a temporary solution for flat tires. Always prioritize safety and understand its limitations. This guide walks you through each step, from locating the kit to resetting TPMS, ensuring you get back on the road quickly without compromising safety.
Key Takeaways
- The kit is for temporary use only: It’s designed to seal small tread punctures and reinflate the tire enough to drive slowly to a professional repair shop, not for permanent fixes.
- Not all flats can be repaired: Sidewall damage, large holes, or blowouts are beyond the kit’s capability and require a tow or professional tire replacement.
- Safety comes first: Always move to a safe, flat location away from traffic, engage parking brake, and use hazard lights before attempting any repair.
- TPMS must be reset: After using the kit, the Tire Pressure Monitoring System light will stay on until manually reset via the vehicle’s touchscreen settings.
- Professional inspection is mandatory: The sealant is temporary and can damage sensors; have a tire shop inspect, clean, and properly repair or replace the tire promptly.
- Kit location varies by model: Typically stored in the frunk (front trunk) under the floor mat, but consult your owner’s manual for your specific Tesla model.
- Drive cautiously after use: Limit speed to 50 mph (80 km/h) and drive directly to a repair facility; avoid long distances or high-speed highways.
📑 Table of Contents
- Introduction: Your Tesla’s Secret Weapon Against Flats
- What’s Inside Your Tesla Tire Repair Kit?
- When Should You Use the Kit? (And When You Shouldn’t)
- Step-by-Step: Using the Tesla Tire Repair Kit
- After the Repair: Critical Next Steps
- Common Mistakes and Expert Tips
- Conclusion: Knowledge is Your Best Tire Safety Net
Introduction: Your Tesla’s Secret Weapon Against Flats
One of the unique aspects of owning a Tesla is the absence of a traditional spare tire. To save space and weight, Tesla equips most models with a compact tire repair kit instead. This kit, often called a “tire mobility kit,” is a valuable tool for minor emergencies, but using it correctly is crucial. It’s not a magic fix—it’s a temporary measure to get you moving again safely. Understanding exactly how this kit works, what it can and cannot do, and the precise steps to use it will turn a potential major hassle into a manageable 20-minute task. This guide will walk you through every detail, ensuring you’re prepared if you hear that dreaded thump and feel the car pull to one side.
First, a critical warning: the Tesla tire repair kit is not a substitute for a proper tire repair or replacement. The sealant inside is a temporary plug that will degrade over time and can potentially damage the Tire Pressure Monitoring System (TPMS) sensor if not cleaned promptly. Its sole purpose is to allow you to drive at a reduced speed to the nearest qualified tire shop. Never consider it a permanent solution. If you’re ever in doubt about the severity of the damage, the safest choice is to call Tesla Roadside Assistance or a tow truck. This philosophy aligns with the broader approach to modern vehicle puncture repair, where temporary sealants bridge the gap between a flat and professional service.
What’s Inside Your Tesla Tire Repair Kit?
Before you ever need to use it, it’s wise to familiarize yourself with the kit’s components and its storage location. The kit is compact and typically housed in a rigid plastic case. Opening it, you’ll usually find:
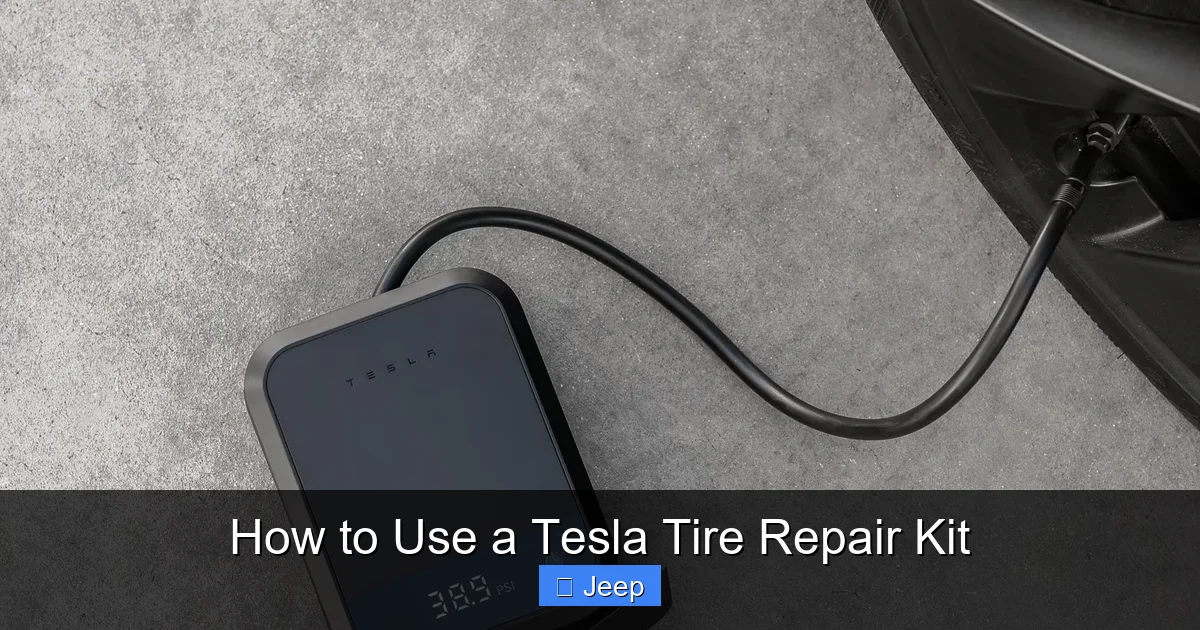
Visual guide about How to Use a Tesla Tire Repair Kit
Image source: driveteslacanada.ca
- A sealant bottle: This contains a liquid latex-based compound. When injected into the tire, it coats the inner liner and seals the puncture from the inside.
- A small air compressor: This is a 12V DC powered unit that plugs into your car’s cigarette lighter/power socket. It’s used to reinflate the tire after the sealant is introduced.
- A hose with a pressure gauge: This connects the compressor to the tire’s valve stem. The gauge lets you monitor inflation progress.
- A valve core removal tool (sometimes included): A small tool to remove the tire’s valve core if needed for faster sealant injection, though most Tesla kits are designed to inject without this step.
- Instructions: Always review these specific to your kit model, as designs can vary slightly by year and Tesla model.
Finding the Kit in Your Tesla
Storage location is consistent across most models but always double-check your owner’s manual. The kit is almost always located in the frunk (front trunk). Open the frunk, and you’ll typically find it secured under the floor mat or in a dedicated compartment on the side wall. It’s a good idea to locate it during a quiet weekend afternoon so you’re not fumbling in an emergency on the side of the road.
When Should You Use the Kit? (And When You Shouldn’t)
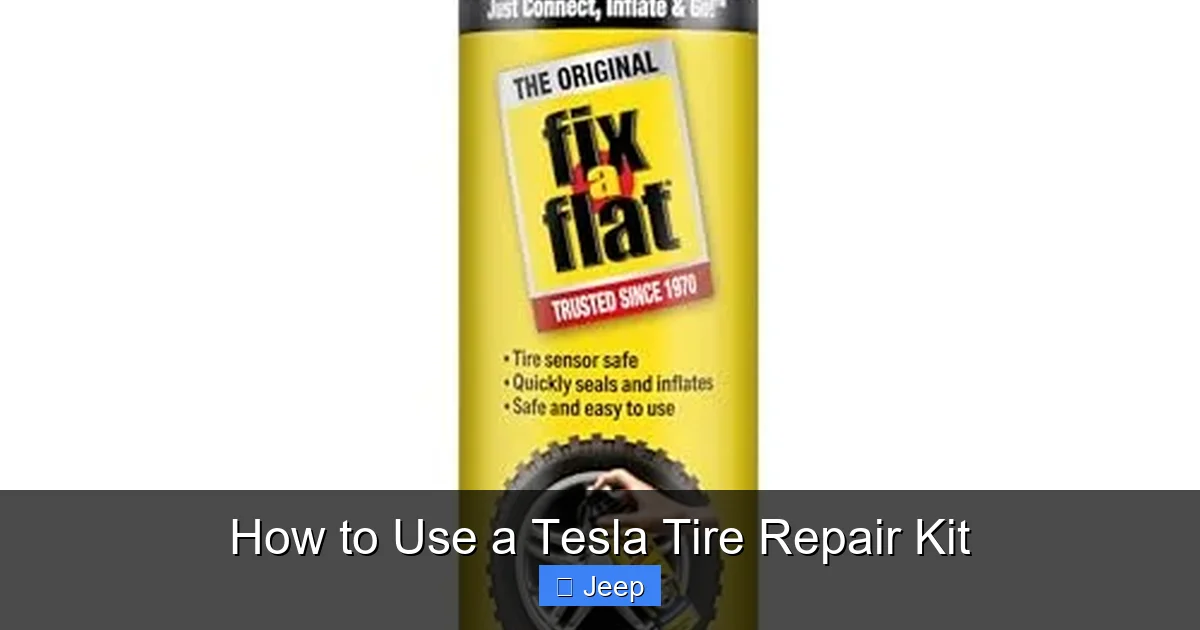
Using the kit at the wrong time can be dangerous and ineffective. Here’s the golden rule: The kit is only for small, clean punctures in the tire’s tread area.

Visual guide about How to Use a Tesla Tire Repair Kit
Image source: cdn.teslanorth.com
Suitable Scenarios
- A nail or screw embedded in the center of the tread (the thickest part of the tire).
- A puncture no larger than ¼ inch (about 6 mm) in diameter.
- A tire that has lost air slowly, indicating a small leak.
When to Abort and Call for Help
Do not attempt a repair with the kit if you observe any of the following:
- Sidewall damage: Any cut, gash, or puncture on the tire’s sidewall. This area is structurally critical and cannot be safely sealed with a liquid sealant.
- Large holes or gashes: Damage exceeding the ¼-inch limit.
- Blowouts: Where the tire has completely shredded or separated from the rim.
- Severe wheel damage: A bent or cracked rim.
- Rapid, complete air loss: If the tire is completely flat in seconds, the internal structure is likely compromised.
- Unclear source of leak: If you can’t see an obvious object in the tread.
In these cases, using the kit is useless and dangerous. You must contact Tesla Roadside Assistance or a professional towing service. Remember, the cost of a tow is far less than the risk of a blowout at high speed. For context, understanding the time commitment for a professional tire repair can help you decide whether a temporary fix is worth the effort or if a direct tow to a shop is more efficient.
Step-by-Step: Using the Tesla Tire Repair Kit
Assuming you have a suitable puncture, follow these steps meticulously. The entire process should take 15-25 minutes.
Visual guide about How to Use a Tesla Tire Repair Kit
Image source: m.media-amazon.com
Step 1: Prepare for Safety
This is the most important step. Find a safe, flat, and stable surface away from traffic. On a highway, exit immediately. Park on the shoulder or a parking lot. Engage your parking brake. Turn on your hazard lights. If you have reflective triangles or flares (often stored separately in your Tesla’s emergency kit), place them behind your vehicle at appropriate distances (50-100 feet) to warn other drivers. Never attempt a repair on a sloped surface or with traffic whizzing by.
Step 2: Locate and Access the Kit
Open the frunk. Remove the floor mat or access panel to find the tire repair kit case. Pull it out and place it near the flat tire. Open the case and lay out the components so they’re easily accessible.
Step 3: Identify the Puncture and Prepare the Tire
Visually inspect the tire. If you see a nail or screw, do not remove it! The sealant needs the object to be in place to form a plug around it. If the object is large and protruding, you can carefully break it off flush with the tire surface using pliers or the valve tool—be careful not to push it further in. Clean the area around the valve stem and the puncture site with a rag if available to remove dirt and debris.
Step 4: Inject the Sealant
Take the sealant bottle and the hose. The hose will have a connector that fits onto the tire’s valve stem. Do not remove the valve core. Simply screw the hose connector onto the valve stem until it’s snug. The kit is designed to inject sealant without needing to depress the valve core. Turn the sealant bottle upside down and squeeze it firmly to empty the entire contents into the tire. You should hear and feel the liquid flowing into the tire. This takes about 30-60 seconds of firm squeezing. Once empty, disconnect the hose from the valve stem.
Step 5: Reinflate the Tire
Now, take the small air compressor. Plug its power cable into your Tesla’s 12V socket (usually in the center console or frunk). Screw the compressor’s hose onto the tire’s valve stem. The compressor will start automatically or you may need to press a power button. Watch the pressure gauge. You need to inflate the tire to Tesla’s recommended cold psi, which is listed on a sticker inside the driver’s door jamb. For most Model 3/Y, it’s around 42 psi for standard tires, but always verify your specific placard. Inflate to the recommended pressure. The compressor may run for 5-10 minutes to reach this pressure. Once achieved, turn off the compressor and disconnect the hose.
Step 6: Reset the TPMS
Immediately after inflation, the TPMS warning light will still be illuminated on your dash. You must reset it via the touchscreen. Go to Service & Repair > Tire Pressure > Reset TPMS (the exact menu path can vary slightly by software version; consult your manual). Follow the on-screen prompts. The system will relearn the new pressure values. The light should extinguish after a short drive, but the reset is crucial. If you skip this, you’ll have a constant warning light and potentially inaccurate pressure readings. This step is unique to modern vehicles like Tesla and differs from older systems; it’s a key part of the process.
Step 7: Final Checks and Drive
Double-check the tire pressure with your own gauge if you have one for accuracy. Ensure the valve stem cap is replaced. Stow the used sealant bottle and compressor carefully—the bottle will be empty but may contain residue. Now, you’re ready to drive. Remember the limits: Do not exceed 50 mph (80 km/h). Drive directly to a professional tire repair shop. Do not make detours. The sealant is a temporary plug and can fail at high speeds or over long distances. The tire will feel slightly different; drive cautiously.
After the Repair: Critical Next Steps
You’ve made it to the shop. Now what? The journey isn’t over.
Professional Inspection and Repair
Explain to the technician that you used the Tesla tire sealant kit. They need to know because:
- The sealant must be thoroughly cleaned from the inside of the tire before a proper patch or plug can be applied.
- The TPMS sensor may be coated in sealant and require cleaning or even replacement.
- The tire’s structural integrity needs a full inspection. The puncture may be too large or in an unsuitable location for repair, necessitating a new tire.
A reputable shop will demount the tire, clean out all sealant residue, inspect the inner liner, and then decide on the appropriate repair method (typically a combination plug-patch from the inside). They will also clean or replace the TPMS sensor as needed. This professional service will cost money, but it’s essential for long-term safety. You can get a clear idea of what to expect price-wise for a proper tire repair to avoid surprises.
Restocking Your Kit
The sealant bottle is a single-use item. You must purchase a replacement Tesla-specific sealant bottle (part number available from Tesla or authorized parts vendors) to refill your kit. The compressor is reusable. Never use a generic sealant from an auto parts store, as it may not be compatible with the TPMS sensor or the kit’s injection system. After getting your tire professionally repaired, refill the sealant bottle and return the kit to its frunk storage spot. Consider checking the kit’s pressure (some compressors have a gauge) and battery (if it has a built-in battery) every six months.
Common Mistakes and Expert Tips
Even with the best instructions, pitfalls exist. Here’s how to avoid them.
- Mistake: Using the kit on sidewall damage. This is the #1 error. Sidewalls flex more and cannot hold a sealant plug. It will fail, potentially causing a blowout. Tip: If the puncture is within 1-2 inches of the sidewall edge, do not use the kit. Call for help.
- Mistake: Overdriving after the repair. Exceeding 50 mph or driving for more than 50-70 miles on the sealed tire risks complete failure. Tip: Plan your route to the repair shop in advance; take surface streets if possible.
- Mistake: Forgetting to reset TPMS. The persistent light is not just annoying; it indicates the system isn’t monitoring your tires correctly. Tip: Make TPMS reset the final mandatory step before driving off.
- Mistake: Not refilling the sealant. An empty bottle is a useless bottle. Tip: After your professional repair, make replacing the sealant your first task. Keep a spare bottle in your frunk if you frequently drive in areas with debris.
- Mistake: Using the kit in extreme cold. Sealant viscosity can increase in very cold temperatures, making it harder to inject. Tip: If it’s frigid, you may need to warm the sealant bottle slightly (e.g., keep it in the cabin) before use, but never use an open flame.
Another expert tip: Practice the process mentally. Know exactly where your kit is stored and how the hoses connect. In a stressful situation, familiarity reduces errors. Also, while not directly related, understanding other tire diagnostic tools can enhance your overall roadside preparedness, though a thumper is more for checking inflation on large vehicles.
Conclusion: Knowledge is Your Best Tire Safety Net
Your Tesla tire repair kit is a clever piece of engineering that provides a vital bridge from a flat tire to a professional fix. By now, you should understand its purpose as a strictly temporary measure, know how to identify a repairable puncture, and be able to execute the step-by-step process safely and effectively. The key takeaways are simple: safety first, know the kit’s limits, reset the TPMS, and get professional help immediately after. This knowledge transforms you from a stranded motorist into a prepared driver who can handle a common roadside issue with confidence. Remember, the goal isn’t to become a tire technician; it’s to use the kit wisely to buy yourself enough time and distance to reach experts who can restore your tire to 100% safety. Keep your kit stocked, your mind sharp, and drive carefully.
Frequently Asked Questions
Where is the Tesla tire repair kit located?
It is stored in the frunk (front trunk), typically under the floor mat or in a side compartment. Always refer to your owner’s manual for the exact location in your specific model year.
Can I use the Tesla tire repair kit on a sidewall puncture?
No. The kit is only designed for small punctures in the tire’s tread area. Sidewall damage is structurally dangerous and cannot be sealed safely with the liquid sealant. Attempting this could cause a blowout.
How fast can I drive after using the Tesla tire repair kit?
You must limit your speed to 50 mph (80 km/h) and drive directly to a professional tire repair shop. Do not exceed 50-70 miles on the sealed tire, as the temporary plug is not designed for long-term or high-speed use.
Why does the TPMS light stay on after I use the kit and how do I reset it?
The light stays on because the system detects a pressure event. You must manually reset it via the touchscreen: go to Service & Repair > Tire Pressure > Reset TPMS and follow the prompts. The light should turn off after a short drive once the new pressure values are learned.
Is using the Tesla kit cheaper than calling a tow truck?
Often, yes. The kit itself is a one-time investment (and refills are cheap). A tow can cost $100-$300+. However, you still must pay for a professional tire repair afterward. For severe damage where the kit can’t be used, a tow is the only safe option.
Should I use the kit or call Tesla Roadside Assistance?
Use the kit only for small, clean tread punctures if you are in a safe location and feel comfortable. Call Tesla Roadside Assistance immediately for sidewall damage, large holes, blowouts, if you are in an unsafe location (like a busy highway), or if you are unsure about the damage. Your safety is the priority.


