How to Use a Bike Tire Lever
Contents
- 1 Key Takeaways
- 2 📑 Table of Contents
- 3 Introduction: Why Every Cyclist Needs to Know How to Use a Bike Tire Lever
- 4 What Is a Bike Tire Lever and Why Do You Need One?
- 5 Step-by-Step Guide: How to Use a Bike Tire Lever to Remove a Tire
- 6 How to Use a Bike Tire Lever to Install a Tire
- 7 Common Mistakes to Avoid When Using a Bike Tire Lever
- 8 Pro Tips for Efficient and Safe Tire Changes
- 9 Conclusion: Master the Basics and Ride with Confidence
- 10 Frequently Asked Questions
Using a bike tire lever correctly can save you time and frustration when fixing a flat tire. This guide walks you through every step—from removing the wheel to reseating the tire—with clear, beginner-friendly instructions and expert tips to avoid common mistakes.
Key Takeaways
- Always deflate the tire completely before using tire levers. This prevents pinching the inner tube and makes removal easier.
- Use two or three levers spaced evenly around the rim. This distributes force and reduces the risk of damaging the rim or tube.
- Insert levers under the bead, not over the tube. Placing them incorrectly can puncture the inner tube during removal.
- Work slowly and gently to avoid snapping the lever or tearing the tire. Rushing increases the chance of damage.
- Lubricate the bead with soapy water if it’s stuck. This helps the tire slide back on smoothly during reinstallation.
- Inspect both tire and rim after removal. Look for embedded debris, sharp edges, or wear that could cause another flat.
- Practice at home before you need it on the road. Familiarity builds confidence and speed during real repairs.
📑 Table of Contents
- Introduction: Why Every Cyclist Needs to Know How to Use a Bike Tire Lever
- What Is a Bike Tire Lever and Why Do You Need One?
- Step-by-Step Guide: How to Use a Bike Tire Lever to Remove a Tire
- How to Use a Bike Tire Lever to Install a Tire
- Common Mistakes to Avoid When Using a Bike Tire Lever
- Pro Tips for Efficient and Safe Tire Changes
- Conclusion: Master the Basics and Ride with Confidence
Introduction: Why Every Cyclist Needs to Know How to Use a Bike Tire Lever
Picture this: You’re halfway through a scenic ride, the sun is shining, and you’re feeling great—until you hear that dreaded hiss. A flat tire. Suddenly, your peaceful adventure turns into a roadside puzzle. But don’t panic. With the right tools and know-how, fixing a flat is quicker and easier than you think. One of the most essential tools in your repair kit? The humble bike tire lever.
Bike tire levers are small, simple-looking tools—usually made of plastic or metal—that help you remove and reinstall tires without damaging the rim or inner tube. While they seem straightforward, using them incorrectly can lead to snapped levers, torn tubes, or even bent rims. That’s why understanding how to use a bike tire lever properly is a must-have skill for every cyclist, whether you’re commuting to work, cruising on weekends, or tackling long-distance tours.
In this guide, we’ll walk you through everything you need to know about using a bike tire lever—step by step. From choosing the right lever to safely removing and reinstalling your tire, we’ll cover the best practices, common mistakes, and pro tips to make your next flat repair a breeze. Whether you’re a beginner or just need a refresher, this guide will help you handle tire changes with confidence.
What Is a Bike Tire Lever and Why Do You Need One?
A bike tire lever is a small, curved tool designed to help you pry the edge (or “bead”) of a tire away from the rim of the wheel. Most modern bike tires are tight-fitting, especially on road bikes or tubeless setups, making it nearly impossible to remove them by hand alone. That’s where the lever comes in—it gives you the mechanical advantage needed to lift the bead over the rim without damaging anything.
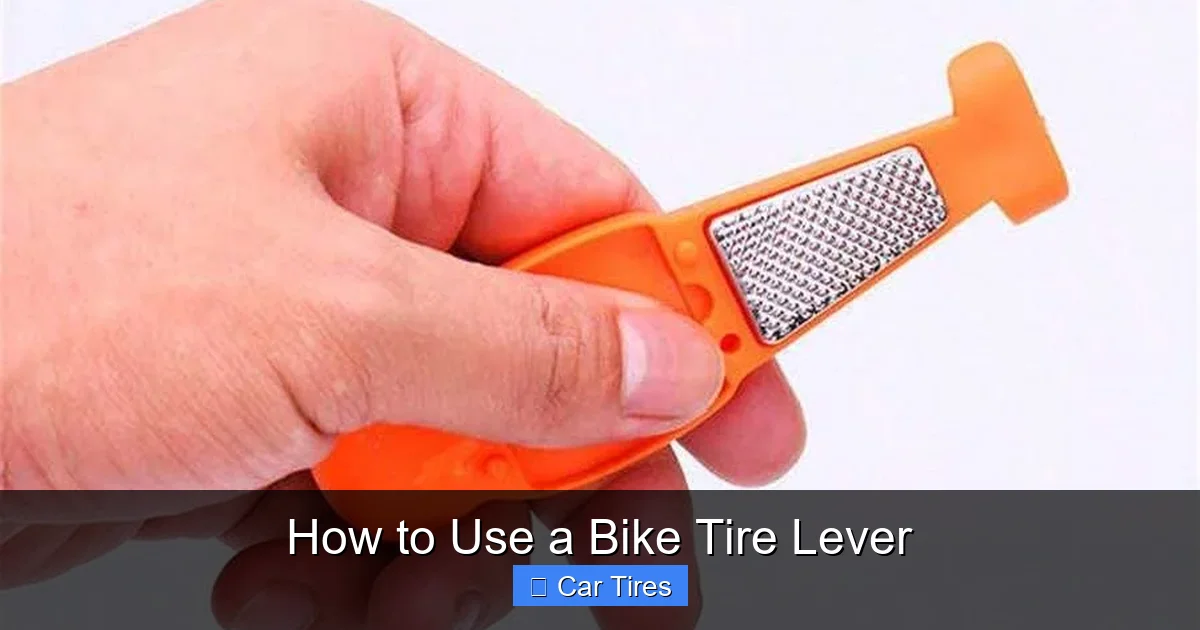
Visual guide about How to Use a Bike Tire Lever
Image source: img.ltwebstatic.com
Types of Bike Tire Levers
There are three main types of tire levers, each with its own pros and cons:
- Plastic levers: Lightweight, affordable, and less likely to scratch your rim. Most beginners start with plastic levers. However, they can snap under pressure, especially on stiff tires or cold days when plastic becomes brittle.
- Metal levers: Stronger and more durable than plastic, metal levers (usually made of aluminum or steel) are great for tough jobs. The downside? They can scratch or dent aluminum rims if used carelessly. Always use them with caution.
- Composite or nylon-reinforced levers: A middle ground between plastic and metal, these are stronger than standard plastic but gentler on rims than metal. They’re a popular choice for serious cyclists.
When Do You Need a Tire Lever?
You’ll typically need a tire lever in these situations:
- Changing a flat inner tube
- Installing a new tire
- Converting to tubeless tires
- Inspecting the inside of the tire for debris
- Adjusting or replacing rim tape
While some experienced riders can remove tires by hand, using a lever is faster, safer, and less likely to cause damage. It’s especially helpful with high-pressure road tires or tight-fitting mountain bike tires.
Step-by-Step Guide: How to Use a Bike Tire Lever to Remove a Tire
Now that you know what a tire lever is and why it’s useful, let’s dive into the actual process. Removing a tire might seem intimidating at first, but with the right technique, it’s simple and safe. Follow these steps carefully to avoid damaging your wheel or tube.
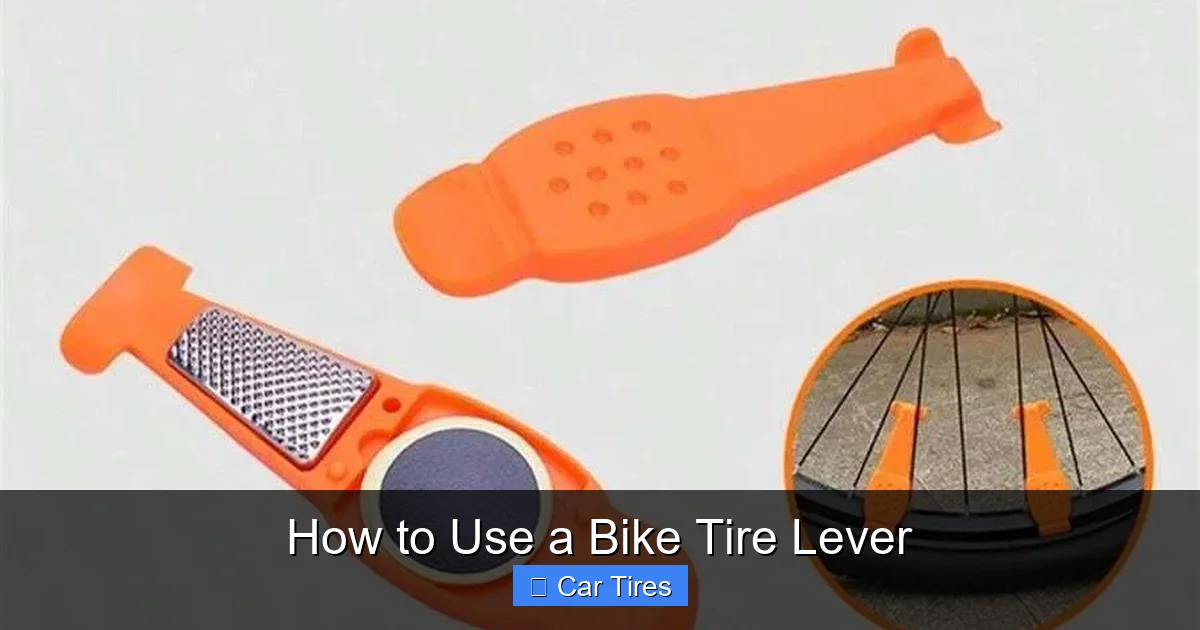
Visual guide about How to Use a Bike Tire Lever
Image source: img.ltwebstatic.com
Step 1: Deflate the Tire Completely
Before you touch the tire lever, make sure the inner tube is fully deflated. Press down on the valve (Schrader or Presta) to release any remaining air. For Presta valves, you may need to unscrew the tip first. Leaving air in the tube increases the risk of pinching it when you pry the tire off.
Step 2: Remove the Wheel (If Necessary)
Depending on your bike, you may need to remove the wheel to access the tire. On most bikes, this involves:
- Opening the quick-release lever or loosening the thru-axle
- Shifting the chain to the smallest rear cog (for rear wheels)
- Gently pulling the wheel out of the dropouts
Front wheels are usually easier to remove. Rear wheels require a bit more finesse to clear the chain and derailleur. If you’re not removing the wheel, make sure the bike is stable—use a repair stand or flip it upside down.
Step 3: Insert the First Tire Lever
Find a spot about 6–8 inches from the valve stem. This area is often easier to work with because the tire tends to be tighter near the valve. Hook the curved end of the lever under the bead of the tire (the inner edge that sits in the rim). Make sure the lever is pointing toward the center of the wheel—this helps it slide under the bead without catching the tube.
Gently pry the lever upward to lift the bead over the rim. You should see a small section of the tire pop out. Don’t pull too hard—just enough to get the bead started.
Step 4: Insert a Second Lever
Once the first section is loose, slide the first lever along the rim to keep that part of the bead lifted. Then, insert a second lever about 4–6 inches away from the first. Pry it up to lift another section of the bead.
At this point, you should have two sections of the tire bead lifted over the rim. If the tire is still tight, you can use a third lever to work your way around. The goal is to create enough slack so you can remove the rest of the tire by hand.
Step 5: Remove the Tire Completely
Once enough of the bead is lifted, you can usually pull the rest of the tire off by hand. Start from the side opposite the levers and work your way around. Be careful not to pinch the inner tube—if it’s still inside, gently pull it out once the tire is loose.
Pro Tip: If the tire is extremely tight, try warming it up slightly (e.g., leave it in the sun for a few minutes). Heat makes rubber more flexible and easier to manipulate.
How to Use a Bike Tire Lever to Install a Tire
Installing a tire is often trickier than removing one—especially when you’re trying to get the last few inches of bead over the rim. Here’s how to do it safely and efficiently using your tire lever.
Visual guide about How to Use a Bike Tire Lever
Image source: i5.walmartimages.com
Step 1: Partially Inflate the New Tube (Optional but Recommended)
Before inserting the tube, give it a small puff of air—just enough to give it shape. This prevents the tube from getting twisted or pinched when you install the tire. A slightly inflated tube is easier to position and less likely to kink.
Step 2: Insert the Tube into the Tire
Place the tube inside the tire, making sure the valve stem lines up with the valve hole in the rim. Start by inserting the valve through the hole, then work the tube evenly around the tire. Avoid twisting or bunching the tube.
Step 3: Seat One Side of the Tire on the Rim
Start by pushing one side of the tire bead (the side without the valve) into the rim. Use your thumbs to press the bead down and work your way around the wheel. This side should go on easily by hand.
Step 4: Install the Second Side (The Tricky Part)
Now comes the challenge: getting the other side of the tire over the rim. Start by pressing as much of the bead as possible into the rim using your thumbs. Work from the valve outward in both directions.
When you reach the last few inches, it’s time to use the tire lever. Important: Only use the lever on the final stretch—never force the entire tire on with levers, as this can pinch the tube.
Hook the lever under the bead and gently pry it over the rim. Work slowly and avoid using excessive force. If the tire is too tight, stop and check for twists in the tube or debris in the rim.
Step 5: Remove the Lever and Check the Tube
Once the bead is over the rim, remove the lever and inspect the tube. Make sure it’s not pinched between the tire and rim. Run your fingers around the inside of the tire to feel for any bulges or pinches.
Pro Tip: If the tire is extremely tight, try using a tire bead jack—a specialized tool that helps lever the last bit of bead over the rim without risking tube damage.
Common Mistakes to Avoid When Using a Bike Tire Lever
Even experienced cyclists make mistakes when using tire levers. Here are the most common errors and how to avoid them:
Using Too Much Force
It’s tempting to yank the lever hard when the tire is stuck, but this can snap plastic levers or damage your rim. Instead, work slowly and use multiple levers to distribute the force. If the tire won’t budge, check for twists or debris.
Pinching the Inner Tube
One of the biggest risks is pinching the tube between the tire and rim. This usually happens when you use the lever too aggressively or insert it over the tube instead of under the bead. Always hook the lever under the tire bead, not over the tube.
Using Metal Levers on Aluminum Rims
Metal levers can scratch or dent aluminum rims, especially if you’re prying at an angle. If you must use metal levers, place a cloth or piece of tape over the rim edge for protection. Better yet, stick to plastic or composite levers for aluminum wheels.
Not Deflating the Tire First
Trying to remove a partially inflated tire is not only harder—it’s dangerous. The pressure can cause the lever to slip and damage the tube or rim. Always deflate completely before starting.
Forgetting to Inspect the Tire and Rim
After removing the tire, take a moment to check the inside for glass, thorns, or sharp edges. Also inspect the rim tape to ensure it’s covering the spoke holes properly. A small piece of debris can cause another flat if left behind.
Pro Tips for Efficient and Safe Tire Changes
Now that you know the basics, here are some expert tips to make your tire changes faster, safer, and less frustrating:
Use Soapy Water as Lubricant
If the tire bead is stubborn, apply a small amount of soapy water or tire lubricant to the rim and bead. This reduces friction and helps the tire slide on more easily. Avoid using oil-based lubricants, as they can degrade rubber over time.
Carry Spare Levers
Plastic levers can break, especially in cold weather. Always carry at least two extras in your repair kit. Consider upgrading to composite levers for better durability.
Practice at Home
The best time to learn is not on the side of the road. Practice removing and installing your tire at home when you have time and good lighting. This builds muscle memory and confidence.
Use a Tire Boot for Emergency Repairs
If you get a large cut in the tire that can’t be patched, a tire boot (a piece of reinforced fabric) can temporarily seal the damage. Place it inside the tire over the cut before reinstalling the tube.
Check Tire Pressure Regularly
Underinflated tires are more prone to pinch flats and are harder to install. Use a reliable pump with a pressure gauge and check your tires before every ride.
Conclusion: Master the Basics and Ride with Confidence
Learning how to use a bike tire lever is one of the most valuable skills a cyclist can have. It turns a potentially stressful situation—like a flat tire on a remote trail—into a quick, manageable fix. With the right technique, a few simple tools, and a little practice, you’ll be able to handle tire changes like a pro.
Remember: always deflate the tire first, use levers gently, and inspect your equipment after each repair. Avoid common mistakes like pinching the tube or using metal levers on aluminum rims. And don’t forget to carry spare levers and practice at home.
Whether you’re a weekend warrior or a daily commuter, mastering the bike tire lever empowers you to ride farther, longer, and with greater peace of mind. So the next time you hear that hiss, you’ll know exactly what to do—no panic, no frustration, just smooth sailing (or riding) ahead.
Frequently Asked Questions
Can I remove a bike tire without a tire lever?
Yes, it’s possible to remove some tires by hand, especially on older or looser-fitting models. However, using a tire lever is faster, safer, and reduces the risk of damaging the rim or tube. For tight tires, a lever is almost always necessary.
How many tire levers do I need?
Two levers are usually enough, but having a third can make the job easier, especially with stiff tires. Start with two, and use a third if you’re struggling to lift the bead over the rim.
Can I use a screwdriver instead of a tire lever?
Technically yes, but it’s not recommended. Screwdrivers are not designed for this purpose and can easily puncture the inner tube or scratch the rim. Always use a proper bike tire lever for safety and effectiveness.
Why does my tire lever keep breaking?
Plastic levers can break if used with too much force, on very tight tires, or in cold weather. Upgrade to composite or metal levers for better durability, and always work slowly and gently.
Should I lubricate the tire bead?
Yes, especially if the tire is tight. A small amount of soapy water or tire lubricant on the bead and rim helps it slide on more easily and reduces friction during installation.
How do I know if I’ve damaged my rim or tube?
After using a lever, inspect the rim for scratches or dents, especially if using metal levers. Check the tube for pinches or punctures by inflating it slightly and listening for leaks. Always double-check before reinstalling.