
How to Reset Maintenance Light on a 2012 Toyota Corolla
Contents
- 1 Key Takeaways
- 2 📑 Table of Contents
- 3 Understanding Your 2012 Toyota Corolla’s Maintenance Required Light
- 4 The Step-by-Step Manual Reset Procedure
- 5 When and Why You Should (and Shouldn’t) Reset the Light
- 6 Troubleshooting: What If the Light Won’t Reset or Comes Back On?
- 7 The Bigger Picture: Maintenance as a Habit, Not a Chore
- 8 Frequently Asked Questions (FAQs)
- 9 Frequently Asked Questions
The maintenance light on your 2012 Toyota Corolla is a friendly reminder that scheduled service is due, typically an oil change. Resetting it is a simple process you can do yourself in under a minute using the trip meter button. However, it’s crucial to only reset the light after you’ve performed the required maintenance, not just to make the warning disappear. This guide provides clear, foolproof instructions for the correct reset procedure and explains what the light truly means for your vehicle’s health.
Key Takeaways
- The light is a maintenance reminder, not a故障警报: It indicates scheduled service (like an oil change) is due based on mileage or time, not an immediate engine problem.
- Always perform maintenance first: The reset procedure should only be done after the required service is completed by a professional or yourself.
- The process is manual and tool-free: For a 2012 Corolla, you reset it using the odometer/trip meter button on the gauge cluster; no special scan tools are needed.
- Incorrect resetting is risky: Resetting the light without doing the work can lead to engine damage, poor performance, and voided warranty if applicable.
- The system tracks oil life: The light primarily reminds you of oil and filter service, a critical maintenance item for engine longevity.
- If it returns quickly, investigate: A maintenance light that comes back on soon after a reset may indicate an unresolved issue or a faulty sensor.
- Know the difference from the check engine light: The maintenance required light is a yellow wrench icon, while a check engine light is a yellow engine outline and signifies a different problem.
📑 Table of Contents
- Understanding Your 2012 Toyota Corolla’s Maintenance Required Light
- The Step-by-Step Manual Reset Procedure
- When and Why You Should (and Shouldn’t) Reset the Light
- Troubleshooting: What If the Light Won’t Reset or Comes Back On?
- The Bigger Picture: Maintenance as a Habit, Not a Chore
- Frequently Asked Questions (FAQs)
Understanding Your 2012 Toyota Corolla’s Maintenance Required Light
That little yellow wrench icon glowing on your dashboard isn’t trying to ruin your day. In your trusty 2012 Toyota Corolla, it’s actually a helpful friend—the Maintenance Required Light. This intelligent system is a core part of Toyota’s legendary reliability, designed to take the guesswork out of routine car care. Unlike the more urgent Check Engine Light, which signals a fault, this light is a simple, mileage-based reminder that your car is due for its scheduled service appointment, most commonly an oil and filter change. Understanding its purpose is the first step to being a proactive, informed car owner.
What Exactly Does the Light Mean?
The system is elegantly simple. When you start your Corolla, the wrench icon will illuminate briefly along with other dashboard lights as a self-check. If it stays on or comes on later during your drive, it means the vehicle’s computer has calculated that you’ve reached a predetermined service interval. For the 2012 model year, this interval is typically set at 5,000 miles (or about 6 months) from the last time the light was reset. It’s a countdown timer for your engine’s vital fluids and filters. Ignoring it means you’re running on borrowed time with your engine’s lubrication system, which can lead to increased wear, sludge buildup, and potentially costly repairs down the road.
Why Toyota Installed This System
Back in the day, drivers relied on a sticker on the windshield or a mental note for oil changes. Toyota, always innovating, built this reminder directly into the car’s brain. The goal was to ensure owners never missed this critical maintenance, thereby protecting the engine, maintaining fuel efficiency, and upholding the vehicle’s long-term reliability and resale value. It’s a feature that pays for itself by helping you avoid thousands in engine repair bills. For specific procedures on other models, you can see how the process varies in our guide on how to reset the maintenance light on a Toyota Avalon, which uses a similar but sometimes different method.
Now that we know what it is, let’s get to the “how.” The procedure for your 2012 Corolla is refreshingly straightforward and requires no tools, no apps, and no hood pop. It’s all done from the driver’s seat using the instrument cluster controls.
The Step-by-Step Manual Reset Procedure
Gather your focus; you’ll need about 30 seconds and nothing else. The entire reset sequence is performed using the button that also controls your odometer and trip meter, located on the gauge cluster right behind the steering wheel. This method is consistent across many 2010-2013 Corolla models. Before you start, ensure the car is parked, the parking brake is set, and the engine is off but the key is in the “ON” or “ACC” position (the position where the dashboard lights come on but the engine isn’t running).
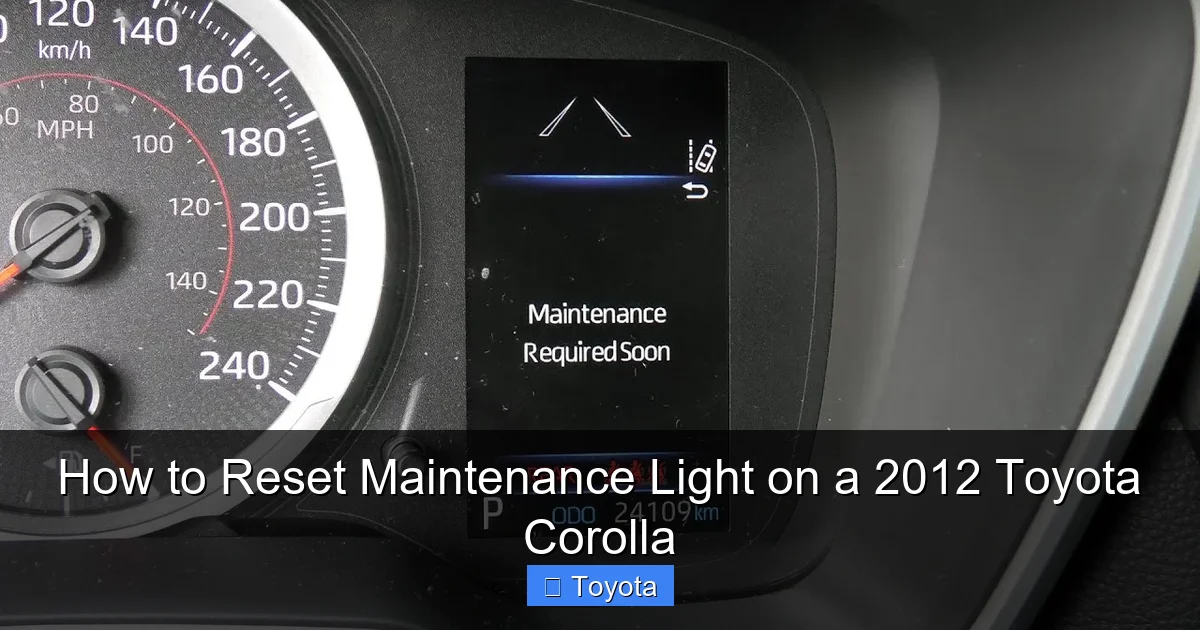
Visual guide about How to Reset Maintenance Light on a 2012 Toyota Corolla
Image source: i.ytimg.com
Detailed Button Sequence
- Turn the ignition to the “ON” position. This is the second click of the key, where you’ll see all your dashboard lights illuminate, including the maintenance wrench.
- Locate the trip/odometer button. It’s the small, usually black, button on the left side of your speedometer and tachometer housing. You’ll use it to cycle through displays.
- Press and release the button to show the “ODO” (odometer) display. If your display is currently on a trip meter (Trip A or Trip B), press the button once to cycle until you see the total vehicle mileage (ODO) on the screen. This is a critical step—the reset function only works on the ODO screen.
- Turn the ignition OFF. Now, turn the key completely to the locked “OFF” position. You’ll see all the dashboard lights go out, including the maintenance light.
- Press and HOLD the trip/odometer button down. While holding the button down firmly, turn the key back to the “ON” position (the second click again). Do not release the button.
- Continue holding the button. You’ll see the odometer display change. It will show a series of dashes “—–” for a few seconds. Then, it will count down from 5 to 0, like “5 4 3 2 1 0”. This is the system clearing the old maintenance interval data.
- Release the button when the odometer reads “0” and the display shows “DONE” or returns to the normal mileage. The maintenance required light should now be off. If it blinks and goes out, that’s also a sign of success.
- Start the engine. Turn the key to start the car. Let it run for a few seconds, then turn it off. The light should remain off on the next startup. This confirms the reset was successful.
Visual Cues and Confirmation
Pay close attention to the odometer display during steps 6 and 7. The “countdown” is your visual confirmation that the computer is processing the reset command. If you don’t see the dashes and countdown, you likely didn’t start the sequence on the ODO screen or didn’t hold the button long enough while turning the key back to “ON.” Simply turn everything off and try again. Success is a dark dashboard where the little wrench used to be. This method is so straightforward that it’s often the first thing a service advisor will show you at the dealership. For other Toyota trucks, the process can be slightly different, as seen in our article on how to reset the maintenance required light on a Toyota Tacoma.
When and Why You Should (and Shouldn’t) Reset the Light
Here’s the golden rule, the most important part of this entire guide: You reset the light AFTER you do the maintenance, not before. The light is a symptom of a need, not the need itself. Resetting it without addressing the underlying service is like turning off a smoke alarm without putting out the fire. It provides a false sense of security and puts your engine at serious risk.
Visual guide about How to Reset Maintenance Light on a 2012 Toyota Corolla
Image source: autovehicleparts.com
The Correct Sequence: Service, Then Reset
The proper workflow is:
- Notice the light is on.
- Schedule or perform the required service. For a 2012 Corolla at the 5,000-mile interval, this is almost always a standard oil and filter change. It may also include tire rotation, fluid checks, and a general inspection. Have this done by a trusted mechanic or, if you’re a DIYer, do it yourself with the correct oil (typically 0W-20) and filter.
- After the service is complete, perform the reset procedure. This tells the car’s computer, “The oil is fresh, the filters are new. Start the new 5,000-mile countdown clock.”
This sequence ensures your engine is properly protected and your maintenance records (whether personal or professional) are accurate.
The Consequences of an “Empty” Reset
What happens if you just reset the light and keep driving with old, degraded oil? The oil loses its lubricating and cooling properties. Metal parts in your engine rub together with increased friction. Heat builds up. Sludge and varnish form, clogging oil passages. This accelerated wear can lead to premature bearing failure, scored cylinder walls, and ultimately, a catastrophic engine seizure. The cost of a new or rebuilt engine is many thousands of dollars. The $40-$100 for a proper oil change is a tiny fraction of that. Furthermore, if your Corolla is still under a powertrain warranty, neglecting scheduled maintenance can give the manufacturer grounds to deny a warranty claim for engine-related failures.
Troubleshooting: What If the Light Won’t Reset or Comes Back On?
Sometimes, you follow the steps perfectly, but that stubborn wrench icon just won’t go away. Or worse, it goes away for a week and then returns. This indicates a problem beyond a simple reminder. Don’t just keep resetting it; you need to diagnose the root cause.
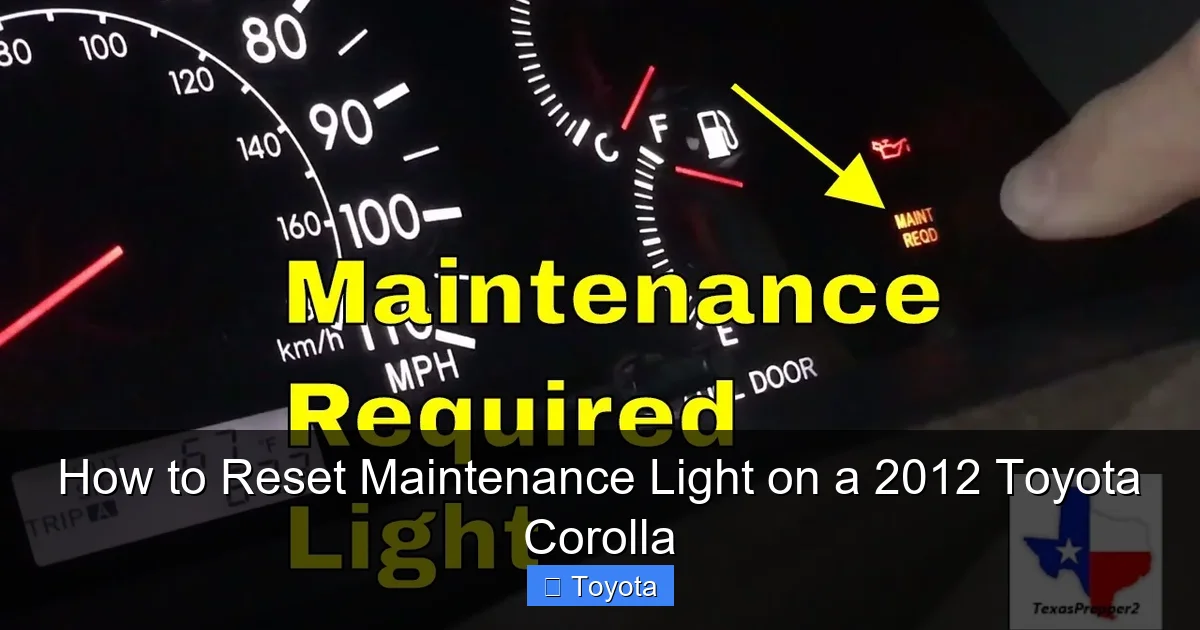
Visual guide about How to Reset Maintenance Light on a 2012 Toyota Corolla
Image source: i.ytimg.com
Common Reasons a Reset Fails
- Incorrect Procedure: Double-check you started on the ODO (total mileage) screen, not a trip meter. Ensure you held the button while turning the key from OFF to ON.
- Faulty Bulb or Instrument Cluster: Very rarely, the bulb for that specific icon or the cluster itself can fail. If the light never comes on, it might be burned out, but this is uncommon.
- Unperformed Maintenance: The system may have a “lockout” if it detects certain parameters haven’t been met (though rare for basic oil resets). Ensure the service was actually completed.
Reasons the Light Returns Quickly
- Low Oil Level: This is the #1 culprit. If the oil level is low, the system’s sensor may detect insufficient oil and trigger the reminder again, sometimes within hundreds of miles. Always check your oil level with the dipstick after an oil change and periodically thereafter. Low oil can be caused by a leak, a faulty drain plug gasket, or the oil not being filled to the correct capacity during the last service.
- Faulty Oil Level/Pressure Sensor: If the oil level is correct but the light persists, the sensor in the oil pan or the circuit connecting it to the computer might be malfunctioning.
- Incorrect Oil Type: Using the wrong viscosity oil (e.g., 5W-30 instead of specified 0W-20) can sometimes cause the system to flag an issue, though this is more common with newer, stricter engines.
- Underlying Engine Problem: In rare cases, severe engine wear causing low oil pressure can trigger the light. This would likely be accompanied by other symptoms like noise, poor performance, or a Check Engine Light.
What to Do Next
If you’ve confirmed the maintenance was done correctly and the light still won’t cooperate or returns fast, your action plan is:
- Immediately check the engine oil level. This is the fastest, easiest, and most likely fix. Clean the dipstick, reinsert it, and check the level. Add the correct oil if it’s low. Note: Check the level with the car on level ground, after the engine has been off for a few minutes.
- Inspect for leaks. Look under the car for fresh oil drips around the oil pan, filter, and drain plug.
- Scan for trouble codes. While the Maintenance Required Light is not a Check Engine Light (MIL), some issues might set a code. A simple OBD2 scanner can read any stored codes. If you see codes related to oil pressure (like P0520, P0521, P0522), that points directly to the sensor or pressure circuit.
- Consult a professional. If the oil level is fine and no obvious leaks exist, take it to a mechanic. They can perform a more advanced diagnostic on the oil level sensor circuit and check for any abnormal oil pressure.
Remember, a persistent light is your car’s way of saying, “Hey, something’s not right with my most vital fluid!” Heed that warning. For other dashboard lights, like the battery warning, the reset process is entirely different, as detailed in our guide on how to reset the battery light on a Toyota Corolla.
The Bigger Picture: Maintenance as a Habit, Not a Chore
Resetting the light is the final, ceremonial step in a maintenance cycle. The real value lies in the work that happens before that button is pressed. Your 2012 Corolla is a paragon of efficient, reliable transportation, but it still demands respect through basic care. Think of the maintenance light not as an annoyance, but as a scheduled wellness check from your car.
Building a Relationship with Your Owner’s Manual
Your glove box holds the bible for your Corolla: the Owner’s Manual. Inside, you’ll find the exact, manufacturer-recommended maintenance schedule for your specific model and engine. For a 2012 base model, it’s likely the 1.8L 1ZZ-FE engine. The schedule will list services at intervals like 5k, 10k, 15k, 30k, etc., detailing what needs inspection, replacement, or adjustment. Following this schedule is the single best way to ensure your Corolla crosses the 200,000-mile threshold with ease. The maintenance light is just the automated reminder of the 5k/6-month interval. Other intervals (like spark plugs at 100k miles or coolant at 100k miles) will not trigger this specific light but are equally important.
What’s Typically Involved in a “Maintenance Required” Service
When that wrench icon illuminates, here’s a checklist of what should have been done (or what you should do yourself):
- Oil and Filter Change: Non-negotiable. Use Toyota-approved oil and a quality filter.
- Tire Rotation: Promotes even tire wear and extends tire life. Usually done every other oil change (10k miles).
- Multi-Point Inspection: A mechanic should check brakes, belts, hoses, fluid levels (coolant, brake, transmission, power steering), battery, and lights.
- Air Filter Inspection/Replacement: A clogged air filter hurts fuel economy and performance.
- Cabin Air Filter Replacement: Often overlooked, this filter affects your AC and interior air quality.
Completing these items and then resetting the light closes the loop. You’ve honored the car’s request, and it will now faithfully count down to the next reminder.
Frequently Asked Questions (FAQs)
Will resetting the maintenance light fix a Check Engine Light?
No. These are two completely separate systems. The Maintenance Required Light (yellow wrench) is a simple mileage timer. The Check Engine Light (yellow engine icon) indicates a fault detected by the engine computer’s sensors. Resetting the wrench light will have no effect on a Check Engine Light, which requires diagnosing and repairing the underlying issue first, then clearing the code with a scan tool. For Check Engine Light issues specific to a Corolla, see our dedicated guide.
Can I just disconnect the battery to reset the light?
You can, but it’s the wrong method and can cause other problems. Disconnecting the battery will reset the maintenance light, but it will also reset the radio presets, clock, and (in some models) the engine’s idle adaptation and steering angle sensor, which may cause rough running until the car re-learns. The proper button-press method is cleaner and doesn’t cause collateral issues. It’s the manufacturer’s intended procedure.
My 2012 Corolla has 150,000 miles. Is the maintenance light still relevant?
Absolutely. The maintenance schedule doesn’t stop. At higher mileages, items like spark plugs, timing belts (if equipped), fluids, and suspension components become due. While the basic 5k-mile oil change reminder will continue to cycle, you must also consult your owner’s manual for the “Severe” or “Normal” service schedule at 30k, 60k, 90k, 120k, etc., intervals. The light only covers the oil change interval; you are responsible for the long-term schedule.
What if I change my own oil? Do I still need to reset the light?
Yes, definitely. The car’s computer has no way of knowing you changed the oil unless you tell it via the reset procedure. If you skip the reset after a DIY oil change, the light will stay on, providing no useful information. It will also continue counting down from its old mileage, so it will come on again in about 5,000 miles, correctly reminding you of your next service.
The light came on, I reset it without changing the oil, and now the car seems fine. Is that okay?
It is not okay. This is the worst possible thing you can do. You have now completely lost your maintenance reminder system. Your engine is running on potentially degraded oil, and you have no dashboard alert to tell you when the next change is actually due. You must change the oil immediately and then reset the light. Going forward, you’ll need to track your oil change mileage manually, as the car’s reminder is now out of sync with your engine’s actual needs.
Is there a way to disable the maintenance light permanently?
Technically, yes, but it is extremely unwise and not recommended. Some aftermarket tuners or dealerships with advanced software might be able to reprogram the interval or disable it, but this defeats the purpose of the system and is illegal in some jurisdictions if it involves tampering with emissions-related systems. The correct approach is to maintain your car and use the reset button as intended. For general Toyota models, the standard reset procedure is always the safest and proper method.
Frequently Asked Questions
What is How to Reset Maintenance Light on a 2012 Toyota Corolla?
How to Reset Maintenance Light on a 2012 Toyota Corolla is an important topic with many practical applications.


