
How to Reset the Battery Light on a Toyota Corolla
Contents
- 1 Key Takeaways
- 2 📑 Table of Contents
- 3 How to Reset the Battery Light on a Toyota Corolla
- 4 Understanding the Battery Light: What It Means and Why It Comes On
- 5 Diagnosing the Problem: How to Check Before You Reset
- 6 How to Reset the Battery Light on a Toyota Corolla
- 7 Preventing the Battery Light from Coming Back On
- 8 When to See a Mechanic: Knowing Your Limits
- 9 Real-World Data: Battery Light Issues in Toyota Corollas
- 10 Final Thoughts: You’ve Got This!
- 11 Frequently Asked Questions
Resetting the battery light on a Toyota Corolla is a quick fix that often resolves after addressing the underlying issue—like a loose connection or failing alternator. Simply reconnect the battery terminals securely, ensure all electrical components are off, and start the engine; the light should turn off automatically. If it persists, a professional diagnostic may be needed to check the charging system.
“`html
Key Takeaways
- Check the battery connections first: Ensure terminals are clean, tight, and corrosion-free.
- Inspect the alternator output: Verify it’s charging properly to prevent recurring warnings.
- Use the ignition cycle method: Turn key on/off multiple times to reset the light.
- Disconnect the battery briefly: Wait 10 minutes to reset the system safely.
- Scan for error codes: Use an OBD2 scanner for accurate diagnostics.
- Replace faulty components: Address worn belts, fuses, or the battery if needed.
📑 Table of Contents
- How to Reset the Battery Light on a Toyota Corolla
- Understanding the Battery Light: What It Means and Why It Comes On
- Diagnosing the Problem: How to Check Before You Reset
- How to Reset the Battery Light on a Toyota Corolla
- Preventing the Battery Light from Coming Back On
- When to See a Mechanic: Knowing Your Limits
- Real-World Data: Battery Light Issues in Toyota Corollas
- Final Thoughts: You’ve Got This!
How to Reset the Battery Light on a Toyota Corolla
So, you’re driving your trusty Toyota Corolla—maybe it’s your first car, or perhaps it’s been with you through college, road trips, and daily commutes—and suddenly, that little battery icon on your dashboard lights up like a warning beacon. Your heart skips a beat. Is it the battery? The alternator? A loose wire? Don’t panic. You’re not alone. Thousands of Corolla owners have faced this exact moment, and more often than not, the issue isn’t as scary as it seems.
The battery light, also known as the charging system warning light, is designed to alert you when your vehicle’s electrical system isn’t functioning properly. It could mean the battery isn’t charging, the alternator is failing, or there’s a simple connection issue. But here’s the good news: in many cases, especially with the Toyota Corolla—a car known for its reliability—the light can be reset without a trip to the mechanic. Whether you’re a DIY enthusiast or just trying to save a few bucks on diagnostics, this guide will walk you through everything you need to know to safely and effectively reset the battery light on your Toyota Corolla.
In this comprehensive guide, we’ll cover why the battery light comes on, how to diagnose the root cause, step-by-step reset methods, and tips to prevent it from happening again. We’ll also share real-life examples and practical advice based on years of Corolla ownership and troubleshooting. By the end, you’ll feel confident handling this common issue like a pro—no wrench experience required.
Understanding the Battery Light: What It Means and Why It Comes On
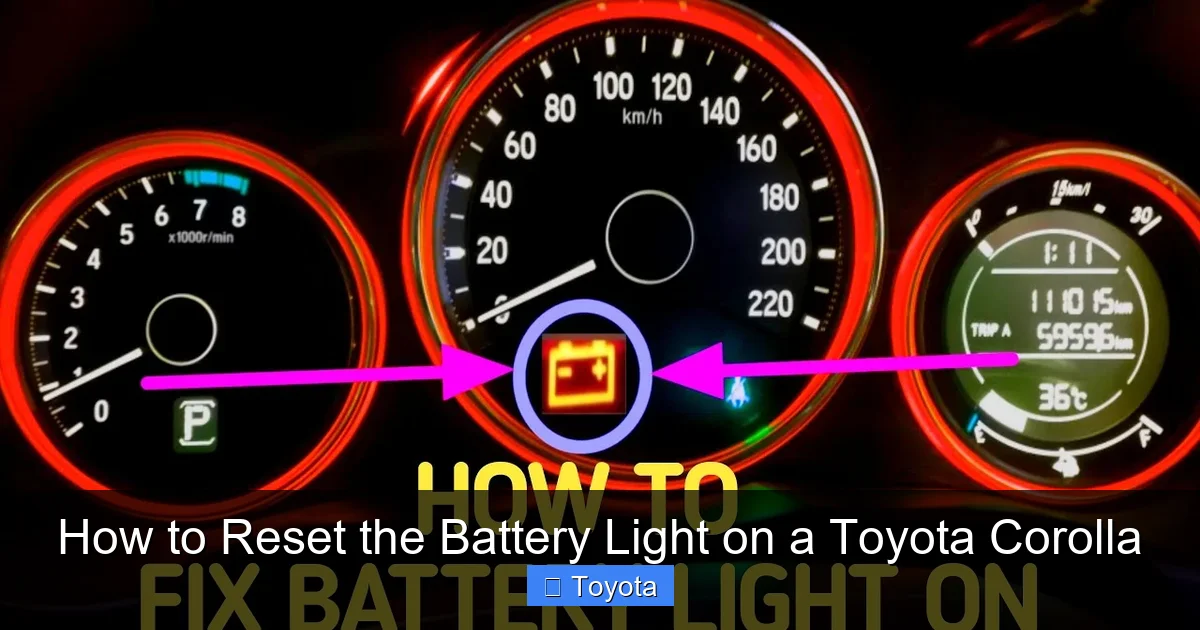
The battery light on your Toyota Corolla isn’t just a random warning—it’s your car’s way of saying, “Hey, something’s off with the electrical system.” But what exactly does it mean? And why does it appear in the first place? Let’s break it down in simple terms.
Visual guide about How to Reset the Battery Light on a Toyota Corolla
Image source: cartireinflator.com
What the Battery Light Actually Indicates
The battery light, usually shaped like a battery or labeled “ALT” or “CHG,” illuminates when the vehicle’s charging system isn’t delivering enough power to the battery. This doesn’t necessarily mean the battery itself is dead. In fact, the battery is just the storage unit—it holds the charge, but the alternator is what keeps it charged while the engine runs. So when the light comes on, it’s often the alternator or related components that are the culprit.
Think of it like this: your phone battery drains over time, but you need to plug it in to recharge. The alternator is like the charger, and the battery is the phone. If the charger stops working, the phone will eventually die—even if the battery was fine to begin with. That’s exactly what happens in your Corolla.
Common Causes of the Battery Light
Now that you know what the light means, let’s look at the most common reasons it might come on:
- Faulty Alternator: The alternator generates electricity to charge the battery and power the car’s electronics. If it fails, the battery light will come on because the battery isn’t being recharged.
- Weak or Dead Battery: Even if the alternator is working, a battery that’s old or damaged may not hold a charge, triggering the warning light.
- Loose or Corroded Battery Connections: Over time, the terminals can loosen or corrode, disrupting the flow of electricity. This is one of the easiest fixes.
- Broken or Slipping Serpentine Belt: The alternator is driven by a belt connected to the engine. If the belt is worn, loose, or broken, the alternator won’t spin properly.
- Blown Fuse or Fusible Link: Electrical systems rely on fuses to protect against surges. A blown fuse in the charging circuit can disable the alternator.
- Faulty Voltage Regulator: This component controls the alternator’s output. If it malfunctions, the alternator may overcharge or undercharge the battery.
Real-Life Example: Sarah’s 2012 Corolla
Take Sarah, for instance. She drove her 2012 Toyota Corolla to work one morning when the battery light flickered on and off. She panicked and called a tow truck, only to find out at the shop that the battery terminals were just corroded. A quick cleaning and tightening fixed the issue—and saved her $150 in diagnostics and parts. Her story is a great reminder: sometimes the simplest fix is the right one.
Diagnosing the Problem: How to Check Before You Reset
Before you go resetting the battery light, it’s crucial to diagnose the actual problem. Resetting the light without fixing the underlying issue is like putting a bandage on a broken bone—it might look better temporarily, but the problem will come back. Here’s how to do a quick but effective check at home.
Visual guide about How to Reset the Battery Light on a Toyota Corolla
Image source: i.ytimg.com
Step 1: Inspect the Battery and Connections
Pop the hood and take a look at your battery. Look for:
- Corrosion: White, green, or blue crusty buildup around the terminals. This can block electrical flow.
- Loose Terminals: Wiggle the cables gently. If they move, they’re not tight enough.
- Cracked or Swollen Battery Case: This could indicate internal damage or overheating.
If you see corrosion, disconnect the battery (negative terminal first, then positive), clean the terminals with a wire brush and a mix of baking soda and water, then reconnect and tighten securely. This alone fixes the battery light in many cases.
Step 2: Check the Serpentine Belt
Locate the serpentine belt—it’s the long, ribbed belt that wraps around several pulleys at the front of the engine. Look for:
- Cracks or fraying
- Glazing (shiny, smooth patches)
- Loose tension (it should have about half an inch of play when pressed)
If the belt looks worn or is slipping, it may not be turning the alternator fast enough. Replacing it is relatively inexpensive and can be done with basic tools.
Step 3: Test the Battery and Alternator
You don’t need a mechanic to test these components. Most auto parts stores (like AutoZone or O’Reilly) offer free battery and alternator testing. Just drive in, and they’ll hook up a machine that checks:
- Battery voltage (should be 12.4–12.7 volts when off, 13.7–14.7 volts when running)
- Alternator output (should be within the same range when the engine is running)
- Load test (simulates electrical demand to see if the battery holds up)
If the alternator is putting out less than 13 volts while the engine is running, it’s likely failing. If the battery voltage drops below 12 volts when off, it may be time for a replacement.
Step 4: Scan for Error Codes
Modern Toyota Corollas (especially 2009 and newer) have onboard diagnostics that can store trouble codes related to the charging system. Use an OBD2 scanner (available for under $20 online) to check for codes like P0562 (low system voltage) or P0620 (alternator control circuit malfunction).
Even if the battery light is the only warning, these codes can give you a clearer picture of what’s going on. Write down any codes and research them online or ask at an auto parts store.
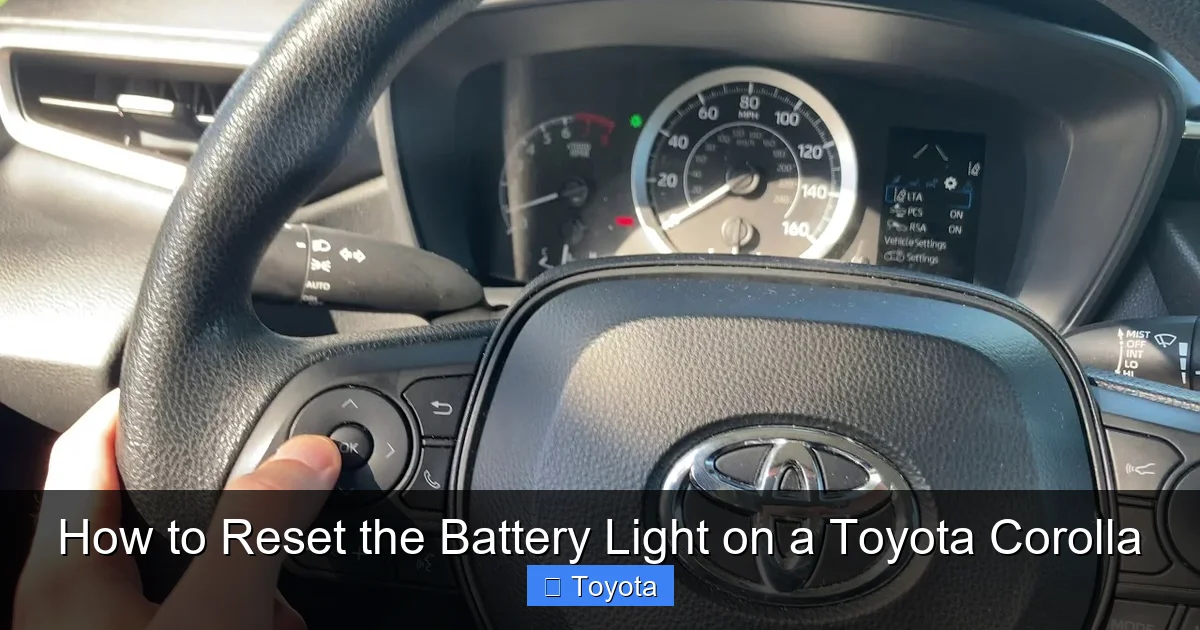
How to Reset the Battery Light on a Toyota Corolla
Once you’ve diagnosed and fixed the issue—whether it was a loose connection, a new battery, or a replaced alternator—it’s time to reset the battery light. Unlike some warning lights that turn off automatically, the battery light often stays on until manually reset. Here’s how to do it safely and effectively.
Visual guide about How to Reset the Battery Light on a Toyota Corolla
Image source: i.redd.it
Method 1: Disconnect and Reconnect the Battery (The Classic Reset)
This is the most common and reliable method for resetting the battery light on a Toyota Corolla. It works by cutting power to the car’s computer (ECU), which clears temporary error codes and resets the system.
Steps:
- Turn off the engine and remove the key.
- Open the hood and locate the battery.
- Use a wrench to loosen the negative terminal (black cable) first. Remove it completely.
- Then, loosen and remove the positive terminal (red cable).
- Wait at least 15 minutes. This gives the ECU time to fully discharge and reset.
- Reconnect the positive terminal first, then the negative. Tighten securely.
- Start the engine. The battery light should be off.
Pro Tip: While the battery is disconnected, you can also clean the terminals with a wire brush and baking soda solution to prevent future issues.
Method 2: Drive Cycle Reset (For Persistent Lights)
Sometimes, especially after a battery replacement, the ECU needs to “relearn” the charging system parameters. A drive cycle can help complete this process and turn off the light.
Steps:
- Start the car and let it idle for 5–10 minutes.
- Drive at a steady speed of 40–50 mph for 10–15 minutes.
- Stop and let the car idle for another 5 minutes.
- Turn off the engine and wait 30 seconds.
- Restart the car. The light should be off.
This method works best on Corollas with intelligent charging systems (common in 2014 and newer models).
Method 3: Use an OBD2 Scanner (For Advanced Users)
If you have an OBD2 scanner with reset capabilities, you can clear the codes directly from the ECU. This is especially useful if the light is tied to a specific diagnostic trouble code (DTC).
Steps:
- Plug the scanner into the OBD2 port (usually under the dashboard, near the steering wheel).
- Turn the ignition to “ON” (don’t start the engine).
- Follow the scanner’s menu to read and clear codes.
- After clearing, start the engine and check if the light is off.
Note: This method only works if the underlying issue has been fixed. Clearing codes without repairs will cause the light to return.
What If the Light Comes Back On?
If the battery light returns shortly after resetting, it’s a strong sign that the problem wasn’t fully resolved. Don’t keep resetting it—this can mask a serious issue like a failing alternator, which could leave you stranded.
Revisit your diagnosis. Double-check connections, test the alternator again, and consider professional help if needed. Remember: the light is there to protect your car and your safety.
Preventing the Battery Light from Coming Back On
Now that you’ve reset the battery light, you’ll want to make sure it doesn’t become a recurring headache. Prevention is always better than cure—especially when it comes to your car’s electrical system. Here are some practical tips to keep your Toyota Corolla running smoothly.
Regular Maintenance Checks
Just like oil changes and tire rotations, your electrical system needs attention too. Make it a habit to inspect the battery and charging system every 6 months or during oil changes.
- Check battery terminals for corrosion and tightness.
- Inspect the serpentine belt for wear and proper tension.
- Listen for unusual noises (squealing or grinding) that could indicate belt or alternator issues.
Replace the Battery at the Right Time
Most car batteries last 3–5 years. If your Corolla is approaching this age, don’t wait for the light to come on. Proactively replace the battery to avoid unexpected failures.
Look for signs of a weakening battery:
- Slow engine crank (takes longer to start)
- Dim headlights or interior lights
- Frequent need for jump-starts
When replacing, choose a high-quality battery compatible with your Corolla’s specifications (check your owner’s manual or use an online fitment guide).
Protect Against Electrical Surges
Extreme temperatures, frequent short trips, and aftermarket electronics (like high-powered stereos) can stress the charging system. To protect it:
- Avoid installing non-OEM electronics that draw excessive power.
- Use a battery tender if the car sits unused for long periods.
- Park in a garage during extreme heat or cold when possible.
Keep the Alternator Clean and Cool
The alternator works hard and generates heat. Over time, dirt and debris can build up, causing it to overheat. Periodically clean the engine bay (gently, with low-pressure water) to keep the alternator and surrounding components cool and functional.
When to See a Mechanic: Knowing Your Limits
While many battery light issues can be fixed at home, there are times when professional help is the best choice. Don’t feel bad about calling a mechanic—sometimes, it’s the smartest move.
Signs You Need Professional Help
- The battery light stays on even after replacing the battery and alternator.
- You notice burning smells, smoke, or unusual noises from the engine.
- The car stalls or loses power while driving.
- Multiple warning lights are on (e.g., check engine, ABS, etc.).
These could indicate deeper electrical problems, such as a faulty wiring harness, ECU issue, or grounding problem—issues that require specialized tools and expertise.
Choosing the Right Mechanic
If you do need a mechanic, look for one with experience in Toyota vehicles. Dealerships have factory-trained technicians, but independent shops often offer lower prices. Check reviews, ask for estimates, and don’t be afraid to get a second opinion.
And remember: a good mechanic will explain what’s wrong, show you the faulty part, and give you options—not just push for the most expensive repair.
Real-World Data: Battery Light Issues in Toyota Corollas
To give you a clearer picture, here’s a summary of common battery light causes reported by Toyota Corolla owners across model years:
| Model Year Range | Most Common Cause | Average Repair Cost | DIY Fix Possible? |
|---|---|---|---|
| 2003–2008 | Alternator failure | $300–$500 | Yes (with tools) |
| 2009–2013 | Corroded battery terminals | $0–$20 (cleaning) | Yes |
| 2014–2018 | Serpentine belt wear | $80–$150 | Yes |
| 2019–2023 | Software glitch (drive cycle needed) | $0 (reset) | Yes |
This data shows that while alternator issues are common in older models, newer Corollas often experience simpler, fixable problems. The key is knowing what to look for.
Final Thoughts: You’ve Got This!
Resetting the battery light on your Toyota Corolla doesn’t have to be stressful. With the right knowledge and a little patience, you can diagnose the issue, fix it (or know when to get help), and reset the light—all without breaking the bank. Whether it’s a quick terminal cleaning or a full alternator replacement, you’re now equipped to handle it.
Remember, the battery light is your car’s way of communicating. Listen to it, respect it, and respond appropriately. And most importantly, don’t ignore it. A small issue today can turn into a big problem tomorrow.
So the next time that little light flickers on, take a deep breath. Check the terminals. Test the battery. Maybe even pop the hood and give your Corolla a little love. You’ve got the tools, the know-how, and the confidence to keep rolling—safely and smoothly—down the road.
“`
Frequently Asked Questions
How do you reset the battery light on a Toyota Corolla?
To reset the battery light on a Toyota Corolla, start by ensuring the battery and alternator are functioning properly. Then, turn the ignition to the “ON” position without starting the engine, wait 10–15 seconds, and turn it off—repeat this cycle three times to reset the system.
Why is the battery light still on after replacing the battery in my Corolla?
The battery light may remain on if the vehicle’s computer hasn’t recognized the new battery or if there’s an underlying charging system issue. Check the alternator output and connections, then try resetting the battery light using the ignition cycle method.
Can a bad alternator cause the battery light to stay on in a Toyota Corolla?
Yes, a failing alternator is a common cause of the battery light staying on in a Toyota Corolla. The alternator charges the battery while driving, and if it’s not working properly, the system triggers the warning light to alert you.
How long does it take for the battery light to reset on a Corolla?
The battery light typically resets immediately after completing the ignition cycle procedure—turning the key on and off three times. If the light remains on, there may be a persistent electrical issue that requires further diagnosis.
Do I need a scan tool to reset the battery light on a Toyota Corolla?
In most cases, you don’t need a scan tool to reset the battery light on a Toyota Corolla. The simple ignition cycle method often clears the warning, but a scan tool may be necessary if the light persists due to a stored diagnostic trouble code.
What should I do if the battery light comes back on after resetting?
If the battery light returns after resetting, it likely indicates an ongoing problem such as a weak battery, faulty alternator, or loose wiring. Have the charging system inspected by a professional to prevent further electrical issues.


