
How Do You Reset the Warning Light on a Toyota Corolla
Contents
- 1 Key Takeaways
- 2 📑 Table of Contents
- 3 Understanding Your Corolla’s Dashboard Language
- 4 Preparation and Safety Before You Begin
- 5 Resetting the Maintenance Required / Oil Change Light
- 6 Resetting the Check Engine Light (Malfunction Indicator Lamp)
- 7 Resetting the Tire Pressure Monitoring System (TPMS) Light
- 8 Resetting Other Common Warning Lights
- 9 Model Year Considerations and Special Cases
- 10 When to Absolutely Seek Professional Help
- 11 Conclusion: Empowerment Through Knowledge
- 12 Frequently Asked Questions
Resetting a warning light on your Toyota Corolla is a straightforward process, but it requires understanding what the light signifies first. Some lights, like the maintenance required indicator, can be reset manually after routine service. Others, such as the check engine light, often indicate an underlying issue that must be diagnosed and repaired before a reset will be effective. Always prioritize safety; if a critical light like the oil pressure or brake warning illuminates, address the immediate problem before attempting any reset. For many modern systems, an OBD-II scanner is the most reliable tool for clearing fault codes after repairs.
That little light on your dashboard just blinked on, and your stomach drops a little. Is it serious? Can you fix it yourself? For Toyota Corolla owners, knowing how to properly handle a warning light is a key part of responsible car ownership. This guide will walk you through everything you need to know about how to reset the warning light on a Toyota Corolla, from the simple maintenance reminder to the more complex check engine light. We’ll break it down by light type, model year, and method, ensuring you have the knowledge to tackle this common task with confidence.
First, a crucial distinction: not all warning lights are created equal. Your Corolla’s dashboard is a communication center. Some lights are gentle reminders—like the “service required” or “oil change” icons—that tell you it’s time for routine upkeep. These are almost always safe to reset yourself after you’ve completed the service. Other lights are urgent distress signals. A red oil can symbol, a glowing brake warning, or an airbag light indicate a potentially dangerous failure that needs immediate professional attention. Resetting these without repair is not just unwise; it’s unsafe. This guide focuses on the lights you can safely reset after addressing their cause.
Key Takeaways
- Safety First: Never ignore critical warning lights (oil pressure, brake, airbag). Resetting them without fixing the cause is dangerous.
- Diagnosis Before Reset: A check engine or other diagnostic light means the car’s computer has stored a trouble code. Identify and repair the issue first, then clear the code.
- Tools Vary by Light: Simple lights (maintenance, oil change) often need only the odometer trick. TPMS and check engine lights typically require a scan tool.
- Model Year Matters: Procedures can differ between older (pre-2010) and newer (2014+) Corollas due to changes in dashboard design and computer systems.
- Reset is Not Repair: Resetting a light only turns off the notification; it does not solve the mechanical or electrical problem that triggered it.
- Professional Help is Wise: For persistent, complex, or safety-critical lights, consult a certified mechanic to ensure the issue is fully resolved.
📑 Table of Contents
- Understanding Your Corolla’s Dashboard Language
- Preparation and Safety Before You Begin
- Resetting the Maintenance Required / Oil Change Light
- Resetting the Check Engine Light (Malfunction Indicator Lamp)
- Resetting the Tire Pressure Monitoring System (TPMS) Light
- Resetting Other Common Warning Lights
- Model Year Considerations and Special Cases
- When to Absolutely Seek Professional Help
- Conclusion: Empowerment Through Knowledge
Understanding Your Corolla’s Dashboard Language
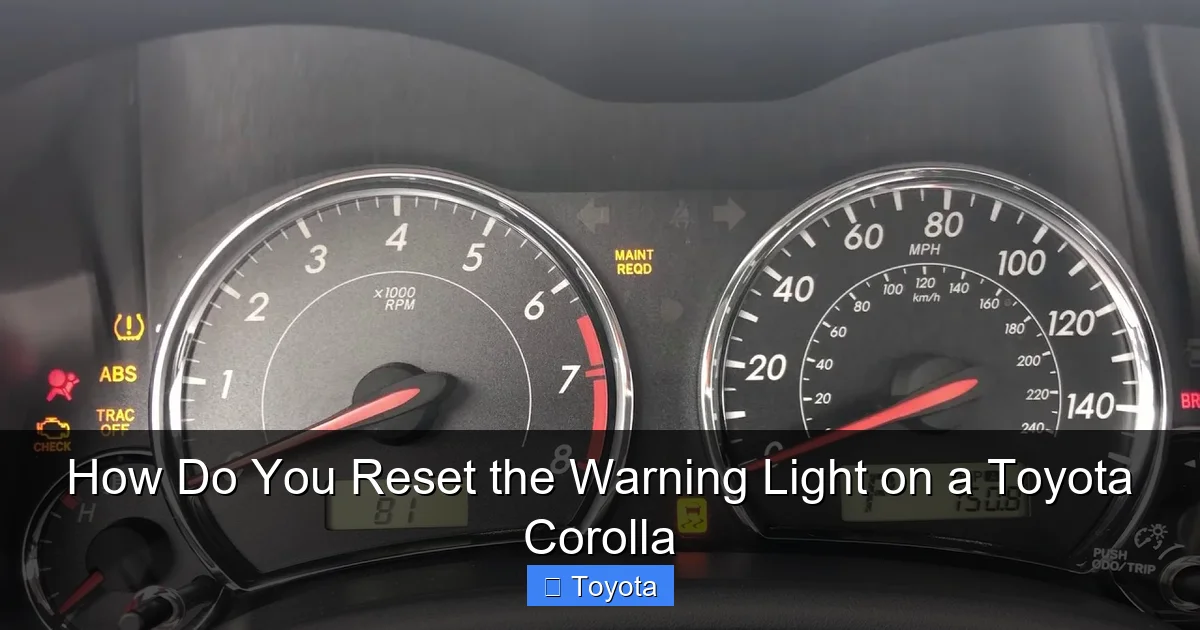
Before you touch anything, you must learn what your car is trying to say. The Toyota Corolla uses a combination of colors and symbols. Yellow/Amber lights are typically advisory—a maintenance reminder or a non-critical system fault. Red lights are critical—stop the vehicle safely as soon as possible. Flashing lights demand immediate action to prevent severe damage. The most common lights you’ll encounter and potentially reset are:
- Maintenance Required (Wrench Icon): A simple mileage/time counter for oil changes and other scheduled services.
- Check Engine Light (MIL – Malfunction Indicator Lamp): A yellow engine-shaped icon. It indicates the engine computer has detected a problem affecting emissions or performance.
- Tire Pressure Monitoring System (TPMS) Light: An exclamation point inside a tire cross-section. It means one or more tires are significantly under-inflated.
- Oil Change Required: Often the same as the maintenance light on newer models, but sometimes a separate oil can icon on older vehicles.
- Service Engine Soon: Similar to the check engine light but may indicate a less severe issue on some models.
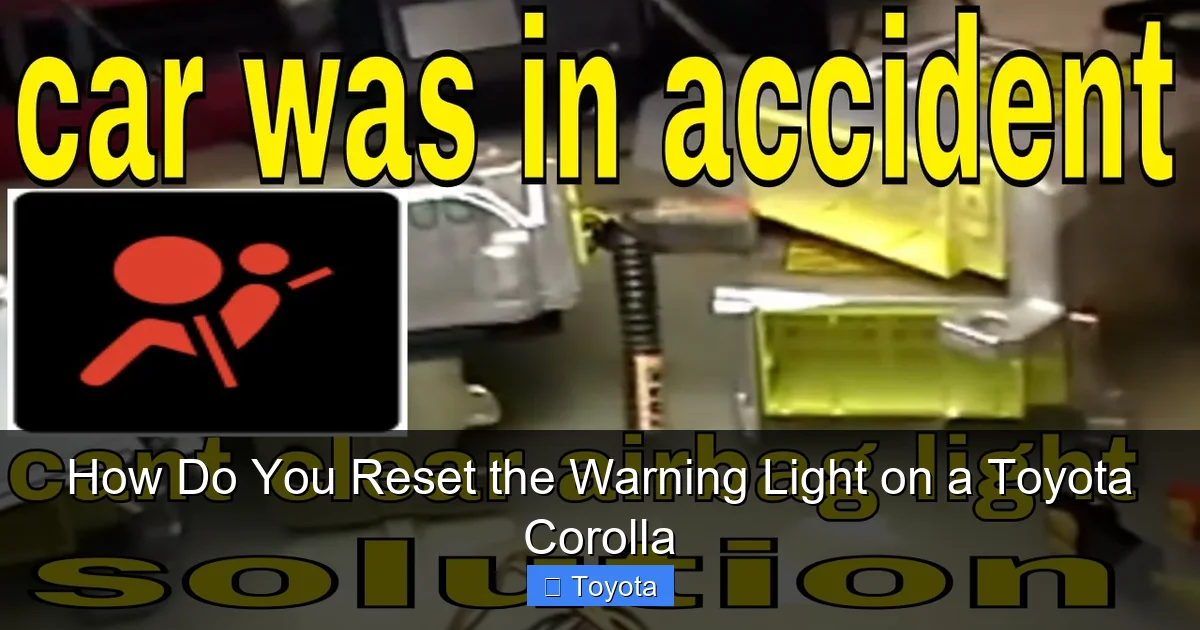
Lights for ABS, Traction Control, Stability Control, or Airbags (SRS) should never be reset by a DIYer unless you are a certified technician with the proper diagnostic tools. These systems protect your safety in an emergency.
The Golden Rule: Fix the Problem, Then Reset
This is the most important concept. The reset procedure merely tells the car’s computer, “I know you saw a problem, and I’ve taken care of it.” If you simply clear the code without repairing the faulty oxygen sensor, leaky gas cap, or bad spark plug, the light will return—usually within 50-100 miles of driving as the computer redetects the fault. For a permanent solution, you must diagnose the root cause. An OBD-II scanner is invaluable here, as it reads the specific trouble code (like P0171 for a fuel system leak) that points you to the problem area. For a comprehensive guide on handling the check engine light specifically, including code reading, see our detailed article on how to reset the check engine light on a Toyota Corolla.
Preparation and Safety Before You Begin
Rushing into a reset without preparation can lead to frustration or, worse, a false sense of security. Here’s your pre-reset checklist:
Visual guide about How Do You Reset the Warning Light on a Toyota Corolla
Image source: i.ytimg.com
- Consult Your Owner’s Manual: It has the definitive, model-year-specific procedures for your Corolla. Procedures can change.
- Gather Your Tools: For most resets, you need nothing but your fingers and the ignition key. For the check engine light and TPMS, you’ll need an OBD-II scan tool. A simple, inexpensive code reader (under $30) works for basic code clearing. For TPMS, you may need a dedicated TPMS tool or a more advanced scan tool that can interact with the sensor system.
- Ensure the Issue is Resolved: If you’re resetting a maintenance light, have you just changed the oil? If it’s a TPMS light, have you inflated all tires to the correct PSI (found on the driver’s door jamb sticker)? If it’s a check engine light, have you diagnosed and repaired the cause?
- Safety First: Perform these procedures with the car parked, parking brake set, and engine off. For TPMS, ensure tires are cold (not driven on for at least 3 hours) for an accurate pressure reading and reset.
For some Corolla models, particularly those with keyless entry or push-button start, the sequence for accessing the “ diagnostic mode” for a maintenance reset can be specific. If the standard method fails, your manual is your best friend.
Resetting the Maintenance Required / Oil Change Light
This is the most common and simplest reset. The process varies slightly by generation, but the principle is the same: you use the odometer/trip meter button to navigate to a settings menu and confirm the reset. The light is designed to illuminate after a set number of miles (usually 5,000) since the last reset.
Visual guide about How Do You Reset the Warning Light on a Toyota Corolla
Image source: i.ytimg.com
Method for Most Corollas (2009-2018 with Traditional Gauge Cluster)
This classic method works for many Corollas with a digital odometer in the gauge cluster.
- Turn the ignition to the “ON” position (all dash lights on, engine off). Do not start the engine.
- Using the “ODO/TRIP” button on the instrument cluster, cycle the display until it shows the total odometer reading (not a trip meter).
- Turn the ignition “OFF.”
- Now, press and hold the “ODO/TRIP” button.
- While holding the button, turn the ignition back to the “ON” position (again, do not start).
- Continue holding the button for about 5-10 seconds. The odometer display will change. It may show “SET” or “000000” or start counting down. Release the button.
- The maintenance required light should blink a few times and then go out. The reset is complete.
Method for Newer Corollas (2019+ with Multi-Information Display)
Models with a larger central screen often use the steering wheel controls.
- With the car “ON” (engine off), use the arrow buttons on the steering wheel to navigate to the “Settings” menu on the driver’s display.
- Go to “Vehicle Settings.”
- Scroll to find “Maintenance” or “Service Interval.”
- Select “Reset” or “Set to Zero.” Confirm the reset when prompted.
- The wrench icon should disappear from the gauge cluster.
Pro Tip: If you’ve just changed the oil yourself, this reset is essential. Forgetting it means the light will come on prematurely. The process is nearly identical across the Toyota lineup. If you own a different Toyota model like a RAV4 or Highlander, the steps are very similar. You can find the exact procedure for your specific model in our general guide on how to reset the maintenance required light on a Toyota.
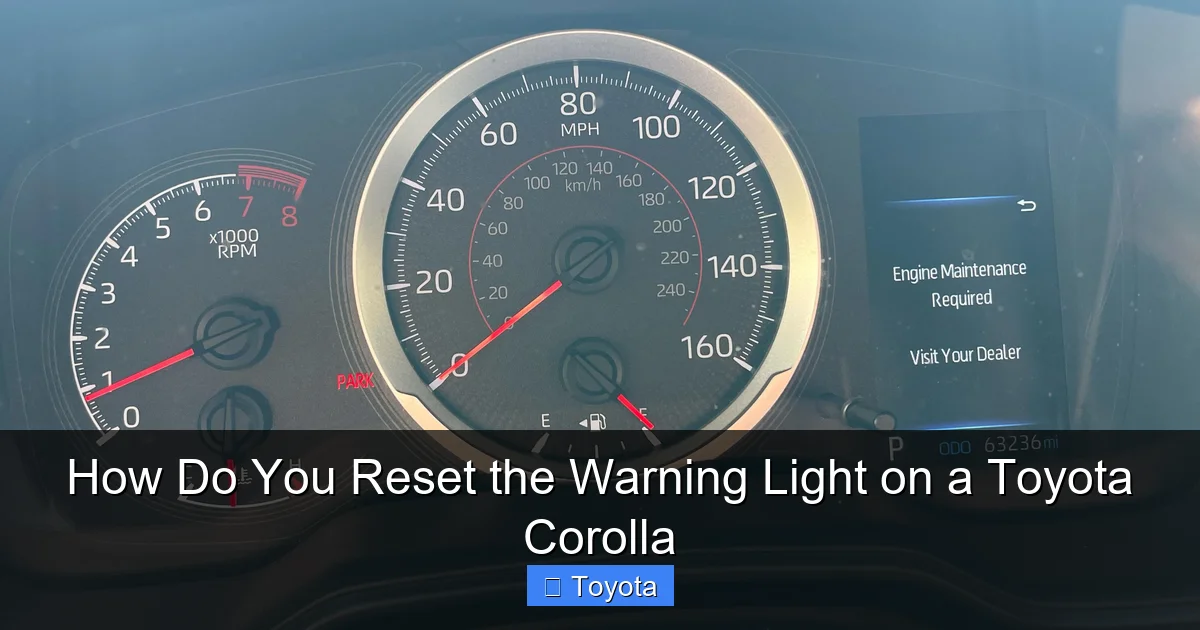
Resetting the Check Engine Light (Malfunction Indicator Lamp)
This is where things get serious. The check engine light (CEL) is your Corolla’s way of saying its computer (ECM/PCM) has logged a fault. The only correct way to reset it is to first repair the problem causing the code. If you simply clear the code without repair, the light will return, and you’ve wasted time and potentially allowed a minor issue to become a major, expensive repair.
Visual guide about How Do You Reset the Warning Light on a Toyota Corolla
Image source: i.redd.it
Step 1: Read the Diagnostic Trouble Code (DTC)
You need an OBD-II scanner. Almost all Corollas from 1996 onward have an OBD-II port under the dashboard (driver’s side).
- Plug your scanner into the port.
- Turn the ignition to “ON.”
- Follow the scanner’s prompts to “Read Codes.”
- Write down the code(s). It will be a letter followed by four numbers (e.g., P0420, P0301).
- Research the code. A code like P0420 means “Catalyst System Efficiency Below Threshold.” It doesn’t tell you it’s a bad catalytic converter; it tells you the oxygen sensors are reporting a problem. Use online resources or a repair manual to diagnose the specific cause for your Corolla’s code.
Step 2: Perform the Necessary Repair
This is the hard part. Repairs could be as simple as tightening the gas cap (a very common cause of EVAP system codes like P0455) or as complex as replacing a catalytic converter. Address the issue thoroughly.
Step 3: Clear the Code and Reset the Light
Once you’re confident the repair is complete:
- With the ignition still “ON” (engine off), go back to your scanner.
- Select the “Erase Codes” or “Clear DTCs” function.
- Confirm. The scanner will communicate with the car’s computer and clear all stored fault codes.
- The check engine light should extinguish immediately.
- Start the engine and let it idle for a minute, then take it for a short drive (15-20 minutes) under varying conditions. The light should remain off. If it comes back, the problem was not fully fixed, or there is a new issue.
Important Note: In some cases, after clearing certain codes (especially those related to the emissions system), the car may need to complete a series of “drive cycles” to verify the repair. If the light comes back after a few days, you may need a professional scan tool to perform a more comprehensive reset or to monitor system readiness. For a deeper dive into the check engine light, including common Corolla-specific codes and fixes, our dedicated article on resetting the check engine light on a Toyota Corolla provides extensive detail.
Resetting the Tire Pressure Monitoring System (TPMS) Light
The TPMS light illuminates when one or more tires drops below the recommended pressure (usually 25% or more). It’s a safety feature. The reset process is different from simply inflating the tires; you must tell the car’s computer which tires are now at the correct pressure.
Standard Procedure for Most Corollas
This method works if your Corolla has a direct TPMS system with sensors in each wheel.
- Inflate all tires to the exact pressure listed on the driver’s door jamb sticker (not the tire sidewall). Ensure the spare is also inflated if it has a sensor (some do).
- Turn the ignition to “ON.”
- Locate the TPMS reset button. It’s usually under the dash, to the left of the steering column, or sometimes in the glove box. Consult your manual. It’s often a small, recessed button.
- Press and hold the reset button until the TPMS light on the dash blinks three times, then release.
- Start the engine and drive for about 20-30 minutes at speeds above 30 mph. The system will relearn the sensor positions and pressures. The light should go out.
Alternative/Scan Tool Method
If the above doesn’t work, or if you have an indirect TPMS system (which uses wheel speed sensors from the ABS), you will need a scan tool to reset it. Some advanced OBD-II scanners have this function. A tire shop or dealer uses dedicated TPMS tools to activate and relearn sensors, especially after tire rotation or replacement.
Critical: If the TPMS light is flashing, it indicates a system fault (like a dead battery in a sensor), not just low pressure. This requires professional diagnosis.
Resetting Other Common Warning Lights
While the maintenance, check engine, and TPMS lights are the most frequent, here’s a brief on others:
- Oil Pressure Light (Red Oil Can): DO NOT RESET. This light means oil pressure is dangerously low. Stop the engine immediately, check the oil level, and add oil if low. If the light stays on after adding oil, have the car towed. There is no “reset” for a genuine low oil pressure condition; it’s a critical failure.
- Battery/Charging System Light (Battery Icon): This indicates the alternator isn’t charging the battery. Resetting it won’t fix a bad alternator or loose belt. The car will eventually stall. Diagnose the charging system. For more information on this specific light, see our guide on how to reset the battery light on a Toyota Corolla, which covers diagnosis first.
- ABS Light: The Anti-lock Braking System has a fault. Your regular brakes will still work, but ABS is disabled. This requires a professional scan tool to diagnose the wheel speed sensor or module issue. Do not attempt to reset it yourself.
- Airbag/SRS Light: A fault in the supplemental restraint system. This is a major safety issue. Only a technician with specialized knowledge should diagnose and reset this system.
Model Year Considerations and Special Cases
Your reset procedure can depend heavily on your Corolla’s generation.
- Pre-2010 Models: Typically have the simple odometer button method for maintenance lights. TPMS resets usually require the dedicated button.
- 2010-2013 Models: Transition period. Some use the odometer trick, others use a combination of trip meter and odometer buttons. The multi-information display becomes more common.
- 2014-2018 Models: Almost all use the steering wheel controls or a menu in the central display for service resets. TPMS reset button is standard.
- 2019+ Models: Fully integrated into the touchscreen or digital gauge cluster menus. The process is menu-driven and often requires confirming via the steering wheel or touchscreen.
If you have a Corolla with a push-button start, the “key cycle” method (turning the key to ON without starting) is replaced by pressing the “Engine Start/Stop” button twice without touching the brake pedal to put the car in “ON” mode.
For hybrid Corollas (if applicable in your market), some systems may have different priorities or procedures. Always defer to the owner’s manual.
When to Absolutely Seek Professional Help
Knowing your limits is a sign of a smart car owner. Here’s when to put the wrench down and call a pro:
- The check engine light is flashing. This indicates a severe misfire that can damage the catalytic converter. Stop driving and get it towed.
- Any red warning light (oil pressure, coolant temperature, brake) illuminates. These are emergencies.
- The TPMS light is flashing after you’ve inflated the tires. This is a sensor or system fault.
- You’ve repaired a problem, but the check engine light returns immediately after clearing. The repair may have been incomplete or incorrect.
- You are uncomfortable or lack the tools (like a proper OBD-II scanner for TPMS or ABS).
- The light you’re trying to reset is for Airbag (SRS) or ABS. These are complex safety systems.
A professional mechanic has access to factory-level scan tools, wiring diagrams, and technical service bulletins that can save you hours of guesswork. A diagnostic fee is often cheaper than a mistake that causes further damage.
Conclusion: Empowerment Through Knowledge
Learning how to reset the warning light on a Toyota Corolla transforms you from a worried driver into an informed one. You now understand that a warning light is a message, not just an annoyance. You know the critical difference between a simple maintenance reminder and a serious system fault. You have the steps to manually reset the wrench icon after an oil change and the knowledge that the check engine light requires diagnosis before a reset. You appreciate the importance of using the right tool for the TPMS light and the absolute necessity of ignoring a red oil can icon.
Your Toyota Corolla is renowned for its reliability. Part of maintaining that reliability is heeding its communications and responding appropriately. By following the structured approach in this guide—identify the light, diagnose the cause, repair if needed, then reset—you keep your car healthy, safe, and on the road. Remember, when in doubt, consult your manual or a trusted professional. A well-maintained Corolla is a happy Corolla, and a happy Corolla means peace of mind for you on every journey.
Frequently Asked Questions
Can I reset the check engine light without fixing the problem?
Technically yes, using an OBD-II scanner you can clear the code and turn off the light. However, this is not recommended. The light will return once the car’s computer redetects the fault, usually within a short drive. More importantly, you are ignoring a problem that could cause engine damage, poor fuel economy, or failed emissions tests.
How long does it take for the maintenance required light to come back on after I reset it?
The maintenance light is programmed to illuminate after a specific mileage interval, typically 5,000 miles or 6 months (depending on your Corolla’s settings) from the time you reset it. If you reset it after an oil change, it should stay off for the full service interval.
Do I need a special tool to reset the tire pressure light?
For most basic resets after inflating the tires, you only need the TPMS reset button under the dash. However, if the system doesn’t reset automatically, or if you’ve rotated tires or replaced a sensor, you may need a dedicated TPMS scan tool to activate and relearn the sensors. Many generic OBD-II scanners do not have this function.
My check engine light is on, but the car seems to run fine. Should I still reset it?
Yes, you should diagnose it, even if the car runs normally. The light indicates the computer has detected a fault that is likely increasing emissions. It could be something simple like a loose gas cap, or it could be a failing component that will cause bigger problems later. Driving with an unresolved check engine light can damage the catalytic converter and cause your vehicle to fail mandatory emissions inspections.
What should I do if the warning light comes back on immediately after I reset it?
This is a clear sign that the underlying problem was not properly diagnosed or repaired. The car’s computer has immediately redetected the fault. You need to re-scan for codes, re-investigate the cause, and complete the necessary repair. Continuing to reset the light without fixing the issue is pointless and potentially dangerous.
Is it safe to drive with the maintenance required light on?
Generally, yes. This light is a reminder for scheduled maintenance like an oil change. While you should schedule the service soon, driving a few hundred miles with this light on is typically safe, provided your oil level is adequate. However, ignoring it for thousands of miles risks engine wear. It is not an emergency like a red oil pressure light.


