How to Replace the Ignition Coil on a 2007 Ford F-150
Contents
- 1 Key Takeaways
- 2 📑 Table of Contents
- 3 Understanding Your F-150’s Ignition System
- 4 Diagnosing a Bad Ignition Coil: Signs and Confirmation
- 5 Gathering Your Tools and Parts
- 6 Step-by-Step: Removing the Old Ignition Coil
- 7 Installing the New Ignition Coil
- 8 Final Steps: Testing and Reassembly
- 9 Maintenance Tips, Costs, and When to Seek Help
- 10 Frequently Asked Questions


Replacing the ignition coil on your 2007 Ford F-150 is a straightforward DIY repair that can save you hundreds at the shop. Common symptoms like engine misfires, rough idling, and a flashing check engine light often point to a faulty coil. With basic tools and the correct replacement part, you can complete the job in under two hours. Always disconnect the battery first and handle the new coil carefully to avoid damage.
Hey there, fellow truck enthusiast! If your 2007 Ford F-150 is feeling a little under the weather—maybe it’s shaking at idle, stumbling on acceleration, or flashing that dreaded check engine light—there’s a good chance the ignition coil is the culprit. The good news? Replacing it yourself is a very doable project that can save you a significant chunk of change. In this complete guide, we’ll walk through every single step, from diagnosing the problem to getting that new coil installed and your truck purring like a kitten. No fancy mechanic skills required, just a little patience and the right tools. Let’s roll up our sleeves and get started.
Key Takeaways
- Safety First: Always disconnect the negative battery cable before starting to prevent electric shock and engine damage.
- Identify the Correct Coil: The 2007 F-150 uses coil-on-plug (COP) units; ensure you purchase the exact match for your engine (4.2L V6, 5.4L V8, etc.).
- Use Dielectric Grease: Apply a small amount to the spark plug boot and coil connector to prevent moisture ingress and future corrosion.
- Torque to Spec: Secure the new coil mounting bolt to the manufacturer’s specification (typically 10-15 ft-lbs) to avoid leaks or damage.
- Clear Codes After: Use an OBD2 scanner to clear any stored misfire codes and verify the repair was successful.
- Consider Spark Plugs: Since you’re already there, inspect and replace spark plugs if they show wear to ensure optimal performance.
📑 Table of Contents
Understanding Your F-150’s Ignition System
Before we grab a wrench, let’s quickly understand what we’re dealing with. Your 2007 F-150 uses a modern coil-on-plug (COP) ignition system. Unlike older trucks that used a single distributor coil and spark plug wires, each cylinder on your engine has its own dedicated ignition coil mounted directly on top of the spark plug. This design is more efficient and reliable, but when one coil fails, it takes out its specific cylinder.
How the Coil-on-Plug System Works
The engine control module (ECM) tells each coil exactly when to fire. The coil takes the low-voltage power from your battery and transforms it into the tens of thousands of volts needed to create a powerful spark across the spark plug gap. This spark ignites the air-fuel mixture in the cylinder, producing the power stroke. It’s a precise, high-energy process. If a coil can’t generate that spark, that cylinder simply won’t fire, leading to a misfire.
Why 2007 F-150 Coils Fail
Ignition coils are solid-state electronic components. They live in a harsh environment under the hood, exposed to constant heat cycles, vibration, and voltage stress. Over time, the internal insulation can break down, causing shorts or open circuits. Age, heat, and oil leaks (from a failing valve cover gasket, which is common on these 5.4L Triton engines) are the primary killers. A failing coil might work intermittently at first, making diagnosis tricky.
Diagnosing a Bad Ignition Coil: Signs and Confirmation
You don’t want to replace parts blindly. Let’s confirm the coil is the issue. The most common symptom is a random misfire detected by the ECM, often stored as a P0300 code (random/multiple cylinder misfire detected) or a specific cylinder code like P0301 (Cylinder 1 Misfire).
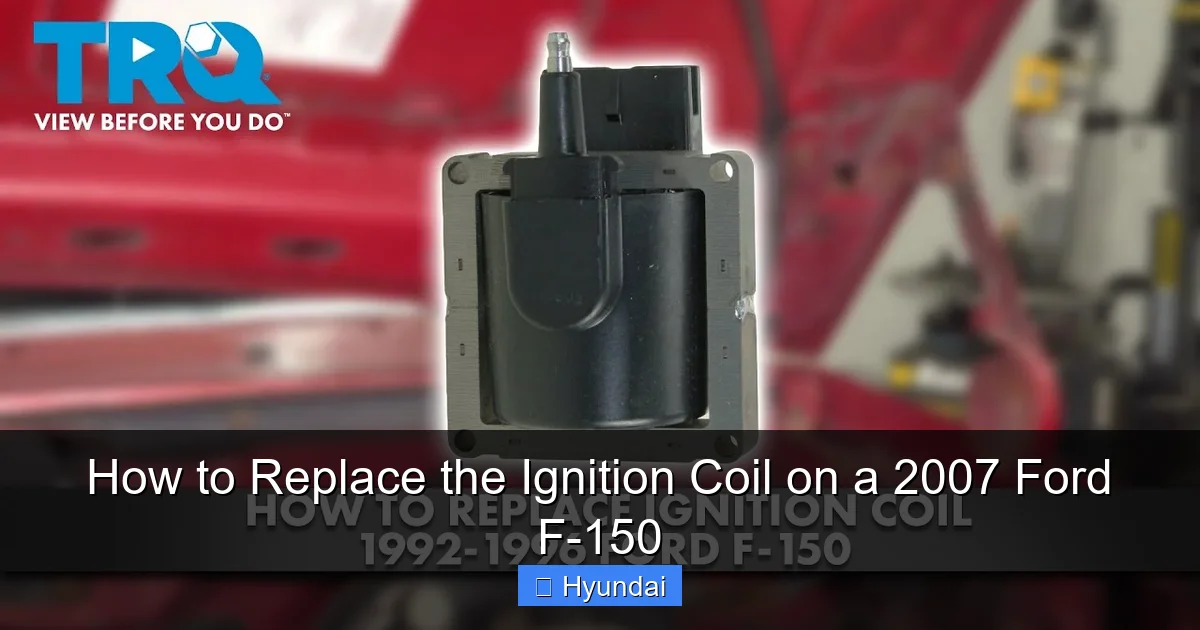
Visual guide about How to Replace the Ignition Coil on a 2007 Ford F-150
Image source: i.ytimg.com
Classic Symptoms to Listen For
- Rough Idle/Shaking: The truck will feel like it’s running on fewer cylinders, with a noticeable vibration, especially at stoplights.
- Lack of Power/Stumbling: You might feel a hesitation or jerking when you press the gas pedal, particularly under load.
- Check Engine Light: This is your first clue. The light may blink (indicating a severe misfire that could damage the catalytic converter) or stay solid.
- Poor Fuel Economy: A misfiring cylinder wastes fuel, so your gas mileage will drop noticeably.
- Failed Emissions Test: A misfire will cause your truck to fail an emissions smog check.
How to Confirm the Faulty Coil
The most reliable DIY method is the coil swap test. If your scan tool shows a misfire on, say, cylinder 3, swap the coil from cylinder 3 with the coil from cylinder 1 (or any other cylinder). Clear the codes and drive the truck. If the misfire code now changes to P0301 (Cylinder 1), you’ve confirmed the coil is bad. The misfire moved with the coil. If the code stays on cylinder 3, the problem is likely the spark plug or injector for that cylinder. You can also test coil resistance with a multimeter, but the swap test is more definitive for intermittent issues.
Gathering Your Tools and Parts
Now that we know what we’re doing, let’s get our kit together. Having everything at hand will make this a smooth, one-job project.
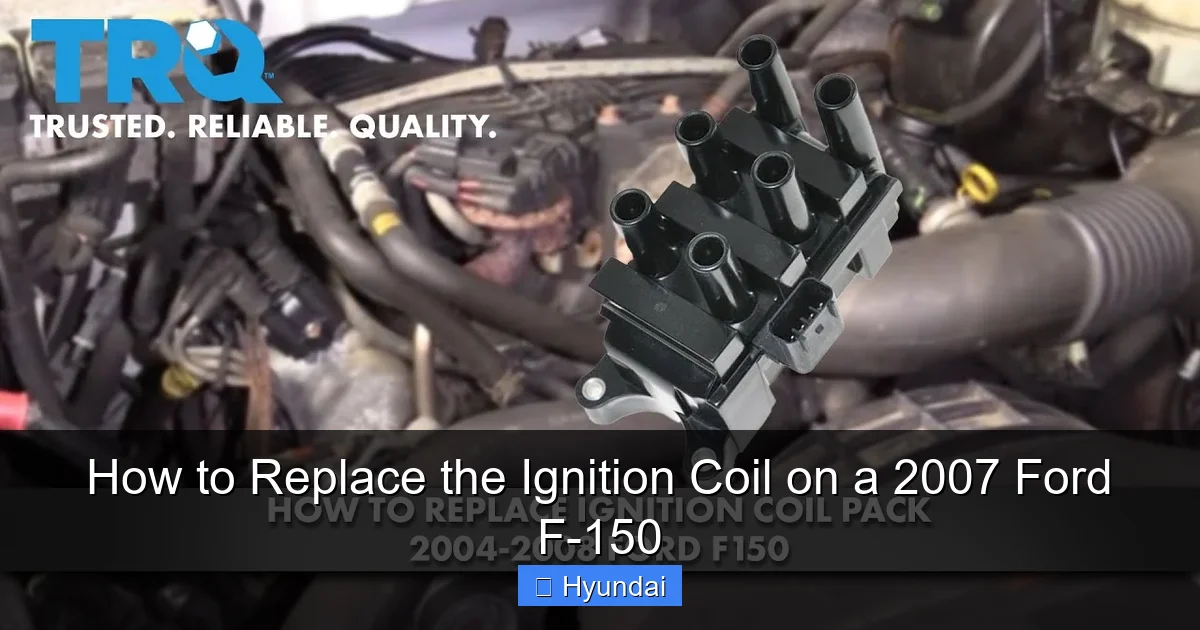
Visual guide about How to Replace the Ignition Coil on a 2007 Ford F-150
Image source: i.ytimg.com
Essential Tools
- Socket Set: A 5/16″ (8mm) socket for the coil mounting bolts. A 7mm or 8mm deep socket may be needed for battery terminals.
- Ratchet and Extension: A 3/8″ drive ratchet with a short extension (3-6 inches) is perfect for reaching the bolts.
- Spark Plug Socket (Optional but Recommended): A 5/8″ (16mm) six-point spark plug socket with a rubber boot to hold the plug. Since you’re right there, now is the ideal time to replace the spark plug on that cylinder if it’s due.
- Torque Wrench: Crucial for properly tightening the coil bolt and spark plug to factory specs.
- Dielectric Grease: A small tube of this silicone-based grease. It goes on the inside of the coil boot and on the electrical connector to keep moisture out.
- Fender Liner Remover/Flathead Screwdriver: To gently pry the plastic inner fender liner if needed for better access to rear cylinders.
- OBD2 Scanner/Code Reader: To clear the codes after the job. A basic handheld scanner is fine.
- Gloves and Safety Glasses: Always a good idea.
Selecting the Correct Replacement Ignition Coil
This is critical. Don’t just buy any “universal” coil. For your 2007 F-150, you need a coil that matches your specific engine:
- 4.2L V6: 6 coils total.
- 5.4L V8 (2-valve or 3-valve): 8 coils total. The 3-valve “Triton” has a different coil design than the 2-valve. Check your engine code in the driver’s door jamb or under the hood.
- 4.6L V8: 8 coils total.
You have three main options: OEM (Ford Motorcraft) – the most reliable but priciest; Quality Aftermarket (like Bosch, Standard Motor Products, or ACCEL) – excellent value and often just as good; or Remanufactured – a recycled core with new components. For a daily driver, a reputable aftermarket brand is a great choice. Always verify the part number matches your engine. A quick online search for “2007 F-150 ignition coil [your engine size]” will yield the correct part.
Step-by-Step: Removing the Old Ignition Coil
Alright, let’s get that old, tired coil out of there. The process is nearly identical for every cylinder, though rear bank cylinders (on V8s) can be a bit tighter.
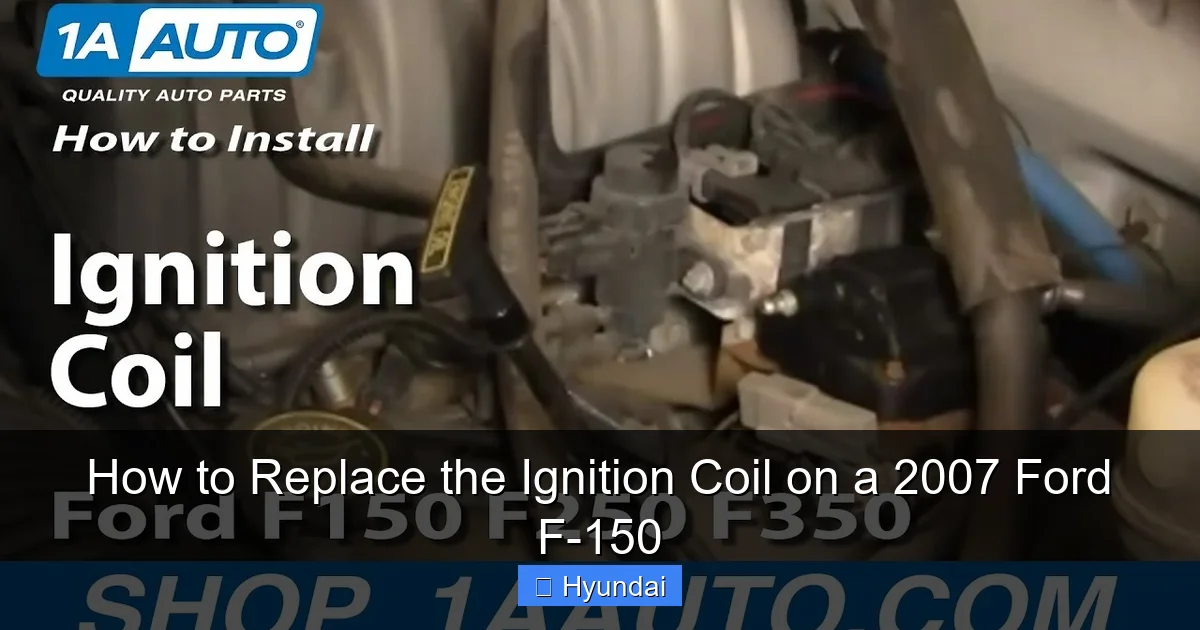
Visual guide about How to Replace the Ignition Coil on a 2007 Ford F-150
Image source: i.ytimg.com
Step 1: Safety and Preparation
First, park your truck on a level surface, set the parking brake, and pop the hood. Disconnect the negative (-) battery cable. This is non-negotiable. It prevents any accidental engine start and protects the ECM from voltage spikes. Tuck the cable away so it can’t touch the terminal. Now is also a great time to clean the area around the coils with a brush and some brake cleaner to prevent dirt from falling into the spark plug hole when you remove the coil.
Step 2: Locate and Access the Coil
Your COP coils are right on top of the engine, one per cylinder, with a spark plug boot protruding down into the cylinder head. On the 4.6L/5.4L V8s, you have two banks of four cylinders each. The front bank is easy. The rear bank may require you to gently pry back the plastic inner fender liner (the plastic splash guard inside the wheel well) for better access to the rear-most coils. Use your screwdriver carefully to avoid breaking plastic clips.
Step 3: Disconnect the Electrical Connector
Each coil has a small electrical wiring harness connector plugged into its side. Press the release tab (usually on the top or side) and pull the connector straight off. Be gentle; these plastic tabs can be brittle with age. If it’s stuck, wiggle it side-to-side gently. Do not pull on the wires themselves.
Step 4: Remove the Mounting Bolt
Using your 5/16″ (8mm) socket and ratchet, remove the single 10mm or 8mm bolt that holds the coil to the engine. This bolt is often coated in oil or grime. Be careful not to drop it into the engine valley. Some designs use a “rivet” style fastener that you pry out with a flathead. If yours is a bolt, set it aside safely.
Step 5: Remove the Coil from the Spark Plug
This is the key step. Firmly grasp the coil by its body. Twist it slightly (about 1/8 to 1/4 turn) as you pull straight upward. The rubber boot inside is sealed onto the spark plug with a tight friction fit. The twisting motion breaks that seal. Pull with steady, even pressure. If it’s stuck, twist a little more. Never use excessive force that could damage the spark plug or break the coil. Once it breaks free, lift the coil straight up and out of the engine well. You’ll see the end of the spark plug at the bottom of the hole.
Installing the New Ignition Coil
Now for the satisfying part—putting in the fresh component. The installation is essentially the reverse of removal, but with a couple of critical best practices.
Step 1: Prepare the New Coil
Before you install it, apply a thin, even layer of dielectric grease to the inside of the new coil’s rubber boot. This grease does two jobs: it lubricates the boot for easier installation/removal next time, and it creates a waterproof seal to keep moisture and contaminants out of the spark plug well. Also, put a small dab on the electrical connector’s seal (if it has one) and on the metal terminals inside the connector for corrosion protection.
Step 2: Position and Seat the Coil
Take your new coil and align the mounting hole with the bolt hole in the engine. Carefully lower it straight down. The boot must slide perfectly over the top of the spark plug. You can use a small mirror to see if it’s centered. Gently press down until you feel the boot bottom out on the spark plug. You should feel a slight “give” as it seats fully. Do not force it at an angle.
Step 3: Install and Torque the Mounting Bolt
Insert the mounting bolt (or reinstall the fastener) and hand-tighten it. Then, using your torque wrench, tighten it to the factory specification. For most 2007 F-150 models, this is 89-124 in-lbs (10-14 Nm), which is a fairly light torque. Over-tightening can crack the coil housing or damage the threads in the cylinder head. If you don’t have a torque wrench, snug it down firmly with a ratchet—it should be tight but not heroic.
Step 4: Reconnect the Electrical Connector
Push the wiring harness connector firmly onto the new coil until you hear or feel the locking tab click into place. Give it a gentle tug to ensure it’s secure. A loose connection will cause immediate misfires.
Step 5: Reinstall Any Removed Body Parts
If you removed the fender liner, snap it back into place. Make sure all plastic retainers are secure.
Repeat for All Faulty Coils
If your diagnosis showed multiple bad coils, repeat this process for each one. It’s efficient to do them all at once if you have the parts, as they often fail around the same time due to age.
Final Steps: Testing and Reassembly
We’re almost done, but we need to verify the repair worked before we call it a day.
Step 1: Reconnect the Battery
Go back to the hood and firmly reconnect the negative battery cable. Tighten the terminal nut securely.
Step 2: Clear the Trouble Codes
Plug your OBD2 scanner into the port under the dash (usually just below the steering wheel). Turn the ignition to the “ON” position (do not start the engine). Use the scanner to navigate to “Read Codes,” confirm you have the misfire codes stored, then select “Clear Codes.” This resets the ECM’s memory. If you don’t have a scanner, you can disconnect the battery for 10-15 minutes to clear codes, but this may also reset radio presets and other modules.
Step 3: Start and Initial Check
Start the engine. It should crank smoothly and start immediately. Listen carefully. The idle should be smooth and steady, without any shaking or stumbling. The check engine light should remain off. If the light comes back on immediately or the idle is rough, double-check your coil installation, especially the electrical connection and seating on the spark plug.
Step 4: Road Test
Let the engine warm up to normal operating temperature. Then, take the truck for a 10-15 minute drive under varying conditions: gentle acceleration, moderate load (like a slight hill), and highway speeds. Pay attention to any hesitation, vibration, or lack of power. The misfire should be gone. After the drive, you can re-scan for codes to ensure none have returned.
What If the Problem Persists?
If the misfire code returns on the same cylinder, double-check that the spark plug for that cylinder isn’t fouled, cracked, or gapped incorrectly. A bad injector or a mechanical issue (like low compression) could also be the root cause, but these are less common. If the code moved to a different cylinder after your swap test, you know the new coil is good and you must investigate the original cylinder’s plug or injector.
Maintenance Tips, Costs, and When to Seek Help
Let’s wrap up with some final wisdom to keep your F-150 running strong for years to come.
Proactive Maintenance
Ignition coils and spark plugs work hand-in-hand. While you have the coil off, it’s the perfect opportunity to inspect and likely replace the spark plug on that cylinder. On a 2007 truck with original plugs, they are almost certainly overdue. Replacing them all (or at least the ones on the bank you’re working on) is highly recommended. Also, check the condition of your valve cover gaskets. Oil leaking onto the coils is a common failure cause on the 5.4L engines. If your valve covers are wet with oil, plan to replace the gaskets soon to protect your new coils.
The DIY Cost Savings
Here’s the best part. Having a shop replace one ignition coil on your F-150 will typically cost $250-$400 in parts and labor. You can buy a quality aftermarket coil for $40-$80 and a spark plug for $5-$15. Doing it yourself saves you well over $200 per coil. Even if you replace all eight coils and plugs, you’re still looking at a parts bill of under $600, versus $2,000+ at a dealership.
When to Call a Professional
While this is a beginner-friendly job, there are times to call in a pro. If you’ve replaced the coil and spark plug and the misfire persists, you could have a more complex issue like a faulty fuel injector, a damaged wiring harness, or internal engine problems. Also, if you’re uncomfortable working under the hood or lack basic tools, a trusted mechanic is a good investment. But for a straightforward coil swap? You’ve got this.
A Final Word on Part Quality
Don’t skimp. A cheap, no-name coil might fail in months. Stick with reputable brands that offer a warranty. Your truck’s performance and reliability are worth the small extra cost. And remember, taking care of these repairs yourself builds a deeper connection with your vehicle and gives you invaluable peace of mind on the road.
So there you have it—your complete roadmap to replacing an ignition coil on a 2007 Ford F-150. By following these steps carefully, you’ll eliminate those annoying misfires, restore your truck’s power and efficiency, and enjoy the satisfying feeling of a job well done. Now grab your tools, and get that F-150 back to its tough, reliable self!
Frequently Asked Questions
What are the most common symptoms of a bad ignition coil on a 2007 Ford F-150?
The most common signs are a persistent or blinking check engine light, rough engine idle, noticeable misfires causing shaking or hesitation during acceleration, and a significant drop in fuel economy. You’ll often find a stored misfire code like P0300 or a cylinder-specific code when scanned.
How much does it cost to replace an ignition coil yourself versus at a shop?
Doing it yourself, a quality aftermarket coil costs between $40 and $80. With a spark plug, the total per cylinder is about $50-$100. A repair shop will typically charge $250 to $400 per coil for parts and labor, so DIY saves you $200+ per coil.
Can I drive with a bad ignition coil?
You can drive short distances, but it’s not recommended for long. A severe misfire can dump unburned fuel into the exhaust, potentially overheating and damaging the expensive catalytic converter. It also increases emissions and causes poor performance. Fix it as soon as possible.
How long does it take to replace one ignition coil on a 2007 F-150?
For a DIYer with basic tools, expect to spend about 45 minutes to 1.5 hours per coil. The first one might take longer as you learn the access points. Rear bank cylinders on V8 models can be slightly more time-consuming due to tighter access.
Do I need to replace all the ignition coils at once?
Not necessarily. Ignition coils fail individually. However, if your truck has high mileage (over 120,000 miles) and you’re replacing one, it’s wise to inspect and consider replacing the others as they are likely the same age and may fail soon. It saves labor time in the long run.
After replacing the coil, do I need to do anything else?
Yes, you must clear the check engine light and any stored misfire codes using an OBD2 scanner. Then, perform a thorough road test to ensure the misfire is resolved. It’s also highly recommended to replace the spark plug on that cylinder if it hasn’t been changed recently, as you already have access to it.