How to Remove the Push Start Button on a Nissan
Contents
- 1 Key Takeaways
- 2 📑 Table of Contents
- 3 Why Would You Need to Remove the Push Start Button?
- 4 Tools and Materials You’ll Need
- 5 Step-by-Step Guide to Removing the Push Start Button
- 6 Replacing or Upgrading the Push Start Button
- 7 Reassembling the Interior
- 8 Troubleshooting Common Issues
- 9 Safety and Maintenance Tips
- 10 Conclusion
- 11 Frequently Asked Questions


Removing the push start button on a Nissan is a straightforward task if you follow the right steps and take safety precautions. Whether you’re replacing a faulty button, installing a new one, or upgrading your ignition system, this guide walks you through the entire process with clear instructions and helpful tips.
Key Takeaways
- Always disconnect the battery first: This prevents electrical shorts and airbag deployment during the removal process.
- Use the right tools: A trim removal tool, flathead screwdriver, and socket wrench are essential for safe and efficient removal.
- Be gentle with interior panels: Nissan dashboards and center consoles are made of plastic that can crack or scratch easily.
- Take photos during disassembly: Documenting each step helps with reassembly and avoids confusion.
- Check for hidden screws: Some models have screws under trim covers or behind storage compartments.
- Test the new button before reassembly: Ensure it works properly to avoid repeating the entire process.
- Consult your owner’s manual: Model-specific details can vary, so always refer to your Nissan’s manual for guidance.
📑 Table of Contents
Why Would You Need to Remove the Push Start Button?
If you’re a Nissan owner, you’ve probably grown accustomed to the convenience of the push start button. With just a press, your engine roars to life—no more fumbling with keys. But what happens when that button stops working? Or maybe you’re installing a remote start system, upgrading to a custom button, or performing maintenance on the ignition system? In any of these cases, knowing how to remove the push start button on a Nissan becomes essential.
The push start button isn’t just a simple switch—it’s part of a complex electronic system that communicates with your car’s immobilizer, security module, and engine control unit. Because of this, removing it requires more than just pulling it out. You need to understand the components involved, the tools required, and the safety steps to avoid damaging your vehicle or injuring yourself.
Whether you’re driving a Nissan Altima, Rogue, Maxima, Sentra, or Pathfinder, the general process is similar. However, slight variations exist between models and model years. That’s why it’s important to tailor your approach based on your specific vehicle. This guide will walk you through the entire process, from preparation to reinstallation, with practical tips and real-world advice to ensure success.
Tools and Materials You’ll Need
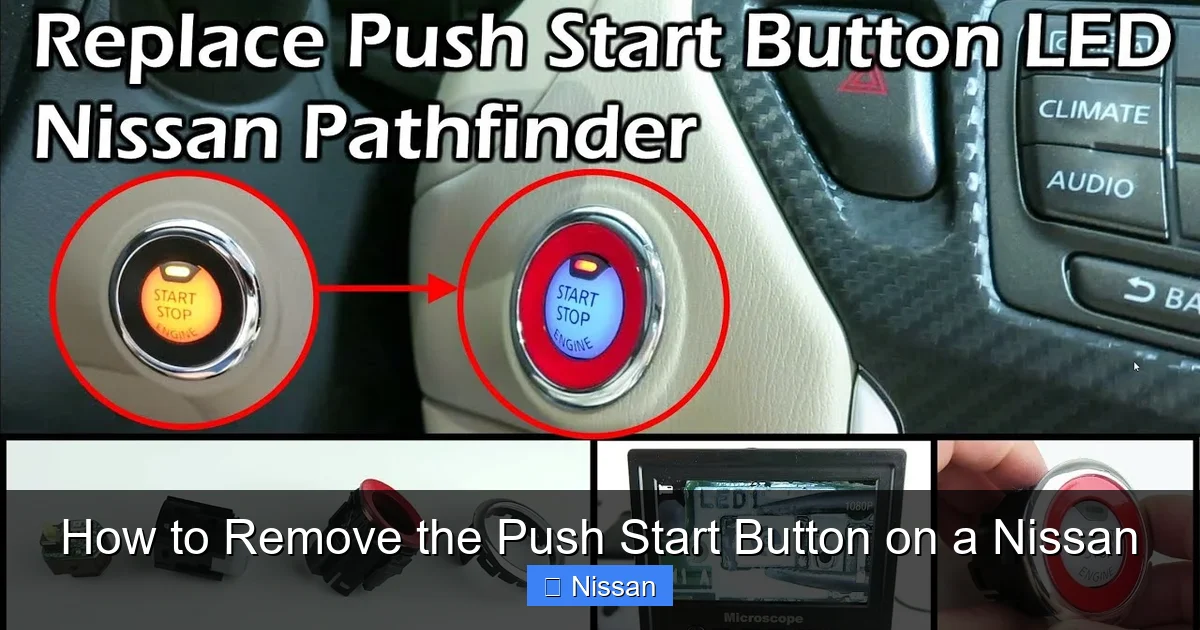
Visual guide about How to Remove the Push Start Button on a Nissan
Image source: ph-test-11.slatic.net
Before you begin, gather all the necessary tools and materials. Having everything ready beforehand saves time and reduces frustration. You don’t want to be halfway through the job only to realize you’re missing a screwdriver or socket.
Here’s a list of what you’ll typically need:
- Trim removal tool (or plastic pry tool): This is essential for safely prying off plastic panels without scratching or cracking them. You can find these at auto parts stores or online.
- Flathead screwdriver: Useful for gently prying small clips or lifting trim pieces. Wrap the tip in tape to prevent scratches.
- Socket wrench set: A 10mm socket is commonly used for removing screws in Nissan interiors.
- Phillips and flathead screwdrivers: For removing screws that secure panels or brackets.
- Needle-nose pliers: Helpful for disconnecting small electrical connectors.
- Electrical tape: To label wires or secure loose connectors temporarily.
- Flashlight: Interior spaces can be dim, especially under the dashboard or near the center console.
- Clean cloth or microfiber towel: To wipe down surfaces and prevent dust from entering connectors.
Optional but helpful items include a magnetic tray to hold screws, a camera or smartphone to take reference photos, and a small container to organize parts.
Safety First: Disconnect the Battery
One of the most critical steps—and one that many DIYers skip—is disconnecting the car battery. This is non-negotiable. The push start button is connected to the vehicle’s electrical system, and working on it with the battery connected can lead to short circuits, blown fuses, or even accidental airbag deployment.
To disconnect the battery:
- Turn off the ignition and remove the key fob from the vehicle.
- Open the hood and locate the battery.
- Use a wrench to loosen the negative terminal (marked with a “-”) and carefully remove the cable. Tuck it away so it doesn’t touch the terminal.
- Wait at least 10–15 minutes before proceeding. This allows the vehicle’s electrical system to fully power down, especially the airbag system.
Pro Tip: Some newer Nissan models have a backup power system for the immobilizer. Even with the battery disconnected, the system may retain some charge. Always treat the interior electronics with caution.
Step-by-Step Guide to Removing the Push Start Button
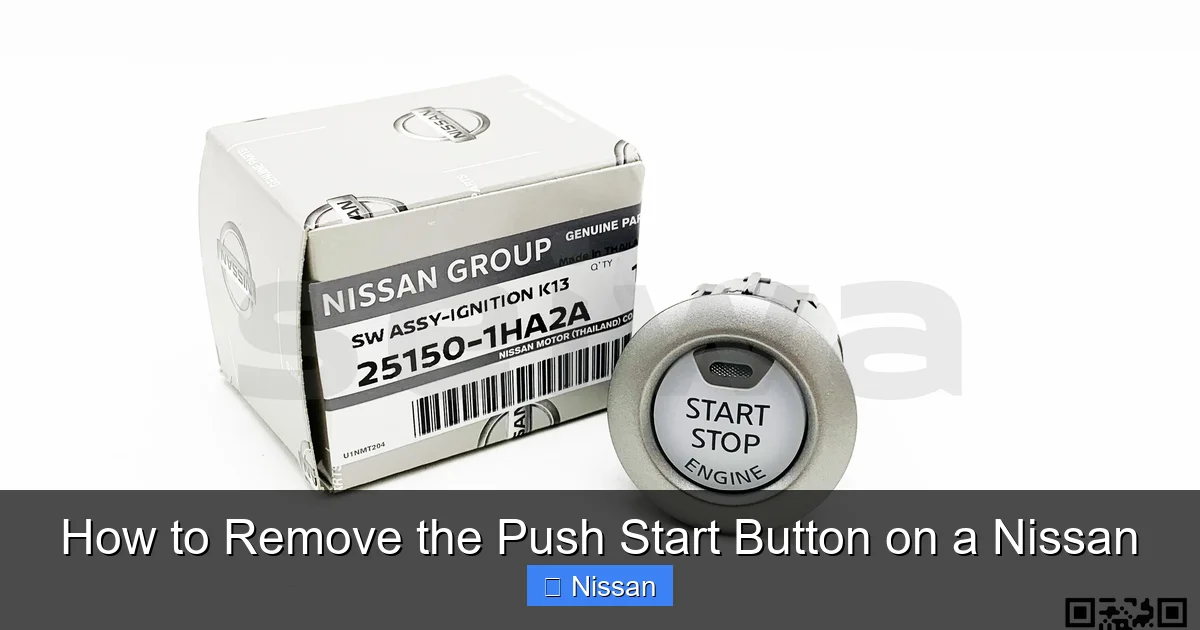
Visual guide about How to Remove the Push Start Button on a Nissan
Image source: nissankaengine.com
Now that you’re prepared and the battery is disconnected, it’s time to begin the removal process. The exact steps may vary slightly depending on your Nissan model, but the overall procedure is consistent across most vehicles.
Step 1: Remove the Center Console Trim
The push start button is typically located in the center console, surrounded by a plastic trim panel. This panel covers the button and often houses other controls like the climate system, gear shifter, or cup holders.
Start by locating the trim panel around the push start button. On most Nissan models, this panel is held in place by plastic clips. Use your trim removal tool to gently pry around the edges. Begin at the bottom or sides, working your way around the perimeter.
Important: Don’t force it. If a section feels stuck, there may be a hidden screw or clip. Look for small access holes or removable covers. For example, in some Nissan Rogues, there’s a small cover under the cup holder that hides a screw.
Once the clips are released, carefully lift the trim panel upward. It may still be connected by wiring harnesses for buttons or lights, so don’t pull it completely off yet.
Step 2: Disconnect Electrical Connectors
With the trim panel loose, you’ll see the back of the push start button. It’s connected to the vehicle’s wiring via one or more electrical connectors.
Use your needle-nose pliers or fingers to gently press the release tab on the connector and pull it away from the button. Some connectors have a locking mechanism—be sure to disengage it before pulling.
Tip: Take a photo of the connector before disconnecting it. This will help you remember how to reconnect it later, especially if there are multiple wires.
If the button has an illumination light (which most do), there may be a second smaller connector for the LED. Disconnect this as well.
Step 3: Remove the Push Start Button
Once the electrical connectors are detached, the button should be free to remove. However, it’s often held in place by a retaining clip or bracket.
Look for a small metal or plastic clip behind the button. Use a flathead screwdriver to gently pry it outward. Alternatively, some models use a twist-lock mechanism—rotate the button slightly counterclockwise to release it.
Once the clip is disengaged, the button should pop out from the front. Pull it carefully through the opening in the trim panel.
Note: If the button feels stuck, double-check for any remaining clips or screws. Forcing it can damage the housing or surrounding components.
Step 4: Inspect and Clean (Optional)
With the button removed, take a moment to inspect the area. Look for dust, debris, or signs of wear. Use a clean cloth or compressed air to gently clean the opening and surrounding components.
This is also a good time to check the condition of the wiring and connectors. Look for frayed wires, corrosion, or loose connections. If you notice any damage, it may be worth addressing before reinstalling the button.
Replacing or Upgrading the Push Start Button
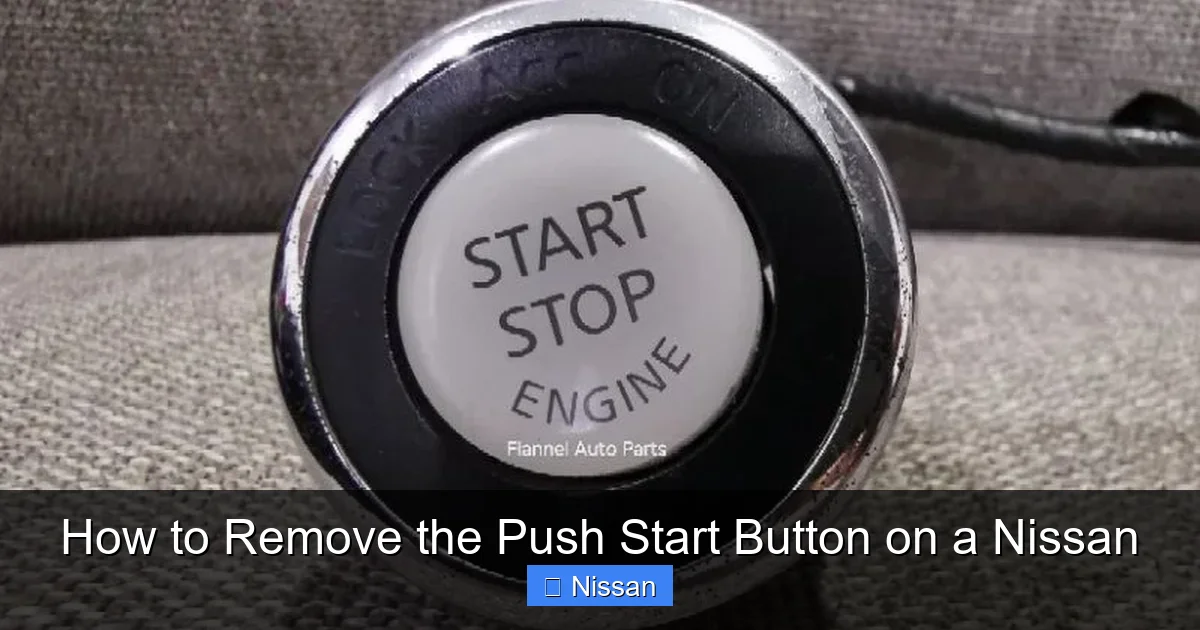
Visual guide about How to Remove the Push Start Button on a Nissan
Image source: cf.shopee.com.my
Now that the original button is out, you have several options. You might be replacing a faulty button, installing a new OEM part, or upgrading to a custom or illuminated version.
Choosing the Right Replacement
If you’re replacing a broken button, it’s best to use an OEM (Original Equipment Manufacturer) part. Nissan-specific buttons are designed to integrate seamlessly with the vehicle’s electronics and security system. You can purchase these from a Nissan dealership or authorized parts supplier.
However, if you’re looking for a more stylish or functional upgrade, aftermarket options are available. These may include:
- Illuminated buttons: Glow in the dark or with customizable LED colors.
- Custom finishes: Chrome, carbon fiber, or colored buttons to match your interior.
- Remote start integration: Buttons designed to work with aftermarket remote start systems.
Caution: Not all aftermarket buttons are compatible with Nissan’s immobilizer system. Some may require additional programming or bypass modules. Always verify compatibility before purchasing.
Installing the New Button
Installing the new button is essentially the reverse of removal. Here’s how to do it:
- Insert the new button into the opening from the front. Make sure it’s oriented correctly—most buttons have a specific alignment.
- Secure it with the retaining clip or by twisting it clockwise (if it uses a twist-lock).
- Reconnect the electrical connectors. Push them in until you hear a click, ensuring they’re fully seated.
- Test the button before reassembling the trim. Reconnect the battery temporarily and press the button to see if it responds. (See next section for testing tips.)
- If everything works, disconnect the battery again and proceed to reassemble the trim panel.
Pro Tip: If you’re installing a custom button with LED lighting, check the polarity of the wires. Reversing the connection can damage the LED.
Reassembling the Interior
Once the new button is installed and tested, it’s time to put everything back together. This step is just as important as removal—improper reassembly can lead to rattles, loose panels, or exposed wiring.
Reattaching the Trim Panel
Carefully align the trim panel with the center console. Start by inserting the top edge first, then press down around the perimeter to engage the plastic clips.
Use your hands to press firmly but gently. Avoid using tools unless absolutely necessary—this reduces the risk of cracking the plastic.
If a section doesn’t snap into place, don’t force it. Check for obstructions or misaligned clips. Sometimes, a slight adjustment is all that’s needed.
Reconnecting the Battery
After the trim is securely in place, reconnect the battery:
- Reattach the negative terminal and tighten it with a wrench.
- Close the hood.
- Turn on the ignition (without starting the engine) to allow the system to reinitialize.
Wait a few minutes for the vehicle’s electronics to fully boot up. You may notice warning lights on the dashboard—this is normal. They should clear once the system recognizes the new button.
Final Testing
Now it’s time for the moment of truth. Test the push start button:
- Press the button with the brake pedal depressed (for starting).
- Check that the engine starts smoothly.
- Test the button’s illumination (if applicable) by turning on the headlights or interior lights.
- Ensure all other functions (like climate controls or gear shifter) still work properly.
If everything operates as expected, congratulations—you’ve successfully removed and replaced your Nissan’s push start button!
Troubleshooting Common Issues
Even with careful execution, problems can arise. Here are some common issues and how to fix them:
Button Doesn’t Respond
If the new button doesn’t work after installation:
- Double-check that the electrical connectors are fully seated.
- Verify that the battery is properly reconnected.
- Ensure the immobilizer system recognizes the key fob. Try starting the car with the fob inside the vehicle.
- Check for blown fuses related to the ignition or body control module.
Trim Panel Rattles or Doesn’t Fit
If the trim panel feels loose or makes noise:
- Inspect the clips for damage. Replace any broken clips.
- Ensure all screws are tightened (if applicable).
- Use felt tape or foam padding behind the panel to reduce vibration.
Airbag Warning Light Stays On
Disconnecting the battery can sometimes trigger the airbag light. In most cases, it will reset after a few drive cycles. If it persists:
- Use an OBD2 scanner to clear the code.
- Check for loose connections in the airbag system (located under seats or steering column).
Safety and Maintenance Tips
Now that your push start button is working, here are some tips to keep it in top condition:
- Clean regularly: Use a soft cloth and mild cleaner to wipe the button. Avoid harsh chemicals that can damage the finish.
- Protect from moisture: Spills near the button can seep into the electronics. Wipe up liquids immediately.
- Avoid excessive force: Press the button gently. Forcing it can damage internal components.
- Check for software updates: Some Nissan models receive updates that improve ignition system performance. Visit a dealership if you notice irregularities.
Conclusion
Removing the push start button on a Nissan might seem intimidating at first, but with the right tools, preparation, and patience, it’s a task well within the reach of most DIY enthusiasts. Whether you’re fixing a malfunction, upgrading your interior, or performing routine maintenance, this guide provides everything you need to succeed.
Remember to prioritize safety—always disconnect the battery, handle components gently, and test thoroughly. Taking photos during disassembly and using the correct tools can make the process smoother and prevent costly mistakes.
With your push start button successfully removed (and possibly replaced), you’ll not only save money on dealership labor but also gain valuable hands-on experience with your vehicle. And who knows? This might just be the start of more DIY projects under your belt.
So the next time your Nissan’s push start button gives you trouble, don’t panic. Grab your tools, follow these steps, and take control of your car’s ignition system like a pro.
Frequently Asked Questions
Can I remove the push start button without disconnecting the battery?
No, it’s not recommended. Disconnecting the battery prevents electrical shorts, blown fuses, and accidental airbag deployment. Always disconnect the negative terminal before working on interior electronics.
Will removing the push start button void my warranty?
Generally, no—performing basic maintenance like replacing a button won’t void your warranty. However, if damage occurs due to improper installation, the repair may not be covered. Check your warranty terms or consult a dealer if unsure.
Can I install an aftermarket push start button on my Nissan?
Yes, but compatibility is key. Some aftermarket buttons require additional programming or bypass modules to work with Nissan’s immobilizer system. Always verify compatibility before purchasing.
Why is my new push start button not lighting up?
This could be due to incorrect wiring, reversed polarity, or a faulty LED. Double-check the connector orientation and test with the battery reconnected. If the issue persists, the button may be defective.
How do I know if my push start button is faulty?
Signs include unresponsiveness, intermittent starting, or a burning smell. If the button feels loose, sticks, or doesn’t click properly, it may need replacement.
Do I need special tools to remove the push start button?
Basic tools like a trim removal tool, screwdrivers, and a socket wrench are sufficient. Specialized tools aren’t required, but using plastic pry tools helps prevent damage to interior panels.