How to Install a Front License Plate on a Hyundai Tucson
Contents
Installing a front license plate on your Hyundai Tucson is a simple DIY task that takes under 30 minutes with basic tools. You’ll need a screwdriver, drill, and the correct hardware. Follow our detailed guide to ensure a secure, straight fit without damaging your bumper.
So, you’ve got a new Hyundai Tucson, or maybe you’ve moved to a state that requires a front plate, and now you’re staring at that blank space on your front bumper. Don’t sweat it. Installing a front license plate on a Tucson is one of the most straightforward DIY tasks you can tackle. It’s a great first project for any new car owner. In this complete guide, we’ll walk through every single step, from gathering your tools to the final tightening. We’ll cover the differences between model years, how to handle bumpers without pre-drilled holes, and share pro tips to keep your Tucson looking pristine. By the end, you’ll know this job inside and out.
First, let’s address the elephant in the room: why does this even need a guide? Isn’t it just screwing on a plate? Well, yes and no. Modern vehicles like the Tucson have complex front ends. There are often hidden brackets, plastic covers, and integrated sensors for safety systems like forward collision warning. Doing it wrong can mean a crooked plate, scratched paint, or in a worst-case scenario, a damaged sensor. Our goal here is to do it right the first time, with zero frustration. We’ll assume you have a standard Tucson without any special front-facing radar or camera in the immediate license plate area, but we’ll note exceptions where relevant.
Key Takeaways
- Check for Pre-Drilled Holes First: Many Tucson models have hidden or covered mounting points; locate them before drilling.
- Use the Correct Hardware: Hyundai-specific screws or universal kit screws must match your bumper material (plastic/composite).
- Protect Your Paint: Always use painter’s tape and a cloth to prevent scratches during installation.
- Alignment is Critical: Use a level or measuring tape to ensure the plate is perfectly straight and centered.
- Drill Carefully: If drilling is required, use a small pilot hole and the correct bit size to avoid cracking the bumper.
- Torque Screws Lightly: Overtightening can strip holes or crack plastic; snug is sufficient.
- Know When to Seek Help: If your Tucson has sensors or a radar in the bumper area, consult a professional to avoid damaging safety systems.
📑 Table of Contents
Understanding Your Hyundai Tucson’s Front Bumper
Before you buy a plate or touch a tool, you need to understand what you’re working with. The Hyundai Tucson’s front end design has evolved over its generations. The current fourth-generation model (2022+) and the previous third-generation (2016-2021) have different approaches to front plate mounting. Knowing your specific year and trim is key.
The Two Main Scenarios: Pre-Drilled vs. No Holes
You will fall into one of two camps. Camp One: Your Tucson came from the factory with small, covered plastic caps or a blank plate cover in the front bumper. Underneath these caps are perfectly sized, threaded holes ready for your screws. This is the easiest scenario. Camp Two: Your bumper is a smooth, unmarked expanse of plastic with no visible holes. This is common on some base trims or on models where the front plate was simply not a factory option. In this case, you will need to drill your own holes. Don’t panic; it’s a common and safe process if done correctly.
To figure out your camp, inspect the lower center of your front bumper. Look for a small, rectangular indentation, often with a thin plastic cover that can be pried off with a flathead screwdriver. Sometimes it’s just a faint outline. If you see nothing, you’re likely in Camp Two. A quick way to confirm is to check your owner’s manual under “License Plate” or “Vehicle Identification Number (VIN) plate location.” It will often specify if front plate mounting hardware is pre-installed. You can also call a Hyundai dealer’s parts department with your VIN; they can tell you definitively and even sell you the correct factory bracket if needed.
Location, Location, Location: Where Exactly Does It Go?
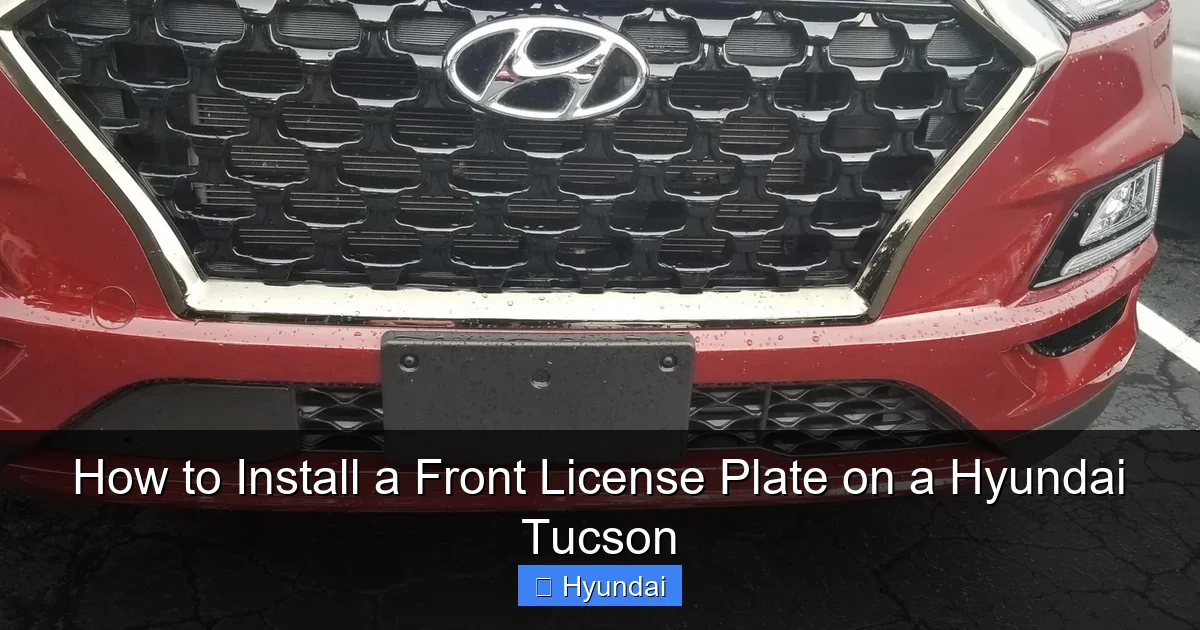
The plate mounts in the center, lower portion of the bumper. It’s not at the very bottom lip, but a few inches up, typically in a recessed area designed for it. On most Tucsons, the center point aligns roughly with the Hyundai logo on the grille above it. Use the logo as your vertical guide. Horizontally, it should be centered between the two headlights. Take a step back and eyeball it. A crooked plate sticks out like a sore thumb, so getting the horizontal center point is your first mental checkpoint.
Now, a critical note about safety systems. If your Tucson is equipped with features like Forward Collision-Avoidance Assist (FCA) or a front-facing camera for lane-keeping, the sensor is almost always located behind the Hyundai emblem or in the upper grille area, not where the front plate goes. However, some models have a small radar sensor behind a cover in the lower bumper, usually off to one side. If you see a small, circular, mesh-covered area near where the plate will mount, stop. You must identify that component. Drilling into it would be catastrophic. Your owner’s manual will have a diagram showing sensor locations. When in doubt, a quick online search for “[Your Year] Hyundai Tucson front sensor location” with your specific trim name (like SEL, Limited, N Line) will yield photos from forums. If you have these sensors, it’s highly advisable to let a professional at a body shop or dealership handle the installation to ensure the plate bracket doesn’t interfere with the sensor’s field of view.
Gathering Your Tools and Materials
You don’t need a mechanic’s toolbox for this. A small, focused kit will do the job perfectly. Here’s your checklist, broken down by necessity.
Visual guide about How to Install a Front License Plate on a Hyundai Tucson
Image source: thecarhow.com
Essential Tools
- Screwdriver or Socket Set: This depends entirely on the hardware your Tucson uses. Most commonly, it’s a Phillips-head screw, but some use a Torx (star-shaped) bit or a small 7mm or 8mm socket. Check the existing holes (if pre-drilled) or the hardware kit you buy. A multi-bit screwdriver or a small socket set with both inches and millimeters is your best bet.
- Drill and Drill Bits (If Needed): If you’re drilling, you need a power drill. For bits, start with a very small 1/16″ or 1.5mm pilot hole bit. Then, you’ll use a step drill bit or a bit that matches the exact outer diameter of your license plate mounting holes (usually about 1/4″ or 6mm). A step bit is ideal because it creates a clean, perfectly sized hole in plastic without cracking it.
- Measuring Tape and Level: A small 25-foot tape measure and a small torpedo level or a smartphone level app. Precision matters for a straight plate.
- Masking Tape (Painter’s Tape): This is non-negotiable. You’ll use it to protect the paint and create a drill stop.
- Clean Cloth: A microfiber cloth to wipe down the area and protect the surface.
Materials: The License Plate and Mounting Hardware
You have two paths here. Path A: Use the factory hardware (if pre-drilled holes exist). Often, the plastic caps covering the holes have the screws attached or are stored in a small bag in the glove compartment or trunk. Check there first. Path B: Purchase an aftermarket universal license plate kit. These are sold at auto parts stores, Walmart, Target, and online. They typically include:
- Two self-tapping screws (for drilling into plastic)
- Two plastic expanding anchors (for a super secure fit in thicker bumpers)
- A small bracket (sometimes a flat bar that screws to the bumper and the plate screws to)
When buying, ensure the screws are stainless steel to prevent rust. Also, check the length. Screws that are too long can poke through the bumper interior and damage wiring or the reinforcement bar. For most Tucsons, a 3/4″ to 1″ screw is sufficient. If in doubt, buy a kit labeled for “plastic bumpers” or “universal front mount.”
As a final prep step, clean the installation area on your bumper with soapy water and dry it thoroughly. Any dirt or wax will make the tape not stick and could scratch the paint during the process.
Step-by-Step Installation Guide
Alright, tools are ready, area is clean. Let’s get that plate on. We’ll cover both the pre-drilled hole scenario and the drilling scenario.
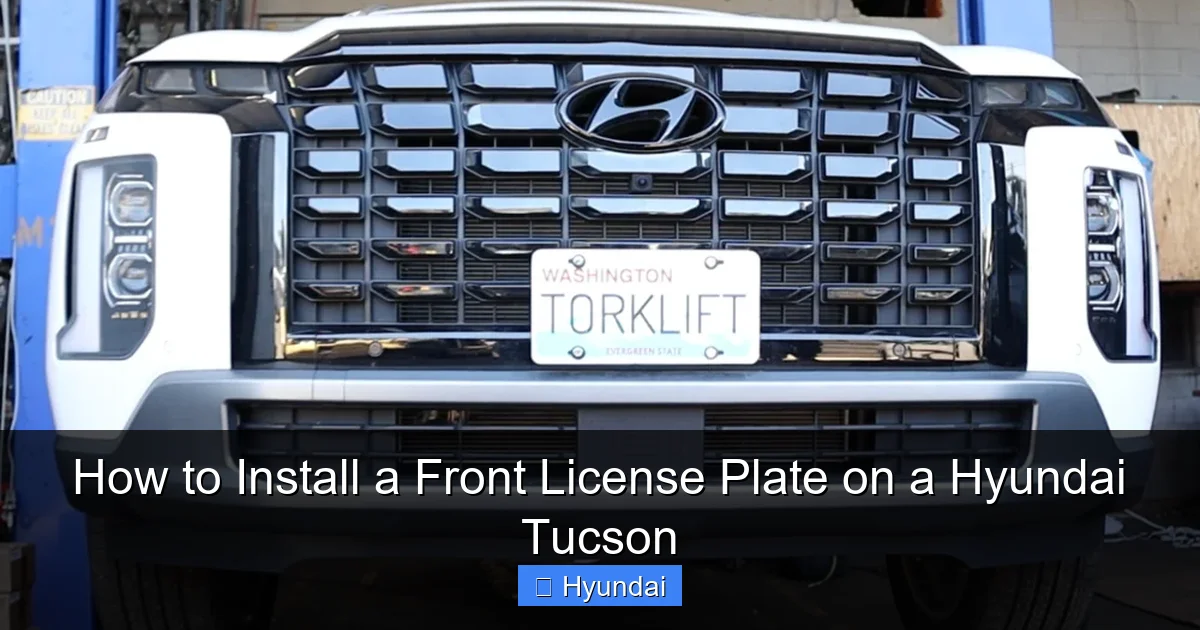
Visual guide about How to Install a Front License Plate on a Hyundai Tucson
Image source: torkliftcentral.com
Scenario 1: Your Tucson Has Pre-Drilled Holes
This is your best-case scenario. It’s a 10-minute job.
- Locate and Expose the Holes: Find the small plastic covers. They are usually held by plastic clips or a single screw. Gently pry them off with a flathead screwdriver wrapped in tape to prevent marring. You might need to wiggle it. If there’s a small screw holding the cover, remove it with your screwdriver and set it aside. Underneath, you’ll see two neat, threaded holes.
- Dry Fit the Plate: Hold your license plate up to the bumper. Align the plate’s mounting holes with the bumper holes. Have a friend help or use a piece of painter’s tape to temporarily stick the plate in place so you can step back and check alignment. Is it centered? Use your level on the top edge of the plate. Adjust as needed.
- Secure the Plate: Once you’re happy with the position, insert the screws through the plate holes and into the bumper holes. Turn them clockwise by hand first to avoid cross-threading. Once started, use your screwdriver or socket to snug them down. DO NOT OVER-TIGHTEN. Plastic threads are easy to strip. Tighten until the plate is firmly against the bumper with no wobble, but stop before you feel major resistance. A quarter-turn past hand-tight is usually enough.
- Final Check: Give the plate a firm wiggle. It should be solid. Step back and admire your work. Reinstall any plastic covers if your model uses them over the screw heads (some do for a cleaner look).
Scenario 2: Your Tucson Has No Holes (You Need to Drill)
This scenario sounds scarier, but with care, it’s just as successful. The key is precision and protection.
- Mark Your Spots PERFECTLY: This is the most important step. Hold the license plate up to the bumper where you want it. Use your level to get it straight. Then, use a pencil or a very fine-tip marker to mark the center of each mounting hole on the bumper surface through the plate’s holes. Double-check these marks. Measure from the marks to a fixed point on the bumper (like the edge of a headlight housing) to ensure they are equidistant, confirming the plate is centered.
- Create a Drill Template (Pro Tip): To make drilling foolproof, take a piece of cardboard or thick paper. Lay your plate on it and trace the mounting holes. Cut the holes out with a craft knife. You now have a perfect template. Place this template on the bumper, align it with your pencil marks, and tape it securely with painter’s tape. Now you have a guide that prevents the drill bit from wandering.
- Protect the Paint with Tape: Even with a template, put a few layers of painter’s tape directly over where you will drill. This tape layer will catch any minor drill skid and protect the paint from scratches. Mark the center point of each hole on the tape.
- Drill Pilot Holes: Put on safety glasses. Using your smallest drill bit (1/16″ or 1.5mm), drill a shallow pilot hole straight in at each mark. Go slow. The goal is just to break through the plastic skin and create a guide. Depth of about 1/4″ is fine. The tape will help here.
- Enlarge to Final Size: Switch to your step drill bit. Insert the bit into the pilot hole. Drill slowly and steadily, applying light pressure. The step bit will gradually enlarge the hole to the perfect size for your screws. Stop when the hole is just large enough for the screw shaft to pass through snugly. Do not drill all the way through the bumper. You only need to drill through the outer plastic skin and a little into the inner foam/structural layer. The screw will thread into the plastic itself. A depth of about 1/2″ to 3/4″ is usually sufficient. You’ll feel a change in resistance when you’re through the hard outer layer.
- Clean and Debur: Remove the tape and template. You’ll have two clean holes. Use the tip of your screwdriver or a small utility knife to gently scrape away any plastic burrs (fluffy edges) from the holes. This ensures the screw seats properly.
- Mount the Plate: If using self-tapping screws, simply insert them through the plate and into the new holes. Turn them by hand first. As you turn, the screw’s sharp threads will cut into the plastic, creating a perfect, tight thread. If using a bracket and plastic anchors, insert the anchors into the holes first (they expand behind the plastic), then screw the bracket to the anchors, and finally screw the plate to the bracket. Tighten all screws snugly, not tightly.
Alignment and Finishing Touches
Your plate is on, but the job isn’t done until it’s perfectly straight. A crooked plate can be a constant annoyance.
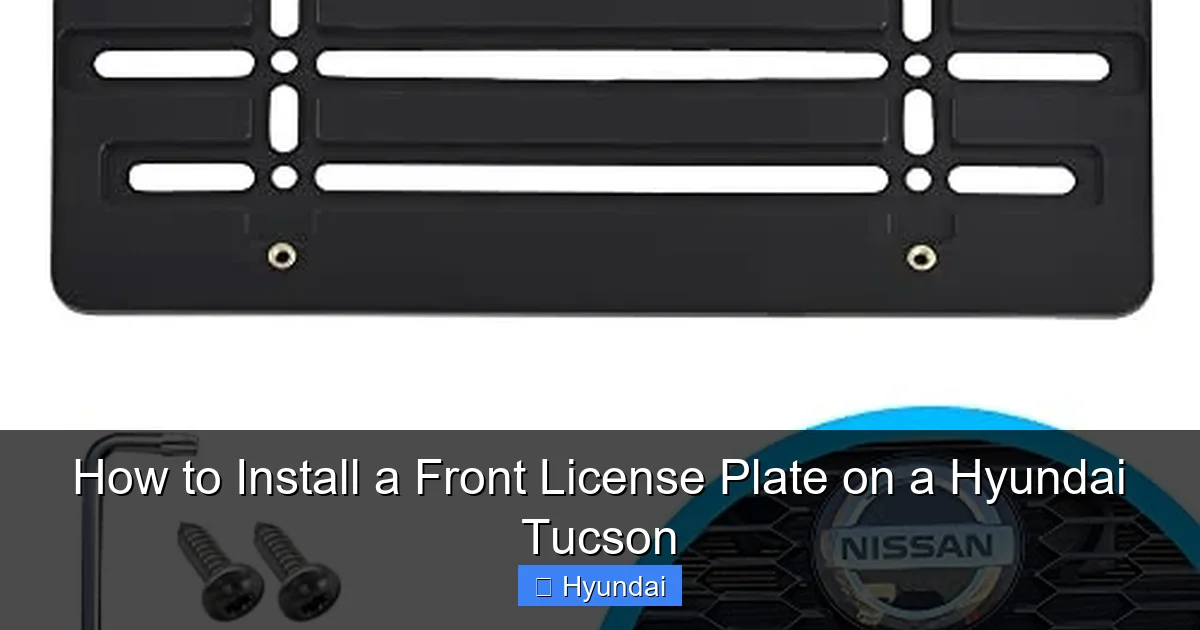
Visual guide about How to Install a Front License Plate on a Hyundai Tucson
Image source: promote-img.snagshout.com
The Double-Check Method
Don’t trust your first eyeball. Here’s how to be sure. First, use your level on the top edge of the plate. Check it left-to-right. Then, step back 15 feet. Is the plate parallel to the ground? Does it look centered between the headlights? Have a friend stand in front of the car to give you a second opinion. Sometimes your own perspective from the side can be misleading.
For absolute precision, use your tape measure. Measure the distance from the left edge of the plate to a fixed point on the left headlight (e.g., the outer corner). Then measure from the right edge of the plate to the same fixed point on the right headlight. The measurements must be identical. If they are off by even 1/8″, loosen the screws slightly and nudge the plate until they match. It’s much easier to do this now than after the screws are fully tightened and the plastic threads are set.
Final Tightening and Clean-Up
Once aligned, give each screw one final, firm quarter-turn. Again, do not use brute force. If you have a torque wrench and know the spec for your bumper material (rarely provided), you could use it, but for most, hand-snug is perfect.
Now, clean up. Wipe away any fingerprints or dust from the plate and bumper. If you used painter’s tape, remove it slowly at a low angle to avoid pulling at any newly drilled holes. Inspect your work. The plate should sit flush against the bumper with no gaps at the top or sides. If there’s a gap at the bottom, it means the holes were drilled too deep, and the screw is pulling the plate down. You’d need to fill the hole with a plastic repair putty, let it dry, redrill, and try again—a real pain. So drilling to the correct depth in the first place is crucial.
Troubleshooting Common Problems
Even with careful work, a few issues can pop up. Here’s how to solve them.
Problem: The Plate Wobbles or Is Loose
Cause: Screws are too short, holes are too large, or plastic threads are stripped (from over-tightening or drilling the hole too big).
Solution: This is the most common issue. First, remove the plate. If the plastic around the screw hole looks shredded or the screw spins freely without gripping, the threads are stripped. You have two options. Option 1: Use a slightly larger screw (e.g., from a #8 to a #10) if the hole can accommodate it. Option 2: Fill the hole with a two-part plastic epoxy or a dedicated bumper repair putty. Let it cure completely (24 hours). Then, drill a new, correctly sized pilot hole into the cured putty. This creates a brand new, strong thread. This is a very effective fix.
Problem: The Plate Is Crooked Despite My Efforts
Cause: The holes were not drilled symmetrically, or the plate itself is bent (rare but possible with cheap plates).
Solution: Loosen both screws completely. Have a friend hold the plate perfectly level with a level while you retighten the screws. If the plate itself is bent, you can often gently bend it back by hand. Place the plate on a flat surface and apply pressure to the high side. If it’s a metal plate, it will flex. If it’s a plastic plate, it may be permanently deformed and need replacement.
Problem: I Accidentally Drilled Into Something Solid Behind the Bumper
Cause: You drilled too deep and hit the metal reinforcement bar or a wiring harness.
Solution: STOP IMMEDIATELY. Do not force the screw. Back the screw out slowly. You now have an unintended hole. If you hit a metal bar, you must fill that hole with epoxy or a metal threaded insert (a more advanced repair). If you see colored wires (usually black, red, or green) near the drill bit, you may have nicked a wire. This is serious. Do not proceed. You must locate the damaged wire, repair it with electrical connectors and heat shrink, or consult a professional auto electrician. This is why knowing your sensor locations is so important.
When to Consider Professional Installation
While this is a DIY-friendly job, there are absolutely times to call in the pros. If your Tucson has a sophisticated front camera or radar sensor system (like on higher trims with Highway Driving Assist), a body shop can install a proper factory-style bracket that positions the plate perfectly without interfering with the sensor’s calibration. They have the jigs and experience. Also, if you are completely uncomfortable with drilling into your vehicle’s body, a quick visit to a dealership service department or a reputable body shop will cost you an hour of labor (maybe $80-$120) but gives you peace of mind and a perfect, warranty-safe result. There’s no shame in outsourcing a task you’re uneasy about.
For the vast majority of Tucsons without these complex front sensors, however, you can confidently do this yourself. It’s a satisfying small project that makes your car road-legal and complete. Just remember: measure twice, drill once, protect the paint, and tighten with care. You’ve got this.
Frequently Asked Questions
Do I need to drill holes in my Hyundai Tucson’s bumper?
It depends on your model year and trim. Many Tucsons have pre-drilled, covered holes. Check your lower bumper for a small plastic cap. If no cap exists, you will need to drill two precise holes. Always use a template and painter’s tape to protect the paint.
What size screw do I need for a Hyundai Tucson front plate?
For pre-drilled holes, use the factory screws provided. For drilling, use #8 or #10 stainless steel self-tapping screws, 3/4″ to 1″ long. The screw must be long enough to bite deeply into the plastic bumper but not so long it hits the metal reinforcement bar behind it.
Can I install the front plate without drilling using adhesive?
While heavy-duty adhesive strips or brackets exist, they are not recommended as a permanent solution for a front plate. They can fail in extreme weather, make plate removal difficult, and may not meet local legal requirements for secure mounting. Drilling or using factory holes is the correct, reliable method.
My Tucson has a small round mesh cover near where the plate goes. What is it?
That is likely a cover for a front radar sensor for features like Forward Collision-Avoidance Assist. Do not drill or mount the license plate in a way that obstructs this sensor. You must position the plate bracket below or beside it. Consult your owner’s manual for the exact sensor location and consider professional installation to avoid disabling a critical safety feature.
How do I ensure the license plate is perfectly straight?
Use a small torpedo level on the top edge of the plate. Also, measure the horizontal distance from the plate’s left edge to a fixed point on the left headlight, and do the same on the right. The measurements must be equal. Have a friend hold the level while you tighten the screws.
What if I strip the plastic threads while tightening?
If a screw spins without tightening, the threads are stripped. Remove the screw and plate. Fill the hole with a two-part plastic epoxy or bumper repair putty. Let it cure fully (24 hours). Then, drill a new, correctly sized pilot hole into the cured putty and re-mount the plate. This creates a brand new, strong thread.