How to Charge a Bmw I3
Contents
- 1 Key Takeaways
- 2 📑 Table of Contents
- 3 Understanding Your Charging Options: Levels and Connectors
- 4 How to Charge at Home: Your Complete Setup Guide
- 5 Using Public Charging Networks: A Step-by-Step Walkthrough
- 6 Charging Time and Cost: The Real Numbers
- 7 Maximizing Battery Health and Longevity Through Smart Charging
- 8 Winter-Specific Charging Tips for Your i3
- 9 Conclusion: You’re Ready to Charge
- 10 Frequently Asked Questions


Charging your BMW i3 is straightforward once you understand the options. You can charge at home using a standard outlet or a dedicated 240V wallbox for faster speeds, or utilize public AC and DC fast-charging networks. Charging times vary from 4-5 hours with a wallbox to under 30 minutes for a fast charge, while costs depend on your electricity rate and charging location. Proper charging habits are key to maintaining your i3’s battery health and maximizing its range.
So, you’ve got yourself a BMW i3—a brilliant piece of electric engineering that’s fun to drive and incredibly efficient. But like any new technology, the “how-to” of keeping it powered up can feel a little mysterious at first. Don’t worry. Charging your i3 is simpler than you think, and once you get the hang of it, it becomes second nature. Think of it less like filling a gas tank and more like charging your phone: you just plug it in when it’s convenient. This guide will walk you through every single method, from the wall socket in your garage to the fast-charging stations on the highway. We’ll break down the jargon, the times, the costs, and the best practices to keep your i3’s battery happy for years to come.
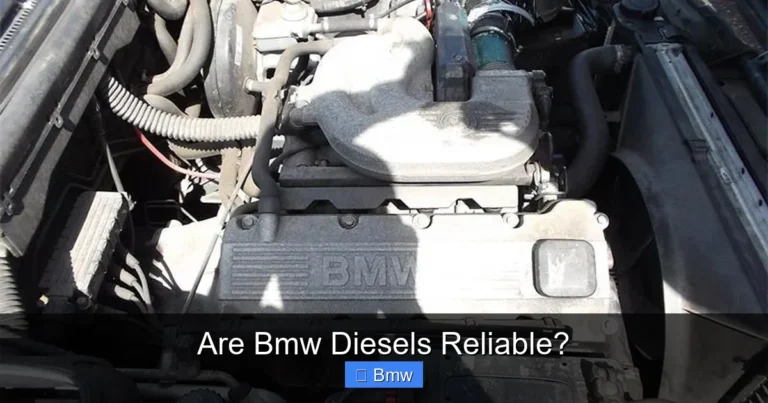
First, a quick note on terminology. The BMW i3 is a pure battery-electric vehicle (BEV). It has no gas engine, so every mile you drive comes from the high-voltage lithium-ion battery pack under the floor. Charging it is about getting energy from the grid into that pack. The process involves two main parts: the car’s internal charger (which converts AC power from the wall to DC for the battery) and the connector that plugs into your car. Your i3 uses the industry-standard CCS (Combined Charging System) connector for both AC and DC charging, which is great because it’s widely compatible across North America and Europe. Now, let’s get into the nitty-gritty of how to actually do it.
Key Takeaways
- Three Charging Levels: The i3 uses Level 1 (120V), Level 2 (240V), and DC Fast Charging (CCS). Level 2 is the recommended home setup for daily use.
- Home Charging is Key: Most charging happens at home. Installing a 240V outlet or wallbox drastically reduces charge time compared to a standard household outlet.
- Public Networks are Accessible: Use networks like Electrify America, EVgo, or ChargePoint. You’ll need a compatible account or RFID card, and often a smartphone app.
- Costs are Low: Charging at home is typically the cheapest, costing pennies per mile. Public fast-charging costs more but is convenient for long trips.
- Battery Health Matters: For longevity, avoid constantly charging to 100% or letting the battery drop below 20%. Aim for a daily “sweet spot” of 20-80%.
- Winter Affects Range & Speed: Cold weather reduces battery efficiency and slows charging speeds. Pre-condition your battery while plugged in before a fast charge for best results.
- Plan for Trips: Use your i3’s navigation or apps like PlugShare to plan routes around public chargers, especially on longer journeys.
📑 Table of Contents
- Understanding Your Charging Options: Levels and Connectors
- How to Charge at Home: Your Complete Setup Guide
- Using Public Charging Networks: A Step-by-Step Walkthrough
- Charging Time and Cost: The Real Numbers
- Maximizing Battery Health and Longevity Through Smart Charging
- Winter-Specific Charging Tips for Your i3
- Conclusion: You’re Ready to Charge
Understanding Your Charging Options: Levels and Connectors
Before you ever plug in, it helps to understand the “levels” of charging. It’s not about quality; it’s about speed and power. Think of it like different sized water hoses filling a pool.
Level 1 Charging: The Basic Household Outlet
This is the slowest method. You use the included emergency charging cable that comes with your i3. One end plugs into a standard 120V household outlet (the kind you use for a lamp or TV), and the other end is a special connector that plugs into your i3’s charge port. It delivers about 1.2 kW of power. This is essentially a trickle charge. It’s perfectly fine for occasional top-ups if you have a very short daily commute (like 10-15 miles) and park overnight. But for daily driving, it’s impractically slow. A nearly empty battery could take 20+ hours to fully recharge this way. It’s a great backup but not a primary solution.
Level 2 Charging: The Daily Workhorse
This is what you want for regular, at-home charging. Level 2 uses a 240V electrical supply—the same voltage your electric dryer or oven uses. It requires either a dedicated 240V outlet (like a NEMA 14-50 or 10-30) or, better yet, a hardwalled “wallbox” charging station installed by an electrician. A Level 2 charger delivers between 3.3 kW and 19.2 kW, but your i3’s onboard charger can accept a maximum of 7.4 kW (for 2014-2020 models) or 11 kW (for 2021+ models with the optional 11 kW charger).
Using a 7.4 kW Level 2 charger, a completely depleted 2014-2020 i3 battery (around 60 kWh usable) will recharge in about 8-9 hours. A 2021+ i3 with the larger battery (around 80 kWh usable) and 11 kW charger will take about 7-8 hours from empty. This means you can easily plug in when you get home from work and have a full battery by morning. This is the most cost-effective, convenient, and battery-friendly method for daily use. For comparison of charging speeds across different EV models, you can look at resources that detail how long it takes to charge a Nissan Ariya, which also uses standard J1772/CCS connectors.
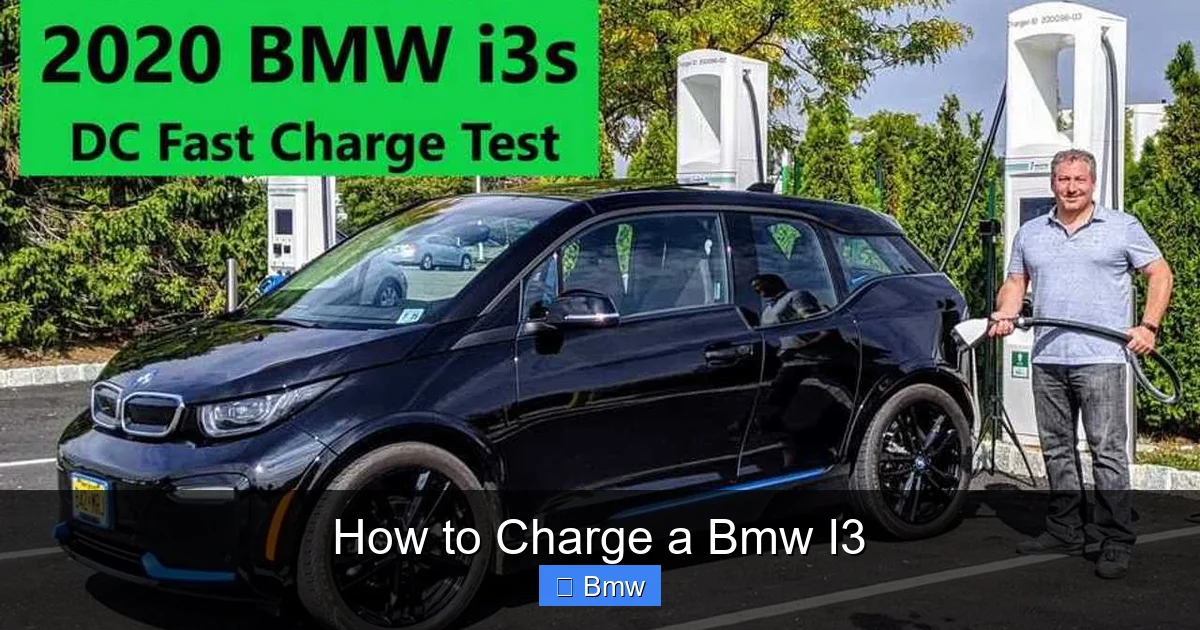
DC Fast Charging: The Road Trip Savior
When you’re on a long trip and need a quick boost, DC Fast Charging is your best friend. This method bypasses your car’s onboard charger entirely. The charging station itself converts AC grid power to high-power DC and feeds it directly into the battery. It uses the CCS connector, but note the two large DC pins below the standard AC pins. Your i3 is equipped for this, but the maximum speed depends on the model year. The 2014-2020 i3 (60 kWh battery) can accept up to 50 kW. The 2021+ i3 (80 kWh battery) can accept up to 195 kW, but it’s rare to find stations that powerful yet. In practice, you’ll see 50 kW to 150 kW stations.
What does this mean in real terms? A DC fast charge can take your i3 from 10% to 80% in roughly 30-45 minutes. The charge curve slows down significantly after 80% to protect the battery, so it’s not efficient to pay for a fast charge to 100%. Always use fast charging for en-route top-ups, not daily replacement. The cost per kWh at these stations is higher than at home, so plan accordingly. Understanding these costs is similar to evaluating how much it costs to charge a Jeep 4xe at public stations, as pricing structures are often comparable.
How to Charge at Home: Your Complete Setup Guide
Home charging is the heart of EV ownership. Let’s set you up for success.
Visual guide about How to Charge a Bmw I3
Image source: cdn.motor1.com
Step 1: Assess Your Electrical Situation
Do you have a garage or a dedicated parking spot? Do you have an existing 240V circuit (like for a dryer) near where you park? This is your starting point. If you have a standard 120V outlet nearby, Level 1 is an option, but we strongly recommend upgrading to Level 2. A typical Level 2 installation involves running a new 240V circuit from your main electrical panel to your charging location. This is not a DIY project for most—hire a licensed electrician. They will ensure the work is safe, up to code, and your home insurance is happy.
Step 2: Choose Your Charging Equipment
You have two main choices: a simple 240V cord-and-connector (like a “dryer plug” style) or a dedicated wallbox.
- Cord-and-Connector Kits: These are less expensive ($300-$500). You plug the cord into a NEMA 14-50 or similar outlet you’ve had installed, and the other end plugs into your i3. The downside: the cord and connector are exposed to the elements if parked outside, and you can’t lock it to the car.
- Wallbox Charging Station: This is a permanently mounted unit ($500-$1,000+ for hardware). It’s hardwired or plugs into a dedicated outlet. Benefits include weatherproofing, cable management, the ability to set charging schedules (to use off-peak electricity rates), and often a lockable connector. Many are Wi-Fi connected for app control. For a permanent, clean, and smart solution, a wallbox is the way to go.
Popular brands include JuiceBox, ChargePoint, Grizzl-E, and the official BMW i Wallbox. Ensure whatever you buy is UL-listed for safety and compatible with your i3’s CCS port. Some wallboxes, like those from ChargePoint, require you to create an account and use their network, which can integrate billing if you ever charge at a friend’s house with a ChargePoint station.
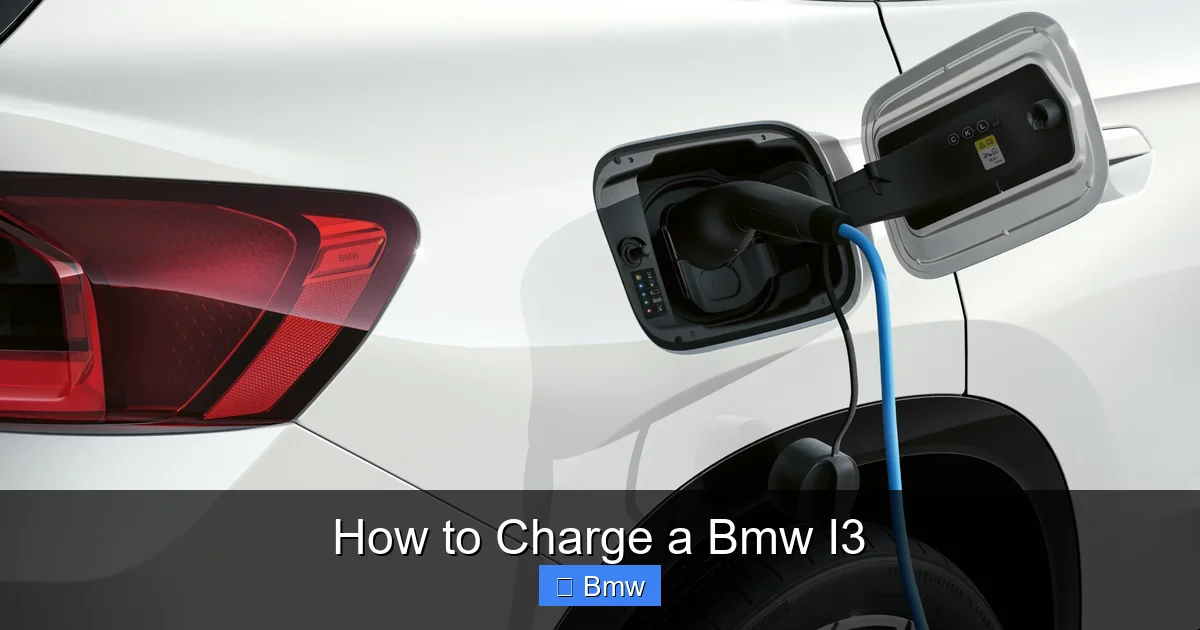
Step 3: Installation Day
Your electrician will handle this. They’ll mount the wallbox (if you chose one), run the conduit, and install the appropriate outlet or hardwire the unit. The whole process usually takes a few hours. They should also provide you with a permit and inspection certificate, which is often required by law. Once installed, it’s as simple as: Park, Open the i3’s charge port door (via the button on the key fob or the center console), and plug in. The i3 will give you audible and visual confirmation that charging has started. You can monitor progress on the iDrive screen or via the BMW ConnectedDrive app on your phone.
Using Public Charging Networks: A Step-by-Step Walkthrough
Public charging can seem intimidating, but it’s a well-oiled machine once you know the steps.

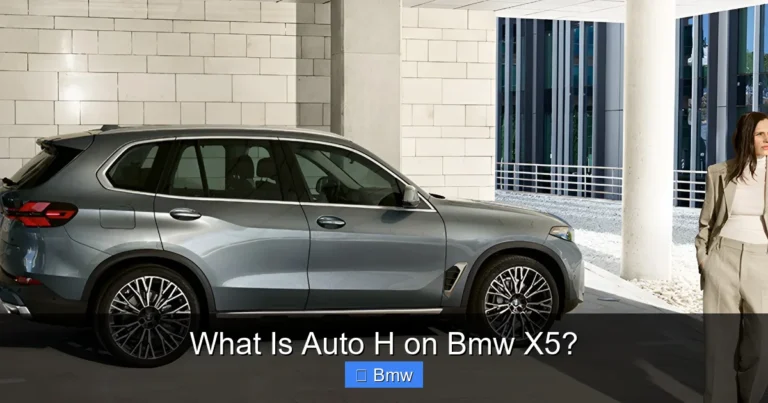
Visual guide about How to Charge a Bmw I3
Image source: s1.cdn.autoevolution.com
Finding a Charger
Use apps like PlugShare, ChargePoint, Electrify America, or EVgo. Your BMW’s built-in navigation also shows compatible public chargers. Filter for “CCS” or “Combo” (the CCS connector type). Note the power level (kW) and whether it’s currently in use. PlugShare is invaluable because it shows real-time status and user reports on reliability.
The Payment Process
There are two main models: “roaming” and “network-specific.”
- Network-Specific: You create an account with, say, Electrify America. You get an RFID card or use their app. When you arrive at an EA station, you tap your card or scan the app’s QR code to initiate and pay for the session.
- Roaming: Some networks (like ChargePoint) allow you to use your account at other partner networks. The app handles the cross-network billing.
- Credit Card Readers: Many newer stations have a built-in credit card reader. This is the most straightforward—just tap or insert your card. However, not all stations have this, so having at least one network app account is a smart backup.
Prices are typically per kWh (e.g., $0.25-$0.60/kWh) or sometimes a combination of a session fee plus per-kWh. Always check the price on the station or in the app before you plug in.
The Physical Connection and Charging Session
- Park: Pull into the spot. Most EV spots are marked and sometimes have dedicated parking enforcement.
- Open Your Charge Port: Use your key fob or the button inside the car.
- Grab the Connector: The heavy, tethered cable at the station. It will only fit into your i3’s port one way. Align the notches and push firmly until you hear a click.
- Authorize Payment: Tap your card/phone on the station’s reader or use the app. The station should beep or show a “Ready to Charge” message.
- Charging Starts: Your i3’s screen will show the charging icon and the power/energy being added. You can lock your car; the charge port will stay locked to the cable.
- Monitor: You can track the session from your phone app or the station’s screen.
When you’re done (or reach your desired %), simply stop the session via the app or station button. Then, unplug the connector (press the release button on the connector handle if needed), return it neatly to the station, and close your charge port door. It’s that simple. If you’re also interested in maintaining your i3, you might find guides on other BMW models useful, such as how often to change oil in a BMW 3 Series, though your i3 has no engine oil to change.
Charging Time and Cost: The Real Numbers
Let’s talk specifics. How long will it *really* take, and how much will it *really* cost?
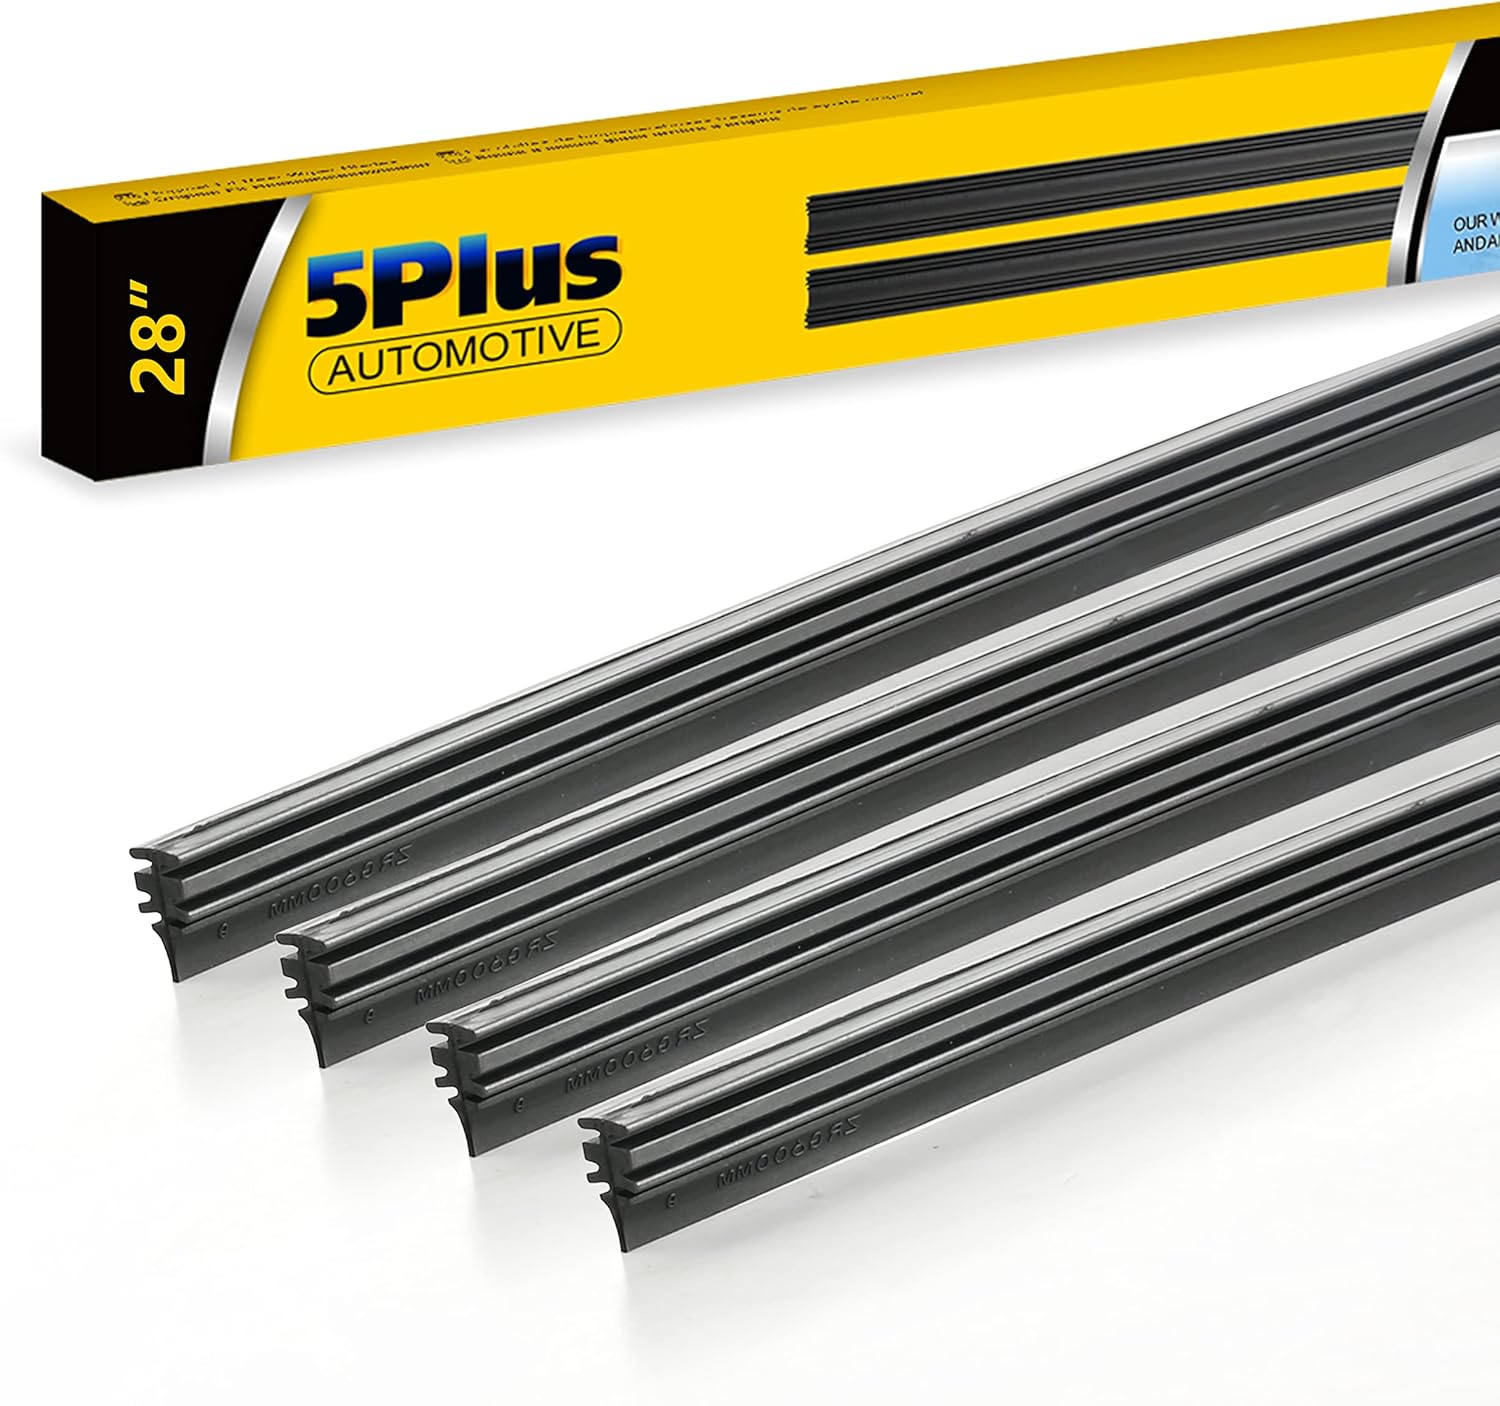
Visual guide about How to Charge a Bmw I3
Image source: bmw.scene7.com
Time Tables by Method and i3 Model
Times are estimates from a very low state of charge (10%) to 80%, which is the most practical and battery-healthy range for DC fast charging. For AC charging (Level 1/2), we’ll estimate to 100%.
| Method | 2014-2020 i3 (60 kWh) | 2021+ i3 (80 kWh) |
|---|---|---|
| Level 1 (120V) | ~20-24 hours to 100% | ~26-32 hours to 100% |
| Level 2 (7.4 kW) | ~8-9 hours to 100% | ~10-12 hours to 100% |
| Level 2 (11 kW, if equipped) | N/A (car can’t accept) | ~7-8 hours to 100% |
| DC Fast Charging (50 kW) | 10% to 80% in ~40 min | 10% to 80% in ~35 min |
| DC Fast Charging (150 kW) | Not supported | 10% to 80% in ~30 min |
Note: These are ideal conditions. Cold weather, battery state, and station power limits can extend times.
Crunching the Cost: Home vs. Public
This is where EVs shine for operating cost.
- Home Charging: The formula is simple: (Battery capacity in kWh) x (Your electricity rate per kWh). Let’s say your i3 has a 60 kWh usable battery and your electricity is $0.15/kWh. A full “tank” costs 60 x $0.15 = $9.00. That will give you roughly 150-200 miles of range, costing about $0.045-$0.06 per mile. If you have time-of-use rates, charging overnight can drop that cost by 50% or more.
- Public AC Charging (Level 2): Often similar to or slightly higher than home rates, around $0.20-$0.40/kWh. A full charge might cost $12-$24.
- Public DC Fast Charging: This is the premium option. Rates are higher, around $0.35-$0.60/kWh, plus sometimes a session fee. A 10%-80% top-up on a 60 kWh battery (adding ~42 kWh) could cost $15-$25. It’s expensive per mile but necessary for long trips. For context on public charging economics across different brands, the cost to charge a Jeep 4xe provides a good benchmark, as both are EVs using public networks.
Maximizing Battery Health and Longevity Through Smart Charging
Your i3’s battery is its most valuable component. Treat it right, and it will last a decade or more with minimal degradation. The golden rule: avoid extreme states of charge for prolonged periods.
The 20-80% Rule for Daily Driving
Lithium-ion batteries, like in your i3, are stressed at the very top (100%) and very bottom (0%) of their charge range. For daily commuting and errands, set your i3’s charge limit in the vehicle menu or via the ConnectedDrive app to 80% or 90%. This gives you plenty of range for a day’s driving while drastically reducing long-term wear on the battery chemistry. Only charge to 100% when you know you’ll need the absolute maximum range for a trip the next day.
Time Your Charging and Pre-Conditioning
Use the timer function! Schedule your i3 to finish charging just before you leave in the morning. This prevents the battery from sitting at 100% all night. Also, use the “pre-conditioning” feature while the car is still plugged in. This heats or cools the cabin and the battery itself using grid power instead of battery power. In winter, a pre-heated battery accepts a fast charge much more quickly. In summer, a cooled battery performs better. This is a huge convenience and efficiency win.
The Impact of Temperature
Cold is the biggest enemy of EV range and charging speed. In freezing temps, you might see your estimated range drop by 30-40%. Charging speeds, especially DC fast charging, can be 30-50% slower. The solution is always to pre-condition the battery. Plug in, turn on the climate control or use the departure timer with pre-conditioning turned on 30-60 minutes before you plan to fast charge. This warms the battery to its optimal temperature range. Similarly, in extreme heat, the battery’s thermal management system works hard, using some energy to keep cool, slightly reducing net range. Parking in a garage whenever possible helps mitigate this.
Winter-Specific Charging Tips for Your i3
Winter demands a special strategy. Let’s boil it down to actionable tips.
Always Plug In When Parked
Even if the battery is at 80%, plugging in allows the car’s thermal management system to maintain the battery at its ideal temperature using grid power, not your battery’s precious energy. This preserves your actual driving range.
Charge More Frequently, But to Lower Levels
In winter, it’s better to charge to 60-70% more frequently than to push to 90% and let it sit. The battery is most efficient in the middle of its range. If your daily commute is 40 miles, charging to 60% every other night is better for the battery than charging to 90% every third night.
Expect Longer Charge Times and Accept It
Don’t get frustrated when a DC fast charge in 15°F weather takes 45 minutes instead of 30. The battery’s chemistry literally slows down. Plan your trips with this buffer. Use the slower time to grab a snack or stretch your legs. If you’re new to EVs in cold climates, you might find general tips on how to charge a Toyota hybrid battery useful, as some principles of temperature management are similar, though the systems differ.
Use the Heated Seats and Steering Wheel
These are far more energy-efficient than running the full cabin heater. Use them to stay warm while letting the climate control run at a moderate setting. The i3’s heat pump (on most models) is also much more efficient than resistive heating in cold weather.
Conclusion: You’re Ready to Charge
Charging your BMW i3 is a seamless part of the ownership experience once you have your home setup and understand the public network workflow. Remember the hierarchy: Level 2 at home for 95% of your needs, DC fast charging for the occasional long-distance rescue. Keep your battery in its happy zone (20-80%), pre-condition before fast charges, and embrace the convenience of plugging in at home every night. The i3 is a brilliant, efficient car that rewards its driver with low running costs and a smooth, quiet ride. Mastering its charging is the final key to unlocking the full, worry-free potential of your electric BMW. Now, go plug in and enjoy the drive.
Frequently Asked Questions
Can I use a regular household outlet to charge my BMW i3?
Yes, you can use the included Level 1 emergency cable with any standard 120V outlet. However, it is extremely slow, taking over 20 hours for a full charge. It’s only suitable for occasional, very short-distance top-ups and not recommended for daily use.
What is the fastest way to charge my i3 at home?
The fastest home charging is achieved by installing a dedicated 240V Level 2 wallbox or outlet. For a 2021+ i3 with the optional 11 kW onboard charger, an 11 kW-capable wallbox will provide the quickest possible AC charging at home, typically recharging the battery in about 7-8 hours from empty.
Do I need to install anything special for Level 2 charging?
Yes. You need a 240V electrical circuit installed by a licensed electrician. You can then either install a permanent wallbox charging station or use a portable cord-and-connector kit that plugs into a 240V outlet (like a NEMA 14-50). A wallbox is recommended for safety, weatherproofing, and smart features.
How much does it typically cost to fully charge an i3 at home?
The cost depends entirely on your local electricity rate. With a usable battery of about 60-80 kWh and an average U.S. electricity price of $0.16/kWh, a full charge will cost between $9.60 and $12.80. Using off-peak nighttime rates can reduce this cost by half or more.
Will frequent DC fast charging damage my i3’s battery?
Occasional use for long-distance travel is perfectly fine and will not cause significant damage. However, making DC fast charging your primary method will accelerate battery degradation compared to Level 2 charging due to the higher heat and stress involved. For daily charging, always prefer Level 2.
How do I find and pay for public charging stations?
Use smartphone apps like PlugShare to find stations. Most networks (Electrify America, EVgo, ChargePoint) require you to create a free account and use their app or an RFID card to authorize and pay for sessions. Many newer stations also accept credit cards directly. Always check the price per kWh before you plug in.