
Where to Put an Ez-pass on a Tesla Model Y
Contents
- 1 Key Takeaways
- 2 📑 Table of Contents
- 3 Why Placement Matters for Your Tesla Model Y
- 4 The Optimal Spot: Lower Passenger-Side Windshield
- 5 Alternative Locations: Pros and Cons
- 6 Step-by-Step Installation Guide
- 7 Legal and Practical Considerations
- 8 Common Mistakes and How to Avoid Them
- 9 Beyond the EZ-Pass: Aesthetic Integration
- 10 Conclusion
- 11 Frequently Asked Questions
Placing your EZ-Pass transponder on a Tesla Model Y requires careful consideration to avoid interfering with the vehicle’s advanced Autopilot camera and sensor suite. The universally recommended spot is the lower corner of the passenger-side windshield, behind the rearview mirror, where it’s hidden from view and clear of critical technology. Avoid the driver’s side entirely and never place it over the black camera housing or heated windshield elements.
Key Takeaways
- Best Location: The lower corner of the passenger-side windshield, behind the rearview mirror, is the optimal spot for an EZ-Pass on a Tesla Model Y.
- Avoid Critical Areas: Never place the transponder over the windshield’s black camera housing (behind the mirror) or within the heated windshield element grid.
- Check Local Laws: Some states have specific regulations regarding transponder placement; always verify with your EZ-Pass authority.
- Use Proper Adhesive: Employ the manufacturer’s suction cup or a removable, non-damaging adhesive strip; never use permanent glue.
- Test After Installation: Drive through a toll lane to confirm the transponder is read correctly before relying on it daily.
- Consider Aesthetics: For a clean look, explore professional window tinting or wrapping options that can integrate the transponder spot seamlessly.
- Mind the Tech: Your Model Y’s windshield is a high-tech component; improper placement can disrupt Autopilot, rain sensors, and cabin heating.
📑 Table of Contents
Why Placement Matters for Your Tesla Model Y
Your Tesla Model Y isn’t just another car. It’s a rolling computer, a masterpiece of engineering where every surface has a purpose. That sleek, expansive windshield isn’t simply glass. It’s a sophisticated hub for cameras, sensors, and even heating elements. Placing an EZ-Pass transponder—a small but vital piece of plastic and electronics—without understanding this ecosystem is a recipe for frustration. The wrong spot can lead to missed tolls, disrupted safety systems, or even costly damage to your windshield. This guide will walk you through exactly where to put an EZ-Pass on a Tesla Model Y, ensuring you get through tolls smoothly while keeping your car’s tech happy and your glass pristine.
The High-Tech Windshield Explained
The Model Y’s windshield is a multi-layered marvel. sandwiched between the glass is a grid of thin, almost invisible wires that provide heat for defrosting. More importantly, behind the rearview mirror assembly sits the iconic Autopilot camera housing—a dark, plastic pod that houses the forward-facing camera, radar (on older models), and other sensors. This is the car’s “eye,” critical for features like Traffic-Aware Cruise Control, Autosteer, and even the new Full Self-Driving capabilities. Any obstruction, even a small tag, placed directly over this housing can blind the camera, causing warnings, feature deactivation, or erratic behavior. Furthermore, the windshield itself is designed for specific acoustic and thermal properties. Drilling or using harsh chemicals on it is a surefire way to cause stress cracks or void any related warranty.
The Stakes: What Can Go Wrong?
We’ve heard from owners who learned this lesson the hard way. One common mistake is slapping the transponder on the driver’s side, high up. This not only blocks the driver’s view slightly but often sits squarely in the path of the forward camera’s field of view. The result? A persistent “Camera Blocked” error on the touchscreen, Autopilot disengaging unexpectedly, and a nagging sense that something is wrong with your expensive vehicle. Another issue is adhesion. Tesla uses very specific, often reusable, adhesive pads for accessories. Using a generic, permanent adhesive sticker from your EZ-Pass kit can leave a gummy residue that’s incredibly difficult to remove without scratching the glass or requiring a professional detail. Finally, poor placement can simply lead to the toll authority not reading your tag, resulting in a bill by mail with additional fees—the opposite of what you wanted.
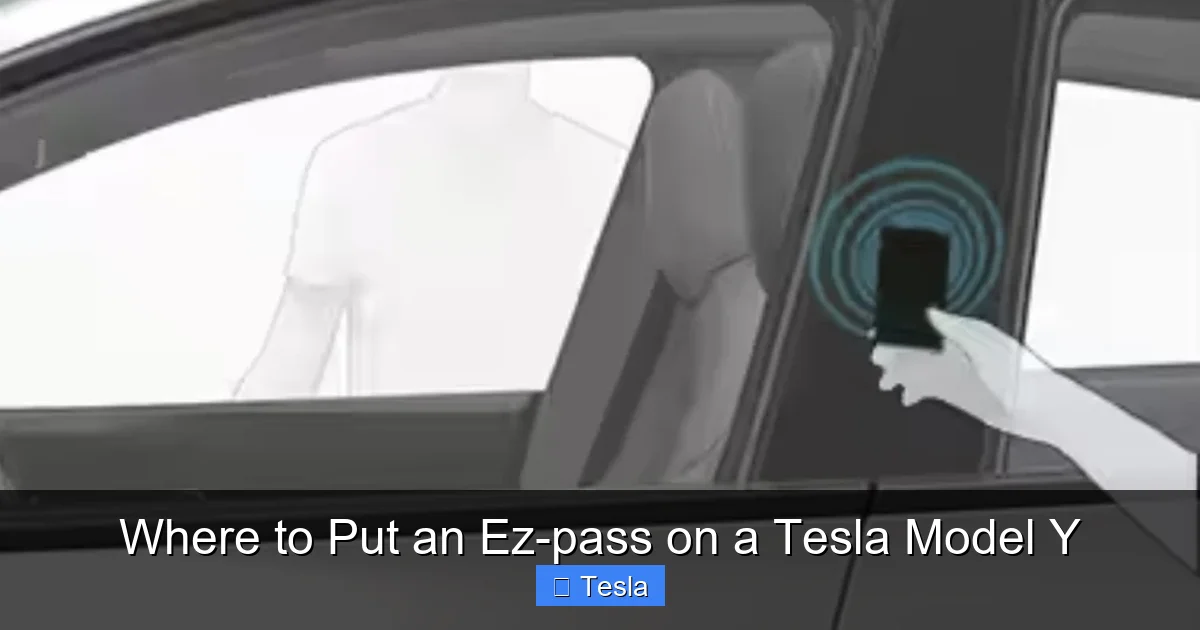
The Optimal Spot: Lower Passenger-Side Windshield
After years of community testing and Tesla owner forum consensus, the gold standard location for an EZ-Pass on a Tesla Model Y is firmly established. It’s a specific zone: the lower corner of the passenger-side windshield, typically just to the right of the rearview mirror’s base, and below the level of the mirror itself. This area is often called the “textured band” or “dots” region—the part of the windshield with a slightly different, non-reflective finish that helps reduce glare for the driver.
Visual guide about Where to Put an Ez-pass on a Tesla Model Y
Image source: buzzlyo.com
Why This Spot Wins
This location is a sweet spot for several critical reasons. First, it’s completely out of the direct line of sight for the driver, so it causes no visual distraction. Second, and most importantly, it is geometrically clear of the Autopilot camera’s field of view. The camera is mounted high and centered, looking out through the clear glass section above the mirror. A small transponder placed low and to the side sits in a “blind spot” for the camera but remains perfectly visible to the toll gantry’s readers. Third, this area is typically away from the heated windshield element’s densest wiring grid, minimizing any potential for interference (though modern transponders are low-power, it’s best to avoid any metal mesh). Finally, for the aesthetically conscious, this spot is naturally hidden from the outside when you look at the car. It’s tucked away, maintaining the clean, minimalist Tesla look.
Visual Guide to the Zone
Sit in the driver’s seat. Look up at your rearview mirror. Now, follow the windshield downward on the passenger side (the right side in US cars). You’ll see the glass transitions from perfectly clear to having a very subtle, sand-blasted texture. This textured band usually runs along the bottom edge of the windshield. Your target is the lower portion of this band, within about 6 inches of the dashboard/windshield seal. It should be behind the mirror—meaning if you drew a line straight down from the mirror’s center, your tag would be to the right of that line. A good test is to see if you can easily cover the tag with your thumb from the driver’s seat; if you can, it’s likely in a good spot for driver visibility.
Alternative Locations: Pros and Cons
While the lower passenger-side spot is best, you might have specific reasons to consider other locations. Perhaps your state has unique rules, or your driving context makes another spot more convenient. Here’s a breakdown of the main alternatives, their advantages, and significant drawbacks.
Visual guide about Where to Put an Ez-pass on a Tesla Model Y
Image source: pevme.com
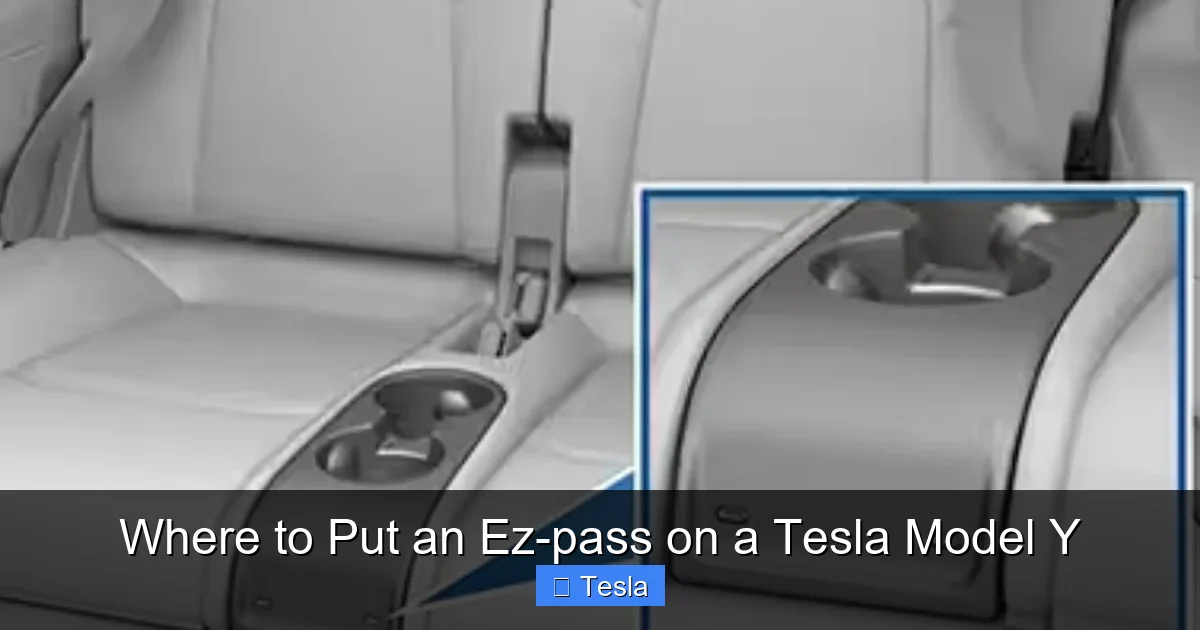
1. Rear Windshield (Inside)
Some owners, particularly those in states where rear-mounted transponders are common, consider the rear windshield. The pro is complete invisibility from the driver’s area and zero risk to front-facing cameras. However, the cons are substantial. Most toll systems are designed for a front-mounted tag. A rear-mounted tag may not be read reliably, as gantry antennas are typically aimed at the front of vehicles. It can also interfere with the rear window’s defroster grid and is often illegal in many jurisdictions that mandate front placement. This is generally not recommended for an EZ-Pass on a Tesla Model Y.
2. Front Bumper or Grille (Outside)
Mounting the tag on the outside of the front bumper or behind the Tesla “T” logo in the grille area keeps it completely away from the windshield. The main advantage is no risk to glass or interior tech. The severe disadvantages include exposure to the elements, road debris, and car washes, which can damage the tag or its adhesive. It also looks unsightly and defeats the clean Tesla aesthetic. Furthermore, many toll systems require a clear line of sight to the tag, and a front bumper mount might be angled away from readers or obscured by the car’s own nose. This is a last-resort option.
3. Sun Visor (Inside)
Attaching the tag to the back of the passenger-side sun visor is a popular “stealth” method. It’s completely hidden when the visor is up and easy to remove. The big drawback is reliability. The visor’s position can change, and the metal in the visor can potentially interfere with the RFID signal. More critically, when the visor is down (for passenger use), it can block the tag. This method requires rigorous testing to ensure consistent reads and is less reliable than windshield placement.
4. Behind the Rearview Mirror (Driver’s Side)
This is the most dangerous spot and should be avoided at all costs. Placing the tag on the driver’s side, even low, puts it directly in the path of the forward-facing Autopilot camera. It will cause immediate and persistent “Camera Blocked” errors. It also sits in the driver’s primary field of vision for peripheral sight. Do not place your EZ-Pass here.
Step-by-Step Installation Guide
Once you’ve chosen the perfect spot on the lower passenger-side windshield, installation is simple but requires care. The goal is a secure, non-permanent mount that won’t damage your glass.
Visual guide about Where to Put an Ez-pass on a Tesla Model Y
Image source: i0.wp.com
Gather Your Tools
- Your EZ-Pass transponder
- Isopropyl alcohol (rubbing alcohol, 70% or higher)
- A clean, lint-free microfiber cloth
- The suction cup mount that came with your transponder (recommended)
- Optional: A high-quality, removable adhesive putty or a product like 3M Command Strips (for a cleaner look)
The Cleaning Process: Non-Negotiable
This is the most important step. Any dust, oil, or film on the glass will prevent a proper seal and cause the mount to fail. Dampen your microfiber cloth with a small amount of isopropyl alcohol. Thoroughly wipe the exact area where the suction cup or adhesive pad will contact the glass. Use a circular motion, then let it air dry for 30 seconds. The alcohol evaporates quickly, leaving a perfectly clean, residue-free surface. Do not use glass cleaner with ammonia or vinegar, as these can leave films that hinder adhesion.
Mounting with the Suction Cup
1. Moisten the rubber rim of the suction cup slightly with a damp finger. This helps create a better seal.
2. Press the suction cup firmly against the cleaned glass in your chosen spot. Apply even pressure for 10-15 seconds.
3. If your transponder has a separate clip, attach the transponder to the suction cup arm.
4. Give the suction cup a firm tug to test its hold. It should not budge.
5. The beauty of this method is its removability. To take it off, simply lift the edge of the suction cup to release the seal. No residue remains.
Using Adhesive Pads for a Cleaner Look
If you find the suction cup too visible, consider using small, clear adhesive mounting squares designed for car interiors (like those from 3M). Apply one to the back of the transponder’s plastic case and press it firmly to the glass in your pre-cleaned spot. These pads are designed to hold securely but remove cleanly without leaving a mark. Always test one on a small, inconspicuous area of your windshield first (like the very bottom corner) to ensure it doesn’t damage any coatings.
Legal and Practical Considerations
Before you finalize your EZ-Pass on a Tesla Model Y installation, there are a few boxes to check beyond just finding a blank spot on the glass.
State-by-State Regulations
EZ-Pass is a network of state-operated toll systems, and rules can vary. Most states simply require the transponder to be mounted on the inside of the windshield. However, a few have specific location requirements, often mandating it be placed “behind the rearview mirror” or “in the lower corner.” Some states are also very particular about it being on the driver’s side or passenger’s side. The safest approach is to visit your specific state’s EZ-Pass website (e.g., EZ-Pass NY, EZ-Pass MA) and look for their “proper mounting” guidelines. They often have diagrams. When in doubt, call their customer service. Following their official guidance protects you from any “improper mounting” citations or toll violations.
Impact on Tesla Features and Warranty
As discussed, blocking the Autopilot camera is the primary tech concern. But also consider the rain/light sensor. This is usually located on the windshield near the rearview mirror, often in the same black housing as the camera. A large or poorly placed tag could interfere with its ability to detect rain and automatically trigger wipers. Regarding warranty, Tesla’s New Vehicle Limited Warranty covers the windshield against defects. Damage caused by improper installation (like using a tool to scrape off permanent adhesive) would not be covered. Using non-permanent, recommended mounting methods ensures you stay within warranty boundaries. For more on maintaining your Tesla’s pristine condition, you might explore professional Model Y wrapping options that can even incorporate transponder cutouts.
Multiple Transponders and Rental Cars
If you travel between different toll authorities (e.g., EZ-Pass in the Northeast and SunPass in Florida), you might need two transponders. The lower passenger-side spot can accommodate two small tags side-by-side, but test for readability first. For rental Teslas, this placement knowledge is crucial. You must install your temporary transponder correctly to avoid toll violations. Remember to remove it before returning the car. The suction cup method is perfect for rentals.
Common Mistakes and How to Avoid Them
Even with the best intentions, Model Y owners can slip up. Here are the most frequent errors and their fixes.
Mistake 1: “It’s Fine, It’s Small” Overconfidence
Owners assume a tiny tag won’t bother the camera. They’re wrong. The Autopilot camera’s field of view is wide, and even a small object close to the lens can create a persistent shadow or reflection, especially at night or in certain light. Solution: Always place the tag in the verified safe zone. If you’re unsure, temporarily tape a paper cutout the same size in the spot and drive for a few minutes. Check if any camera warnings appear.
Mistake 2: Using the “Sticky Pad” from the EZ-Pass Kit Permanently
Those adhesive pads are designed for standard car glass. They are often too strong for a Tesla’s laminated windshield and can leave a horrible, oily residue that is nearly impossible to remove without professional help. Solution: Use the suction cup. If you must use adhesive, buy dedicated, removable automotive mounting pads separately.
Mistake 3: Ignoring the Heated Windshield Grid
Placing the tag directly over the visible lines of the heated rear window (if you tried the rear) or the dense wiring at the bottom of the front windshield can potentially cause uneven heating or, in rare cases, interfere with the transponder’s signal. Solution: Stick to the textured, non-heated band on the passenger side, well away from any visible metallic lines.
Mistake 4: Not Testing After Installation
You install it and assume it works. Then you get a bill in the mail. Solution: After installing, find a toll lane (or a fast-food drive-thru with a similar RFID reader, though not identical) and test it. Watch the toll gantry light or your account online to see if the transaction registers instantly. This simple 5-minute test saves weeks of headache.
Beyond the EZ-Pass: Aesthetic Integration
For many Tesla owners, the car is an extension of their personal style. A randomly placed transponder can feel like a visual blemish. If you’ve taken steps to tint your Model Y’s windows for privacy and solar control, you might wonder how that affects placement. A high-quality, metallized-free ceramic tint (which is RFID-friendly) on the side and rear windows won’t affect your front windshield transponder. However, if you are considering a full windshield tint (which is legal in some states with a certain VLT), you must install the EZ-Pass before tinting, on the bare glass. The tint film would then go over it. This is a permanent commitment and requires finding a tint shop willing to do it. A more flexible solution is to choose a very dark, high-quality ceramic window film for the sides and rear (which dramatically changes the car’s look) and keep the front windshield stock, using the passenger-side spot for your tag. This contrast can actually make the small transponder even less noticeable against the darker side glass. For those wanting a truly seamless look, a full vinyl wrap in a color like white or matte black offers a uniform canvas. You could even work with the wrap installer to create a small, precise cutout in the vinyl at the exact mounting spot, making the transponder appear as part of the design. Explore Tesla Model Y wrapping costs and designs to see how this is done professionally.
Conclusion
Placing an EZ-Pass on your Tesla Model Y is a small task with big implications for your driving experience and your car’s systems. The solution is elegant in its simplicity: the lower corner of the passenger-side windshield. This spot respects the car’s technology, adheres to most legal guidelines, and maintains the minimalist aesthetic you love. By following the careful cleaning and mounting steps outlined, you ensure a secure, damage-free installation that will last for years. Remember to avoid the driver’s side and the camera housing at all costs. Test your setup, know your state’s rules, and enjoy the seamless convenience of tolls without the headache of missed reads or system warnings. Your Tesla is designed to make life easier—this is one way to keep it that way.
Frequently Asked Questions
Is it illegal to put an EZ-Pass on the driver’s side of a Tesla Model Y?
While not universally illegal, it is strongly discouraged and may violate your specific state’s EZ-Pass terms of service. More critically, it will almost certainly block the Autopilot camera, causing safety system errors. Always use the passenger-side location.
Will a transponder on the windshield interfere with Autopilot or FSD?
Not if placed correctly. The optimal lower passenger-side spot is outside the camera’s field of view. However, placing it on the driver’s side or over the black camera housing will cause “Camera Blocked” warnings and disable Autopilot features until removed.
How do I remove the EZ-Pass without damaging my Tesla’s windshield?
If you used the suction cup, simply lift the edge to break the seal. If you used an adhesive pad, gently pry it off with a plastic card (like a credit card) at a shallow angle. For any stubborn residue, use a small amount of isopropyl alcohol on a cloth and rub gently. Never use a razor blade or harsh chemicals.
Can I use the adhesive pad that came with my EZ-Pass on my Tesla?
It’s not recommended. Those pads are often too aggressive for a Tesla’s laminated windshield and can leave a permanent, oily residue. Use the suction cup or purchase automotive-grade, removable adhesive putty or strips instead.
What if I have both an EZ-Pass and a SunPass for travel?
You can mount both small transponders side-by-side in the lower passenger-side corner. Ensure they are not overlapping and test for readability at a toll. Some drivers use a single multi-protocol transponder if their toll authority offers one.
Will window tint affect my EZ-Pass signal?
Standard dyed or metallic window films on the side and rear windows will not affect a front-mounted transponder. However, a metallic film on the front windshield would block the signal. Always use a ceramic, non-metallic tint if tinting the front, but note that most states prohibit tinting the front windshield below the AS1 line anyway.


