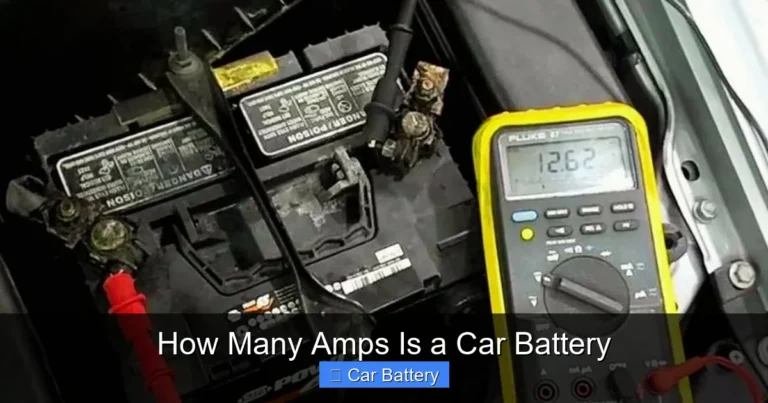
How to Clean the Car Battery Terminals
Contents
- 1 Key Takeaways
- 2 📑 Table of Contents
- 3 Why Cleaning Car Battery Terminals Matters
- 4 Signs Your Battery Terminals Need Cleaning
- 5 Tools and Materials You’ll Need
- 6 Step-by-Step Guide to Cleaning Battery Terminals
- 7 Tips for Preventing Future Corrosion
- 8 When to Call a Professional
- 9 Conclusion
- 10 Frequently Asked Questions
Cleaning your car battery terminals is a simple yet essential maintenance task that boosts performance and prevents starting issues. With basic tools and safety precautions, you can remove corrosion, ensure strong connections, and extend your battery’s lifespan.
Key Takeaways
- Safety first: Always wear gloves and goggles, and disconnect the negative terminal first to avoid sparks or shocks.
- Corrosion is common: White, green, or blue powdery buildup on terminals indicates acid leakage and can disrupt electrical flow.
- Use the right tools: A wire brush, baking soda, water, and a wrench are all you need for most cleaning jobs.
- Clean regularly: Inspect and clean terminals every 6 months or if you notice slow engine cranking or dim lights.
- Apply protective grease: After cleaning, coat terminals with dielectric grease to prevent future corrosion.
- Reconnect properly: Reattach the positive terminal first, then the negative, and ensure connections are tight.
- Know when to replace: If corrosion returns quickly or the battery is over 3–5 years old, consider a replacement.
📑 Table of Contents
Why Cleaning Car Battery Terminals Matters
Your car battery is the heart of your vehicle’s electrical system. It powers everything from the ignition to the headlights, stereo, and dashboard lights. But even the best batteries can fail if the connections aren’t clean and secure. Over time, battery terminals—the metal posts where cables attach—can become corroded. This corrosion looks like a white, green, or bluish powdery substance and can seriously interfere with the flow of electricity.
When corrosion builds up, your car might struggle to start. You might notice the engine cranks slowly, the lights flicker, or the radio resets unexpectedly. In severe cases, the car might not start at all. Cleaning the terminals removes this barrier and restores a strong electrical connection. It’s a quick, inexpensive fix that can save you from being stranded or paying for unnecessary repairs.
Many drivers overlook this simple maintenance step, assuming that if the car starts, everything is fine. But prevention is always better than cure. Regular cleaning not only improves performance but also extends the life of your battery. A well-maintained battery can last 3 to 5 years or more, while a neglected one might fail in half that time. Think of it like brushing your teeth—small effort, big payoff.
Signs Your Battery Terminals Need Cleaning

Visual guide about How to Clean the Car Battery Terminals
Image source: wikihow.com
You don’t need to wait for your car to break down to check the battery terminals. There are several telltale signs that it’s time for a cleaning. The most obvious is visible corrosion. If you pop the hood and see a crusty, powdery buildup around the terminals, that’s a clear signal. This residue is usually white or green and forms when battery acid leaks and reacts with air and moisture.
Another sign is difficulty starting the engine. If your car cranks slowly or takes longer than usual to turn over, poor electrical contact could be the culprit. Dim headlights or interior lights that flicker when you turn on accessories like the AC or radio also point to weak connections. Even if the battery itself is healthy, corrosion can block the current flow.
You might also notice a sulfur-like smell, similar to rotten eggs, near the battery. This indicates a leak or overcharging, which can accelerate corrosion. In extreme cases, the cables might feel loose or wobbly, even if they appear tight. That’s because corrosion can eat away at the metal, creating gaps.
If you’ve recently jump-started your car or replaced the battery, it’s a good idea to inspect the terminals. Sometimes, the process of connecting jumper cables can disturb the terminals and expose them to moisture or contaminants. Also, if your car sits unused for long periods—like during winter storage—corrosion is more likely to form.
Don’t ignore these signs. A few minutes of cleaning can prevent bigger problems down the road. And remember, even if your car starts fine now, regular inspections help catch issues early.
Tools and Materials You’ll Need
Visual guide about How to Clean the Car Battery Terminals
Image source: wikihow.com
Cleaning car battery terminals doesn’t require fancy equipment. Most of the items are probably already in your garage or kitchen. Here’s a simple list of what you’ll need:
– **Safety gloves and goggles:** Battery acid is corrosive and can irritate your skin and eyes. Always protect yourself.
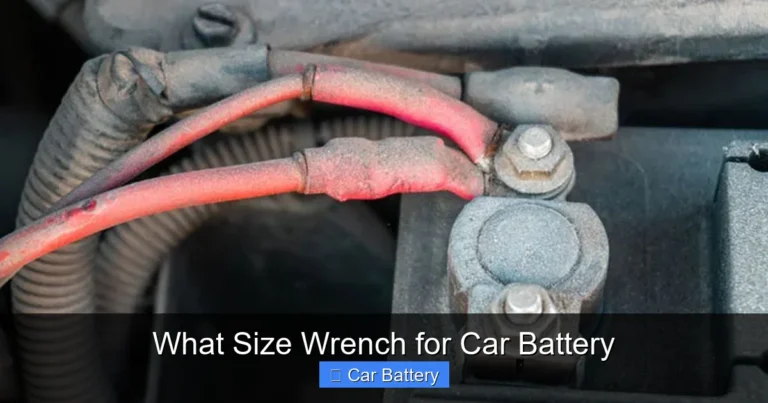
– **Wrench or socket set:** You’ll need this to loosen the terminal clamps. Most cars use 10mm or 13mm nuts.
– **Wire brush:** A dedicated battery terminal brush works best, but an old toothbrush or steel wool can also do the job.
– **Baking soda:** This neutralizes battery acid and breaks down corrosion.
– **Water:** Mixed with baking soda to create a cleaning solution.
– **Clean rags or paper towels:** For wiping down terminals and cables.
– **Dielectric grease or petroleum jelly:** Applied after cleaning to prevent future corrosion.
– **Optional: Battery terminal protector spray:** A commercial product that forms a protective barrier.
You can find most of these items at any hardware or auto parts store. A basic battery cleaning kit usually includes a brush, cleaner, and protector spray for under $20. But even without a kit, household items like baking soda and an old toothbrush are surprisingly effective.
If you’re working in a tight space, consider using a flashlight to get a better view. Some cars have batteries tucked under covers or behind other components, so patience is key. And always work in a well-ventilated area—battery fumes can be harmful in enclosed spaces.
Step-by-Step Guide to Cleaning Battery Terminals
Visual guide about How to Clean the Car Battery Terminals
Image source: wikihow.com
Now that you have your tools ready, it’s time to get to work. Follow these steps carefully to clean your car battery terminals safely and effectively.
Step 1: Safety First
Before touching anything, put on your gloves and goggles. Make sure the engine is off and the keys are out of the ignition. Open the hood and locate the battery. It’s usually a rectangular box with two thick cables attached—one red (positive) and one black (negative).
Never smoke or use open flames near the battery. Hydrogen gas can escape during charging and is highly flammable. Also, avoid touching both terminals at the same time with metal tools—this can create a short circuit.
Step 2: Disconnect the Cables
Start by loosening the nut on the negative terminal (marked with a “-” or colored black). Use your wrench to turn it counterclockwise. Once loose, gently wiggle the clamp and lift it off the terminal. Place it aside, making sure it doesn’t touch the battery or any metal part of the car.
Next, repeat the process for the positive terminal (marked with a “+” or colored red). Always disconnect the negative first and reconnect it last. This reduces the risk of sparks near the battery, which could ignite hydrogen gas.
If the clamps are stuck, don’t force them. Spray a little penetrating oil around the base and wait a few minutes. Gently rocking the clamp back and forth can also help loosen it.
Step 3: Inspect for Damage
With the cables disconnected, take a close look at the terminals and clamps. Check for cracks, excessive corrosion, or melted plastic. If the terminal is pitted or the clamp is broken, it might need replacement. Also, inspect the cables for fraying or brittleness.
If the corrosion is severe—covering most of the terminal or eating into the metal—you may need to replace the terminal or even the entire battery. But for light to moderate buildup, cleaning should do the trick.
Step 4: Make the Cleaning Solution
Mix a tablespoon of baking soda with a cup of water in a small container. Stir until the baking soda dissolves. This creates a mild alkaline solution that neutralizes the acidic corrosion.
Alternatively, you can use a commercial battery cleaner, which often comes in a spray bottle. These are convenient but not necessary if you have baking soda on hand.
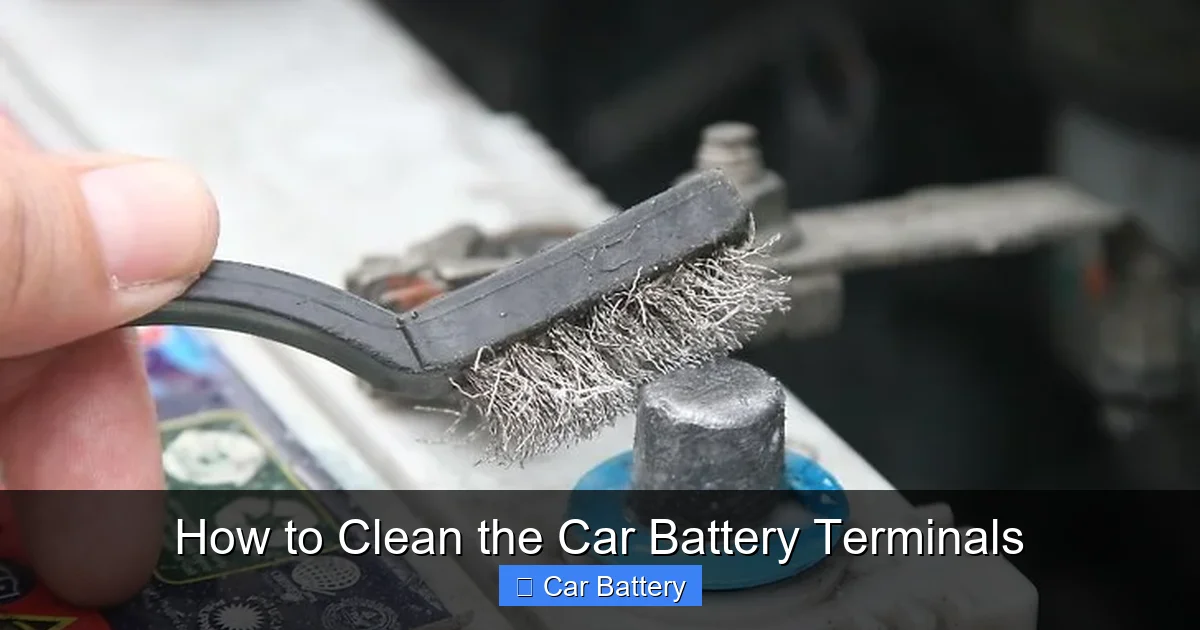
Step 5: Scrub the Terminals
Dip your wire brush or toothbrush into the baking soda solution and scrub the terminals thoroughly. Focus on the areas where the clamps make contact. You’ll see the solution fizz as it reacts with the corrosion—that’s a good sign.
For stubborn buildup, apply the paste directly to the terminal and let it sit for a minute before scrubbing. Use an old toothbrush to clean inside the clamp holes and around the base of the terminal.
Wipe away the residue with a damp rag, then dry everything completely with a clean towel. Any moisture left behind can lead to new corrosion.
Step 6: Clean the Cable Clamps
Don’t forget the inside of the cable clamps! Use the brush to scrub away any corrosion or debris. If the clamps are heavily corroded, you can soak them in the baking soda solution for a few minutes.
Make sure the clamps are dry before reattaching them. A clean, tight connection is essential for good conductivity.
Step 7: Reconnect the Cables
Place the positive clamp back on the positive terminal and tighten the nut securely. Then, attach the negative clamp to the negative terminal and tighten it. Don’t overtighten—this can strip the threads or crack the terminal.
Give each clamp a gentle tug to ensure it’s snug. A loose connection can cause arcing and further corrosion.
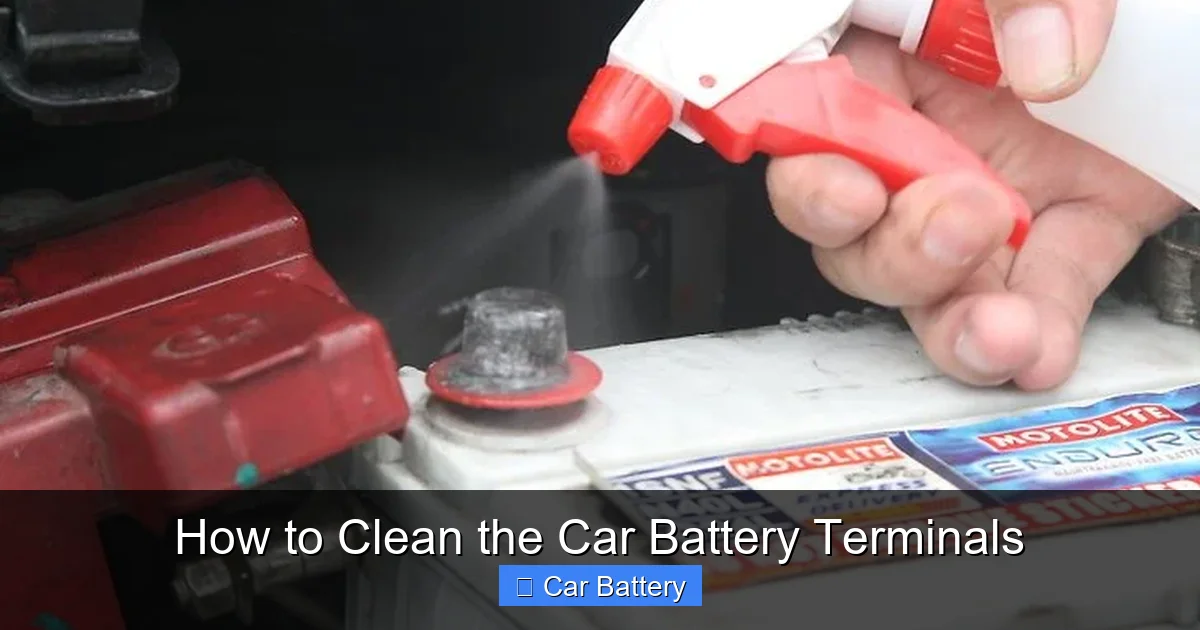
Step 8: Apply Protective Grease
Once everything is reconnected, apply a thin layer of dielectric grease or petroleum jelly to the terminals and clamps. This creates a barrier against moisture and acid, slowing future corrosion.
You can also use a battery terminal protector spray, which forms a clear, durable coating. These products are especially useful in humid or salty environments, like coastal areas.
Tips for Preventing Future Corrosion
Cleaning the terminals is just the first step. To keep them in good shape, follow these preventive tips:
– **Check regularly:** Inspect your battery every 6 months or during oil changes. Early detection saves time and money.
– **Keep it dry:** Moisture accelerates corrosion. If you live in a rainy or humid climate, consider using a battery insulator or cover.
– **Avoid overfilling:** If your battery has removable caps, don’t overfill with water. Excess liquid can leak and cause buildup.
– **Secure the battery:** A loose battery can vibrate and crack, leading to acid leaks. Make sure it’s properly mounted.
– **Use a battery maintainer:** If you don’t drive often, a trickle charger or maintainer keeps the battery charged and reduces sulfation.
– **Clean spills immediately:** If you accidentally spill battery acid, neutralize it with baking soda and water right away.
When to Call a Professional
Most people can clean battery terminals at home with no problem. But there are times when it’s best to call a mechanic. If the battery is swollen, leaking, or more than 5 years old, it may need replacement. Also, if corrosion returns within weeks, there could be an underlying issue like a faulty alternator or voltage regulator.
If you’re unsure about handling electrical components or don’t have the right tools, don’t risk it. A professional can diagnose problems, clean the terminals safely, and test the battery’s health. Many auto shops offer free battery inspections, so take advantage of that.
Conclusion
Cleaning your car battery terminals is one of the easiest and most effective ways to maintain your vehicle. It takes just 15–20 minutes, costs almost nothing, and can prevent frustrating breakdowns. By removing corrosion and ensuring strong connections, you keep your electrical system running smoothly.
Remember to prioritize safety, use the right tools, and apply protective grease after cleaning. Regular inspections help catch problems early, and preventive care extends the life of your battery. Whether you’re a seasoned DIYer or a beginner, this task is well within your reach.
Don’t wait for your car to leave you stranded. Pop the hood, grab your brush, and give your battery the attention it deserves. A clean battery means a happier car—and a happier driver.
Frequently Asked Questions
Can I clean battery terminals without disconnecting them?
It’s not recommended. Disconnecting the cables ensures safety and allows you to clean thoroughly. Leaving them connected increases the risk of short circuits and incomplete cleaning.
Is baking soda safe for car batteries?
Yes, baking soda is safe and effective. It neutralizes battery acid and breaks down corrosion without damaging the terminals or cables when used properly.
How often should I clean my battery terminals?
Inspect them every 6 months and clean as needed. If you live in a humid or salty environment, check more frequently—every 3–4 months.
Can I use vinegar instead of baking soda?
Vinegar is acidic and can worsen corrosion. Stick with baking soda, which is alkaline and neutralizes the acid buildup safely.
What if my battery terminals are severely corroded?
Severe corrosion may require terminal replacement or a new battery. If the metal is pitted or cracked, cleaning won’t be enough—consult a mechanic.
Will cleaning terminals fix a dead battery?
Cleaning can restore connection and improve performance, but it won’t revive a dead or failing battery. If the battery doesn’t hold a charge, it likely needs replacement.