How to Replace Subaru Battery
Contents
- 1 Key Takeaways
- 2 📑 Table of Contents
- 3 Why Replacing Your Subaru Battery Matters
- 4 Signs It’s Time to Replace Your Subaru Battery
- 5 Tools and Materials You’ll Need
- 6 Step-by-Step Guide to Replacing Your Subaru Battery
- 7 Tips for Maintaining Your New Subaru Battery
- 8 Troubleshooting Common Issues After Replacement
- 9 When to Call a Professional
- 10 Conclusion
- 11 Frequently Asked Questions
Replacing a Subaru battery is simpler than you think, even if you’re not a mechanic. With the right tools and a little patience, you can do it yourself in under 30 minutes. This guide walks you through every step to ensure a safe, successful battery swap.
Key Takeaways
- Turn off the engine and remove the key: Always start by ensuring the vehicle is off and the ignition key is removed to prevent electrical shorts or accidental starts.
- Use proper safety gear: Wear safety glasses and gloves to protect against acid, sparks, and corrosion during the replacement process.
- Disconnect the negative terminal first: Always remove the negative (-) cable before the positive (+) to reduce the risk of short circuits.
- Clean battery terminals and tray: Remove corrosion with a baking soda and water solution to ensure a strong connection with the new battery.
- Choose the correct battery size and type: Refer to your owner’s manual or the old battery label to match the group size, cold cranking amps (CCA), and reserve capacity (RC).
- Reconnect the positive terminal last: When installing the new battery, attach the positive cable after the negative to maintain safe electrical flow.
- Reset vehicle systems if needed: Some Subaru models may require radio code re-entry or system resets after battery replacement.
📑 Table of Contents
- Why Replacing Your Subaru Battery Matters
- Signs It’s Time to Replace Your Subaru Battery
- Tools and Materials You’ll Need
- Step-by-Step Guide to Replacing Your Subaru Battery
- Tips for Maintaining Your New Subaru Battery
- Troubleshooting Common Issues After Replacement
- When to Call a Professional
- Conclusion
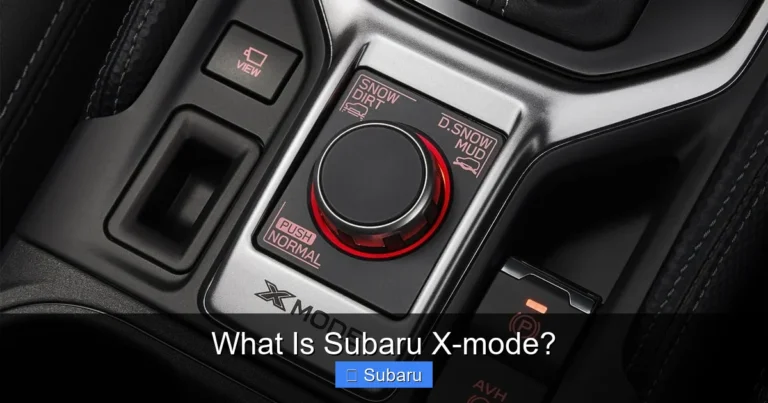
Why Replacing Your Subaru Battery Matters
Your Subaru’s battery is the heart of its electrical system. It powers everything from the engine starter to the infotainment system, climate controls, and safety features like airbags and ABS. When that battery starts to fail, you might notice slow engine cranks, dim headlights, or warning lights on the dashboard. Ignoring these signs can leave you stranded—especially in cold weather, when batteries are under the most stress.
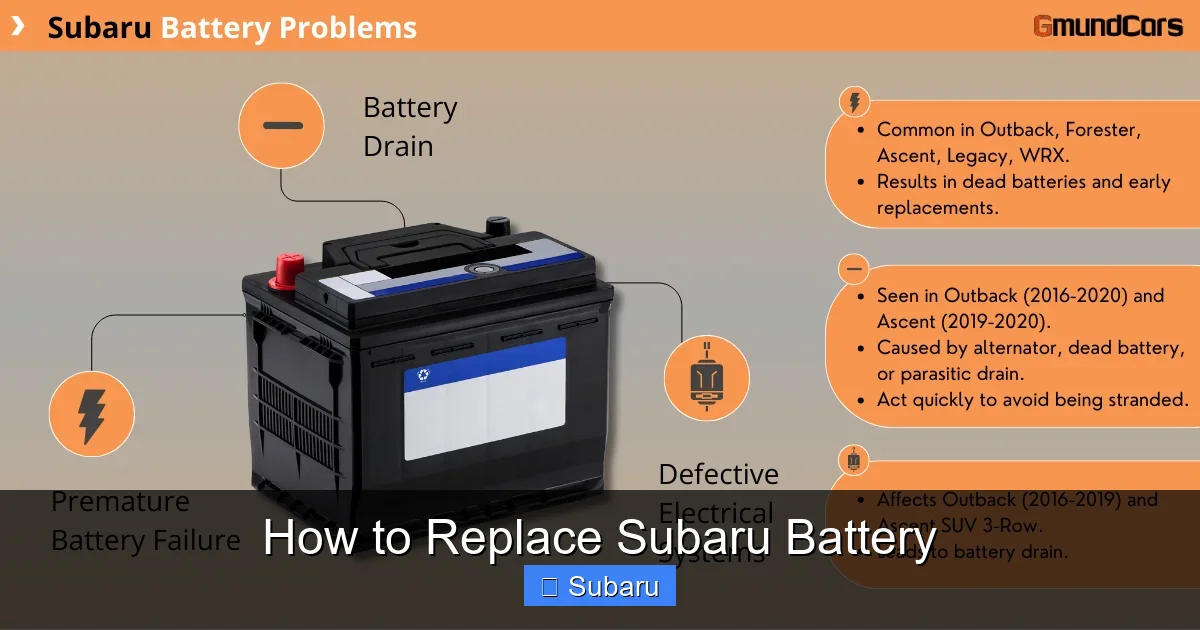
Replacing your Subaru battery at the right time isn’t just about convenience; it’s about safety and reliability. A weak battery can cause unexpected breakdowns, and in some cases, it can even damage other electrical components. Fortunately, replacing a Subaru battery is a straightforward task that most car owners can handle at home with basic tools. Unlike some vehicles with complex under-hood layouts, many Subaru models—like the Outback, Forester, and Impreza—have batteries that are relatively easy to access.
In this guide, we’ll walk you through the entire process of how to replace a Subaru battery, from identifying when it’s time for a new one to safely installing it and ensuring your vehicle runs smoothly afterward. Whether you’re a first-time DIYer or just need a refresher, this step-by-step guide will give you the confidence to tackle the job yourself.
Signs It’s Time to Replace Your Subaru Battery
Visual guide about How to Replace Subaru Battery
Image source: gmundcars.com
Before diving into the replacement process, it’s important to confirm that your battery actually needs replacing. Not every starting issue is battery-related—sometimes it’s the alternator, starter motor, or a wiring problem. But there are clear signs that point directly to a failing battery.
One of the most common symptoms is a slow or hesitant engine crank. If your Subaru takes longer than usual to start, especially in the morning or after sitting overnight, the battery may be losing its charge. You might hear a clicking sound when you turn the key, which often means the battery doesn’t have enough power to engage the starter.
Another telltale sign is dimming interior and exterior lights. If your headlights flicker or the dashboard lights dim when you start the car, it’s a strong indicator of low voltage. Modern Subarus also have advanced electronics that can behave oddly when the battery is weak. For example, you might experience glitches in the touchscreen, power windows that move slowly, or the radio resetting unexpectedly.
Age is another critical factor. Most car batteries last between 3 to 5 years, depending on climate and driving habits. If your Subaru battery is older than four years, it’s wise to have it tested regularly. Subaru vehicles, especially those driven in extreme temperatures—hot summers or cold winters—tend to wear out batteries faster due to increased electrical demands.
You can also check the battery’s physical condition. Look for swelling, leaks, or corrosion around the terminals. A bulging case often means the battery has overheated or been overcharged. White, powdery buildup on the terminals is corrosion caused by acid leakage and can interfere with electrical connections.
Finally, many Subaru models come with a battery monitoring system that displays voltage or battery health on the dashboard. If you see a “Check Battery” or “Battery Disconnect” message, it’s time to inspect or replace the battery.
Tools and Materials You’ll Need

Visual guide about How to Replace Subaru Battery
Image source: gmundcars.com
Before you begin, gather all the necessary tools and materials. Having everything ready will make the process faster and safer. You don’t need a full mechanic’s toolbox—just a few basics.
Start with a set of wrenches or a socket wrench with a 10mm socket. Most Subaru battery terminals use 10mm bolts, but it’s good to double-check your model. A wrench with a comfortable grip will make loosening tight terminals easier. If you have a torque wrench, even better—you can use it to tighten the terminals to the manufacturer’s specifications later.
You’ll also need safety gear. Wear safety glasses to protect your eyes from acid or debris, and rubber or nitrile gloves to shield your hands from corrosion and battery acid. Batteries contain sulfuric acid, which can cause skin irritation or burns, so don’t skip this step.
A wire brush or battery terminal cleaner is essential for cleaning corrosion off the terminals and cable ends. You can buy a dedicated terminal cleaning tool, or use an old toothbrush dipped in a baking soda and water solution (one tablespoon of baking soda per cup of water). This mixture neutralizes acid and helps dissolve corrosion.
You’ll need a new battery that matches your Subaru’s specifications. Check your owner’s manual or the label on the old battery for the correct group size (like Group 35 or Group 24F), cold cranking amps (CCA), and reserve capacity (RC). Subaru recommends using OEM or equivalent batteries for optimal performance, but high-quality aftermarket options are also available.
Other helpful items include a battery terminal puller (if the cables are stuck), a memory saver device (to preserve radio settings and engine codes), and a clean rag or paper towels for wiping down surfaces. If your Subaru has a battery tray hold-down clamp, you might need a socket extension or a longer wrench to reach it.
Finally, make sure you have a well-ventilated workspace. Batteries can emit hydrogen gas, which is flammable. Avoid open flames, sparks, or smoking near the battery. Working in a garage with the door open or outside is ideal.
Step-by-Step Guide to Replacing Your Subaru Battery

Visual guide about How to Replace Subaru Battery
Image source: images.simplepart.com
Now that you’re prepared, let’s walk through the actual process of replacing your Subaru battery. Follow these steps carefully to ensure a safe and successful replacement.
Step 1: Park and Prepare the Vehicle
Start by parking your Subaru on a flat, level surface. Turn off the engine and remove the key from the ignition. If you have a push-button start, make sure the vehicle is in “Off” mode and the key fob is away from the car to prevent accidental starts.
Engage the parking brake for extra safety. Open the hood and locate the battery. In most Subaru models, the battery is on the driver’s side of the engine bay, near the front. It’s usually held in place by a plastic cover or a metal tray with a hold-down clamp.
Before touching anything, inspect the battery for obvious damage—cracks, leaks, or swelling. If you see any, proceed with extra caution and consider wearing additional protective gear.
Step 2: Disconnect the Battery Cables
Safety first: always disconnect the negative terminal first. This reduces the risk of short circuits. The negative terminal is usually marked with a minus sign (-) and connected to a black cable.
Use your 10mm wrench or socket to loosen the nut on the negative terminal. Once it’s loose, carefully wiggle the cable clamp and remove it from the battery post. Place it aside, away from the battery, so it doesn’t accidentally touch the terminal.
Next, disconnect the positive terminal, marked with a plus sign (+) and connected to a red cable. Loosen the nut and remove the cable clamp. Again, keep it away from the battery.
If the cables are stuck due to corrosion, use a battery terminal puller or gently pry them loose with a flathead screwdriver. Avoid using excessive force, as you could damage the cables or terminals.
Step 3: Remove the Old Battery
Once the cables are disconnected, locate the battery hold-down clamp. This is usually a metal bracket or strap that secures the battery to the tray. Use your wrench or socket to remove the bolts or nuts holding it in place.
Carefully lift the old battery out of the tray. Batteries are heavy—typically 30 to 50 pounds—so use proper lifting technique: bend your knees, keep your back straight, and lift with your legs. If the battery is stuck, gently rock it back and forth to break any seal from corrosion.
Place the old battery on a stable surface, preferably in a plastic bin or on a non-conductive mat. Never place it on concrete, as it can discharge the battery further.
Step 4: Clean the Battery Tray and Terminals
With the old battery removed, inspect the battery tray and cable terminals for corrosion. Look for white, green, or blue powdery buildup—this is acidic residue that can interfere with electrical connections.
Mix a solution of baking soda and water (1 tablespoon per cup) and use a wire brush or old toothbrush to scrub the tray and terminals. Wipe everything clean with a damp rag, then dry thoroughly with a clean towel.
If the cable clamps are heavily corroded, consider replacing them. Damaged clamps can cause poor connections and starting problems, even with a new battery.
Step 5: Install the New Battery
Place the new battery into the tray, making sure it’s oriented correctly. The positive terminal should be on the same side as the original battery—usually the right side when facing the engine.
Secure the battery with the hold-down clamp and tighten the bolts or nuts. Don’t overtighten, as this can crack the battery case. A snug fit is sufficient.
Step 6: Reconnect the Battery Cables
Now it’s time to reconnect the cables—but in reverse order. Attach the positive cable first. Slide the clamp over the positive terminal and tighten the nut with your wrench. Make sure it’s secure but not overly tight.
Next, connect the negative cable to the negative terminal and tighten the nut. Double-check both connections to ensure they’re snug and free of movement.
Step 7: Test the Installation
Close the hood and start your Subaru. The engine should turn over smoothly. Check that all electrical systems are working—lights, radio, climate control, and dashboard indicators.
If your Subaru has a push-button start, you may need to press the brake and start button twice without pressing the brake to complete the startup sequence.
Listen for any unusual sounds or warning lights. If everything looks good, take a short test drive to ensure the battery is charging properly.
Tips for Maintaining Your New Subaru Battery
Replacing your battery is just the first step. To get the most life out of your new battery, follow these maintenance tips.
First, keep the battery terminals clean. Check them every few months for corrosion and clean them as needed. A quick wipe with a baking soda solution can prevent buildup.
Avoid short trips whenever possible. Short drives don’t give the alternator enough time to fully recharge the battery. If you only drive short distances, consider using a battery maintainer or trickle charger during long periods of inactivity.
Extreme temperatures are tough on batteries. In cold climates, park in a garage when possible to reduce strain on the battery. In hot climates, try to park in the shade to prevent overheating.
If you plan to leave your Subaru unused for more than a week, disconnect the negative cable or use a battery disconnect switch. This prevents parasitic drain from electronics like the clock, alarm, or infotainment system.
Finally, have your battery and charging system tested annually, especially as the battery ages. Many auto parts stores offer free battery testing, and it only takes a few minutes.
Troubleshooting Common Issues After Replacement
Even with careful installation, you might encounter a few issues after replacing your Subaru battery. Here’s how to handle them.
One common problem is the radio or infotainment system asking for a security code. Many Subarus require a code to reactivate the radio after a power loss. Check your owner’s manual or the glove box for a sticker with the code. If you can’t find it, contact a Subaru dealer with your VIN.
Another issue is the “Check Engine” or “Battery” warning light staying on. This usually means the vehicle’s computer needs time to reset. Drive the car for 10 to 15 minutes to allow the system to recalibrate. If the light persists, use an OBD2 scanner to check for error codes.
Some drivers notice that power windows or sunroofs don’t work properly after a battery change. This is often due to a lost “memory” setting. To reset it, turn the ignition to “On,” then hold the window switch in the “up” position for a few seconds until the window closes fully. Repeat for all windows.
If your Subaru won’t start at all, double-check the cable connections. Loose or reversed terminals are the most common causes. Also, ensure the battery is fully charged—some new batteries come partially charged and may need a jump start or charger.
Finally, if you used a memory saver, make sure it’s compatible with your Subaru model. Some devices can interfere with the vehicle’s electronics or cause error codes.
When to Call a Professional
While replacing a Subaru battery is generally a DIY-friendly task, there are times when it’s best to call a professional.
If your Subaru has a start-stop system or advanced electrical features, the battery may be part of a more complex network. Some models use AGM (absorbent glass mat) batteries that require special handling and charging procedures.
If you’re uncomfortable working with car electronics or don’t have the right tools, a certified Subaru technician can do the job quickly and safely. They can also perform a full electrical system check to ensure everything is working properly.
Additionally, if your battery is located in a hard-to-reach area—such as under the rear seat or inside the trunk—professional help may be needed. Some newer Subaru models, like the Ascent or certain hybrid versions, have batteries in non-standard locations.
Lastly, if you’ve tried replacing the battery and your Subaru still won’t start, there may be a deeper issue with the alternator, starter, or wiring. A mechanic can diagnose and fix the problem.
Conclusion
Replacing your Subaru battery doesn’t have to be intimidating. With the right preparation, tools, and knowledge, you can complete the job in under 30 minutes and save money on labor costs. By following this guide, you’ll ensure a safe, successful replacement that keeps your Subaru running reliably for years to come.
Remember to always prioritize safety—wear gloves and glasses, disconnect the negative terminal first, and work in a well-ventilated area. Choose a high-quality battery that matches your vehicle’s specifications, and don’t forget to clean the terminals and tray before installing the new one.
Regular maintenance and awareness of warning signs will help you avoid unexpected breakdowns. And if you ever feel unsure, don’t hesitate to consult a professional. Your Subaru deserves the best care, and a healthy battery is the foundation of its performance.
Whether you’re driving an Outback through mountain passes or a Crosstrek on city streets, a strong battery ensures you’re always ready for the road ahead. So grab your tools, follow these steps, and enjoy the peace of mind that comes with a job well done.
Frequently Asked Questions
How often should I replace my Subaru battery?
Most Subaru batteries last between 3 to 5 years, depending on climate and driving habits. If your battery is over four years old, have it tested annually to catch issues early.
Can I replace the battery myself, or do I need a mechanic?
Yes, you can replace the battery yourself with basic tools and safety precautions. However, if your Subaru has advanced electrical systems or the battery is hard to reach, a professional may be a better choice.
What happens if I connect the battery cables in the wrong order?
Connecting the positive cable first can cause a short circuit, sparks, or damage to the vehicle’s electronics. Always disconnect and reconnect the negative terminal first for safety.
Do I need to reset anything after replacing the battery?
Some Subaru models may require you to re-enter the radio code or reset power windows and sunroofs. Check your owner’s manual for specific instructions.
Can I use any battery for my Subaru?
No, you should use a battery that matches your Subaru’s group size, CCA, and RC ratings. Using the wrong battery can lead to poor performance or electrical issues.
What should I do with the old battery?
Take the old battery to an auto parts store, recycling center, or Subaru dealer. Most places accept used batteries for free and recycle them responsibly.