How to Replace Brakes on a Ford F-150
Contents
- 1 Key Takeaways
- 2 📑 Table of Contents
- 3 Understanding Your F-150’s Brake System
- 4 Essential Preparation and Safety Measures
- 5 Removing the Wheel and Caliper Assembly
- 6 Replacing Pads and Rotors: The Core of the Job
- 7 Final Checks, Bleeding, and Test Procedures
- 8 Maintenance Tips and When to Seek Professional Help
- 9 Conclusion
- 10 Frequently Asked Questions

Car Phone Holder

Tire Pressure Monitoring System (TPMS)

Jack Stands

Jumper Cables
Replacing the brakes on your Ford F-150 is a critical maintenance task that ensures your safety and your truck’s performance. This guide walks you through the entire process, from gathering the right tools and parts to properly installing new pads and rotors. Following these detailed steps will help you complete the job correctly, avoid common mistakes, and keep your F-150 stopping reliably.
Your Ford F-150 is a workhorse, and its braking system is its most critical safety feature. Knowing how to replace brakes on a Ford F-150 is a valuable skill that saves you significant money and gives you complete control over your truck’s maintenance. While it may seem daunting, with the right tools, parts, and a methodical approach, you can perform a professional-grade brake job in your own driveway. This guide will take you through every step, from the initial safety setup to the final test drive, ensuring your F-150 stops as good as new.
Key Takeaways
- Safety is paramount: Always use jack stands on solid ground, never work under a vehicle supported only by a jack, and wear safety glasses and gloves.
- Proper preparation prevents problems: Gather all necessary tools and parts before starting, and clean all brake components thoroughly before reassembly.
- Inspect and replace rotors when needed: Rotors must be above minimum thickness, smooth, and free of grooves or warping to ensure safe braking.
- Lubricate slide pins and contact points: Apply high-temperature brake lubricant to caliper slide pins and pad contact points to prevent sticking and uneven wear.
- Bleed the brake system if necessary: If the brake pedal feels spongy after replacement, you must bleed air from the brake lines to restore firm pedal feel.
- Proper bedding-in is essential: Follow a specific bedding-in procedure to transfer a thin layer of brake material to the new rotors for optimal performance and longevity.
- Torque all fasteners to specification: Lug nuts, caliper bolts, and other fasteners must be tightened to the manufacturer’s recommended torque values to prevent failure.
📑 Table of Contents
Understanding Your F-150’s Brake System
Before diving into the replacement, it helps to understand what you’re working with. Most Ford F-150 models use a disc brake system on all four wheels. This system consists of a brake rotor (the spinning disc), a caliper (which houses the pistons), and brake pads (the friction material that clamps the rotor). When you press the brake pedal, hydraulic fluid from the master cylinder forces the caliper pistons outward, squeezing the pads against the rotor and creating friction to slow the truck. Over time, the pad material wears thin, and the rotors can become scored, warped, or too thin. Replacing both pads and rotors together is often the best practice for a complete, reliable repair and to avoid having to do the job again too soon.
Signs It’s Time for New Brakes
Don’t wait for a complete failure. Watch for these common indicators: a high-pitched squeal or grinding noise when braking (a built-in wear indicator or metal-on-metal contact), a pulsating brake pedal or steering wheel (signaling warped rotors), longer stopping distances, or a brake warning light on your dashboard. Regularly inspecting your brake pads through the wheel spokes can also show you if they’re down to less than 1/4 inch of material. If you’re unsure, a professional inspection is always a good idea, but for a capable DIYer, replacing brakes on a Ford F-150 is an excellent weekend project.
Essential Preparation and Safety Measures
Rushing into the job without proper setup is the fastest way to make a mistake or get hurt. This phase is non-negotiable.

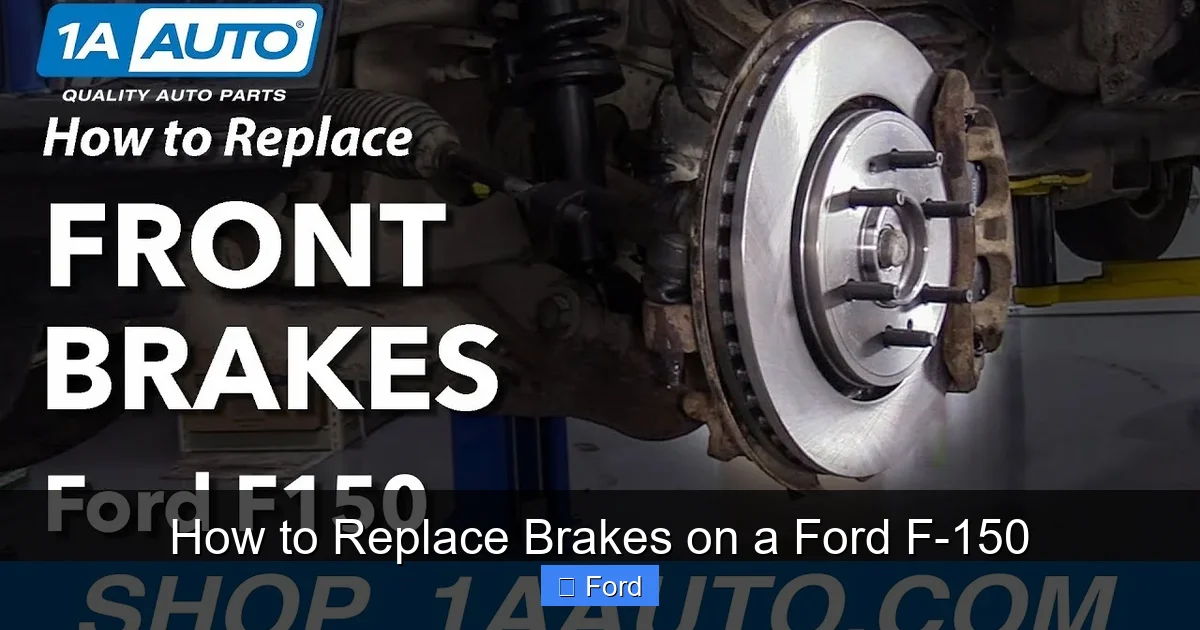
Visual guide about How to Replace Brakes on a Ford F-150
Image source: i.ytimg.com
Gathering Your Tools and Parts
You will need a specific set of tools. For a standard F-150, this typically includes: a lug wrench or impact gun with sockets (usually 21mm or 22mm for lug nuts), a set of wrenches and sockets for caliper bolts (commonly 18mm or 19mm), a large C-clamp or a brake caliper piston tool (for retracting the piston), a sturdy jack and at least two jack stands, a torque wrench (critical for proper reassembly), brake fluid (DOT 3 or DOT 4, as specified in your owner’s manual), a bungee cord or wire to hang the caliper, and basic hand tools like screwdrivers and pliers. For parts, you need new brake pads and new rotors for each wheel you’re servicing. It’s also wise to have brake lubricant and a wire brush for cleaning. Always consult a factory service manual or a reliable source like our detailed step-by-step guide on replacing brakes for a Ford F-150 for the exact specifications for your specific model year and drivetrain.
Creating a Safe Workspace
Park your F-150 on a level, solid surface like concrete. Engage the parking brake firmly and chock the wheels on the opposite end of the vehicle you’re starting with. For example, if you’re starting with the passenger front wheel, chock the driver’s rear wheel. This prevents any rolling. Loosen all the lug nuts on the wheel you’re working on *before* you jack the truck up. This gives you leverage with the weight of the vehicle on the ground. Never, ever rely on the jack alone to support the vehicle. Once the truck is lifted, place jack stands under the manufacturer’s recommended solid metal lift points (often on the frame rails) and lower the vehicle onto them. Give the truck a firm shake to ensure it’s stable before crawling underneath.
Removing the Wheel and Caliper Assembly
With the truck safely supported, you can begin disassembly. It’s best to work on one wheel at a time to keep the other three brakes functional for reference and to avoid mixing up parts.
Visual guide about How to Replace Brakes on a Ford F-150
Image source: i.ytimg.com
Wheel Removal
After loosening the lug nuts with the truck on the ground, jack up the F-150 and remove the wheel. Set the wheel aside. You now have a clear view of the brake rotor, caliper, and caliper bracket.
Caliper Removal
Locate the two bolts that secure the brake caliper to its mounting bracket. These are often seized, so apply penetrating oil like PB Blaster and let it soak for a few minutes. Using the correct socket and a breaker bar if needed, remove these bolts. Be prepared; the caliper will be heavy and may be stuck due to corrosion. Once the bolts are out, carefully pivot the caliper upward and off the rotor. Do not let the caliper hang by its brake hose—this can damage the hose and is dangerous. Use a bungee cord or a piece of wire to hang the caliper from the suspension spring or another secure point. This keeps tension off the flexible brake hose.
Removing the Old Brake Pads and Caliper Bracket
With the caliper out of the way, you can remove the old brake pads from the caliper bracket. They usually just slide out or are held by clips. Take note of any anti-rattle clips or shims; you’ll need to reuse or replace these with the new pads. Next, remove the two bolts that hold the caliper mounting bracket to the steering knuckle. These are often the most stubborn bolts on the entire job. Apply more penetrating oil and use steady pressure. Once removed, take the bracket off. You now have full access to the brake rotor.
Replacing Pads and Rotors: The Core of the Job
This is where the actual “replacement” happens. Patience and cleanliness are key.

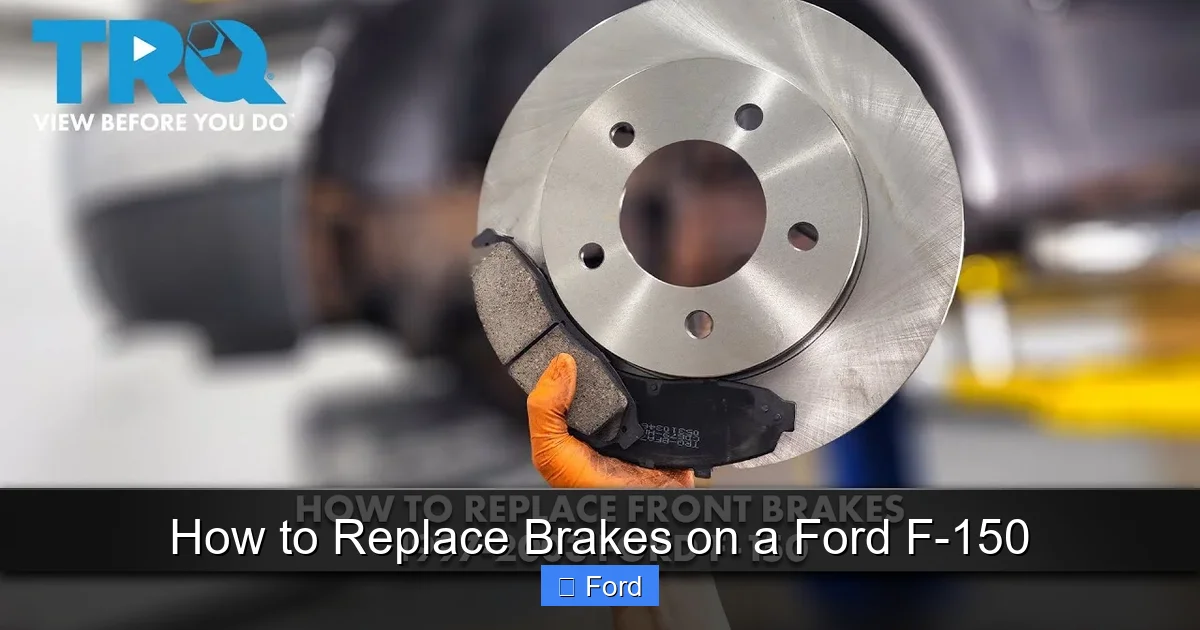
Visual guide about How to Replace Brakes on a Ford F-150
Image source: i.ytimg.com
Inspecting and Removing the Old Rotor
Before removing the old rotor, inspect it for deep grooves, blue discoloration (overheating), or excessive rust on the braking surface. Check its thickness with a micrometer against the minimum thickness stamped on the rotor’s edge or listed in your service manual. If it’s at or below minimum, or if it’s warped (you’ll feel pulsation when braking), it must be replaced. The rotor is simply held on by the wheel’s fit and sometimes a small screw. It may be rusted on. Gently tap it with a hammer from the backside (through the caliper bracket area) to break it free. Never hammer on the friction surface. If it’s severely stuck, you can use a pry bar, but be careful not to damage the hub. Once loose, pull it straight off. Clean the hub surface thoroughly with a wire brush to remove all rust and debris. A clean, flat hub surface is essential for the new rotor to sit correctly and run true.
Installing the New Rotor
Slide the new rotor onto the hub. Ensure it sits flush against the hub face. If your F-150 has a wheel speed sensor, be careful not to damage it. Some rotors have a button screw to hold them in place during assembly; you can install this now if present. Give the rotor a spin to make sure it’s not dragging or wobbly.
Retracting the Caliper Piston
This is a crucial step that trips up many beginners. The caliper piston, which pushes the old pads against the rotor, is now fully extended. To install the new, thicker pads, you must push this piston back into the caliper bore. First, open the brake fluid reservoir under the hood and siphon out some fluid with a turkey baster, as the piston will displace fluid and could cause the reservoir to overflow. Use a large C-clamp or a specialized piston tool. Place the clamp’s pad against the piston and the other end against the back of the caliper. Turn the clamp slowly and evenly. You will feel strong resistance as the piston moves in. For calipers with multiple pistons (common on the front), you must retract them all simultaneously, which often requires a special tool that screws onto the caliper and pushes both pistons in. Never use a tool that could damage the piston surface.
Installing the New Brake Pads and Reassembling
Apply a thin layer of high-temperature brake lubricant to the back of the new pad’s metal contact points and to the caliper bracket’s slide pin bores. Do not get lubricant on the pad’s friction material or the rotor. Insert the new pads into the caliper bracket, reinstalling any clips or shims. Re-mount the caliper bracket to the steering knuckle, tightening its bolts to the Ford specification (often around 100-125 lb-ft, but verify for your truck). Carefully slide the caliper back over the new pads and rotor. Reinstall the caliper bolts and torque them to spec (usually 20-30 lb-ft). Double-check that the caliper can pivot freely and isn’t binding on the bracket. Reinstall the wheel, hand-tighten the lug nuts, then torque them in a star pattern to the correct specification (often 140-150 lb-ft for F-150).
Final Checks, Bleeding, and Test Procedures
With all wheels done (or one wheel completed if doing them individually), there are vital final steps before driving.
Initial Pedal Check and Brake Bleeding
Before lowering the truck, pump the brake pedal firmly with your foot several times. It should feel firm and solid. If it goes to the floor or feels spongy, air has entered the system, and you must bleed the brakes. Start with the wheel farthest from the master cylinder (usually the passenger rear) and work your way closer. Have a helper pump the pedal, hold it down, then open the bleeder valve while they hold pressure. Close the valve before they release the pedal. Repeat until clean, bubble-free fluid flows. Keep the master cylinder topped up with fresh fluid to prevent it from running dry. If you’re not comfortable bleeding brakes, this is a step where professional help is recommended. If you encounter persistent issues with the brake system warning light, you may need to reset the brake system light on a Honda Civic or similar procedure for your Ford, though F-150s often reset automatically after a few pedal applications if the system is functional.
Lowering the Vehicle and Final Torque
Carefully lower the F-150 using the jack, removing the jack stands. Once all four wheels are on the ground, re-check the lug nut torque in a star pattern. This is critical because the torque can change as the wheels settle.
The Critical Bedding-in Process
New pads and rotors need a “bedding-in” or “burnishing” procedure to transfer a thin, even layer of pad material onto the rotor’s surface. This creates optimal friction and prevents brake judder. Find a safe, low-traffic area. Accelerate to about 45-60 mph, then firmly apply the brakes to slow to about 15 mph without coming to a complete stop. Do not ride the brakes; brake firmly, then let off. Repeat this cycle 8-10 times. Allow the brakes to cool completely (do not sit stopped with hot brakes). Then, do another 2-3 moderate stops from 45 mph to 20 mph. This process cures the pads and rotors together. Avoid hard, emergency stops during the first 200-300 miles of driving.
Maintenance Tips and When to Seek Professional Help
Your new brakes will provide excellent stopping power for thousands of miles. To maximize their life, avoid riding the brake pedal and practice smooth, anticipatory driving. Periodically inspect your brakes—every 10,000 miles or during oil changes—for pad wear and rotor condition. Listen for any new noises and feel for any changes in pedal feel. If you experience a persistent brake warning light, severe pulsation, or a brake fluid leak, stop driving and have the system inspected by a professional immediately. Some modern vehicles have complex electronic brake systems like ABS and stability control that may require specialized diagnostic tools to reset or calibrate after brake service. If your F-150 has these systems and a warning light persists, a dealer or specialty shop may be needed. For other diagnostic needs, like clearing codes after repairs, the process for how to clear codes on a Dodge Ram involves similar OBD2 scanner steps that can be adapted for many vehicles.
Conclusion
Successfully learning how to replace brakes on a Ford F-150 is an incredibly rewarding DIY achievement. It connects you directly with your truck’s fundamental safety systems, saves you the substantial labor cost of a shop job, and gives you peace of mind knowing the job was done correctly. By meticulously following the steps—prioritizing safety, using the correct tools and parts, maintaining cleanliness, and respecting the bedding-in process—you will restore your F-150’s braking performance to a like-new state. Remember, there is no shame in calling a professional if at any point you feel uncertain, especially when dealing with the critical hydraulic system. Your safety and the safety of others on the road is always the top priority. Now, get out there, take your time, and enjoy the confidence that comes from a job well done.
Frequently Asked Questions
How much does it cost to replace brakes on a Ford F-150 DIY vs. professional?
DIY costs are primarily for parts (pads and rotors), typically ranging from $200-$500 per axle for quality components, depending on your F-150’s year and trim. Professional labor adds $300-$600 per axle, making the shop total $500-$1,100+. Doing it yourself saves significant money but requires time and tools.
What specific tools are absolutely necessary for this job?
You absolutely need a proper jack and jack stands, a lug wrench, a torque wrench, sockets for lug nuts and caliper bolts, a large C-clamp or piston tool, and brake fluid. A wire brush and brake lubricant are also essential for a proper, lasting repair.
How long should a Ford F-150 brake job take a beginner?
A cautious beginner should plan for 2-4 hours for the first axle (front or rear), as you’ll move slowly learning each step. With experience, you can do an axle in 1-2 hours. Always prioritize doing it right over doing it fast.
Can I just replace the pads and reuse the old rotors?
You can, but it’s not recommended for a complete, long-lasting repair. Worn rotors often have grooves, heat spots, or are below minimum thickness. Reusing them with new pads leads to poor braking, noise, and rapid pad wear. Replacing rotors with pads is the best practice for safety and value.
Do I need to bleed the brakes after replacing pads and rotors?
If you only compress the caliper piston without opening the hydraulic system, you often do not need to bleed brakes, as no air should enter. However, if the pedal feels soft or spongy after reassembly, or if you opened any brake lines, bleeding is absolutely required to remove air bubbles.
Why is my brake pedal soft or goes to the floor after replacement?
A soft pedal indicates air in the brake lines or a fluid leak. Re-bleed the entire brake system thoroughly, starting from the farthest wheel. Also, check that the caliper piston was fully and evenly retracted before installing new pads. If the problem persists, inspect for leaks at calipers or hoses.