
How To Fit A Road Bike Helmet: Quick Fit Guide
Contents
- 1 Why proper fit matters for a road bike helmet
- 2 Helmet anatomy: parts that affect fit
- 3 How to measure for the right size
- 4 Step-by-step: How to fit a road bike helmet
- 5 Common fit problems and quick fixes
- 6 Special considerations: hair, glasses, and children
- 7 When to replace your helmet and care tips
- 8 Personal experience and lessons learned
- 9 Frequently Asked Questions of how to fit a road bike helmet
- 10 Conclusion
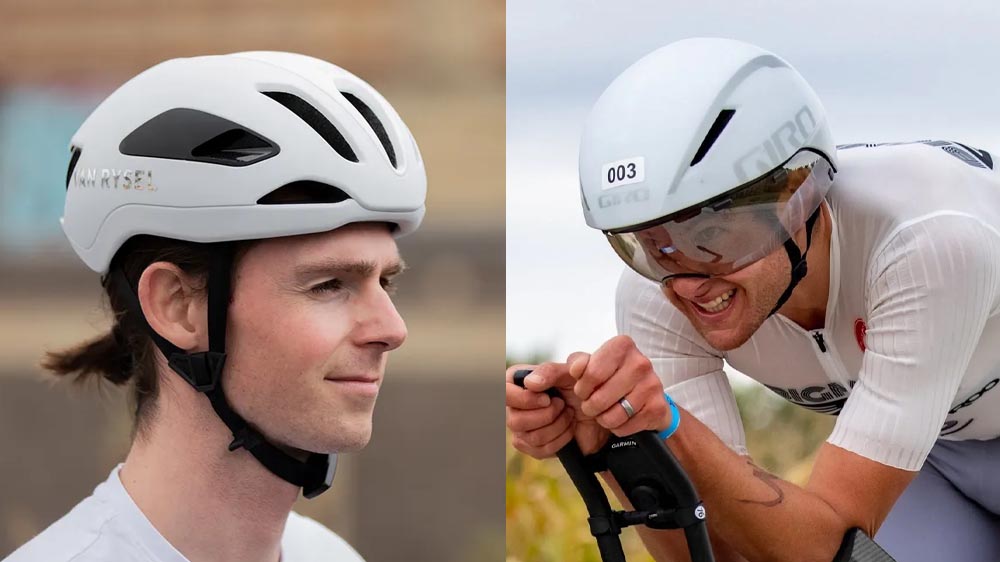
Place helmet level on your head, tighten the retention, and buckle the chin strap snug.
I’ve spent years fitting helmets for road riders, testing dozens of models, and helping friends avoid a poor fit that undermines safety. This article explains how to fit a road bike helmet step by step, why each adjustment matters, and how to troubleshoot common fit problems. Read on for clear, practical advice you can use right now to get a safe, comfortable fit.
Why proper fit matters for a road bike helmet
A properly fitted helmet protects your head by staying stable during a crash. A loose or tilted helmet can fail to absorb impact the way it should. Standards like CPSC in the U.S. set minimum safety levels, but fit is what determines real-world protection.
Good fit also keeps you comfortable on long rides. Comfort reduces distraction and helps maintain focus. Learning how to fit a road bike helmet correctly is an easy step that pays off every time you ride.

Helmet anatomy: parts that affect fit
Understanding a helmet’s parts makes fitting easier. Here are the key components to know.
- Shell and EPS liner: The outer shell protects the liner and reduces friction. The EPS foam inside absorbs impact energy.
- Retention system: A dial or strap cradle at the back tightens the helmet around your head.
- Chin straps and buckles: These hold the helmet on and must be adjusted for a snug fit.
- Pads: Removable pads change fit and comfort. They also absorb sweat.
- Vents and shape: Vent placement and helmet shape affect how the helmet sits and feels.
Knowing these parts helps when you adjust, swap pads, or choose a new helmet. That knowledge is central to how to fit a road bike helmet well.
How to measure for the right size
Measure head circumference to pick the correct helmet size. Use a soft tape measure around the widest part of your head. Position it about 1 inch above your eyebrows.
Compare your measurement to the manufacturer’s size chart. Sizes vary by brand, so always check the chart before buying. If you fall between sizes, try both; padding and retention systems can make one size fit better.

Step-by-step: How to fit a road bike helmet
Follow these steps every time you put on a helmet. They show exactly how to fit a road bike helmet for safety and comfort.
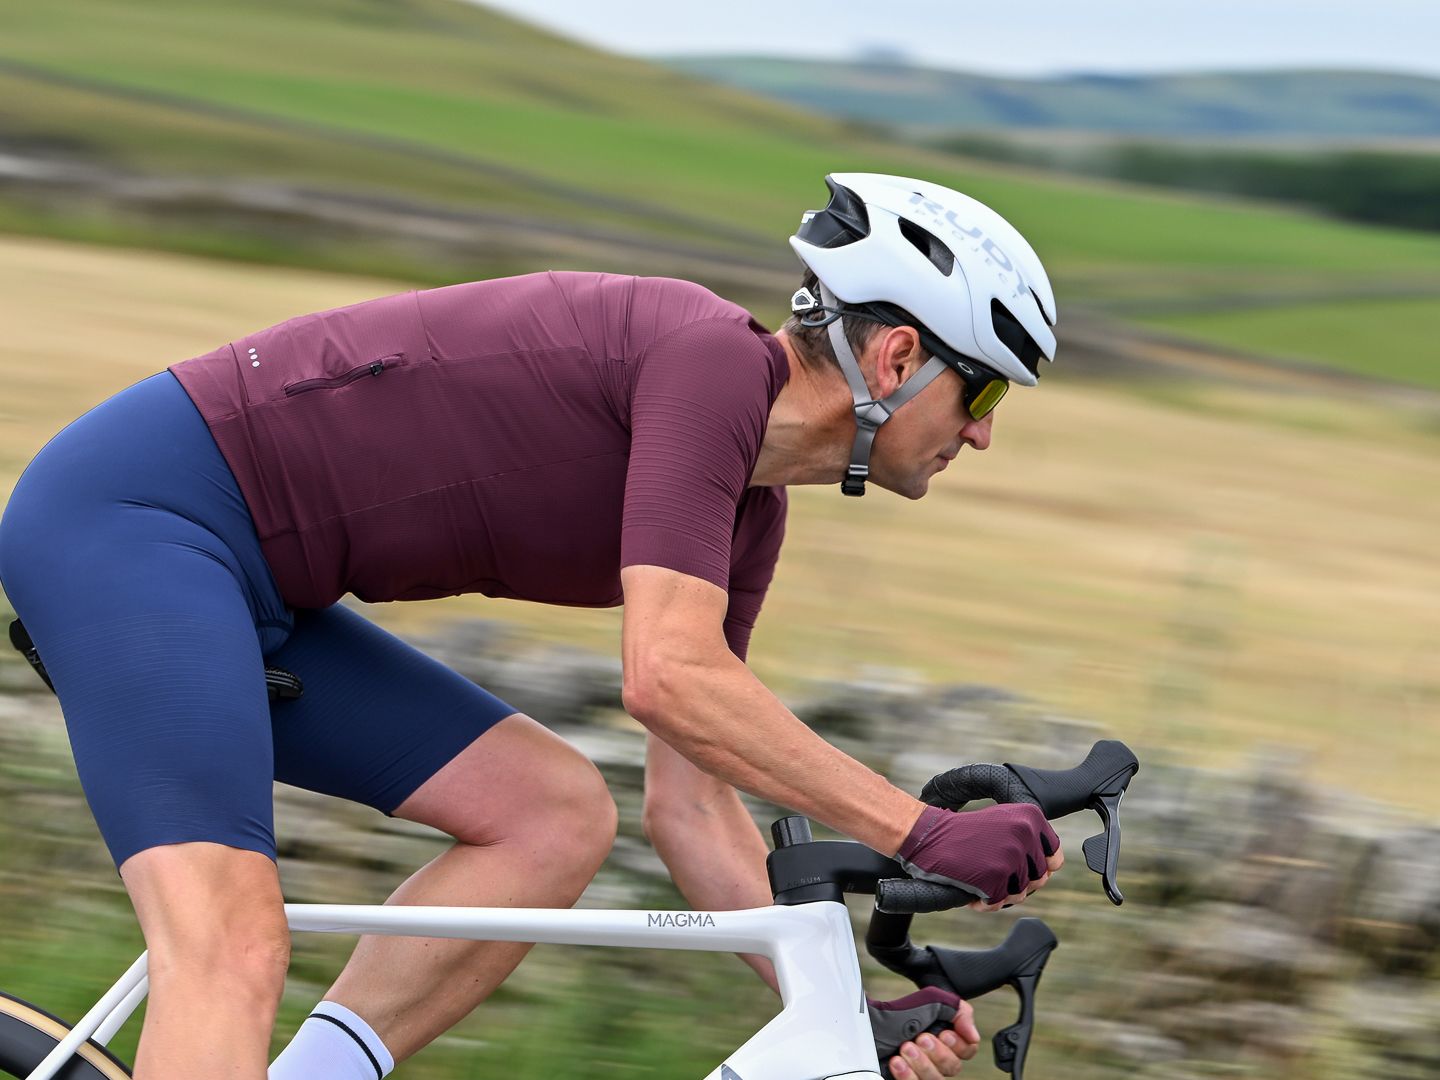
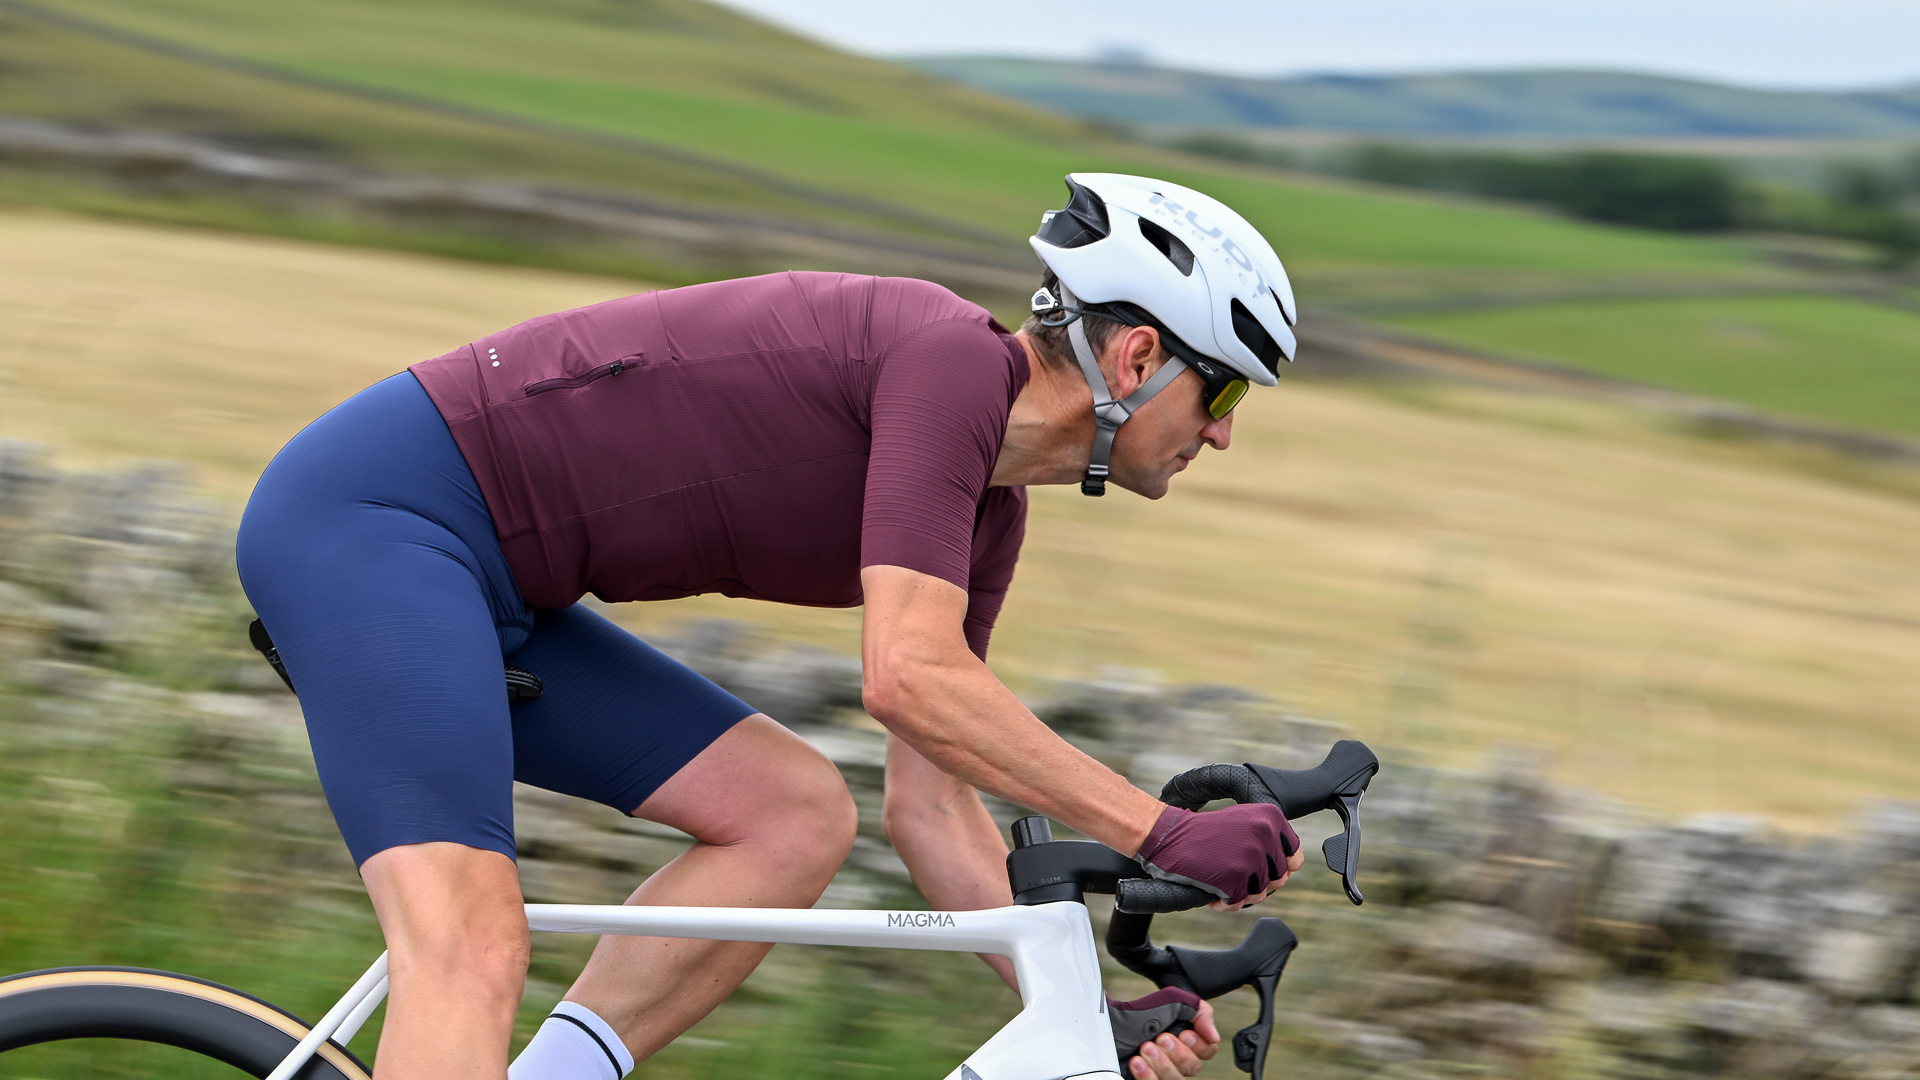
- Position the helmet
- Place the helmet level on your head. The front edge should sit about one finger-width above your eyebrows.
- Center the helmet
- Make sure it covers the top of your forehead and is centered left to right.
- Tighten the retention system
- Turn the rear dial or adjust the cradle until the helmet feels snug but not painful.
- Adjust side straps
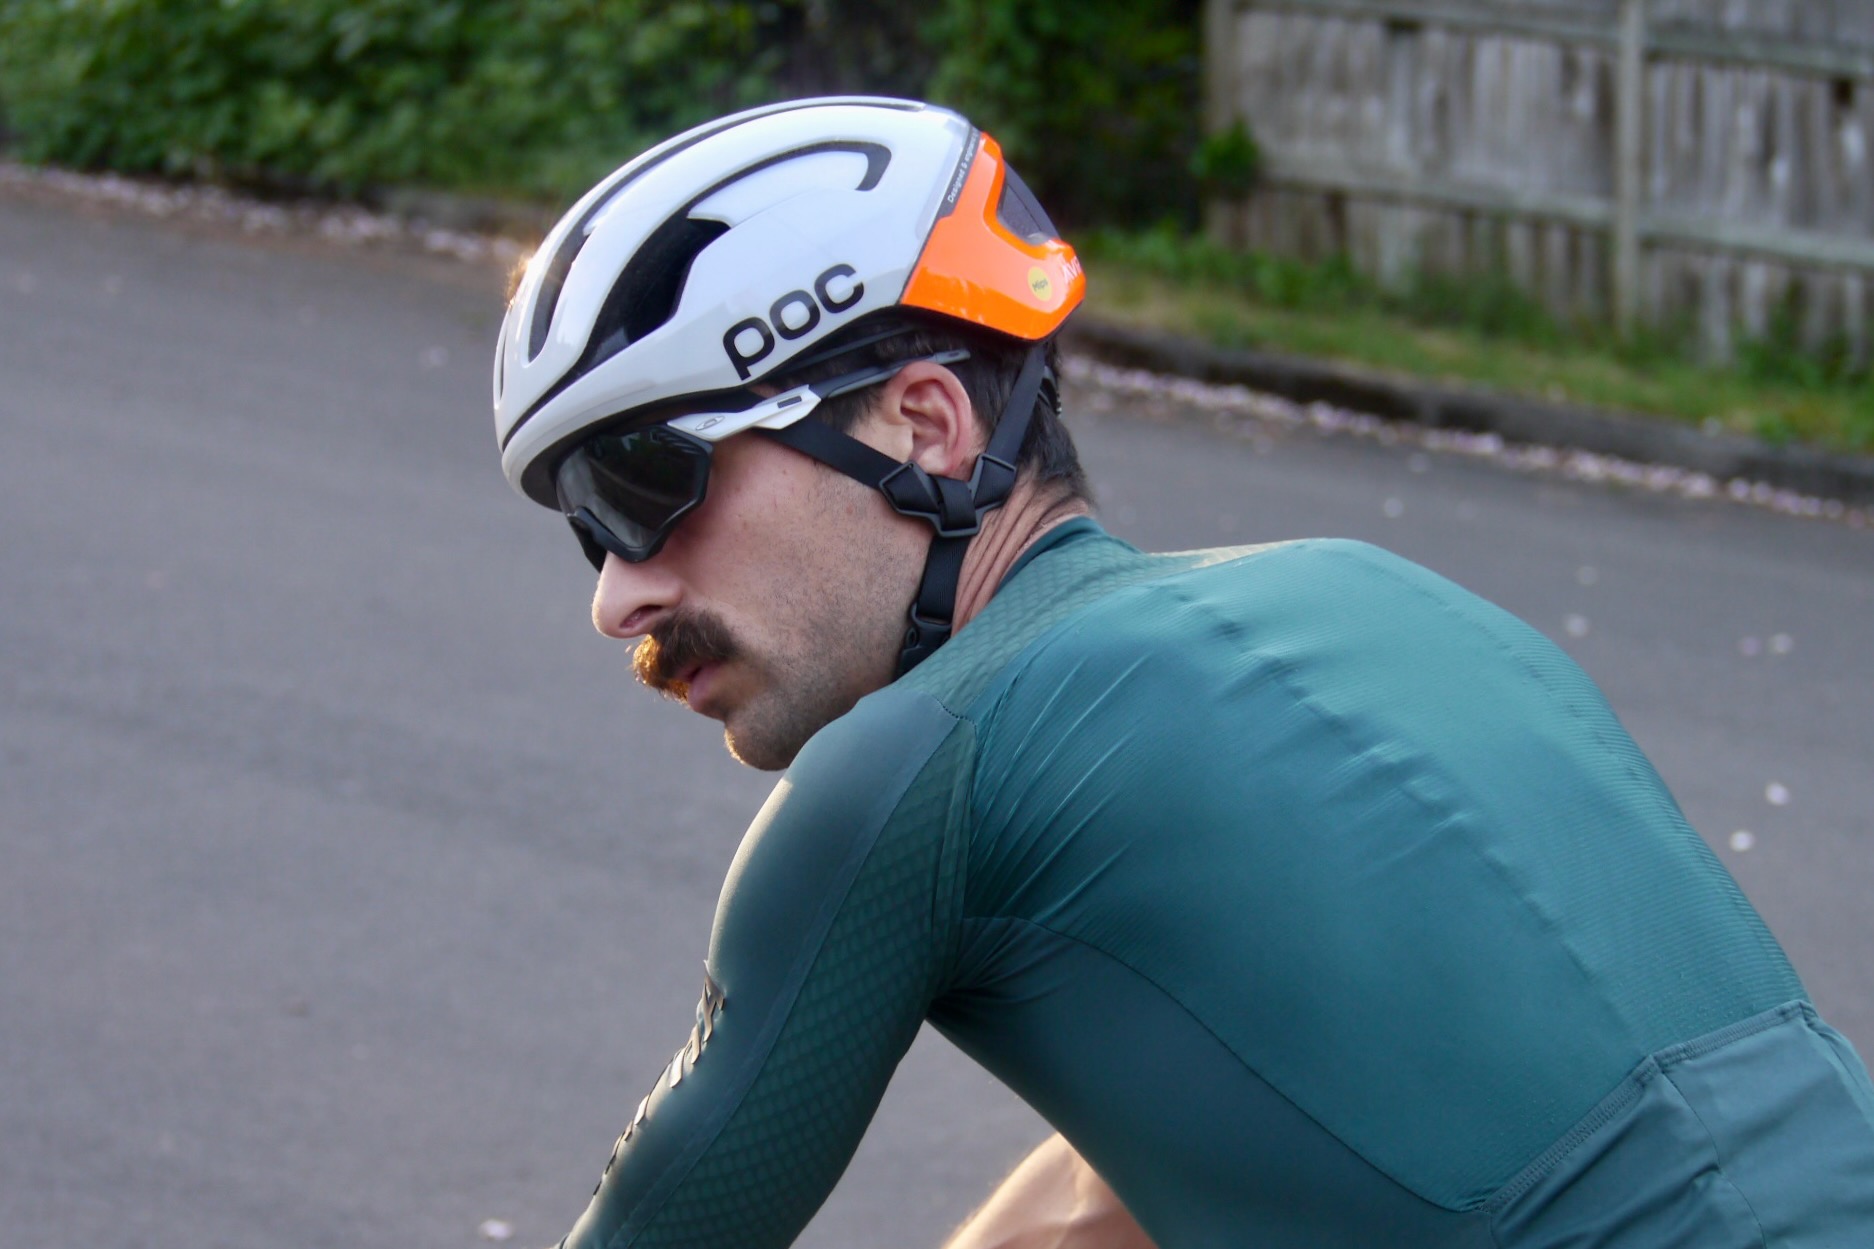
- Form a V with the straps under each ear. Slide the strap adjusters so the V sits just below the ear lobe.
- Buckle and set chin strap
- Buckle and tighten until two fingers fit between the strap and your chin. It should be snug enough to hold the helmet in place.
- Check for movement
– Shake your head gently. The helmet should stay put and not shift more than about an inch. - Fine-tune with pads
- Add or remove pads to eliminate pressure points and improve stability.
- Test while riding
- Take a short ride to confirm comfort and stability. Re-adjust if needed.
Repeat these steps whenever you change helmets, buy new pads, or share a helmet with someone else. Practicing these steps helps you internalize how to fit a road bike helmet quickly and correctly.
Common fit problems and quick fixes
Even a good helmet can feel wrong if adjustments are off. Here are common issues and how to fix them.
- Helmet slides forward
- Cause: Rear retention not tight or helmet too large.
- Fix: Tighten the dial and move helmet slightly back; try a smaller size if needed.
- Helmet tilts back
- Cause: Incorrect positioning or loose front fit.
- Fix: Slide forward to sit above brows and tighten retention.
- Pressure points on top or temples
- Cause: Wrong pad thickness or helmet shape.
- Fix: Swap pads or try different pad combinations for comfort.
- Chin strap chafes
- Cause: Strap too tight or rough edges.
- Fix: Loosen slightly, use strap covers, and trim tail if allowed by manufacturer.
- Helmet rotates during riding
- Cause: Loose retention or improper strap positioning.
- Fix: Reposition side straps into a V under the ear and tighten the dial.
These fixes reflect practical experience fitting many riders. Knowing how to fit a road bike helmet includes spotting these signs early.

Special considerations: hair, glasses, and children
Small adjustments make a big difference with hairstyles, eyewear, and growing heads.
- Long hair and ponytails
- Use helmet models with a ponytail channel or loop long hair through the rear so the retention sits correctly.
- Glasses and sunglasses
- Slide straps over or under hair as needed. Ensure the temple arms don’t push the helmet off-center.
- Kids and growth
- Choose an adjustable helmet and re-check fit often. Children’s heads change quickly, so measure every few months.
Addressing these helps when learning how to fit a road bike helmet for different riders and styles.

When to replace your helmet and care tips
Replace a helmet after any crash, even if damage is not visible. EPS foam can compress and lose effectiveness on impact. Most manufacturers also recommend replacing helmets every 3–5 years due to material degradation.
Care tips:
- Clean with mild soap and water; avoid strong solvents.
- Store out of direct sunlight and extreme heat.
- Replace pads if they wear or smell strongly.
Following care and replacement advice keeps your helmet ready to protect. This is an essential part of knowing how to fit a road bike helmet over time.

Personal experience and lessons learned
I once helped a friend who wore a helmet too far back. She assumed a loose fit was more comfortable. After tightening and repositioning, she reported a huge jump in comfort and confidence on climbs.
I’ve tested helmets across brands and learned that dial systems and pad options matter most for fit. My tip: spend time trying helmets on before buying. Fit matters more than brand logo. That real-world testing is what shows you how to fit a road bike helmet well and safely.
Frequently Asked Questions of how to fit a road bike helmet
How tight should a road bike helmet be?
The helmet should feel snug but not painful. You should be able to fit two fingers under the chin strap and still feel the helmet secure.
Where should a road bike helmet sit on your head?
It should sit level, about one finger-width above the eyebrows, covering the forehead without blocking vision. The back should rest on the upper part of the occiput.
Can I use bike helmet pads to improve fit?
Yes, pads can fine-tune fit and comfort. Swap pad thickness for better pressure distribution and stability.
How often should I check helmet fit?
Check before every ride and re-evaluate sizing yearly or after any impact. Kids should be checked more often due to growth.
Is a slightly loose helmet safe?
No. A loose helmet can shift in a crash and fail to protect. Tighten the retention and adjust straps until stable.
Can I fit a helmet with long hair or a ponytail?
Yes. Use helmets with rear channels or route hair through the back. Adjust the retention to sit low and secure.
Conclusion
A correct fit is the single easiest way to get the protection your helmet offers. Measure your head, choose the right size, follow the step-by-step fit routine, and re-check fit regularly. Practice these steps until adjusting your helmet is quick and automatic.
Take action: check your helmet now, make any needed adjustments, and try a short ride to confirm the fit. If you found this guide useful, leave a comment or subscribe for more practical bike safety tips.


