How to Change Side Marker Bulb on Subaru Outback
Contents
- 1 Key Takeaways
- 2 📑 Table of Contents
- 3 Why Your Side Marker Bulb Matters
- 4 When to Replace Your Side Marker Bulb
- 5 Tools and Materials You’ll Need
- 6 Step-by-Step Guide to Replacing the Bulb
- 7 Tips for a Smooth Replacement
- 8 Common Mistakes to Avoid
- 9 Upgrading to LED Bulbs
- 10 When to Call a Professional
- 11 Conclusion
- 12 Frequently Asked Questions
Changing a side marker bulb on a Subaru Outback is a simple DIY task that takes under 15 minutes. With basic tools and the right bulb, you can restore visibility and safety without a trip to the mechanic.
Key Takeaways
- Locate the side marker light: Found on the front fender near the wheel well, it’s a small amber or clear lens that enhances visibility at night.
- Use the correct bulb type: Most Subaru Outback models use a T10 (also known as W5W) wedge base bulb—check your owner’s manual to confirm.
- No special tools required: A flathead screwdriver or a plastic trim tool is usually enough to pop off the cover or access panel.
- Work in a well-lit area: Good lighting helps you see the bulb socket and avoid damaging small components.
- Test the new bulb immediately: Turn on your headlights or hazard lights to confirm the new bulb works before reassembling.
- Replace both bulbs if one fails: Even if only one side is out, consider replacing both to ensure even brightness and prevent future issues.
- Handle bulbs carefully: Avoid touching the glass with bare fingers—oils can shorten bulb life; use gloves or a clean cloth.
📑 Table of Contents
Why Your Side Marker Bulb Matters
The side marker light on your Subaru Outback might seem like a small, insignificant part of your vehicle’s lighting system—but it plays a big role in safety. These small amber or clear lenses, located on the front fenders near the wheel wells, help other drivers see your vehicle’s width and position, especially in low-light conditions like dusk, dawn, or bad weather. Think of them as your car’s “side beacons,” giving other road users a better sense of where you are, even when your headlights aren’t fully visible.
Over time, these bulbs can burn out just like any other light. You might not notice it right away, but a missing side marker can reduce your visibility and potentially lead to a traffic citation in some states where functional side markers are required by law. Plus, if you’re planning to sell your Outback or get it inspected, having all lights working is essential. The good news? Replacing a side marker bulb is one of the easiest and most satisfying DIY fixes you can do on your Subaru. No mechanic fees, no waiting—just a few minutes of your time and a new bulb.
When to Replace Your Side Marker Bulb
So how do you know it’s time to swap out that little bulb? The most obvious sign is when the side marker light doesn’t illuminate when your headlights or parking lights are on. You might notice this during a nighttime drive or when someone points it out. But there are a few other clues to watch for. For example, if the bulb flickers or glows dimly, it’s likely nearing the end of its life. Also, if you’ve recently washed your car and noticed moisture inside the lens, that could indicate a seal failure, which may lead to premature bulb burnout.
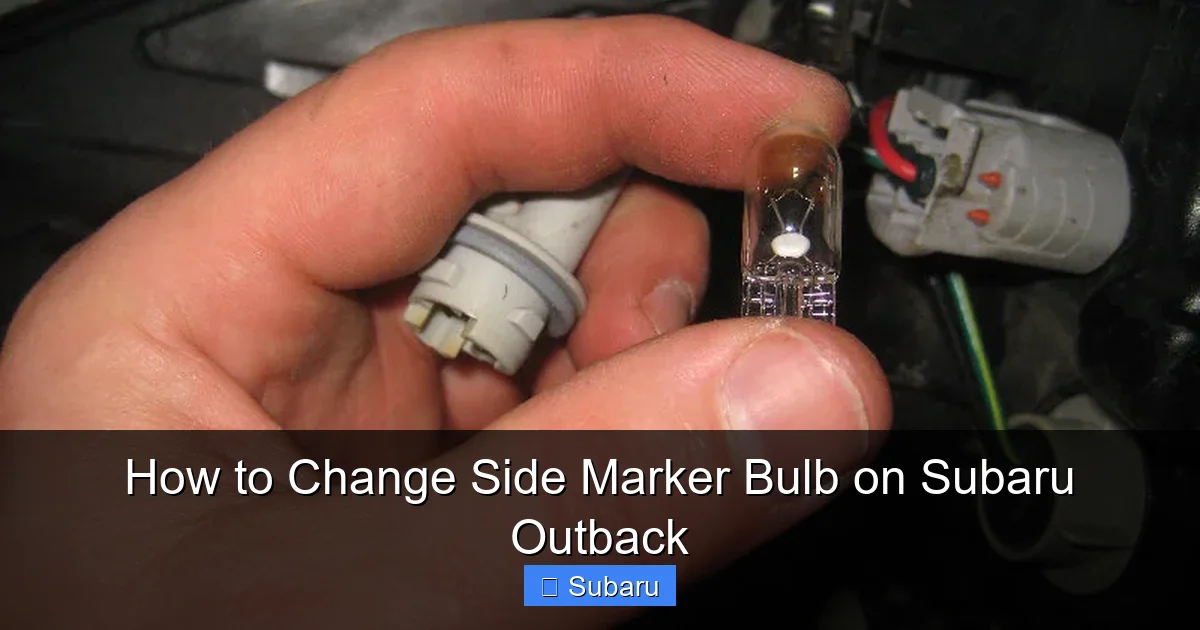
Visual guide about How to Change Side Marker Bulb on Subaru Outback
Image source: paulstravelpictures.com
Another tip: make it a habit to do a quick walk-around of your Outback once a week. Turn on your lights and check all exterior bulbs—headlights, taillights, brake lights, and yes, the side markers. This simple routine can catch problems early and keep your vehicle safe and road-legal. If you’re unsure whether the bulb is the issue, try swapping it with the working side marker bulb (if the other side works). If the problem moves, you’ve confirmed it’s the bulb. If not, it could be a wiring or fuse issue—though that’s rare for side markers.
Common Causes of Side Marker Failure
Most side marker bulbs fail due to normal wear and tear. Halogen bulbs, which are commonly used in older Outback models, have a limited lifespan—typically 500 to 1,000 hours of use. LED bulbs last much longer, but even they can fail if exposed to moisture or electrical surges. Other causes include vibration from rough roads, which can loosen connections, or corrosion in the bulb socket due to water ingress. If you live in an area with harsh winters and road salt, corrosion is more likely, so inspect the socket when replacing the bulb.
One often-overlooked cause is improper installation. If a previous bulb was forced into the socket or installed at an angle, it could damage the contacts or crack the bulb. Always handle bulbs gently and ensure they’re seated properly. Also, avoid using aftermarket bulbs that don’t meet OEM specifications—they may not fit correctly or could draw too much current, leading to premature failure.
Tools and Materials You’ll Need
Before you start, gather your supplies. The beauty of this job is that you don’t need a full toolbox—just a few basics. Here’s what you’ll need:
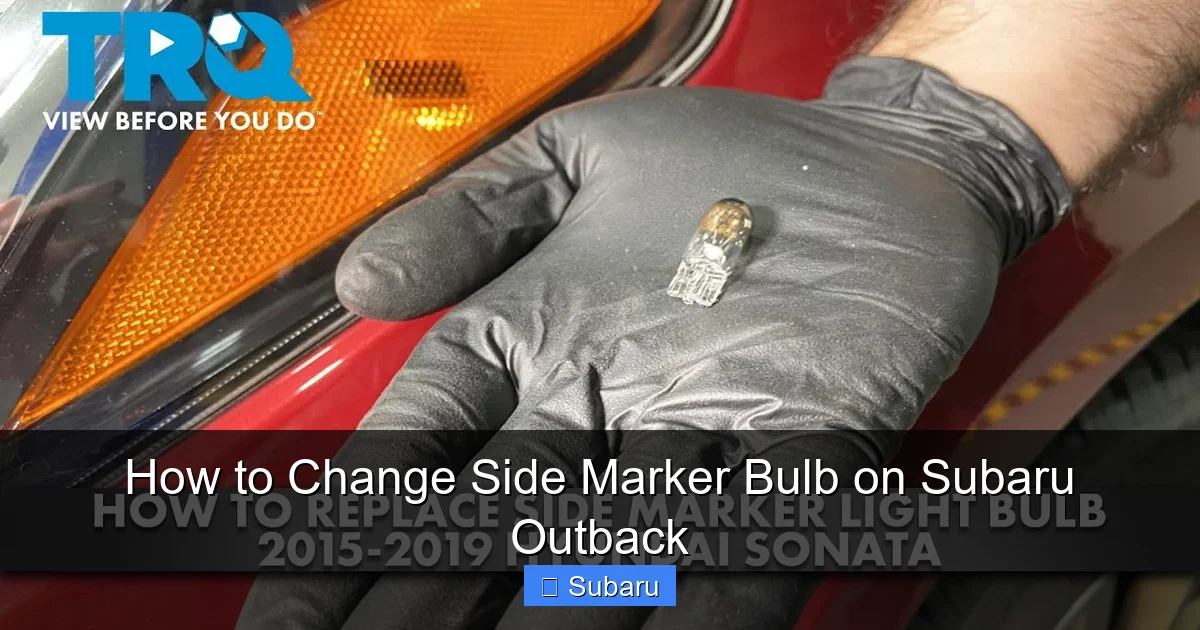
Visual guide about How to Change Side Marker Bulb on Subaru Outback
Image source: s3.amazonaws.com
- A replacement T10 (W5W) wedge base bulb: This is the standard for most Subaru Outback models from 2000 to 2023. You can find these at auto parts stores, Walmart, or online. Look for a 12V, 5W bulb. If you’re unsure, check your owner’s manual or the old bulb.
- A flathead screwdriver or plastic trim tool: This helps gently pry off the side marker lens or access panel. A plastic tool is safer to avoid scratching the paint.
- Clean gloves or a soft cloth: To handle the new bulb without leaving fingerprints, which can cause hot spots and shorten bulb life.
- A flashlight: Especially helpful if you’re working in dim light or under the fender.
- Optional: dielectric grease: A small dab on the bulb contacts can prevent corrosion and ensure a solid connection.
You can complete this job in under 15 minutes, and the total cost is usually under $10—much cheaper than a dealership visit. If you’re replacing both side markers, buy two bulbs at once to save a trip later. And while you’re at it, consider upgrading to LED bulbs for longer life and brighter light—just make sure they’re compatible with your Outback’s electrical system.
Where to Buy the Right Bulb
Don’t just grab the first bulb you see. Make sure it’s the correct type. The T10 (also labeled W5W or 194) is a 12V, 5-watt wedge base bulb with two small pins. It’s used in many Subaru models, including the Outback, Legacy, and Forester. You can find these at AutoZone, O’Reilly Auto Parts, Advance Auto Parts, or online retailers like Amazon. When shopping online, read reviews to ensure the bulb fits snugly and doesn’t flicker.
If you’re upgrading to LED, look for “CANBUS-compatible” LEDs, which are designed to work with modern vehicle electronics without triggering error messages. Some LED bulbs also come with built-in resistors to prevent hyper-flashing or dashboard warnings. While LEDs are more expensive (around $10–$15 for a pair), they last years longer and use less power. Just remember: if you go LED, you may need to replace both sides to avoid uneven lighting.
Step-by-Step Guide to Replacing the Bulb
Now for the fun part—actually replacing the bulb. The process is nearly identical for both the driver and passenger sides, so once you do one, the other will be a breeze. Here’s how to do it safely and correctly.
Step 1: Park and Prepare
Start by parking your Outback on a flat surface and turning off the engine. Engage the parking brake for safety. If you’ve just driven the car, let the lights cool down—hot bulbs can be fragile and dangerous to handle. Open the hood and locate the side marker light on the front fender, just ahead of the front wheel. It’s a small, oval or rectangular lens, usually amber or clear.
Step 2: Access the Bulb Housing
Most Outback models have a simple snap-on design. Use your flathead screwdriver or plastic trim tool to gently pry the lens outward. Start at the outer edge (away from the grille) and work your way around. Don’t force it—there’s usually a small tab or clip holding it in place. Once it pops off, you’ll see the bulb socket behind it. Some newer models (2015 and later) may have a small access panel under the fender liner. If so, you’ll need to reach up from underneath the car. This is still doable without a jack—just lie on your back and use a flashlight.
Step 3: Remove the Old Bulb
Once the lens is off, you’ll see the bulb socket. It’s a small, twist-lock connector. Gently grasp the socket and turn it counterclockwise about a quarter turn. It should release easily. Pull the socket out, and the old bulb will come with it. Now, carefully remove the bulb by pulling it straight out of the socket. Avoid twisting or bending it—this can damage the contacts.
Step 4: Install the New Bulb
Take your new T10 bulb (wearing gloves or using a cloth) and insert it into the socket. Make sure it’s seated firmly and the pins align with the slots. Don’t force it—if it doesn’t go in easily, double-check the orientation. Once the bulb is in, reinsert the socket into the housing and twist it clockwise until it locks. You should feel a slight click.
Step 5: Reattach the Lens
Line up the lens with the mounting points and press it firmly into place. You may hear a soft snap as the clips engage. Give it a gentle tug to make sure it’s secure. If it feels loose, check that all clips are properly seated.
Step 6: Test the Light
Turn on your headlights or parking lights and check that the new bulb is working. If it doesn’t light up, turn off the lights, wait a few seconds, and recheck the connection. Sometimes the socket needs to be pushed in a bit more. If it still doesn’t work, try the bulb in the other side to rule out a defective bulb.
Tips for a Smooth Replacement
Even simple jobs can go sideways if you’re not careful. Here are some pro tips to make the process smoother and avoid common mistakes.
Avoid Touching the Bulb Glass
Oils from your skin can transfer to the bulb glass and create hot spots when the bulb heats up. This can cause the bulb to burn out prematurely. Always handle the new bulb with gloves or a clean, dry cloth. If you do touch it, wipe it gently with rubbing alcohol and a lint-free cloth.
Check for Moisture or Corrosion
While the lens is off, take a moment to inspect the socket and housing. If you see moisture, white powder (corrosion), or rust, clean it with a cotton swab and electrical contact cleaner. A small dab of dielectric grease on the contacts can help prevent future corrosion.
Don’t Over-Tighten the Socket
When reinserting the socket, twist it just until it clicks. Over-tightening can crack the plastic housing or damage the bulb. If it feels stiff, check for debris or misalignment.
Work in Good Lighting
Natural daylight is best, but if you’re working at night, use a bright flashlight or work lamp. Good visibility helps you see the small parts and avoid mistakes.
Keep the Old Bulb as a Backup
Store the old bulb in your glove compartment or emergency kit. If the new one fails on the road, you’ll have a spare. Just remember to replace it properly when you get home.
Common Mistakes to Avoid
Even experienced DIYers can make errors. Here are a few pitfalls to watch out for when changing your side marker bulb.
Using the Wrong Bulb Type
Not all wedge base bulbs are the same. The T10 (W5W) is the correct size for the Outback, but some bulbs look similar and won’t fit. Always double-check the part number and wattage. Using a higher-wattage bulb can overload the circuit and blow a fuse.
Forcing the Lens Off
The lens is held by plastic clips that can break if you pry too hard. Use gentle, even pressure and work around the edges. If one side won’t budge, check for hidden screws or clips.
Ignoring the Other Side
If one side marker is out, the other is likely not far behind. Replacing both at the same time saves time and ensures even lighting. It’s also a good opportunity to upgrade both to LED if desired.
Skipping the Test
Always test the new bulb before driving. A non-working side marker can reduce your visibility and lead to a ticket. Plus, if there’s a wiring issue, you’ll want to know before reassembling everything.
Upgrading to LED Bulbs
If you’re tired of replacing bulbs every year or two, consider upgrading to LED. LED side marker bulbs are brighter, last longer (up to 50,000 hours), and use less power. They’re also available in different colors, though for street legality, stick with amber or white (check your local laws).
When choosing an LED bulb, look for one that’s CANBUS-compatible to avoid error messages on your dashboard. Some LEDs also come with built-in resistors to prevent hyper-flashing. Installation is the same as a halogen bulb—just pop it in and test. Keep in mind that LED bulbs may not work with older vehicles that use resistance-based bulb monitoring, but most Outbacks from 2005 and later handle them fine.
Benefits of LED Upgrades
LEDs offer several advantages: they’re more energy-efficient, generate less heat, and provide a crisp, modern look. They’re also less likely to fail due to vibration. However, they cost more upfront—expect to pay $10–$20 for a quality pair. But over time, the savings on replacements and improved visibility make them worth it.
When to Call a Professional
While changing a side marker bulb is a beginner-friendly task, there are times when it’s best to seek help. If the lens is cracked or the housing is damaged, you may need a full replacement, which requires more disassembly. Also, if the bulb still doesn’t work after replacement, there could be a wiring issue, blown fuse, or faulty socket—problems that are best diagnosed by a mechanic.
Additionally, if your Outback has adaptive lighting or advanced driver-assistance systems (ADAS), tampering with the lighting system could affect calibration. In such cases, consult a Subaru specialist. But for standard side marker replacement, you’re more than capable of handling it yourself.
Conclusion
Changing a side marker bulb on your Subaru Outback is a quick, easy, and rewarding DIY project. With just a few tools and a new bulb, you can restore your vehicle’s visibility, stay safe on the road, and save money on labor costs. Whether you stick with halogen or upgrade to LED, the process is straightforward and takes less than 15 minutes.
Remember to handle the bulb carefully, test it immediately, and consider replacing both sides for consistency. Regular maintenance like this not only keeps your Outback in top shape but also builds your confidence as a car owner. So the next time a side marker goes out, don’t panic—grab a bulb, follow these steps, and get back on the road with peace of mind.
Frequently Asked Questions
What type of bulb does a Subaru Outback side marker use?
Most Subaru Outback models use a T10 (also known as W5W or 194) wedge base bulb. It’s a 12V, 5-watt bulb commonly found in auto parts stores. Always check your owner’s manual or the old bulb to confirm.
Can I change the side marker bulb without removing the wheel?
Yes, in most cases. The side marker lens can be accessed from the front fender without removing the wheel. However, on some newer models, you may need to reach up from underneath the fender liner, which is still doable without jacking the car.
How often do side marker bulbs need to be replaced?
Halogen bulbs typically last 500 to 1,000 hours, which can be 1–3 years depending on usage. LED bulbs can last 10+ years. Replace them as soon as they burn out to maintain visibility and safety.
Is it legal to drive with a broken side marker light?
In many states, yes—but it’s not recommended. Some jurisdictions require functional side markers for vehicle inspections or nighttime driving. A broken light could result in a citation or reduced safety.
Can I use an LED bulb in my Outback’s side marker?
Yes, as long as it’s CANBUS-compatible and the correct size (T10). LED bulbs are brighter and last longer, but make sure they don’t trigger dashboard warnings. Check local laws for color restrictions.
Why won’t my new side marker bulb work after installation?
First, double-check that the bulb is properly seated and the socket is fully inserted. If it still doesn’t work, test the bulb in the other side. If neither works, there may be a fuse, wiring, or socket issue—consult a mechanic.