
How Do I Reset the Check Engine Light on a 2019 Toyota Highlander?
Contents
- 1 Key Takeaways
- 2 📑 Table of Contents
- 3 Understanding the Check Engine Light: It’s Not a “Reset and Forget” Signal
- 4 Step 1: Diagnose, Don’t Guess – The Non-Negotiable First Step
- 5 Step 2: The Manual Reset Method – Using the Highlander’s Menu System
- 6 Step 3: The Professional Method – Using an OBD-II Scan Tool
- 7 Common Causes That Trigger the Light on a 2019 Highlander
- 8 When You Should NOT Reset the Light Yourself
- 9 Conclusion: A Reset is the Final Step, Not the First
- 10 Frequently Asked Questions
Resetting the check engine light on a 2019 Toyota Highlander is a simple process, but it’s crucial to understand it’s not a repair. The light is a warning indicator. You must first diagnose and fix the underlying issue using an OBD-II scanner. Once the problem is resolved, the light can be cleared manually via the dashboard menu or by using a scan tool. Driving with an unresolved check engine light can cause serious damage and failed emissions tests.
Key Takeaways
- The check engine light is a warning, not a reminder: It signals a problem in the emissions, engine, or transmission system that must be diagnosed and repaired before resetting.
- Always read the diagnostic trouble codes (DTCs) first: Use an OBD-II scanner to identify the specific fault code(s) before attempting any reset.
- Two primary reset methods exist: A manual reset through the vehicle’s menu system or a professional reset using an OBD-II scan tool.
- The light may return if the problem persists: If the underlying issue isn’t fixed, the check engine light will illuminate again, often after a few drive cycles.
- Some issues require professional attention: Problems like catalytic converter failure or internal engine faults should be addressed by a qualified mechanic.
- A failed emissions test will require a reset: After repairing an issue that caused an emissions-related code, you must reset the light and complete drive cycles for the test monitors to set.
- Resetting does not clear all maintenance needs: Be aware that resetting the check engine light is different from resetting the maintenance required light, which is based on mileage/time.
📑 Table of Contents
- Understanding the Check Engine Light: It’s Not a “Reset and Forget” Signal
- Step 1: Diagnose, Don’t Guess – The Non-Negotiable First Step
- Step 2: The Manual Reset Method – Using the Highlander’s Menu System
- Step 3: The Professional Method – Using an OBD-II Scan Tool
- Common Causes That Trigger the Light on a 2019 Highlander
- When You Should NOT Reset the Light Yourself
- Conclusion: A Reset is the Final Step, Not the First
Understanding the Check Engine Light: It’s Not a “Reset and Forget” Signal
That little amber or yellow light on your 2019 Toyota Highlander’s dashboard, shaped like an engine with the words “Check Engine” or the universal icon, is one of the most misunderstood features in your vehicle. It’s not a maintenance reminder like the “Service Required” or oil change light. It’s not a simple nudge to top off your washer fluid. The check engine light—formally known as the Malfunction Indicator Lamp (MIL)—is your vehicle’s primary communication tool that something in its complex computer-controlled systems is not functioning as designed. When it illuminates, it’s telling you that the On-Board Diagnostics (OBD-II) system has detected a fault that could increase emissions, harm the engine, or affect drivability.
Because of this, the very first and most critical rule is this: You should never simply reset the check engine light without first diagnosing and, if necessary, repairing the problem that triggered it. Resetting the light while the fault still exists is like turning off a fire alarm while a fire is still burning—it stops the noise but doesn’t solve the danger. The light will almost certainly come back on, often within a few miles of driving. This guide will walk you through the proper, safe procedure for resetting the light on your 2019 Highlander, but we will begin and end with a strong emphasis on diagnosis and repair.
Step 1: Diagnose, Don’t Guess – The Non-Negotiable First Step
Before you even think about clearing that light, you need to know why it came on. The 2019 Highlander, like all modern vehicles, stores Diagnostic Trouble Codes (DTCs) in its Engine Control Unit/Computer (ECU/ECM). These codes are specific identifiers like P0171 (System Too Lean) or P0302 (Cylinder 2 Misfire Detected). They don’t tell you the exact broken part, but they give you a precise starting point for the diagnostic process.
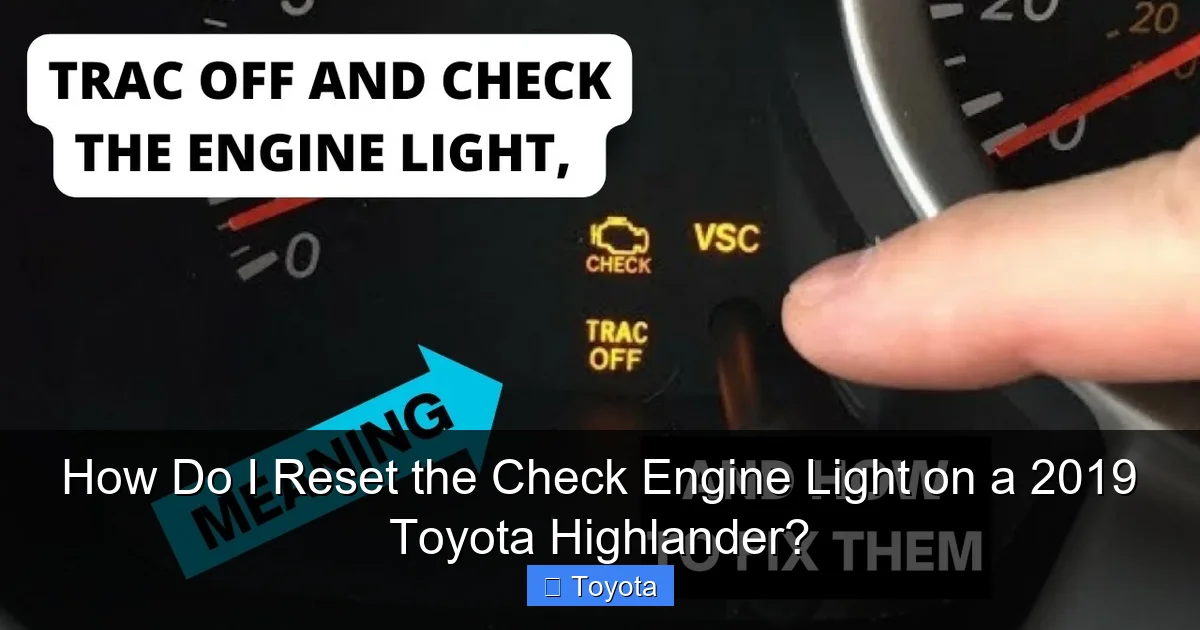
Visual guide about How Do I Reset the Check Engine Light on a 2019 Toyota Highlander?
Image source: i.ytimg.com
How to Read the Codes
The only proper way to read these codes is with an OBD-II scanner. You have a few options:
- Basic Code Reader/Scanner: An inexpensive ($20-$50) device that plugs into the OBD-II port (located under the dashboard, near the driver’s knee). It will read and clear generic and some manufacturer-specific codes. This is the minimum tool needed for a DIY reset.
- Advanced Scan Tool: A more expensive ($100-$500+) tool that can read live data streams, view manufacturer-specific codes, and access other vehicle systems beyond just the engine. This is what professional shops use.
- Smartphone Adapter + App: Devices like the OBDLink or BlueDriver plug into the port and connect to your phone via Bluetooth. Paired with a free or paid app, they offer excellent functionality for reading codes and viewing data.
- Visit a Professional: Many auto parts stores (like AutoZone, O’Reilly, Advance Auto Parts) offer free code reading services. A dealership or independent mechanic will provide a full diagnostic report.
What to do with the codes: Once you have the code(s), research them. A quick online search for “P0420 Toyota Highlander” will yield thousands of results from mechanics and enthusiasts explaining potential causes, from a loose gas cap to a failing catalytic converter. This research will help you understand the severity and possible DIY fixes. For complex issues like internal engine faults or transmission codes, professional diagnosis is highly recommended. If you’ve already fixed the issue (e.g., replaced a faulty oxygen sensor, tightened a gas cap), then you are clear to proceed to the reset step. If you haven’t, diagnosis is your new priority.
Step 2: The Manual Reset Method – Using the Highlander’s Menu System
If you’ve repaired the problem and the check engine light is still on, or if you’ve just cleared codes with a scanner and the light remains illuminated (some tools require a separate “clear” command), you can try the manual reset procedure. This method uses the buttons on your steering wheel to access the vehicle’s service menu. Note: This method may not work for all codes, especially persistent or severe faults. The ECU may prevent the reset if it still detects a problem. It is most effective for minor, intermittent issues that have since resolved themselves.
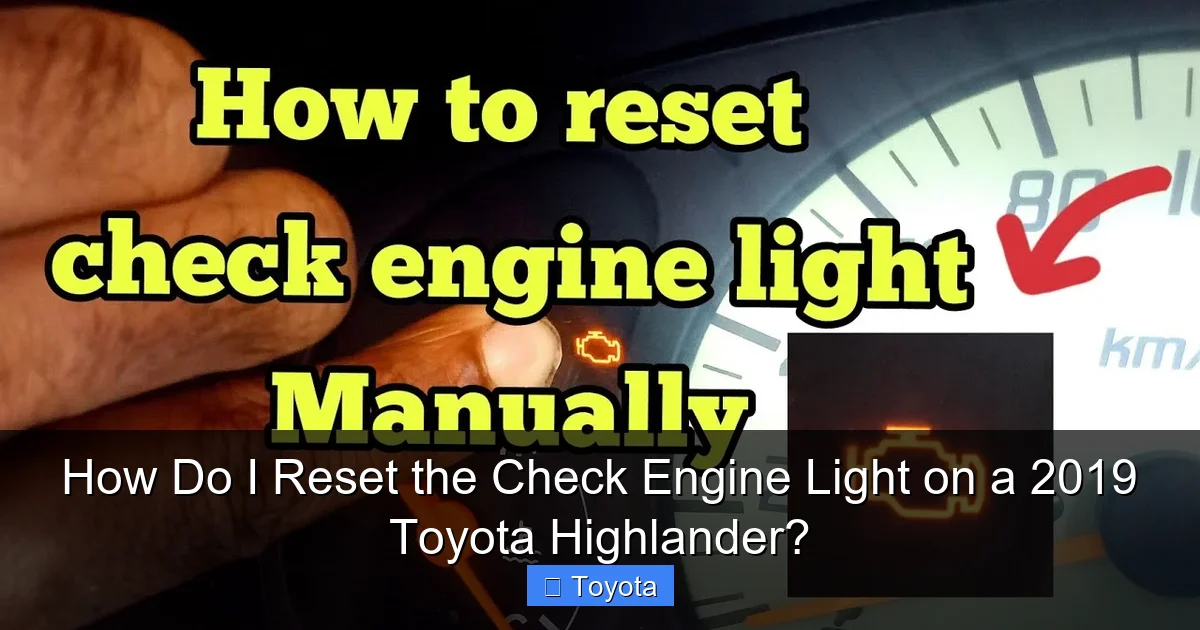
Visual guide about How Do I Reset the Check Engine Light on a 2019 Toyota Highlander?
Image source: i.ytimg.com
The 2019 Highlander Dashboard Reset Procedure
Here is the step-by-step process for the 2019 model year. The process is similar for many modern Toyota vehicles.
- Start the Vehicle: Ensure your Highlander is parked safely, the parking brake is set, and the engine is running. The ignition should be in the “ON” or “RUN” position, but you don’t necessarily need to have the engine running for all steps—consult your owner’s manual for the definitive process. Typically, the system is active with the ignition on.
- Access the Menu: Use the “DISP” or “INFO” button on your steering wheel (the exact button name can vary slightly by trim). Press it repeatedly until you see the “Settings” or a wrench icon (wrench symbol) appear on the multi-information display in the gauge cluster.
- Navigate to Service Reset: Once in the Settings menu, use the arrow buttons (often the same “DISP/INFO” button toggles or separate arrows) to scroll through the options. Look for an option labeled “Service”, “Maintenance”, or “Vehicle Settings”. Select it.
- Find the Reset Option: Inside the Service/Maintenance menu, you should see options like “Oil & Filter,” “Tire Pressure,” and crucially, “Check Engine Light” or “MIL Reset”. The exact wording can differ. Select the option related to the check engine light.
- Confirm the Reset: The system will likely ask you to confirm. It may say something like “Reset MIL?” or “Clear Check Engine Light?” Use the buttons to select “Yes” or “Reset.” Confirm the action.
- Verification: The display should show a confirmation message like “Reset Complete” or briefly show a new mileage reading for a service item. The check engine light on your dashboard should extinguish immediately.
Important Caveat: This menu-driven reset is primarily designed for the maintenance required light (the wrench icon), which is based on mileage and time. On some model years and trims, the option to reset the actual check engine light (MIL) via this menu is either not present or is disabled by the manufacturer if a fault is still stored. Its primary function is for the service reminder. For a true check engine light reset, the OBD-II scanner method is the standard and most reliable. If you cannot find the option in your 2019 Highlander’s menu, it likely doesn’t exist, and you must use a scan tool. For those with a 2017 Highlander, the process for the maintenance light is slightly different, which you can see in our dedicated guide on how to reset the maintenance light on a 2017 Toyota Highlander.
Step 3: The Professional Method – Using an OBD-II Scan Tool
This is the universal, manufacturer-approved method for clearing DTCs and turning off the MIL. It’s what dealerships and repair shops use. The process is straightforward if you have the right tool.
Visual guide about How Do I Reset the Check Engine Light on a 2019 Toyota Highlander?
Image source: youcanic.com
Using Your Scanner to Clear Codes
- Connect the Scanner: Plug your OBD-II scanner’s cable into the port under your Highlander’s dashboard. The port is trapezoidal and usually located to the left of the steering column.
- Turn on the Ignition: Turn the key to the “ON” position (the position right before starting the engine) or press the start button without pressing the brake pedal (in models with push-button start) to power on the vehicle’s electronics. Do not start the engine.
- Communicate with the Vehicle: Turn on your scanner and follow its on-screen prompts. It will typically ask you to select the vehicle make (Toyota) and model/year (Highlander, 2019). The tool will then establish a connection with the Highlander’s ECU.
- Read Codes (Recommended): Before clearing, it’s best practice to use the “Read Codes” or “Diagnose” function. This will pull all stored codes. Write them down or take a photo. This is your record of what was wrong.
- Clear Codes / Reset MIL: Navigate the scanner’s menu to find the “Clear Codes,” “Erase Codes,” or “Reset MIL” function. Select it. The scanner will send a command to the ECU to wipe the stored fault codes and turn off the check engine light.
- Confirm and Disconnect: The scanner should confirm the codes were cleared. You should see the check engine light on your dash go out immediately. Turn off the scanner and disconnect it from the port.
What happens next? After a successful reset, the light will stay off. However, the ECU will begin a series of self-tests called “drive cycles” to ensure the problem is truly gone. If the fault recurs, the ECU will detect it during these tests and turn the MIL back on, storing a new code. This is why it’s vital the repair was effective. For emissions-related repairs, you often need to complete specific drive cycles (a combination of driving at certain speeds, engine loads, and ambient temperatures) for all monitors to report “Ready” before you can pass a state emissions test.
Common Causes That Trigger the Light on a 2019 Highlander
Knowing what commonly sets off the check engine light can help you understand your code. While the list is extensive, here are frequent culprits for the 2019 Highlander’s 3.5L V6 engine and its systems:
- Loose or Faulty Gas Cap: The #1 cause of an EVAP (evaporative emissions) system code (e.g., P0455, P0442). A cap that isn’t tightened properly or has a damaged seal allows fuel vapors to escape, triggering the light. Tighten it until you hear clicks!
- Oxygen (O2) Sensor Failure: These sensors monitor oxygen in the exhaust. A failing sensor (codes like P0130-P0135 for Bank 1, P0150-P0155 for Bank 2) reduces fuel efficiency and increases emissions.
- Catalytic Converter Efficiency: A failing catalytic converter (code P0420/P0430) is a serious and expensive issue. It’s the key component that reduces exhaust pollutants. This code often appears after O2 sensors have been failing for a while.
- Mass Air Flow (MAF) Sensor Issues: The MAF sensor measures air entering the engine. Contamination or failure (codes P0100-P0103) leads to poor performance, rough idle, and reduced fuel economy.
- Ignition System Misfires: Worn spark plugs, bad ignition coils, or faulty spark plug wires cause misfires (codes P0300-P0306). A persistent misfire can damage the catalytic converter.
- Thermostat or Coolant Temperature Sensor: An engine running too hot or too cold can trigger codes (P0115-P0119) and the check engine light.
- Exhaust Gas Recirculation (EGR) System: A clogged or faulty EGR valve can cause rough running and trigger codes like P0401.
This is not an exhaustive list. Other systems like the transmission (shift solenoid codes), variable valve timing (VVT-i codes), and even a severely failing alternator can sometimes set a code. Always start with the code read.
When You Should NOT Reset the Light Yourself
There are clear scenarios where resetting the light is the wrong move and professional help is needed immediately:
- Flashing Check Engine Light: This is an emergency. A flashing MIL indicates a severe misfire that is dumping unburned fuel into the exhaust, which can quickly overheat and destroy the catalytic converter. Stop driving immediately. Have the vehicle towed to a mechanic.
- Alongside Other Warning Lights: If the check engine light is accompanied by lights like the oil pressure warning, battery/charging light, or temperature gauge in the red, you have a critical system failure. Do not reset anything; cease operation and seek help.
- After Major Repairs: If you’ve just had significant work done (engine, transmission, major emissions component), let the performing shop reset the light and verify the repair. They need to confirm the fix worked.
- Persistent Codes: If you’ve cleared a code and it returns immediately or after a very short drive, the problem was not fixed correctly. Further diagnosis is required.
- Lack of Confidence or Tools: If you are not comfortable using an OBD-II scanner or interpreting codes, the small investment in a professional diagnostic is worth the peace of mind and prevention of costly damage.
Remember, the goal is a reliable, safe, and emissions-compliant vehicle. A cleared light that comes back on is not only frustrating but also a sign that something is still wrong. For issues beyond basic maintenance, consulting a certified Toyota technician is always the best course of action. They have access to the latest technical service bulletins (TSBs) and diagnostic procedures specific to your 2019 Highlander.
Conclusion: A Reset is the Final Step, Not the First
Resetting the check engine light on your 2019 Toyota Highlander is a straightforward technical task, but it must be placed in the correct context within your vehicle’s health. The light is a messenger, and you must first listen to its message by retrieving the diagnostic trouble codes. Those codes are your roadmap to the underlying problem. Only after you have successfully diagnosed and repaired the issue—whether it was a loose gas cap, a replaced oxygen sensor, or a professional fix for a more complex fault—should you proceed to clear the codes and extinguish the light.
Whether you use the manual menu method (if available for your trim) or, more reliably, an OBD-II scan tool, the reset itself takes seconds. The real work is in the diagnosis and repair that precedes it. By following this disciplined approach, you ensure your Highlander remains reliable, efficient, and ready to pass any emissions inspection. Treating the check engine light with the seriousness it deserves saves you money, prevents breakdowns, and keeps your family safe on the road. If at any point the problem seems beyond your expertise, do not hesitate to seek help from a qualified Toyota specialist.
Frequently Asked Questions
Will the check engine light reset itself?
No. The check engine light will stay on until the fault is repaired and the codes are manually cleared using a scan tool or, in some cases, the vehicle’s menu system. It will not turn off on its own, though it may go out if the fault is very brief and intermittent, only to return if the issue persists.
Can I drive my Highlander with the check engine light on?
It depends on the severity. If the light is steady and the vehicle is running normally (no strange noises, loss of power, or overheating), you can likely drive it to a safe location for diagnosis. However, you should have it checked as soon as possible. If the light is flashing, or if you notice severe drivability issues, you must stop driving immediately to prevent catastrophic engine or emissions system damage.
How much does it cost to diagnose a check engine light?
Many national auto parts stores offer free code reading as a customer service. A professional diagnostic at a dealership or repair shop typically costs between $80 and $150, sometimes more. This fee often gets applied to the repair if you proceed with them. The cost of the diagnosis is separate from the cost of the necessary repair, which can range from $20 for a gas cap to over $1,000 for a catalytic converter.
Why did my check engine light come on after an oil change?
This is uncommon but possible. A mechanic might have accidentally disconnected an electrical connector (like an O2 sensor or a vacuum line) during the service. It could also be a coincidence that an existing minor issue (like a loose gas cap) triggered the light right after the service. Always have the codes read to determine the specific cause.
My check engine light is on, but my Highlander seems to run fine. What could it be?
It’s often a minor emissions-related issue. The most common culprit is a loose or faulty gas cap. Other possibilities include a failing but not yet catastrophic oxygen sensor, a small evaporative emissions (EVAP) leak, or an intermittent misfire that only occurs under specific conditions. Even though it seems fine, you should still read the codes to prevent potential future damage or a failed emissions test.
After resetting the light, how many miles do I need to drive for it to stay off?
There’s no set mileage. The ECU continuously monitors all sensors and systems. If the repair was successful and no new faults are detected during normal driving conditions (including various speeds and engine loads), the light will remain off. However, if the original problem wasn’t fully fixed, the light will return, often within 50-100 miles as the system completes its self-tests. For emissions-related repairs, you may need to complete specific “drive cycles” for all monitors to set as “Ready,” which can take 100-200 miles of varied driving.


