
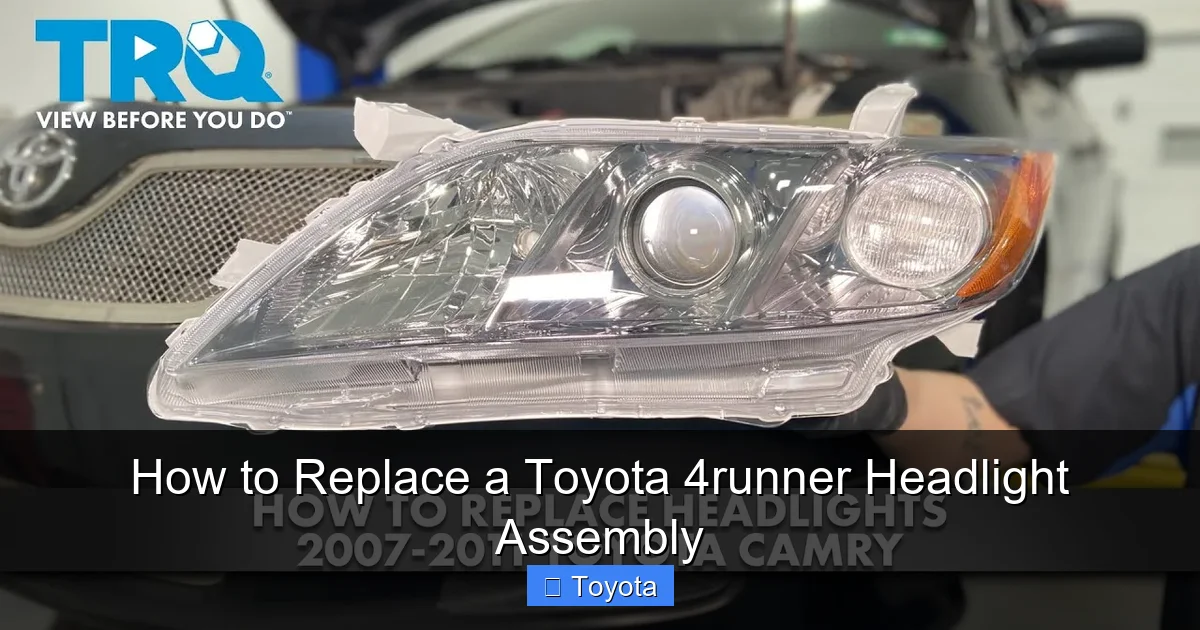
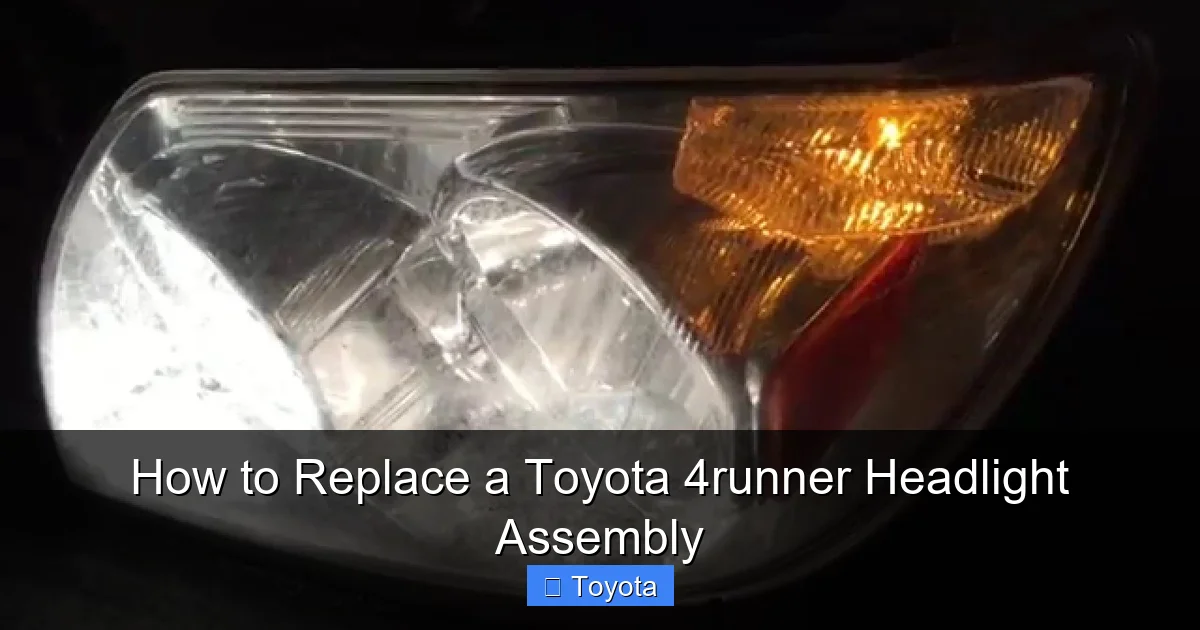
How to Replace a Toyota 4runner Headlight Assembly
Contents
- 1 Key Takeaways
- 2 📑 Table of Contents
- 3 Why Replace the Entire Headlight Assembly?
- 4 Tools and Materials You’ll Need
- 5 Step-by-Step: Removing the Old Headlight Assembly
- 6 Installing the New Headlight Assembly
- 7 Adjusting Headlight Alignment
- 8 Upgrading to LED or Projector Headlights
- 9 Troubleshooting Common Issues
- 10 Frequently Asked Questions
Replacing a Toyota 4Runner headlight assembly is easier than you think—even if you’re not a mechanic. With basic tools and about an hour, you can restore your vehicle’s visibility and safety. This guide walks you through every step, from removing the old unit to installing a new one, so you can do it confidently at home.
If your Toyota 4Runner’s headlight is cracked, foggy, or completely dead, you might be tempted to call a mechanic. But here’s the truth: replacing a headlight assembly is one of the most DIY-friendly repairs on your SUV. Whether you’re cruising down a dark backroad or just trying to pass your next state inspection, good headlights aren’t optional—they’re essential. And the good news? You can fix this yourself in under an hour with basic tools and a little patience.
The Toyota 4Runner has earned its reputation as a rugged, reliable off-roader, but even the toughest vehicles need maintenance. Over time, exposure to sun, rain, road salt, and debris takes a toll on plastic headlight lenses and internal components. Moisture gets trapped inside, bulbs burn out, and the entire assembly may shift or loosen. Instead of paying $200–$500 per side at a dealership or body shop, you can replace the whole unit for as little as $80–$150 if you shop smart. Plus, doing it yourself gives you control over quality—choose OEM (Original Equipment Manufacturer) parts for exact fit or aftermarket options for upgraded performance and style.
In this guide, we’ll walk you through the entire process of replacing your Toyota 4Runner headlight assembly, whether you drive a third-generation (2003–2009), fourth-generation (2010–2013), or fifth-generation (2014–2024) model. We’ll cover safety precautions, tool requirements, step-by-step removal and installation, bulb handling tips, and even how to upgrade to brighter, more efficient lighting. By the end, you’ll not only have restored your 4Runner’s visibility—you’ll also feel confident tackling future automotive projects.
Key Takeaways
- You don’t need professional tools: Most replacements require only a screwdriver, socket wrench, and gloves.
- Know your model year: Headlight assemblies vary between 4Runner generations (e.g., 2003–2009 vs. 2010–2024), so confirm compatibility before buying.
- Disconnect the battery first: Always disconnect the negative terminal to avoid electrical shorts or airbag deployment.
- Handle bulbs carefully: Never touch halogen or LED bulb glass with bare hands—oils can cause overheating and failure.
- Test before reassembly: Plug in the new assembly and test all lights (low beam, high beam, turn signal) before securing everything.
- Consider upgrading: This is a great time to switch to LED or projector-style headlights for better brightness and style.
- Keep old parts handy: Save screws and clips—they’re often reused and easy to lose during disassembly.
📑 Table of Contents
Why Replace the Entire Headlight Assembly?
You might wonder: “Can’t I just replace the bulb?” In many cases, yes—but when the problem goes beyond a burnt-out filament, swapping the whole assembly is the smarter move. A damaged or degraded headlight housing affects more than just light output. Cracks allow moisture to seep in, leading to fogging that reduces visibility and can corrode electrical connections. Warped or misaligned assemblies throw off beam patterns, creating glare for oncoming drivers or leaving dark spots on the road. And if your turn signal or daytime running light (DRL) is integrated into the assembly, a faulty unit can trigger warning lights or fail inspections.
Replacing the entire assembly ensures a watertight seal, proper alignment, and full functionality of all lighting components. It’s also a proactive fix—older plastic lenses yellow and haze over time due to UV exposure, scattering light instead of focusing it. Even if the bulb still works, a cloudy lens can cut your effective visibility by 30% or more. New assemblies come with clear, UV-resistant polycarbonate lenses that maintain brightness for years. Plus, modern replacements often include improved reflectors or projector lenses that enhance light distribution compared to original equipment.
Another reason to go for a full replacement? Future-proofing. If you’re considering an LED or HID upgrade, many aftermarket assemblies are designed specifically for these technologies. They include built-in heat sinks, optimized reflectors, and compatible wiring harnesses. Trying to retrofit high-output bulbs into an old halogen housing can lead to overheating, premature failure, or even fire hazards. By installing a new assembly, you create a clean foundation for advanced lighting without compromising safety or reliability.
Finally, there’s the resale value. A 4Runner with clear, undamaged headlights looks well-maintained and commands a higher price on the used market. Buyers notice细节—especially on a vehicle known for its longevity. Investing $200 in a pair of new assemblies now could save you hundreds in negotiation later.
Tools and Materials You’ll Need
Visual guide about How to Replace a Toyota 4runner Headlight Assembly
Image source: i.ytimg.com
Before you pop the hood, gather your supplies. The beauty of this job is that you don’t need specialty equipment—just a few common garage tools and some common sense. Here’s what to have on hand:
– **Socket wrench set** (10mm socket is most common for 4Runner headlight bolts)
– **Phillips and flathead screwdrivers**
– **Trim removal tool or plastic pry bar** (to avoid scratching paint or trim)
– **Gloves** (nitrile or latex to protect hands and prevent oil transfer to bulbs)
– **Safety glasses** (plastic lenses can shatter if mishandled)
– **Clean microfiber cloth**
– **New headlight assembly** (confirm part number matches your model year)
– **Electrical contact cleaner** (optional, for cleaning connectors)
– **Dielectric grease** (optional, to protect electrical connections from moisture)
You’ll also want a well-lit workspace—natural daylight is ideal, but a bright work lamp works too. Park your 4Runner on level ground, engage the parking brake, and allow the engine to cool completely if it’s been running. Never work on hot components; residual heat can warp plastic or cause burns.
Pro tip: Take photos before you start! Snap pictures of the headlight area from multiple angles. This helps you remember how clips, wires, and brackets were positioned during reassembly. Labeling wires with tape can also prevent confusion later.
If you’re replacing both headlights, do one side at a time. This way, you can use the intact side as a reference if you forget a step. And always double-check your new assembly against the old one before installation—manufacturers occasionally update designs, and even small differences can affect fitment.
Step-by-Step: Removing the Old Headlight Assembly
Visual guide about How to Replace a Toyota 4runner Headlight Assembly
Image source: i.ytimg.com
Now for the main event. The process is nearly identical across 4Runner generations, though bolt locations may vary slightly. We’ll focus on the most common setup found in 2010–2024 models, with notes for older versions where needed.
Step 1: Disconnect the Battery
Safety first! Open the hood and locate the battery. Use a 10mm wrench to loosen the nut on the negative (-) terminal, then carefully remove the cable and tuck it away from the battery post. This prevents accidental short circuits when handling electrical connectors near the headlight. It also reduces the risk of triggering the airbag system—some 4Runners have sensors near the headlight that could误触发 if power is live.
Step 2: Remove the Grille and Upper Trim (If Necessary)
On newer 4Runners (2014+), the headlight assembly is partially hidden behind the front grille. You’ll need to remove a few clips and screws to access the top mounting points. Start by popping out the plastic push-pins along the top edge of the grille—use a trim tool to gently lift the center stem without breaking the clip. There are usually 4–6 of these. Next, locate the two or three 10mm bolts at the top corners of the grille (near the fenders). Remove them with your socket wrench.
Carefully pull the grille forward and set it aside. Be gentle—it’s made of lightweight plastic and can crack if forced. On older models (2003–2009), the grille is often integrated with the headlight, so you may not need to remove it separately. Instead, look for bolts along the top and inner fender edge.
Step 3: Access the Headlight Mounting Bolts
With the grille out of the way, you’ll see three or four bolts securing the headlight assembly. Typically, there’s one at the top center, one near the outer fender, and one or two along the inner side (toward the radiator). Use your 10mm socket to remove all of them. Keep track of each bolt—they’re easy to drop into the engine bay!
Some models also have a plastic clip or bracket near the bottom of the assembly. If present, squeeze the tabs and pull it free. Don’t force anything; if a part feels stuck, double-check for hidden screws.
Step 4: Disconnect the Electrical Connector
Locate the wiring harness plugged into the back of the headlight. Press the release tab (usually a small plastic lever) and pull the connector straight out. Avoid yanking on the wires—grasp the connector body itself. If it’s stuck, wiggle it gently while pressing the tab.
For assemblies with integrated turn signals or DRLs, there may be a second smaller connector. Disconnect that too. Label them if needed (e.g., “main” and “signal”) to avoid mixing them up during reinstallation.
Step 5: Remove the Assembly
Now gently wiggle the headlight assembly forward and out of the bumper opening. It should slide free with minimal resistance. If it feels stuck, recheck for missed bolts or clips. Never pry aggressively—you could damage the fender or radiator support.
Once removed, place the old assembly on a soft surface (like a towel) to avoid scratching the lens. Inspect it for cracks, moisture, or burnt connectors—this confirms why replacement was necessary.
Installing the New Headlight Assembly

Visual guide about How to Replace a Toyota 4runner Headlight Assembly
Image source: i.pinimg.com
With the old unit out, you’re ready to install the new one. This part is essentially the reverse of removal—but with a few critical checks to ensure everything works perfectly.
Step 1: Prepare the New Assembly
Unbox your new headlight and inspect it for damage during shipping. Compare it side-by-side with the old one to confirm identical shape, mounting points, and connector types. If you bought an aftermarket unit, verify that it includes all necessary bulbs or that your existing bulbs are compatible.
If your new assembly doesn’t come with bulbs pre-installed (common with OEM-style replacements), now’s the time to transfer them. Handle bulbs by their bases only—never touch the glass. For halogen bulbs, even a tiny fingerprint can create a hot spot that causes premature failure. If you must handle the glass, wipe it with isopropyl alcohol and a lint-free cloth.
Step 2: Connect the Electrical Harness
Plug the wiring harness into the back of the new assembly. You should hear a click when it’s fully seated. Give it a gentle tug to confirm it’s secure. Apply a small dab of dielectric grease to the connector pins if desired—this repels moisture and improves conductivity.
Step 3: Position and Secure the Assembly
Carefully slide the new headlight into the bumper opening, aligning it with the mounting holes. Don’t force it—if it doesn’t fit smoothly, double-check orientation. The lens should sit flush with the fender and grille.
Reinstall all mounting bolts by hand first, then tighten them evenly with your socket wrench. Avoid over-tightening; plastic threads can strip easily. Torque to about 8–10 ft-lbs if you have a torque wrench, or just snug by hand.
Reattach any bottom clips or brackets you removed earlier.
Step 4: Reinstall the Grille and Trim
If you removed the grille, now’s the time to put it back. Align it with the headlight and fender, then press the push-pins into place until they click. Reinstall the 10mm bolts at the top corners and tighten securely.
Step 5: Reconnect the Battery and Test
Reattach the negative battery cable and tighten the nut. Turn on your headlights and test all functions: low beam, high beam, turn signal, and parking lights. Make sure everything illuminates brightly and switches correctly. If a function doesn’t work, double-check the connector or bulb installation.
Adjust the beam alignment if needed (see next section). Then close the hood and admire your work!
Adjusting Headlight Alignment
Even with a perfect installation, your new headlights might not point in the right direction. Proper alignment ensures you illuminate the road without blinding other drivers. The 4Runner has built-in adjustment screws on the back of the assembly—usually one for vertical (up/down) and one for horizontal (left/right) aiming.
To adjust:
– Park your 4Runner on level ground, 25 feet from a flat wall or garage door.
– Turn on the low beams.
– Mark the centerline of each headlight beam on the wall with tape.
– The top of the beam pattern should be slightly below the height of the headlights (typically 2–4 inches lower at 25 feet).
– Use a Phillips screwdriver to turn the adjustment screws. Clockwise usually raises or moves the beam right; counterclockwise does the opposite.
Take your time—small turns make big differences. When in doubt, consult your owner’s manual for specific alignment specs.
Upgrading to LED or Projector Headlights
If you’re replacing your headlight assembly, it’s the perfect opportunity to upgrade. Modern LED and projector-style headlights offer brighter, whiter light, longer lifespan, and lower power draw than traditional halogens.
LED assemblies use solid-state diodes that last 20,000+ hours—far longer than halogen bulbs (500–1,000 hours). They produce a crisp, daylight-like beam that improves nighttime visibility without harsh glare. Many aftermarket LED units are plug-and-play, meaning they use the same connectors as your original setup.
Projector headlights focus light through a lens (like a movie projector), creating a sharp cutoff line and even illumination. They’re especially effective for high beams and reduce scatter compared to reflector-style housings.
When choosing an upgrade, look for DOT/SAE compliance to ensure legality and safety. Avoid cheap “blue” LEDs that mimic HID color but lack proper beam control—they can be dangerously blinding.
Popular brands for 4Runners include Morimoto, Spyder, and Spec-D. Expect to pay $150–$400 per side for quality aftermarket units. While more expensive than basic replacements, the performance and style gains are worth it for many owners.
Troubleshooting Common Issues
Even with careful installation, problems can arise. Here’s how to fix the most common ones:
– **Headlight won’t turn on:** Check fuse #19 (10A) in the engine bay fuse box. Also verify the connector is fully seated.
– **Fogging inside the lens:** This indicates a failed seal. Return the assembly if under warranty—don’t try to drill vents, as this voids weatherproofing.
– **Beam pattern is uneven:** Re-check alignment screws. If one side is significantly dimmer, the bulb may be faulty or the reflector damaged.
– **Turn signal hyper-flashes:** This often means the bulb wattage is incorrect (common with LED swaps). Install a load resistor or use CANbus-compatible LEDs.
– **Moisture after rain:** Ensure all clips and seals are intact. Apply silicone sealant around the edges if necessary (sparingly).
If issues persist, consult a professional—but in most cases, a methodical recheck solves the problem.
Replacing your Toyota 4Runner headlight assembly isn’t just a repair—it’s an investment in safety, performance, and pride of ownership. With the right tools and this guide, you’ve tackled a job that keeps you visible on dark roads, passes inspections with ease, and even enhances your SUV’s look. Whether you stuck with OEM parts or upgraded to sleek LEDs, you’ve saved money and gained valuable DIY experience. Next time a light goes out, you’ll know exactly what to do—and maybe even help a fellow 4Runner owner along the way.
Frequently Asked Questions
How much does it cost to replace a Toyota 4Runner headlight assembly?
The cost varies by model year and part type. OEM assemblies typically range from $150 to $300 per side, while quality aftermarket options start around $80 and go up to $400 for LED or projector units. Labor at a shop adds $100–$200 per side, making DIY replacement a smart financial choice.
Can I replace just the bulb instead of the whole assembly?
Yes, if only the bulb is burnt out and the housing is intact. However, if the lens is cracked, fogged, or misaligned, replacing the entire assembly is recommended for safety and performance. It also prevents recurring issues caused by degraded seals or reflectors.
Do I need to disconnect the battery when replacing the headlight?
Yes, always disconnect the negative battery terminal first. This prevents accidental short circuits, protects sensitive electronics, and reduces the risk of airbag deployment during handling of electrical connectors near the headlight.
Will aftermarket headlights fit my 4Runner perfectly?
Most reputable aftermarket brands design their assemblies to match OEM specifications for specific model years. Always verify compatibility using your VIN or exact year/trim before purchasing. Read reviews and check return policies in case of fitment issues.
How do I know if my headlight assembly is leaking moisture?
Look for condensation, water droplets, or fogging inside the lens after rain or car washes. Persistent moisture indicates a broken seal or crack, which can damage bulbs and wiring. Replace the assembly promptly to avoid electrical problems.
Can I install LED headlights in my older 4Runner?
Yes, but you’ll need an LED-compatible headlight assembly or conversion kit designed for your model. Simply swapping halogen bulbs for LEDs in an old reflector housing can cause glare and overheating. Use DOT-approved LED assemblies for safe, legal operation.


