How to Clean Car Battery Corrosion
Contents
- 1 Key Takeaways
- 2 📑 Table of Contents
- 3 What Is Car Battery Corrosion and Why Does It Happen?
- 4 Safety First: Preparing to Clean Your Car Battery
- 5 Step-by-Step Guide to Cleaning Car Battery Corrosion
- 6 Preventing Future Battery Corrosion
- 7 When to Call a Professional
- 8 Common Mistakes to Avoid
- 9 Conclusion
- 10 Frequently Asked Questions
Car battery corrosion is a common but manageable issue that can affect your vehicle’s performance and safety. With the right tools and techniques, you can clean it safely at home and prevent future buildup.
Key Takeaways
- Corrosion appears as a white, green, or blue powdery substance on battery terminals. It forms due to chemical reactions between battery acid and metal components.
- Always wear safety gear like gloves and goggles before cleaning. Battery acid is corrosive and can damage skin and eyes.
- Disconnect the negative terminal first, then the positive. This prevents short circuits and electrical shocks.
- A baking soda and water solution neutralizes acid and dissolves corrosion. It’s safe, effective, and inexpensive.
- Use a wire brush or old toothbrush to scrub terminals gently. Avoid damaging the metal contacts.
- Apply a protective spray or grease after cleaning. This helps prevent future corrosion.
- Regular inspection every 3–6 months helps catch issues early. Prevention is easier than repair.
📑 Table of Contents
What Is Car Battery Corrosion and Why Does It Happen?
If you’ve ever popped the hood of your car and noticed a strange white, green, or blue crust around the battery terminals, you’ve seen car battery corrosion. It looks a bit like chalky powder or flaky residue, and it’s more common than you might think. While it might seem harmless at first glance, this buildup can actually interfere with your car’s electrical system and even prevent your engine from starting.
So, what causes this gunk to form? It all comes down to chemistry. Car batteries contain sulfuric acid and lead, and over time, small amounts of hydrogen gas can escape from the battery cells—especially if the battery is overcharged or old. When this gas mixes with moisture, dust, and metal (like the lead terminals), it creates a corrosive compound. This compound slowly eats away at the metal, forming that powdery residue you see.
The corrosion typically appears on the positive terminal first, but it can spread to the negative terminal and surrounding areas. In severe cases, it can even damage the battery cables or connectors. That’s why it’s important not to ignore it. Left unchecked, corrosion can lead to poor electrical contact, reduced battery life, and even complete battery failure.
But here’s the good news: cleaning car battery corrosion is easier than you might think. With a few basic tools and some household ingredients, you can restore your battery’s performance and extend its lifespan. And the best part? You don’t need to be a mechanic to do it.
Common Signs of Battery Corrosion
Knowing what to look for is the first step in tackling battery corrosion. Here are some telltale signs:
– A white, green, or blue powdery substance around the battery terminals or cables.
– Crusty buildup on the metal clamps or connectors.
– Frayed or brittle battery cables.
– Difficulty starting the car, especially in cold weather.
– Dim headlights or flickering dashboard lights.
– A rotten egg smell (hydrogen sulfide gas), which can indicate a leaking or overcharged battery.
If you notice any of these signs, it’s time to inspect your battery more closely. Even if your car is running fine now, early detection can prevent bigger problems down the road.
Why Cleaning Corrosion Matters
You might be wondering: “Is it really that big of a deal?” The answer is yes—especially if you want your car to start reliably and your electrical system to function properly. Corrosion acts like an insulator, blocking the flow of electricity between the battery and the rest of the car. This means your starter motor might not get enough power to turn the engine over, your lights might dim, and your radio or AC might act up.
Over time, this resistance can also cause the battery to work harder, leading to faster wear and a shorter lifespan. In extreme cases, corrosion can eat through cables or terminals, requiring costly replacements. So, cleaning it isn’t just about aesthetics—it’s about maintaining your car’s performance and safety.
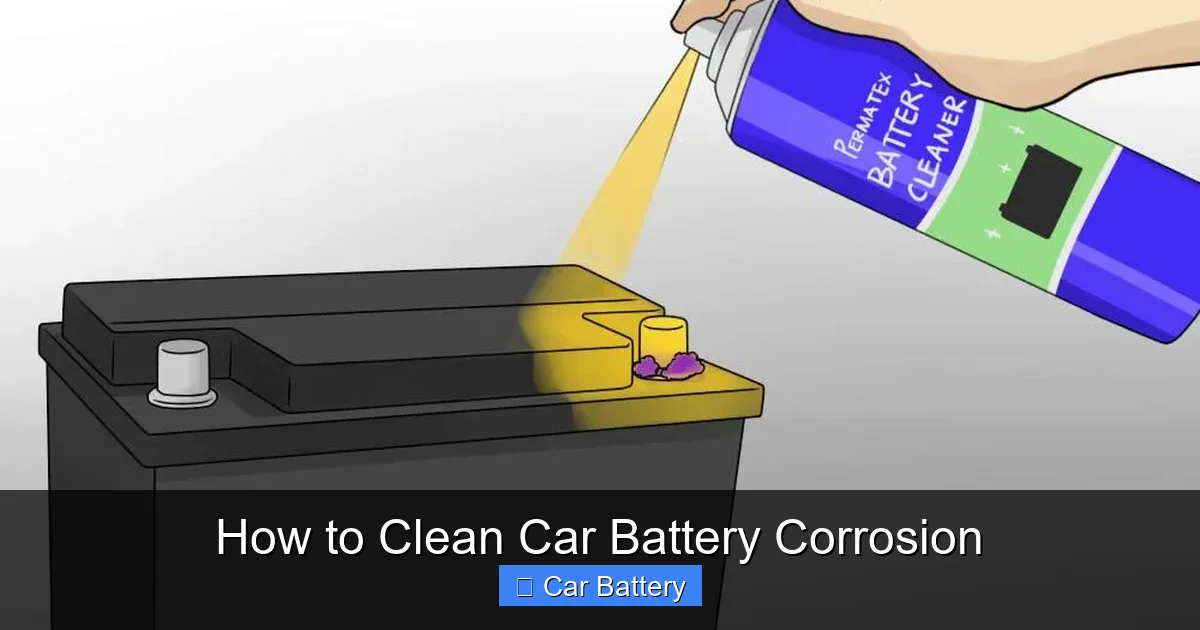
Safety First: Preparing to Clean Your Car Battery
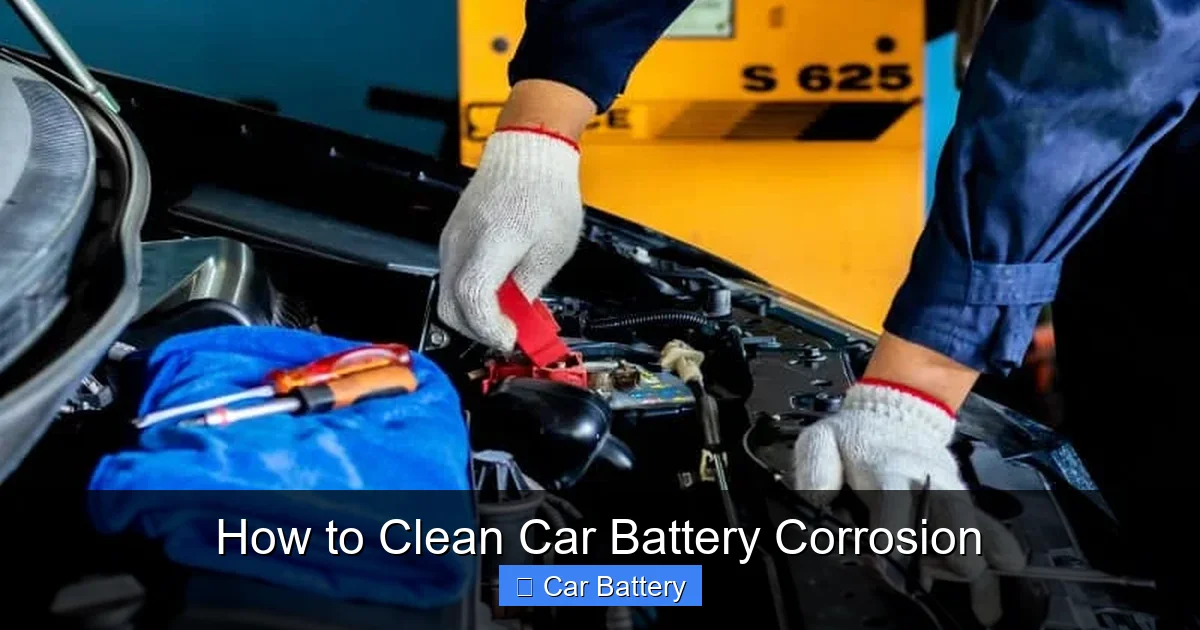
Visual guide about How to Clean Car Battery Corrosion
Image source: rxmechanic.com
Before you grab a brush and start scrubbing, it’s crucial to take safety seriously. Car batteries contain sulfuric acid and produce flammable hydrogen gas, so working around them requires caution. A little preparation can go a long long way in preventing accidents.
Wear the Right Protective Gear
Your first line of defense is personal protective equipment (PPE). Always wear:
– **Safety goggles** to protect your eyes from splashes.
– **Rubber or nitrile gloves** to shield your hands from acid and corrosion.
– **Long sleeves and pants** to cover your skin.
– **Closed-toe shoes**, preferably with non-slip soles.
Even if you’re just doing a quick clean, don’t skip the gear. Battery acid can cause chemical burns, and corrosion particles can irritate your skin or eyes. Better safe than sorry.
Work in a Well-Ventilated Area
Never clean your battery in a closed garage or poorly ventilated space. Hydrogen gas can accumulate and become explosive if ignited by a spark. Open the garage door or work outside if possible. If you must work indoors, make sure there’s plenty of airflow.
Turn Off the Engine and Remove the Keys
Before you touch anything under the hood, make sure the engine is off and the keys are out of the ignition. This prevents accidental starts or electrical shorts. Also, avoid smoking or using open flames near the battery—hydrogen gas is highly flammable.
Gather Your Tools and Supplies
Here’s what you’ll need to clean car battery corrosion effectively:
– Baking soda
– Water
– A small bowl or container
– An old toothbrush or wire brush
– Clean rags or paper towels
– Wrench or pliers (to disconnect terminals)
– Petroleum jelly or battery terminal protector spray
– Optional: funnel, spray bottle, and a small brush for hard-to-reach spots
Most of these items are probably already in your kitchen or garage. Baking soda is the star of the show—it’s a mild base that neutralizes the acidic corrosion without damaging the metal.
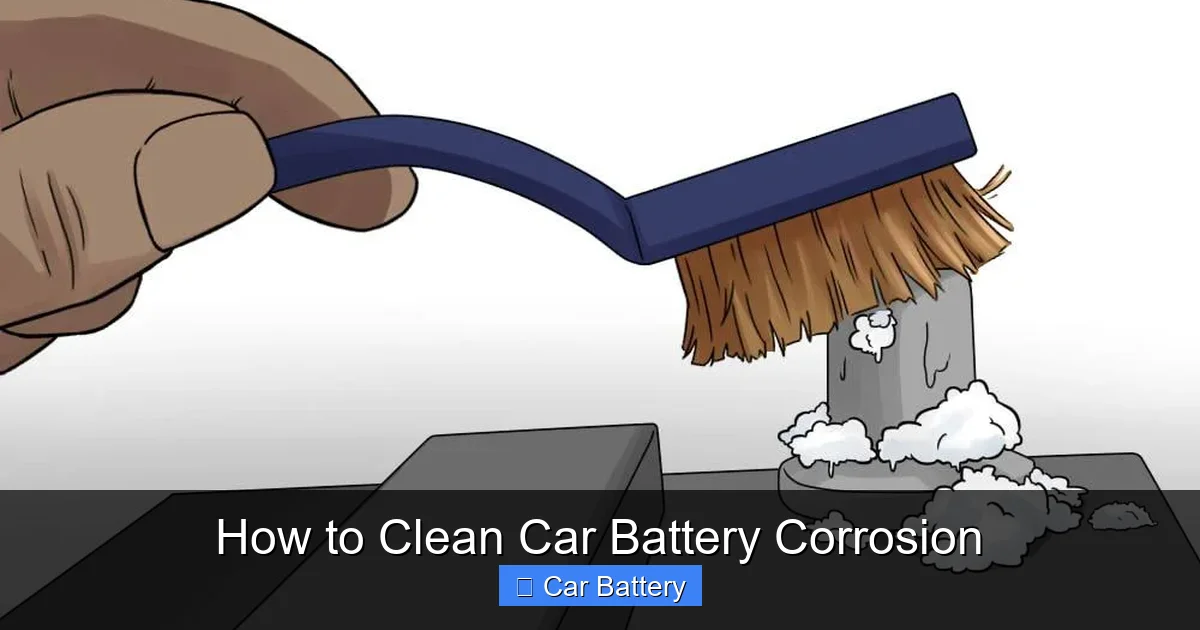
Step-by-Step Guide to Cleaning Car Battery Corrosion
Visual guide about How to Clean Car Battery Corrosion
Image source: carfromjapan.com
Now that you’re prepared, it’s time to get to work. Follow these steps carefully to clean your battery safely and thoroughly.
Step 1: Disconnect the Battery Terminals
Start by disconnecting the battery cables. Always remove the **negative terminal first** (marked with a “-” or black cable), then the **positive terminal** (marked with a “+” or red cable). This order is important because it reduces the risk of short circuits.
Use a wrench or pliers to loosen the nut on the terminal clamp. Don’t force it—if it’s stuck, gently wiggle the clamp back and forth while pulling upward. Once it’s loose, lift the cable off the terminal and tuck it away from the battery so it doesn’t accidentally touch metal.
Step 2: Prepare the Cleaning Solution
Mix a paste using **1 tablespoon of baking soda** and **1–2 tablespoons of water** in a small bowl. Stir until it forms a thick, spreadable paste. Alternatively, you can make a liquid solution by dissolving 1 tablespoon of baking soda in a cup of water. This works well for spraying onto hard-to-reach areas.
The baking soda neutralizes the acidic corrosion, making it safe to remove. It’s non-toxic, inexpensive, and won’t harm your battery or surrounding components.
Step 3: Apply the Solution and Scrub
Dip your toothbrush or wire brush into the baking soda paste and gently scrub the corroded areas. Focus on the terminals, clamps, and any visible buildup. You’ll notice the paste fizzing slightly—that’s normal and means it’s working.
For stubborn corrosion, let the paste sit for 5–10 minutes before scrubbing again. Be gentle to avoid scratching the metal. If the corrosion is on the battery case itself, wipe it down with a damp cloth soaked in the baking soda solution.
Step 4: Rinse and Dry
Once the corrosion is gone, use a clean, damp rag to wipe away the residue. Avoid letting excess water drip into the battery cells—this can dilute the electrolyte and damage the battery. If you used a liquid solution, you can spray a little clean water to rinse, then dry thoroughly with a dry cloth.
Make sure everything is completely dry before reassembling. Moisture can lead to new corrosion or electrical issues.
Step 5: Reconnect the Battery
Reattach the cables in reverse order: **positive first**, then **negative**. Tighten the nuts securely, but don’t over-tighten—this can strip the threads or crack the terminal.
Step 6: Apply a Protective Coating
To prevent future corrosion, apply a thin layer of **petroleum jelly** or a **battery terminal protector spray** to the terminals and clamps. These coatings create a barrier that keeps moisture and acid vapors away from the metal.
Petroleum jelly is cheap and easy to find, but sprays often last longer and provide better coverage. Either way, this simple step can save you time and hassle in the long run.
Preventing Future Battery Corrosion
Visual guide about How to Clean Car Battery Corrosion
Image source: carfromjapan.com
Cleaning corrosion is great, but preventing it is even better. With a few simple habits, you can keep your battery in top shape for years.
Regular Inspections
Check your battery every 3–6 months, especially before winter or long trips. Look for signs of corrosion, loose cables, or swelling in the battery case. Early detection makes cleaning easier and prevents bigger problems.
Keep the Battery Clean and Dry
Dirt, oil, and moisture accelerate corrosion. Wipe down the battery case and terminals with a dry cloth during routine maintenance. Avoid spilling coolant, oil, or water near the battery.
Ensure Proper Charging
An overcharged battery produces more hydrogen gas, which increases corrosion risk. If your car’s alternator is faulty or your battery is old, have it tested by a professional. A well-maintained charging system keeps your battery healthy.
Use a Battery Maintainer
If you don’t drive your car often, consider using a battery maintainer or trickle charger. These devices keep the battery charged without overcharging, reducing gas buildup and corrosion.
Tighten Connections
Loose terminals can spark and generate heat, which speeds up corrosion. Make sure all connections are snug and secure. Use a torque wrench if you want to be precise—most terminals require about 5–7 ft-lbs of torque.
When to Call a Professional
While cleaning corrosion is a DIY-friendly task, there are times when it’s best to call in a mechanic.
Severe Corrosion or Damage
If the corrosion has eaten through the terminals or cables, or if the battery case is cracked or swollen, don’t try to fix it yourself. These are signs of a failing battery that needs replacement.
Electrical Issues Persist
If your car still won’t start or has electrical problems after cleaning, there may be a deeper issue—like a bad alternator, faulty wiring, or a dead battery. A professional can run diagnostics and pinpoint the problem.
You’re Uncomfortable or Unsure
If you’re not confident working with car batteries, it’s okay to ask for help. Mechanics have the tools and experience to handle battery issues safely and efficiently.
Common Mistakes to Avoid
Even with the best intentions, it’s easy to make mistakes when cleaning battery corrosion. Here are a few to watch out for:
– **Disconnecting the positive terminal first.** This can cause a short circuit if the wrench touches metal.
– **Using vinegar or lemon juice.** These acids can damage the battery and terminals.
– **Over-tightening terminals.** This can crack the terminal or strip the threads.
– **Skipping the protective coating.** Without it, corrosion will return quickly.
– **Ignoring safety gear.** Always protect your eyes and skin.
Avoiding these pitfalls will make the process smoother and safer.
Conclusion
Cleaning car battery corrosion might not be the most glamorous part of car maintenance, but it’s one of the most important. That chalky buildup isn’t just unsightly—it can silently sabotage your car’s electrical system and leave you stranded. But with a little know-how and the right approach, you can tackle it safely and effectively.
From recognizing the signs to using baking soda and a toothbrush, the process is simple, affordable, and within reach of any car owner. And by taking preventive steps—like regular inspections and applying protective coatings—you can keep corrosion at bay for good.
So the next time you pop the hood and spot that white crust, don’t panic. Grab your gloves, mix up a baking soda paste, and give your battery the care it deserves. Your car—and your wallet—will thank you.
Frequently Asked Questions
Is it safe to clean car battery corrosion at home?
Yes, it’s safe if you follow proper safety precautions. Wear gloves and goggles, work in a ventilated area, and disconnect the battery correctly. Avoid open flames and sparks.
Can I use vinegar to clean battery corrosion?
No, vinegar is acidic and can damage the battery terminals and surrounding components. Stick to baking soda, which neutralizes acid safely.
How often should I check my car battery for corrosion?
Inspect your battery every 3–6 months, or before long trips and winter. Regular checks help catch corrosion early and prevent electrical issues.
What happens if I don’t clean battery corrosion?
Corrosion can block electrical flow, causing starting problems, dim lights, and battery failure. It can also damage cables and terminals over time.
Can corrosion spread to other parts of the car?
Yes, if left untreated, corrosion can damage battery cables, connectors, and even the battery tray. It’s best to clean it as soon as you notice it.
Do I need to replace the battery after cleaning corrosion?
Not necessarily. If the battery holds a charge and the terminals are intact, cleaning is usually enough. But if the battery is old or damaged, replacement may be needed.