What Size Headlight Bulb for a 2013 Hyundai Sonata?
Contents
- 1 Key Takeaways
- 2 📑 Table of Contents
- 3 Introduction: Shedding Light on a Simple Question
- 4 Understanding Your 2013 Hyundai Sonata’s Headlight System
- 5 The Exact Bulb Sizes: H7 and 9005 Confirmed
- 6 Halogen vs. LED vs. HID: Choosing Your Replacement
- 7 Step-by-Step Guide to Replacing Your Headlight Bulbs
- 8 Maintenance and Pro Tips for Long-Lasting Performance
- 9 Conclusion: See the Road Clearly Again
- 10 Frequently Asked Questions


Your 2013 Hyundai Sonata uses two different headlight bulb sizes: an H7 bulb for the low beam and a 9005 bulb for the high beam. This is a common dual-beam setup. While replacing them with standard halogen bulbs is straightforward, upgrading to LED or HID requires compatible, CANbus-ready bulbs to avoid computer errors. Always verify your specific trim’s setup, but for the vast majority of 2013 Sonatas, H7 (low) and 9005 (high) are the correct sizes.
Key Takeaways
- Two Different Sizes: Your 2013 Sonata uses an H7 bulb for the low beam and a 9005 (also called HB3) bulb for the high beam. They are not interchangeable.
- Always Double-Check: The most reliable way to confirm is to check your owner’s manual or simply remove the old bulb and read its base number printed on the glass or plastic.
- Halogen is Standard: The factory bulbs are halogen. Direct replacements are cheap and easy, but upgrading to LED offers massive brightness and longevity benefits.
- LED Upgrades Need Care: Not all LED bulbs are equal. You must buy bulbs specifically designed for your H7/9005 housing to ensure proper fit, light pattern, and no “bulb out” error messages.
- Safety First: Always replace bulbs in pairs. If one low beam fails, replace both H7s at the same time for consistent brightness and color. Never touch the glass of a new halogen bulb with your bare fingers.
- Aim Your Lights: After any headlight bulb replacement, check and adjust your headlight aim. An improperly aimed headlight can blind other drivers or reduce your own visibility.
- Professional Help Available: While a DIY bulb change is simple, if you are uncomfortable or need headlight assembly work, a professional can ensure it’s done correctly and safely.
📑 Table of Contents
- Introduction: Shedding Light on a Simple Question
- Understanding Your 2013 Hyundai Sonata’s Headlight System
- The Exact Bulb Sizes: H7 and 9005 Confirmed
- Halogen vs. LED vs. HID: Choosing Your Replacement
- Step-by-Step Guide to Replacing Your Headlight Bulbs
- Maintenance and Pro Tips for Long-Lasting Performance
- Conclusion: See the Road Clearly Again
Introduction: Shedding Light on a Simple Question
It’s a moment every car owner dreads. You turn the key, flip the headlight switch, and one of your beams is noticeably dimmer or completely out. The road ahead looks a little darker, a little less safe. Your trusty 2013 Hyundai Sonata has been a reliable companion, but now it needs a new pair of eyes. The first, most critical question is: what size headlight bulb for a 2013 Hyundai Sonata? Getting the wrong bulb means a wasted trip to the store and a frustrating evening in the driveway.
This guide is here to be your friendly, expert companion. We’ll cut through the confusion and give you the definitive answer, not just for the standard bulbs but also for anyone considering a brighter, modern upgrade. We’ll walk through the exact specifications, explain why your Sonata uses two different sizes, and provide clear, safe instructions for the replacement process. By the end, you’ll know exactly what to buy and how to install it, restoring your nighttime visibility with confidence.
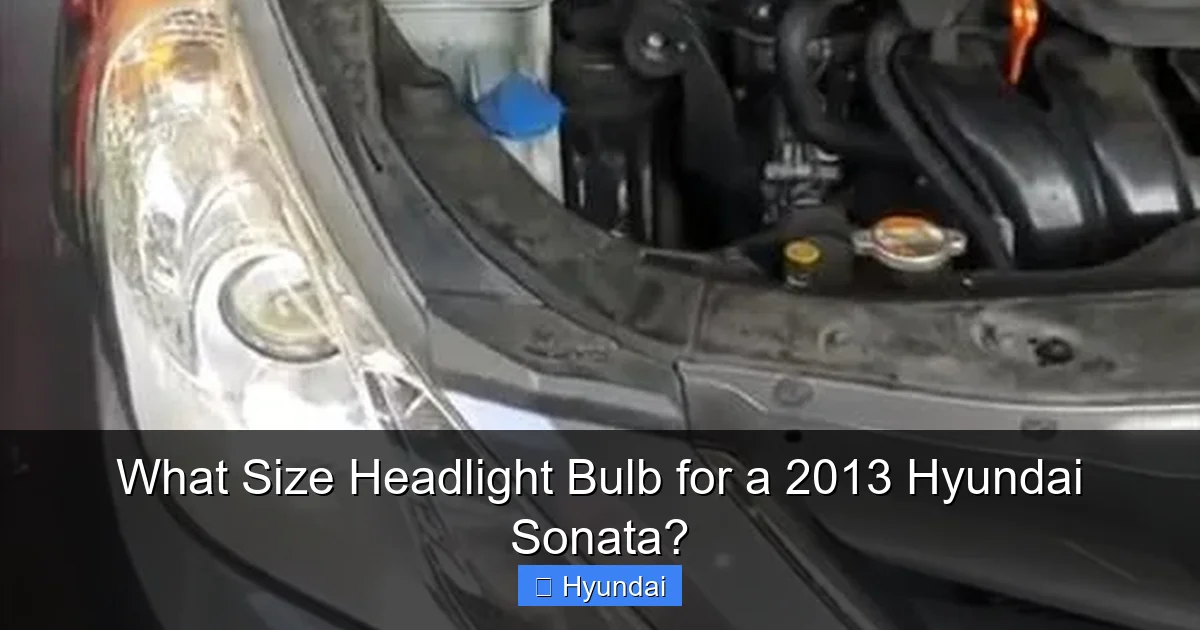
Understanding Your 2013 Hyundai Sonata’s Headlight System
Before we jump to the part number, it helps to understand the *why*. Your 2013 Hyundai Sonata doesn’t have a single bulb doing all the work. It uses a dual-beam headlight assembly, meaning one headlight housing contains two separate bulbs: one for the low beam (dipped beam) and one for the high beam (main beam). This design allows for a dedicated, optimized bulb for each function.
Visual guide about What Size Headlight Bulb for a 2013 Hyundai Sonata?
Image source: ic.suncentauto.com
The Low Beam: Your Daily Driving Workhorse
The low beam is the one you use 95% of the time. It’s designed to illuminate the road directly in front of you without blinding oncoming traffic. In your Sonata, this crucial role is filled by the H7 bulb. This is a very common bulb type across many European and Asian vehicles. It has a distinctive single plastic base with two metal prongs and a small locking tab. The H7 bulb operates at 12 volts and typically outputs around 55 watts of power in its standard halogen form.
The High Beam: Your Long-Distance Spotlight
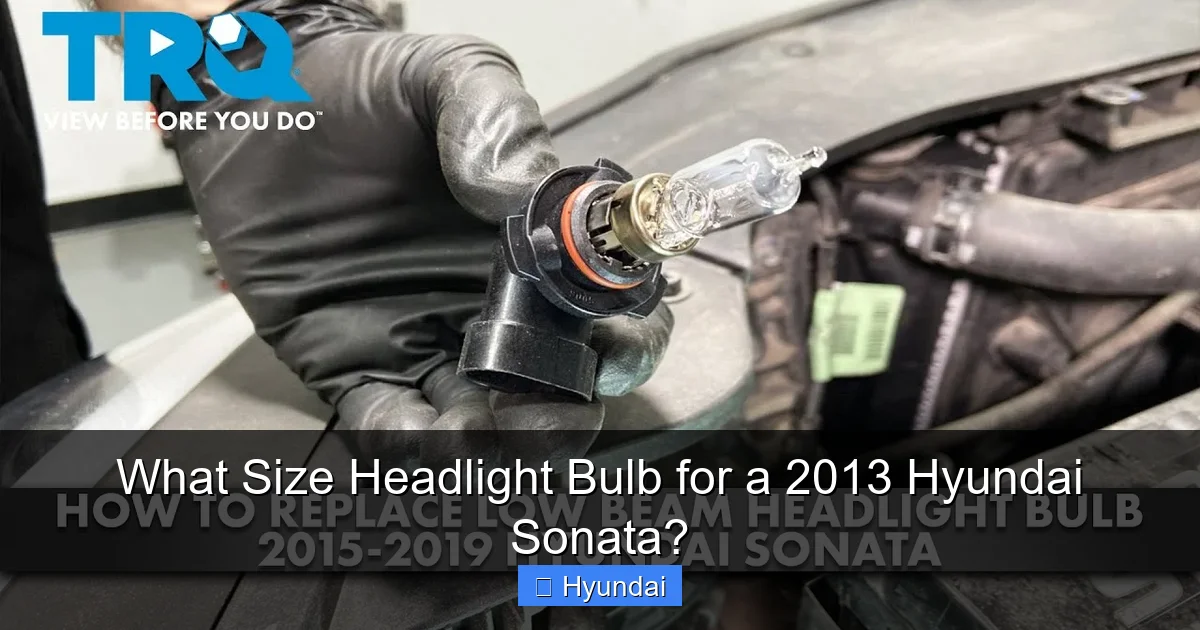
The high beam is your powerful, long-range spotlight for dark country roads or when you need to see far ahead with no oncoming traffic. It uses a completely different bulb: the 9005, which is also known by its American industry standard name HB3. You can easily identify a 9005 bulb by its larger, square-ish plastic base with three metal prongs. It’s a higher-wattage bulb, usually 65 watts in halogen form, to produce that extra punch of light. Because the low and high beams use different bulbs, you will always need to buy at least two bulbs (two H7s) when replacing your low beams, and potentially a single 9005 if your high beam is also out.
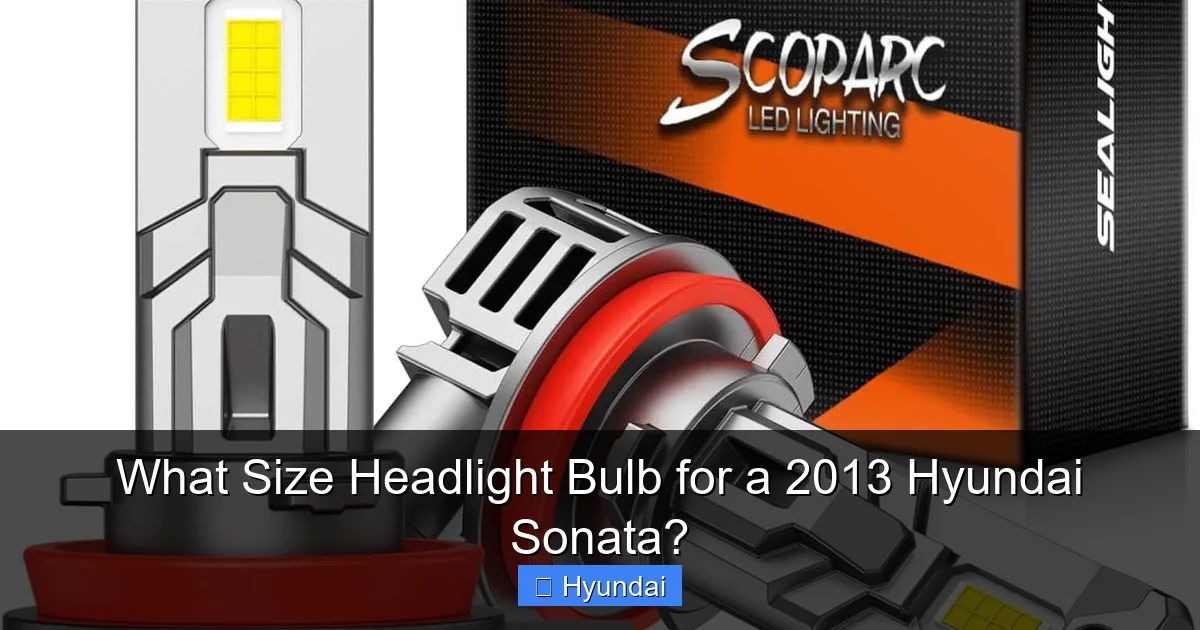
The Exact Bulb Sizes: H7 and 9005 Confirmed
So, here is the direct answer to your question. For the vast majority of 2013 Hyundai Sonata models (including the popular GLS, SE, and Limited trims), the headlight bulb specifications are:
Visual guide about What Size Headlight Bulb for a 2013 Hyundai Sonata?
Image source: ic.suncentauto.com
- Low Beam (Dipped Beam): H7
- High Beam (Main Beam): 9005 (HB3)
This information is consistent across the official Hyundai owner’s manual for the 2013 Sonata and is verified by countless automotive parts databases and owner forums. It’s the standard configuration for this generation of the Sonata.
How to Be 100% Certain Before You Buy
While the H7/9005 rule is almost universal for this model year, there is one foolproof method to eliminate any doubt, especially if your Sonata has been in an accident with aftermarket headlights. Remove one of your existing bulbs and read the number printed on its base. It will clearly say “H7” or “9005” or “HB3.” This is the ultimate source of truth. Alternatively, your owner’s manual will have a “Bulb Replacement” or “Lights” section that lists the exact part numbers and sizes for every light in the vehicle. If you don’t have the manual, a quick VIN lookup at a parts store website will give you the precise spec for your specific vehicle.
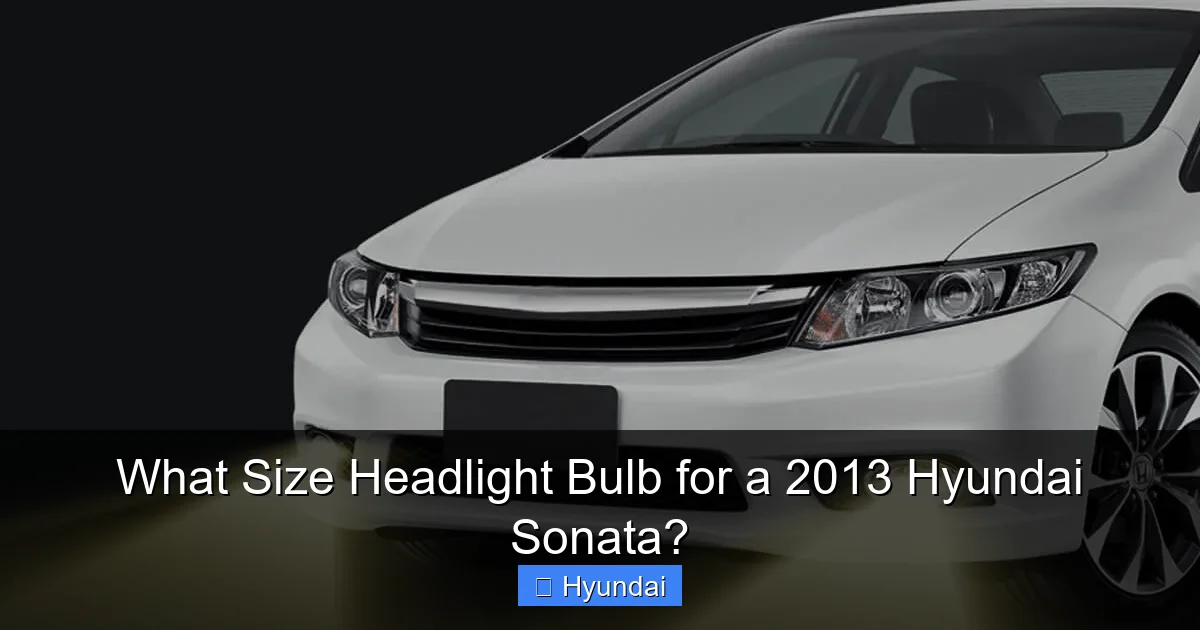
Halogen vs. LED vs. HID: Choosing Your Replacement
Knowing the socket size is only half the battle. You now need to decide what *type* of bulb to put into that H7 and 9005 socket. You have three main paths, each with its own pros and cons.
Visual guide about What Size Headlight Bulb for a 2013 Hyundai Sonata?
Image source: i.ytimg.com
1. Direct Replacement Halogen Bulbs (The OEM Standard)
This is what your car came with. Brands like Philips, Osram, Sylvania, and GE make excellent halogen bulbs. They are the cheapest option, often costing $10-$25 per bulb. They are a “plug-and-play” direct replacement—no modifications needed. However, they produce a warm, yellowish light (around 3000K-3500K color temperature) and have a relatively short lifespan, typically 1-2 years of normal use. Their light output is also modest compared to modern standards. If you just need a simple, reliable fix, a quality halogen is perfectly fine.
2. LED Bulb Upgrades (The Popular Modern Choice)
This is where most Sonata owners looking for an upgrade land. LED bulbs are vastly brighter, produce a crisp, white light (5000K-6000K is popular), and use far less power. Their biggest selling point is longevity—a good LED bulb can last 30,000 hours or more, potentially outliving your car. However, a critical warning: not all LED bulbs are created equal. Your Sonata’s headlight housing is specifically designed for the filament shape of an H7/9005 halogen bulb. A poorly designed LED bulb with its tiny diodes in the wrong place will create a messy, scattered light pattern that actually *reduces* your visibility and can blind other drivers. You must purchase “bulb-specific” or “housing-compatible” LED bulbs from reputable brands that engineer their diode placement to mimic the original halogen filament. Look for bulbs with built-in, reliable drivers and good reviews regarding light pattern. Some vehicles require CANbus-compatible bulbs to prevent “bulb out” error warnings on the dashboard—this is often needed for the 2013 Sonata. For the best results, check out our expert-tested picks for Top 10 LED Headlights for 2013 Hyundai Sonata.
3. HID (Xenon) Kits (The Powerful but Complex Option)
High-Intensity Discharge (HID) bulbs produce an intense, blue-white light and are very powerful. They are less common as a simple drop-in replacement for Sonata halogen housings. Installing an HID system typically requires a separate ballast and is more involved. They can also be more prone to glare if not aimed perfectly. For a 2013 Sonata looking for a simple, reliable upgrade, a high-quality LED bulb is almost always the better and easier choice over an HID retrofit.
Step-by-Step Guide to Replacing Your Headlight Bulbs
Armed with your correct H7 and/or 9005 bulbs, the replacement process is a simple DIY task that takes about 15 minutes per side. No special tools are required, just a little patience and care.
Essential Safety Precautions
1. Never touch the glass. This is the golden rule for halogen bulbs. The oils from your skin will cause the quartz glass to heat unevenly and crack, leading to premature failure. If you accidentally touch it, clean it thoroughly with rubbing alcohol and a lint-free cloth. 2. Disconnect the battery. For safety, always remove the negative (-) battery terminal before starting work on any electrical component. This prevents any risk of short circuits. 3. Work with cool bulbs. Headlight bulbs get extremely hot. Ensure your car has been off for at least 30 minutes before you begin.
The Replacement Process (Driver Side Low Beam H7 Example)
- Access the Bulb: Open your hood. Behind the headlight assembly, you will see a black rubber or plastic dust boot/cover. Pull it back to expose the back of the headlight housing.
- Unplug the Connector: You’ll see a wire harness connector attached to the bulb’s base. Press the release tab (it may be a small plastic lever or a squeeze tab) and pull the connector straight off. Do not pull on the wires.
- Remove the Retaining Clip: The bulb is held in place by a small metal spring clip or a plastic retaining ring. For the common metal clip, use a flat-head screwdriver to gently pry one end of the clip away from its hook, then rotate it to release the other side. Be careful, as the clip can spring free. For a plastic ring, turn it counter-clockwise to unlock.
- Extract the Old Bulb: Gently pull the old bulb straight out of the housing. It may have a slight resistance due to the rubber seal.
- Install the New Bulb: Do not touch the glass! Hold the new H7 bulb by its plastic base. Align the three tabs on the base with the slots in the housing and push it in firmly until it sits flush.
- Secure the Retaining Clip: Reinstall the metal clip or plastic ring, ensuring it is locked in place and the bulb cannot wiggle.
- Reconnect the Harness: Plug the wire connector back onto the new bulb’s base until you hear a distinct click.
- Test: Before reassembling everything, reconnect the negative battery terminal and turn on your low beams. Verify the new bulb lights up.
- Repeat: Follow the same steps for the other low beam (another H7) and the high beam (9005) if needed. The high beam access might be slightly different, sometimes requiring you to remove the entire headlight assembly, but on the 2013 Sonata, it’s usually accessible from behind like the low beam.
Final Crucial Step: Check and Adjust Your Headlight Aim
After replacing any headlight bulb, you must check the aim. Park on a level surface 25 feet from a blank wall, with your low beams on. The top of the light beam should be at or slightly below the height of the headlight assembly itself (usually marked on the housing). If the beam is too high, you are dazzling other drivers. If too low, you aren’t seeing the road. Your Sonata has adjustment screws on the back of the headlight assembly (usually one for vertical, one for horizontal aim). Consult your manual for the exact procedure, but a small turn of the vertical screw can make a big difference. Proper aim is a legal and safety requirement.
Maintenance and Pro Tips for Long-Lasting Performance
Getting the right bulb is one thing; keeping your lighting system in top shape is another. A little preventative care goes a long way.
Replace in Pairs
This is non-negotiable advice. Halogen bulbs dim over time. If one low beam has burned out, its twin has likely been burning for the same number of hours and is significantly dimmer than when new. Replacing only one creates an uneven, unbalanced light pattern that can be disorienting. Always buy and install two H7 bulbs at the same time for your low beams. The same logic applies to your high beams (9005).
Consider the Electrical System
If your headlights seem dim even with new bulbs, the issue might not be the bulb. It could be a weak alternator, corroded ground wires, or failing headlight connectors that aren’t delivering full voltage. While you have the headlight apart, inspect the connector for any signs of melting, corrosion, or looseness. Clean the terminals with electrical contact cleaner if needed. A healthy electrical system is key to maximum bulb brightness. For overall vehicle electrical health, a reliable battery is essential—you can research the Best Battery for Hyundai Sonata to ensure your car’s heart is strong.
The Dielectric Grease Trick
When you reconnect the bulb harness, a tiny dab of dielectric grease on the inside of the connector’s rubber boot can help seal out moisture and prevent corrosion. This is especially helpful in climates with lots of rain or snow. It also makes the connection slightly more water-resistant. Just a small pea-sized amount is plenty.
When to Seek Professional Help
While bulb replacement is easy, some situations call for a pro. If your headlight assembly itself is cracked, yellowed, or foggy, a new bulb won’t fix the problem—you need a headlight restoration or replacement. Also, if you are attempting a complex HID or custom LED projector retrofit, professional installation ensures the wiring is safe and the light pattern is correct. For other general maintenance on your Sonata, like brake pad replacements, consulting a trusted mechanic is always a wise move for safety-critical components.
Conclusion: See the Road Clearly Again
Your 2013 Hyundai Sonata is a fantastic car, and maintaining its lighting system is one of the simplest and most important things you can do for safety. The answer to “what size headlight bulb for a 2013 Hyundai Sonata?” is clear and consistent: H7 for low beams and 9005 (HB3) for high beams. Whether you choose the affordable, direct-fit halogen or invest in a bright, long-lasting LED upgrade, the key is selecting the correct bulb for the socket and ensuring a proper, aimed installation.
By following the simple steps in this guide—verifying your size, handling bulbs with care, replacing in pairs, and checking the aim—you can complete this task in under an hour and restore your Sonata’s night vision to its best. Don’t let a dim or failed headlight compromise your safety or that of others. Take action, get the right bulbs, and enjoy the clear, bright view of the road ahead.
Frequently Asked Questions
Can I use an LED bulb as a direct replacement for my H7/9005 halogen bulbs?
Yes, but you must use LED bulbs specifically engineered to fit and function correctly in your Sonata’s reflector-style headlight housing. Generic LED bulbs will create a poor, scattered light pattern. Look for bulbs from reputable brands that state compatibility with H7/9005 halogen housings and include built-in drivers and, if needed, CANbus error cancellers.
How often should I replace my headlight bulbs?
Standard halogen bulbs typically last 1-2 years with regular use. Since they dim over time, it’s wise to proactively replace them in pairs every 18-24 months. Quality LED bulbs, due to their much longer lifespan (often 30,000+ hours), may last the lifetime of the car and rarely need replacement.
Will upgrading to LED bulbs void my car’s warranty?
Unlikely. The Magnuson-Moss Warranty Act protects consumers from having warranties voided due to the use of aftermarket parts, unless the part directly causes a failure. A properly installed, compatible LED bulb will not damage your car’s wiring or computer. If a headlight-related issue arose, the dealer would have to prove the LED bulb caused it.
My new halogen bulb already burned out after a month. What happened?
The most common cause is touching the glass with your bare fingers. Oil from your skin creates a hot spot on the bulb that causes it to crack and fail prematurely. Always handle halogen bulbs with a clean cloth or paper towel, holding only the plastic base. Other causes could be a loose connection, a voltage surge from a failing alternator, or a defective bulb batch.
Do I need to reset or reprogram anything after changing the bulbs?
For standard halogen replacements, no. Just ensure they are properly aimed. For LED upgrades, some vehicles require a “CANbus” system to recognize the lower power draw of LEDs and stop showing a “bulb out” warning. Most quality LED kits for the Sonata include an inline capacitor or decoder to solve this issue automatically, requiring no reprogramming.
Why is my headlight beam pointing too high or too low after replacement?
This is a common issue. The headlight aim can be knocked out of alignment during the bulb replacement process, especially if the headlight assembly was bumped. It can also be caused by installing a bulb with a different filament position than the original. Always perform the headlight aim adjustment procedure after installing new bulbs. The adjustment screws are typically located on the back of the headlight assembly. If you are unsure, a quick alignment at a shop is inexpensive and ensures safety.