
How to Turn Off the Oil Change Light on a Toyota 4runner
Contents
- 1 Key Takeaways
- 2 📑 Table of Contents
- 3 Understanding Your 4Runner’s Oil Change Light
- 4 Essential Preparation Before You Reset
- 5 Method 1: The Manual Odometer Button Reset (Pre-2020 & Some 2020+)
- 6 Method 2: The Digital Menu Reset (2020+ 4Runner with Multi-Information Display)
- 7 Common Problems and Troubleshooting
- 8 Beyond the Reset: A Holistic Maintenance Approach
- 9 Frequently Asked Questions


The oil change light on your Toyota 4Runner is a critical maintenance reminder, not just an annoyance. It illuminates after a set distance or time to prompt an oil and filter change. You can reset it manually via the odometer button or through the vehicle’s multi-information display menu. However, it is vital to perform the actual oil change first; resetting the light without servicing the engine is merely ignoring a necessary task and can lead to costly damage.
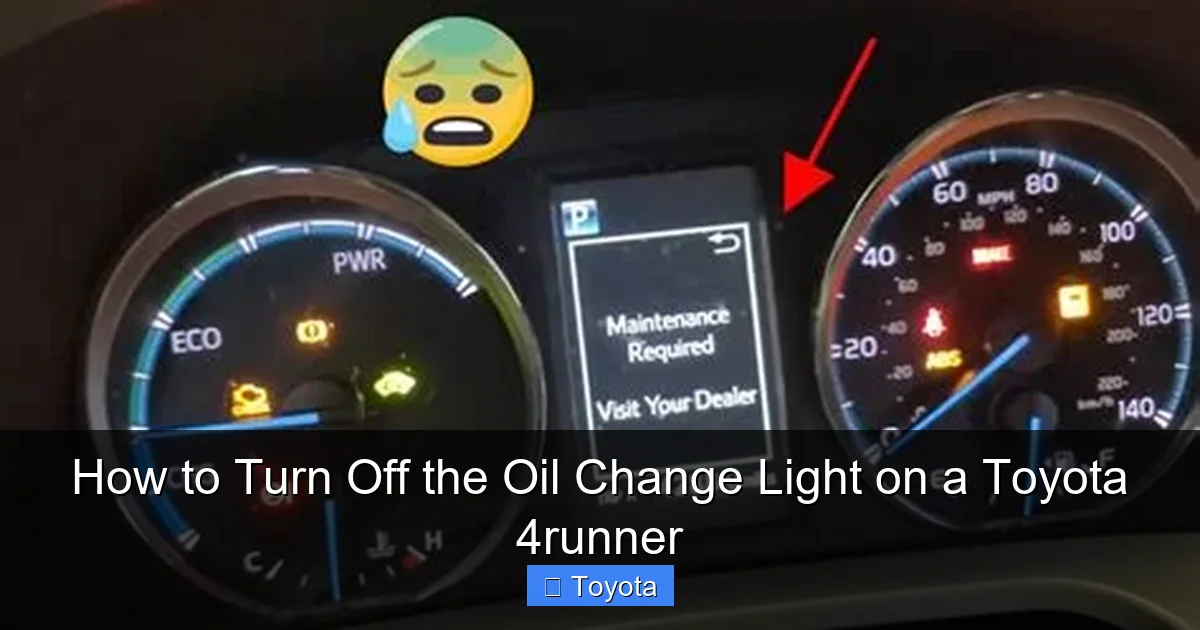
That familiar amber wrench or “MAINT” symbol glowing on your Toyota 4Runner’s dashboard isn’t trying to ruin your day. It’s your vehicle’s way of having a friendly, electronic chat with you. It’s saying, “Hey, we’ve put some miles on together, and it’s time to give me some fresh oil.” For the capable, adventure-ready 4Runner owner, knowing how to silence that reminder—the right way—is a simple yet important part of DIY maintenance. This guide will walk you through exactly how to turn off the oil change light on a Toyota 4Runner, ensuring you do it correctly and understand what that light truly means.
First, let’s get one thing absolutely clear. The oil change light is a maintenance scheduler, not an oil level gauge. It’s based on a complex algorithm that calculates your engine’s needs based on factors like total mileage, engine revolutions, and even your driving style. A gentle commute will trigger it at a different interval than hard towing or off-road use. When it illuminates, it means your Toyota’s computer has determined it’s time for a standard oil and filter service. Ignoring it is not an option. Resetting it without performing the service is like tearing the page out of a calendar to skip a birthday—it doesn’t change the date. We’ll cover the reset process, but we must start with the essential prerequisite: the actual oil change.
Key Takeaways
- The light is a reminder, not a diagnosis: It indicates it’s time for scheduled maintenance based on your driving habits and mileage, not that your oil is currently low.
- Always change the oil first: Resetting the light without performing the oil and filter change is harmful and defeats the purpose of the system.
- Two primary reset methods exist: The manual button-press method (older models) and the digital menu method (newer models with a display screen).
- Know your model year: The exact procedure varies slightly between pre-2020 and 2020+ 4Runners due to different instrument cluster designs.
- If the light returns quickly, investigate: A persistent or rapidly returning light after a reset may indicate an issue with the oil level, quality, or the sensor itself.
- This is separate from the “Check Engine” light: The oil change light is a maintenance indicator. A separate, usually amber “Check Engine” or “MAINT” light signals a potential engine problem.
- Consult your owner’s manual: It contains the definitive, model-specific procedure and recommended oil specifications for your vehicle.
📑 Table of Contents
- Understanding Your 4Runner’s Oil Change Light
- Essential Preparation Before You Reset
- Method 1: The Manual Odometer Button Reset (Pre-2020 & Some 2020+)
- Method 2: The Digital Menu Reset (2020+ 4Runner with Multi-Information Display)
- Common Problems and Troubleshooting
- Beyond the Reset: A Holistic Maintenance Approach
Understanding Your 4Runner’s Oil Change Light
Before you start pushing buttons, it helps to understand what you’re dealing with. The system is designed by Toyota to be helpful, but its signals can be confusing if you don’t know the code.
What the Light Actually Means
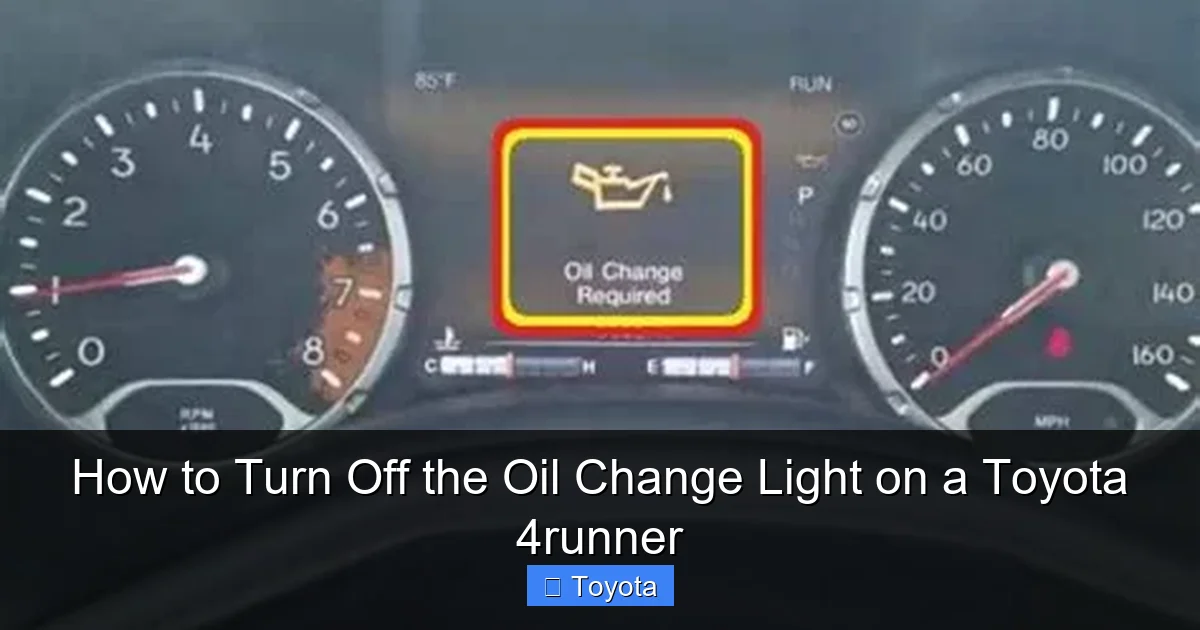
On most 4Runners, you’ll see either the word “MAINT” or a small icon of a wrench. This is the “Maintenance Required” light. It is programmed to illuminate after a specific interval, typically every 5,000 to 7,500 miles for conventional oil or up to 10,000 miles for synthetic, depending on your model year and Toyota’s recommendations at the time. Its purpose is to prompt you to perform scheduled maintenance, which primarily includes an oil and filter change but also serves as a reminder for other services like tire rotation and multi-point inspections. It is not the same as a low oil pressure warning light, which is a separate, serious red or yellow light that requires immediate engine shutdown.
Why You Should Never Ignore It
Modern engine oil does more than just lubricate; it cleans, cools, and protects internal components from wear. Over time, oil breaks down, loses its viscosity, and becomes contaminated with metal shavings and combustion byproducts. Running your 4Runner’s powerful 4.0L V6 or newer 4.7L/5.7L V8 on degraded oil increases friction, causes excessive heat, and leads to premature wear on bearings, camshafts, and other critical parts. The cost of a new engine dwarfs the price of a few oil changes. That little light is your first line of defense against a catastrophic failure.
Essential Preparation Before You Reset
Resetting the light is the final step, the ceremonial “checkmark” after the work is done. Skipping straight to this step is a common and costly mistake. Here is your pre-reset checklist.
Visual guide about How to Turn Off the Oil Change Light on a Toyota 4runner
Image source: oilchangelight.net
1. Perform the Oil and Filter Change
This is non-negotiable. Drain the old oil, replace the oil filter with a high-quality filter (OEM or a reputable brand like Wix or Mobil 1), and refill with the exact viscosity and type of oil specified in your owner’s manual. For a 4Runner, this is often 0W-20 synthetic for newer models (2014+) or 5W-30 for older ones, but always verify. Do not guess. Using the wrong oil can trigger other warning lights and cause damage. If you’re not comfortable doing this yourself, a trusted mechanic or quick-lube shop can handle it. Get the receipt and note the mileage.
2. Check for Other Warning Lights
After an oil change, your dash should be clear of the maintenance light. However, if you see a new, different light—like a yellow “Check Engine” light, an oil can symbol (low oil pressure), or the VSC/Trac light—do not reset the maintenance light. These indicate a separate problem that needs diagnosis. For instance, if the VSC Trac light on your Toyota 4Runner is on, it relates to the traction control system and should be addressed independently of the oil change reminder.
3. Gather Your Tools (If Needed)
For the manual reset method on older models, you only need your ignition key. For the digital menu method, you’ll need your 4Runner’s key fob to power on the vehicle and access the display. No special tools are required for either procedure, which is part of Toyota’s user-friendly design.
Method 1: The Manual Odometer Button Reset (Pre-2020 & Some 2020+)
This classic method has been a staple in Toyotas for decades. It uses the trip meter/odometer reset button on the instrument cluster. It’s a tactile, no-fuss process that works even if your display screen is malfunctioning.

Visual guide about How to Turn Off the Oil Change Light on a Toyota 4runner
Image source: jeepcorner.com
Step-by-Step Button Sequence
The key is to perform the steps in the correct order without pausing too long between them. The entire sequence must be completed within a few seconds.
- Turn the ignition to the “ON” position. Do not start the engine. Simply insert the key and turn it to the position where all dash lights illuminate, but the engine is off. You should see the oil change light (“MAINT”) glowing.
- Press and release the “ODO/TRIP” button. This is the button you normally use to toggle between your odometer and trip meter readings. It’s usually located on the instrument cluster near the speedometer. Press it once. The display should show your total odometer reading.
- Turn the ignition “OFF.” Immediately after releasing the button, turn the key to the locked “OFF” position.
- Press and hold the “ODO/TRIP” button. While holding the button down, turn the ignition back to the “ON” position (the same position as step 1). Keep holding the button.
- Watch the display. After a few seconds (3-5), the odometer display will change. It will often show a series of dashes “—–” or countdown numbers, and then it will return to showing your odometer reading.
- Release the button. The maintenance required light should now be extinguished. Start the engine to verify the light stays off.
Pro Tip: If it doesn’t work the first time, repeat the sequence. Timing is everything. Make sure you don’t have your foot on the brake during this process, as that can engage the start/stop system on some models and interrupt the sequence.
Method 2: The Digital Menu Reset (2020+ 4Runner with Multi-Information Display)
For the latest 4Runners, Toyota moved to a large, configurable digital display. The reset is done through a menu system on the steering wheel or a dedicated button on the dash. This method is often more intuitive.

Visual guide about How to Turn Off the Oil Change Light on a Toyota 4runner
Image source: cartipsdaily.com
Navigating the Multi-Information Display
This process uses the controls on your steering wheel—specifically the “DISP” or “Menu” switch and the up/down arrows.
- Turn the ignition “ON.” Again, do not start the engine. Ensure the “MAINT” light is on.
- Use the steering wheel controls to enter the menu. Press the “DISP” or “Menu” button (often a button with a sheet of paper icon or the word “MENU”) on the left spoke of the steering wheel. This should bring up the main menu on your digital cluster display.
- Navigate to “Settings.” Use the arrow keys (usually the rocker switch on the left spoke) to scroll through the menu options. Look for “Settings,” “Vehicle Settings,” or a gear icon. Select it.
- Find “Maintenance” or “Maintenance Reset.” Within the Settings menu, scroll until you find an option related to maintenance or service. The wording can vary: “Maintenance,” “Maintenance Reset,” or “Maint. Reset.” Select this option.
- Confirm the reset. The display will likely ask you to confirm. It may show your current mileage or oil life percentage. Select “Yes” or “Reset” using the controls. You might need to hold a button for a second to confirm.
- Exit and verify. The display should return to normal, and the “MAINT” light on your dash should be off. Start the engine to confirm.
Visual Aid: The icons and menu structure can differ slightly between the standard gauge cluster and the available premium multi-information display. If you’re struggling, your owner’s manual has the exact screenshots and menu paths for your specific 4Runner’s trim level.
Common Problems and Troubleshooting
What if you follow all the steps and the light is still on? Don’t panic. Here are the most common reasons and solutions.
“The Light Won’t Reset”
First, double-check your procedure. Did you perform the actual oil change? Is the ignition in the correct position? Try the sequence again, ensuring no pauses. If the light is still illuminated after a correct reset attempt, the system may not have registered the reset due to a glitch. Try disconnecting the negative battery terminal for 10-15 minutes to fully clear the ECM’s memory. Warning: Disconnecting the battery may reset other systems like your radio presets and clock.
“The Light Came Back On Immediately”
This is a red flag. It means the system’s internal counter was not properly reset, or a new fault has been detected. Re-check your work. Ensure you used the correct oil capacity and filter. An improperly installed drain plug or filter that is leaking can cause low oil pressure, which may trigger other warnings. Also, if your 4Runner has a separate oil level sensor (not all do), low oil level could cause immediate re-illumination. Check the dipstick with the engine on level ground.
Confusing It with Other Lights
Many drivers mix up the maintenance light with other indicator lights. The Toyota maintenance light is a scheduled service reminder. A red or yellow oil can icon is a low oil pressure warning—stop the engine immediately. A flashing “Check Engine” light indicates a misfire. A steady “Check Engine” light indicates an emissions-related fault. The VSC/Trac light (a car with squiggly lines) relates to stability control. Understanding these differences is crucial for safe operation. If you see a light you don’t recognize, consult your manual or a professional before driving.
Beyond the Reset: A Holistic Maintenance Approach
Turning off the light is the easy part. Using that reminder as a trigger for comprehensive care is what keeps your 4Runner running strong for years.
Your Oil Change Schedule: It’s Personal
The 5,000-mile default is a conservative estimate. Your 4Runner’s computer (in models with the maintenance reminder system) actually calculates your “Oil Life” percentage based on your driving. Severe driving—frequent short trips, extreme temperatures, dusty conditions, or heavy towing—deteriorates oil faster. If you do a lot of this, consider changing your oil at 4,000 miles even if the light hasn’t come on. Conversely, if you only do long highway trips, you might stretch to 7,500 miles with full synthetic. Always use the oil type specified. For example, a 2011 Toyota Highlander might have different requirements than your 4Runner, so never assume cross-compatibility.
The Light is Also for Other Services
On many 4Runners, the “MAINT” light is a catch-all reminder for a service interval that includes more than just oil. When it illuminates, it’s an ideal time to also:
- Rotate your tires (crucial for even wear on a 4WD vehicle).
- Inspect all fluid levels (coolant, brake, transmission).
- Check the condition of wiper blades, belts, and hoses.
- Perform a general safety inspection of brakes, suspension, and steering.
Think of the light as your service scheduler’s bell. The reset is just acknowledging you’ve completed that appointment.
When to Seek Professional Help
If you are uncomfortable performing the oil change yourself, take it to a reputable shop. Tell them clearly, “Please change the oil and filter and reset the maintenance light.” A professional shop should do both without being asked. If the light persists after a professional service, have them diagnose it. There could be a faulty odometer switch, a glitch in the Body Control Module (BCM), or a communication issue with the Engine Control Module (ECM). These are electrical issues best left to technicians with proper scan tools.
Frequently Asked Questions
Can I reset the oil change light without changing the oil?
Technically yes, using the methods described, but you should never do this. The light is a critical reminder that your engine oil is degraded. Resetting it without changing the oil means your engine will continue to run on dirty, ineffective oil, leading to accelerated wear and potential engine failure. It’s a very expensive shortcut to avoid.
My 4Runner’s oil change light is flashing. Is that normal?
No. A solid, steady “MAINT” or wrench light is the normal reminder. If it is flashing, it indicates a more urgent problem, often related to oil pressure. Stop the vehicle as soon as it is safe to do so, turn off the engine, and check your oil level with the dipstick. If the level is low, add the correct oil. If the level is fine or the light continues flashing after restarting, have the vehicle towed to a mechanic. Do not drive it.
Will this reset method work for all Toyota 4Runner model years?
The core principle is the same, but the exact steps differ. The manual button method (using the odometer button) works for most 4Runners from the early 2000s up through approximately 2019. The digital menu method is for 2020 and newer models that have the full digital multi-information display. Some late-model 2019s might also use the menu. Always check your owner’s manual for the procedure specific to your vehicle’s year and trim.
How often should I expect the oil change light to come on?
It depends on your driving and the oil used. For conventional oil, expect it every 5,000 miles. For full synthetic, it can be every 7,500 to 10,000 miles. Your 4Runner’s computer calculates this dynamically, so the interval may vary slightly each time. The owner’s manual provides the official schedule for your specific model year and engine.
I changed the oil myself, but the light won’t reset. Now what?
First, re-read the steps carefully. The most common error is not completing the button sequence quickly enough or having the ignition in the wrong position. If you’ve tried multiple times, try disconnecting the negative battery cable for 15 minutes to reset the vehicle’s entire electrical system. Reconnect, and try the reset procedure again. If it still fails, there may be a fault with the odometer button switch or the vehicle’s computer, requiring a professional scan tool to diagnose and reset.
Is the “MAINT” light the same as the “Check Engine” light?
No, they are completely different. The “MAINT” or wrench light is a scheduled service reminder for things like oil changes and tire rotations. The “Check Engine” light (usually an engine-shaped icon) is an emissions or engine performance warning that illuminates when the computer detects a fault code. You can and should reset the “MAINT” light after service. You should never ignore or reset a “Check Engine” light without first diagnosing and fixing the underlying problem, as it often indicates an issue that will cause failed emissions tests or damage the engine or catalytic converter.


