
How to Take Doors Off a Jeep Wrangler
Contents
- 1 Key Takeaways
- 2 📑 Table of Contents
- 3 Introduction: The Unmistakable Freedom of a Doorless Jeep
- 4 Chapter 1: Critical Preparation Before You Touch a Socket
- 5 Chapter 2: The Toolkit – What You Actually Need
- 6 Chapter 3: Step-by-Step Door Removal Process
- 7 Chapter 4: Electrical & Mirror Considerations
- 8 Chapter 5: The Elephant in the Room – Door Storage Solutions
- 9 Chapter 6: Reinstalling Your Doors – The Reverse Process
- 10 Chapter 7: Beyond the Basics – Tips, Tricks, and Common Mistakes
- 11 Conclusion: Embrace the Open Road
- 12 Frequently Asked Questions
Taking the doors off your Jeep Wrangler is a classic rite of passage that unlocks the ultimate open-air driving experience. This process requires basic tools, careful attention to electrical connectors, and a plan for storing the heavy doors. Always disconnect the battery first to prevent airbag warnings and electrical shorts. Following a methodical approach ensures you remove and reinstall the doors safely without damaging your vehicle’s wiring or interior.
Key Takeaways
- Essential Tools Are Simple: You primarily need a socket set (usually 13mm and 15mm), a flathead screwdriver, and a trim removal tool. No specialized automotive tools are required.
- Safety & Legal First: Always disconnect the negative battery terminal before starting. Check your local and state laws, as some require mirrors to be attached when driving doorless.
- The Electrical Connector Is Key: The most critical step is properly disconnecting the door wiring harness. This controls windows, locks, and mirrors. Never force it; use the release tab.
- Doors Are Heavy & Awkward: A single Wrangler door can weigh 50-70 pounds. Have a helper, use proper lifting technique, and plan your removal path to avoid scratching the paint.
- Storage Is Part of the Project: You’ll need a dedicated, secure spot for the doors. Options include vertical wall racks, horizontal ceiling lifts, or a custom-built storage cart.
- Model Year Matters: While the process is similar, there are minor differences between TJ, JK, and JL/JT models. Consult your owner’s manual for specific torque specs and connector locations.
[FEATURED_IMAGE_PLACEHOLDER]
📑 Table of Contents
- Introduction: The Unmistakable Freedom of a Doorless Jeep
- Chapter 1: Critical Preparation Before You Touch a Socket
- Chapter 2: The Toolkit – What You Actually Need
- Chapter 3: Step-by-Step Door Removal Process
- Chapter 4: Electrical & Mirror Considerations
- Chapter 5: The Elephant in the Room – Door Storage Solutions
- Chapter 6: Reinstalling Your Doors – The Reverse Process
- Chapter 7: Beyond the Basics – Tips, Tricks, and Common Mistakes
- Conclusion: Embrace the Open Road
Introduction: The Unmistakable Freedom of a Doorless Jeep
There is nothing quite like the feeling of driving a Jeep Wrangler with the doors off. The wind, the sun, the unfiltered connection to the world around you—it’s the purest form of open-air adventure that defines the Jeep lifestyle. For many owners, removing the doors is the first and most transformative modification they make. It’s not just a change; it’s a statement. It turns your daily driver into a summer cruiser, a beach explorer, and a conversation starter everywhere you go.
But how do you actually do it? If you’re new to the Wrangler world, the idea of taking a heavy, wired door off your prized vehicle can seem daunting. What about the windows? The wires? Will something break? This comprehensive, step-by-step guide will walk you through the entire process for all modern Wrangler models (JK, JL, and JT Gladiator). We’ll cover everything from the exact tools you need to the final storage solution, ensuring you can enjoy the wind in your hair with complete confidence and zero damage to your rig.
Chapter 1: Critical Preparation Before You Touch a Socket
Rushing into this job is the fastest way to scratch your paint or create an electrical nightmare. A half-hour of prep work will save you hours of frustration. This phase is about safety, legality, and setting up your workspace.
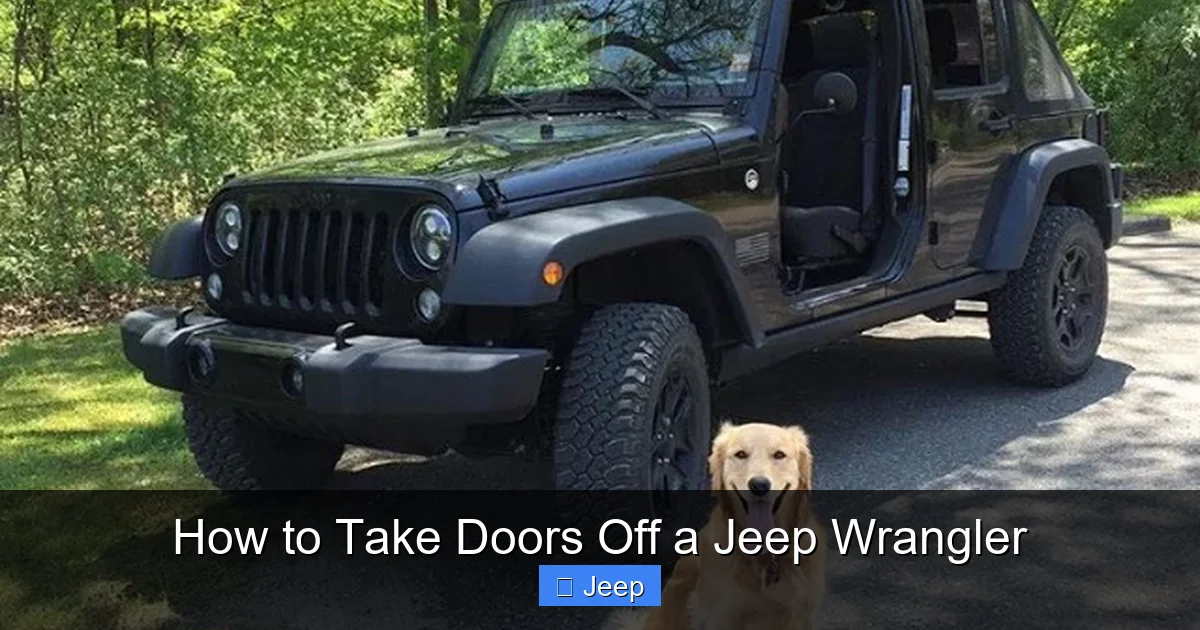
Visual guide about How to Take Doors Off a Jeep Wrangler
Image source: amoffroad.com
Safety First: The Non-Negotiable Battery Disconnect
This is the single most important rule. Your Wrangler’s doors are packed with electronics: power windows, central locking, heated seats, and side mirror controls. More importantly, the airbag system is integrated. If you don’t disconnect the battery, you risk triggering the airbag warning light (which requires a expensive diagnostic tool to reset) or causing a short circuit while handling the wiring connectors.
How to do it: Open the hood. Locate the negative (black) battery terminal. Using a 10mm socket or wrench, loosen the nut and remove the cable. Tuck it safely away so it cannot accidentally touch the terminal. For extra caution, wait 10-15 minutes after disconnecting to allow any residual power in the system to dissipate.
Know the Law in Your Area
Driving without doors is legal in most places, but there are nuances. The primary legal requirement is the presence of functional mirrors. In many states, you must have at least one mirror on each side of the vehicle, mounted so the driver has a clear rear view. Some states are more specific about mirror size and placement. A quick check with your local DMV or a search for “[Your State] vehicle equipment laws” is a wise 5-minute investment. Remember, you are also responsible for ensuring all passengers wear seatbelts properly, which is easier without a door in the way.
Choose Your Workspace & Gather Help
You need a clean, flat area with plenty of room to maneuver. A garage is ideal, but a driveway with shade works too. Clear away any tools, boxes, or obstacles. Do not attempt this alone if you can avoid it. A set of doors can be surprisingly heavy and awkward to handle. A friend can help lift, guide the door away from the body, and most importantly, catch it if a bolt slips. This prevents the door from swinging wildly and denting your quarter panel or fender.
Also, have clean, soft blankets or moving pads ready. You will lay the doors on these to protect the paint and interior panels from scratches on the ground.
Chapter 2: The Toolkit – What You Actually Need
The beauty of the Wrangler is its simplicity. You don’t need a $300 specialty tool set. Here’s what you should have on hand:
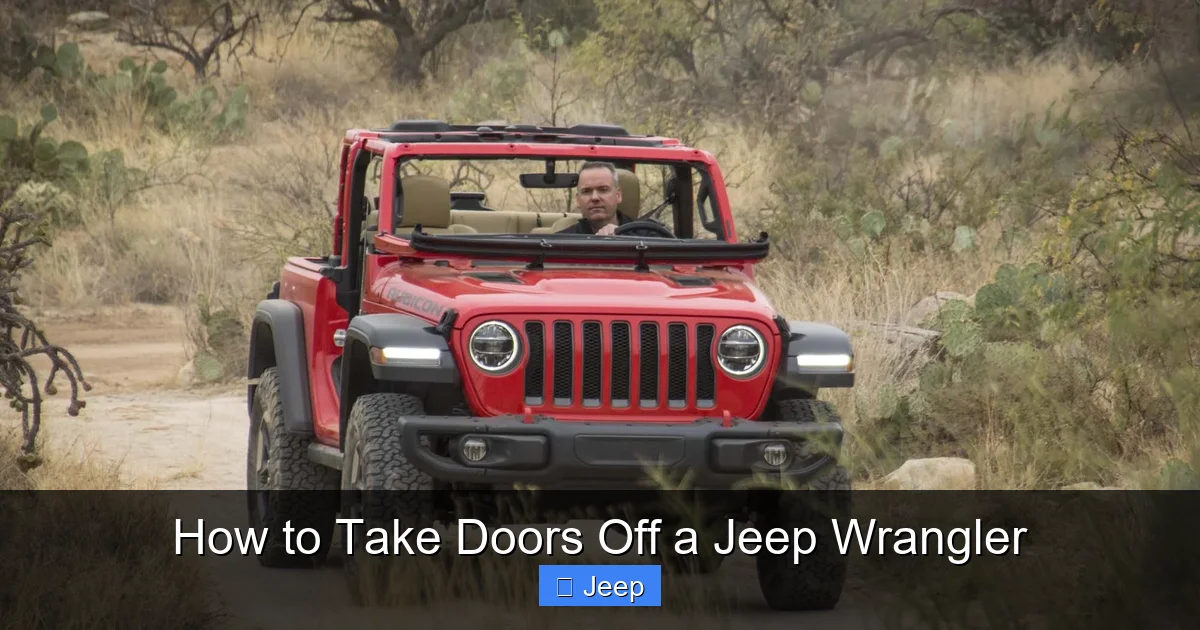
Visual guide about How to Take Doors Off a Jeep Wrangler
Image source: i0.wp.com
- Socket Set & Ratchet: A standard 1/2-inch drive set is perfect. You’ll primarily use a 13mm socket for the hinge bolts on the frame and a 15mm socket for the bolts securing the door check strap (the strap that limits door swing). A 10mm may be needed for battery disconnect.
- Flathead Screwdriver: A medium-sized one is useful for prying off plastic trim caps covering the hinge bolts and for gently releasing wiring connector locks.
- Trim Removal Tool (or Plastic Pry Tool): Highly recommended. These inexpensive plastic tools are perfect for popping off the interior door panel trim pieces without marring the plastic. A flathead screwdriver can work in a pinch, but be extra gentle.
- Torx Bits (T20/T25): Required on some newer JL/JT models for the interior door panel screws. Check your specific year.
- Flashlight or Work Light: The areas under the door panels are dark. A bright light is essential.
- Helper: As mentioned, this is your most important “tool.”
Pro Tip: Before you start, apply a tiny dab of anti-seize compound to the bolt threads. These bolts are exposed to the elements and can rust in place over time. This small step makes future removal infinitely easier and is a common practice among seasoned Jeepers. If you ever need to work on other components like your spare tire or perform basic maintenance, having a good socket set is always useful.
Chapter 3: Step-by-Step Door Removal Process
We will start with the front doors, as they are slightly simpler. The process is nearly identical for rear doors, with one additional step for the window regulator.
Visual guide about How to Take Doors Off a Jeep Wrangler
Image source: i.pinimg.com
Step 1: Remove the Interior Door Panel
This is the gateway to the internals. Start by prying off the plastic trim pieces around the door handle and armrest. They simply snap on. Use your trim tool to avoid scratches. Underneath, you’ll find several screws (usually Phillips head or Torx). Remove all of them.
With the screws out, start at the bottom corner of the panel and gently pull it straight out. It’s held by plastic clips. Work your way around the perimeter. Once the panel is loose, tilt it up and away from the door, but do not let it dangle by the wiring harnesses! The panel is connected to the door’s internal components by several wiring clips and a rod for the door lock. Carefully unclip any wiring harnesses from the back of the panel and set the panel aside in a safe spot.
Step 2: Disconnect the Main Wiring Harness
This is the heart of the electrical work. With the panel off, you’ll see a large, usually black, wiring connector plugged into the door. This carries power for everything. The connector has a plastic locking tab. Press the tab in (you may need a flathead screwdriver for leverage) and pull the two halves apart firmly but gently. It should come apart easily if the lock is disengaged. Never pull on the wires themselves. If it’s stuck, re-check the lock tab. On some models, there may be a secondary smaller connector for the heated seat or mirror—disconnect that as well.
Step 3: Unbolt the Door from the Hinges
Locate the two large hinge bolts on the door itself. They are often covered by a plastic cap that pries off with a flathead. Use your 13mm socket and ratchet to remove these two bolts. Important: Do NOT remove the bolts from the door frame (the part on the Jeep body). You only remove the bolts that are threaded into the door. Support the weight of the door with your hand or have your helper do so as you remove the last bolt.
Once both bolts are out, carefully swing the door outward. It will still be connected by the wiring harness you just unplugged and a rubber boot. Gently feed the wiring connector through the rubber boot in the door jamb. You may need to wiggle it. Now, the door is free!
Step 4: Lift and Carry the Door
This is where the helper is crucial. With the door free, both of you should grab a firm hold—one on the top of the door (near the window) and one on the bottom or the armrest. Lift straight up using your legs, not your back. Carry the door to your prepared blanket. Place it on its side or back (interior facing up) to avoid stress on the hinges and scratches.
Rear Door Note: On the rear doors, there is an additional step. You must disconnect the window regulator linkage before the panel comes off completely. This is a small plastic clip or a bolt. Once the panel is off, you’ll also see a 15mm bolt for the door check strap on the door jamb. Remove that bolt to allow full swing for removal.
Chapter 4: Electrical & Mirror Considerations
Modern Wranglers have heated mirrors and sometimes even turn signals in the mirrors. The wiring for these runs through the door hinge area. When you disconnected the main harness, you handled this. However, be mindful of the rubber boot that protects the wires as they bend from the body to the door. When reinstalling, ensure the wires are neatly tucked back into this boot and are not pinched.
If your mirrors are heated, you’ll see additional wires in the connector. Just ensure everything is plugged back in securely during reinstallation. A loose connection here can cause a mirror to not heat or a warning light.
Pro Tip: Before you reconnect the battery after reinstalling doors, turn the ignition to the “ON” position (without starting) and test the windows, locks, and mirrors. This way, if a connector is loose, you can fix it before the airbag system fully powers up.
Chapter 5: The Elephant in the Room – Door Storage Solutions
You’ve successfully removed the doors! Now, where do you put them? They are large, heavy, and you want them safe. Leaving them leaning against a wall is a recipe for a dent or a scratched fender. Here are the most popular and effective solutions.
Vertical Wall-Mounted Racks
This is the most common and space-efficient solution for garage owners. These are heavy-duty steel frames that bolt to a wall stud. The doors stand vertically, with the hinge side down in a cradle. They often have a padded bar that rests against the door’s edge. You can typically fit two front doors and two rear doors on a single, wide rack. Look for brands like EVS, Quadratec, or Bestop. Installation requires finding studs and using lag bolts, but it’s a permanent, secure solution.
Horizontal Ceiling-Mounted Lifts
If floor or wall space is at a premium, a ceiling lift is brilliant. These systems use a pulley and cable (often a manual winch) to hoist the doors up and out of the way, storing them flat against the ceiling of your garage. They are very sturdy but require more overhead clearance and careful installation to ensure they are anchored into ceiling joists.
Freestanding Storage Carts or Dollies
For renters or those who want mobility, a dedicated door cart is perfect. These are like oversized dollies with padded cradles for the doors. You can roll the entire set of doors into a corner or even a closet. Some models have shelves for storing the bolts and hardware you removed, which is a huge organizational win. This is a great option if you plan to store doors for the season and then put them back on.
DIY Options
If you’re handy, you can build a simple rack using 2x4s and thick foam pipe insulation. The key is to support the door at its structural points (the hinge area and the latch area) to prevent sagging and stress. Always use padding between the door and any hard surface.
No matter your solution, always store the doors in a dry environment. Even with the drain plugs open, moisture can get trapped inside the door cavity and cause mildew or rust on the inner structure.
Chapter 6: Reinstalling Your Doors – The Reverse Process
When summer ends or you need the security and weather protection, reinstalling is straightforward if you work in reverse.
- Clean & Inspect: Before anything, wipe down the door’s hinge pins and the frame’s hinge cups. Check the rubber seals for any debris or damage. A clean seal prevents water leaks.
- Position the Door: With your helper, lift the door and align the hinge pins with the cups on the frame. It’s easiest to get the top hinge pin in first, then swing the door down to engage the bottom one. The door’s weight will help seat it.
- Hand-Start the Bolts: Thread the 13mm hinge bolts in by hand to avoid cross-threading. Once they’re started, use the socket to snug them down. Do not overtighten. Hand-tight plus a quarter turn with the ratchet is sufficient. Overtightening can crush the rubber bushings and cause premature wear. Consult your owner’s manual for the exact torque spec (typically around 20-25 ft-lbs).
- Reconnect Wiring: Plug the main harness back in until you hear the lock click. Reconnect any secondary connectors. Ensure the wiring is routed properly through the rubber boot and isn’t pinched by the door.
- Reinstall Panel: Before you fully tighten the hinge bolts, it’s easier to reattach the interior door panel. Hook up all the wiring clips and rods, then snap the panel back into place. Replace all screws and trim pieces.
- Final Check & Reconnect Battery: With the door securely on, reconnect the negative battery terminal. Turn the key to “ON” and test every function: lock, unlock, window up/down, and mirror adjustment. Open and close the door to ensure it latches properly and the check strap works. Listen for any unusual rattles.
Chapter 7: Beyond the Basics – Tips, Tricks, and Common Mistakes
Even with this guide, a few insider tips can make your experience flawless.
- Label Your Hardware: The bolts are all the same size, but it’s good practice to keep the hardware for each door together. Use a small ziplock bag or a parts tray. If you have a soft-top, you’ll also encounter some small bolts for the header and bows—keep those separate.
- The T-Handle Bolt: On JK/JL models, the door’s main latch mechanism has a Torx-head bolt (T25/T30) that is easy to strip if you use the wrong bit. Use a high-quality, well-fitting Torx bit.
- Door Check Strap: This is the fabric or metal strap that limits how far the door opens. It attaches with a 15mm bolt on the door jamb. Removing this bolt gives you the full swing needed to clear the door from the body. Don’t forget to reinstall it!
- Drain Plugs: At the bottom of each door interior, there is a small rubber plug. Pull it out when storing doors to allow any condensation to drain. Reinstall it before putting the doors back on.
- Weather Seals: When reinstalling, if you notice the door is hard to close or you see a gap, the seal may have shifted. Gently push the rubber seal back into its channel on the door frame.
- First-Time Patience: Your first door will take 45-60 minutes. By the time you do the second, you’ll be down to 20 minutes. Don’t get frustrated. It’s a simple job that just requires a methodical approach.
If you’re considering more extensive modifications, like a custom paint job for your doors or even a full vehicle wrap, removing the doors is the mandatory first step for a professional finish. It’s also a good time to inspect the door’s inner structure for any rust or damage you couldn’t see before.
Conclusion: Embrace the Open Road
Taking the doors off your Jeep Wrangler is more than a mechanical task; it’s the key that unlocks the vehicle’s intended soul. It transforms your commute into an adventure and your weekend trip into a memorable journey. By following this guide—prioritizing safety with the battery disconnect, working methodically with the right tools, and investing in proper storage—you can perform this procedure yourself, saving money and gaining a deeper connection to your vehicle.
The process builds confidence. If you can remove a door, you can handle many other basic maintenance tasks. Remember, the Jeep community is built on self-reliance and a love for the outdoors. Now that you know how to take doors off a Jeep Wrangler, you’re one step closer to experiencing that iconic, wind-in-your-hair freedom. So find a sunny day, gather your tools and a friend, and get to work. The open road is waiting.
Frequently Asked Questions
Do I need any special tools to take the doors off my Jeep Wrangler?
No, you only need basic hand tools: a socket set (primarily 13mm and 15mm), a flathead screwdriver, and plastic trim removal tools. A helper is also highly recommended due to the door’s weight.
What is the most important safety step before starting?
Always disconnect the negative battery terminal first. This prevents airbag system warnings and protects the vehicle’s electrical system from shorts while you handle the door wiring harnesses.
Is it legal to drive a Jeep Wrangler without doors?
In most states, it is legal as long as you have the required number of functional mirrors (usually at least one on each side). You must still wear seatbelts. Always verify your specific state and local regulations before driving doorless.
What is the best way to store the doors once they are off?
The best solutions are dedicated vertical wall racks or horizontal ceiling lifts. These keep the doors secure, organized, and out of the way while protecting the paint. For those without permanent garage space, a freestanding door cart is an excellent mobile option.
How long does it take to remove all four doors?
For a first-timer working carefully, plan on 1-2 hours total. Once you are familiar with the process, you can remove all four doors in 30-45 minutes, especially with a helper.
Is it difficult to put the doors back on correctly?
Reinstallation is essentially the reverse process and is generally easier than removal. The key is to carefully align the hinge pins, ensure the wiring is fully connected and routed properly through the rubber boot, and not overtighten the hinge bolts. Testing all electrical functions before driving is crucial.


