
How to Paint a Car with Spray Cans
Contents
- 1 Key Takeaways
- 2 📑 Table of Contents
- 3 Introduction: Can You Really Paint a Car with Spray Cans?
- 4 Why Choose Spray Cans Over Professional Spraying?
- 5 Tools and Materials You’ll Need
- 6 Step-by-Step Guide to Painting Your Car
- 7 Common Mistakes to Avoid
- 8 Tips for a Professional-Looking Finish
- 9 Conclusion: Is DIY Spray Can Painting Worth It?
- 10 Frequently Asked Questions
Painting a car with spray cans is a budget-friendly DIY project that can yield surprisingly professional results—if done correctly. With the right prep, tools, and technique, you can transform your vehicle’s appearance without breaking the bank.
Key Takeaways
- Proper surface preparation is essential: Sanding, cleaning, and priming the car surface ensures paint adhesion and a smooth finish.
- Use high-quality spray paint designed for automotive use: Look for enamel or urethane-based paints with UV protection for durability.
- Apply multiple thin coats instead of one thick layer: This prevents runs, drips, and uneven texture.
- Work in a clean, dust-free environment: Even small particles can ruin the finish—choose a well-ventilated garage or spray booth.
- Allow adequate drying time between coats: Rushing the process leads to bubbling, peeling, or poor bonding.
- Wet sanding and polishing enhance the final look: Light sanding between coats and a final polish bring out a glossy, showroom-quality shine.
- Safety gear is non-negotiable: Always wear a respirator, gloves, and eye protection when spraying paint.
📑 Table of Contents
Introduction: Can You Really Paint a Car with Spray Cans?
So, you’ve got a car that’s seen better days—maybe the paint is faded, chipped, or just plain outdated. You’re thinking about a full repaint, but professional body shops charge thousands. What if you could do it yourself? Enter the world of DIY car painting with spray cans.
Yes, it’s possible. And no, it’s not just for touch-ups. With patience, the right materials, and a solid game plan, you can give your ride a fresh, custom look using aerosol paint. It won’t match a factory finish overnight, but with care, you can get close—especially on older vehicles or project cars.
This guide walks you through every step, from prepping your car to the final polish. Whether you’re restoring a classic, customizing a daily driver, or just want to save money, painting a car with spray cans is a rewarding challenge. Just remember: this isn’t a weekend rush job. It’s a process that demands attention to detail, but the payoff—a car that looks like it rolled out of a shop—is totally worth it.
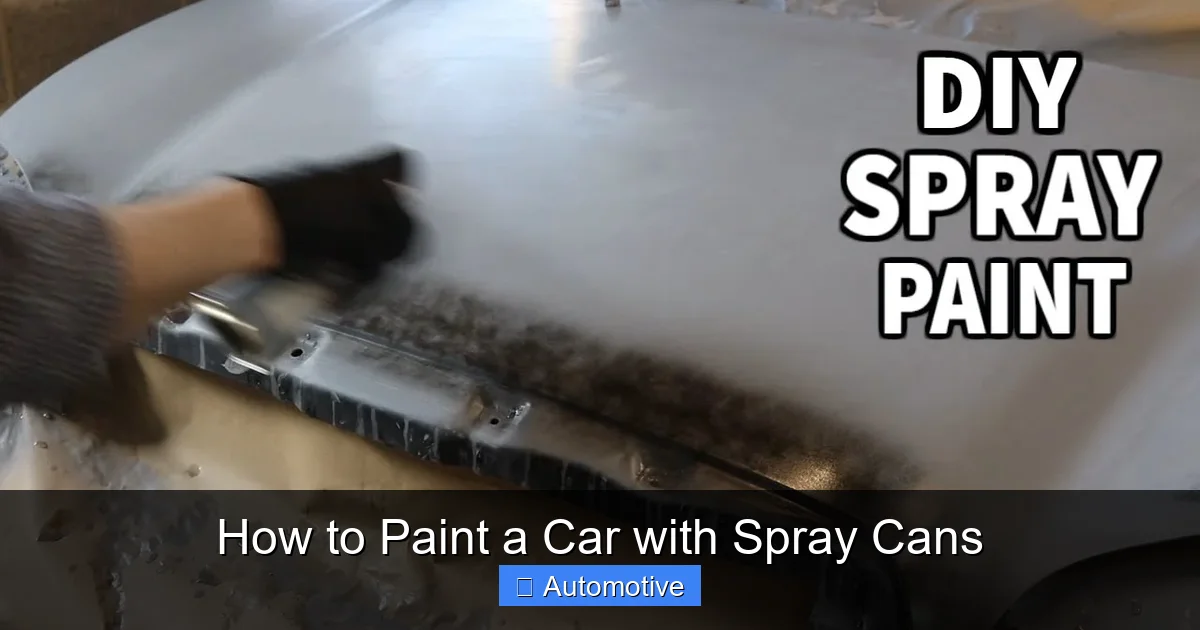
Why Choose Spray Cans Over Professional Spraying?
Visual guide about How to Paint a Car with Spray Cans
Image source: i.ytimg.com
You might be wondering: why go the spray can route when professional paint jobs use high-end spray guns? The answer comes down to cost, accessibility, and control.
Professional automotive painting requires expensive equipment—spray guns, compressors, paint booths—and often costs $3,000 to $10,000 or more. For many car enthusiasts, especially those working on budget builds or weekend projects, that’s simply not feasible. Spray cans, on the other hand, are affordable, widely available, and easy to use with minimal setup.
Another advantage? Portability. You don’t need a dedicated spray booth. A clean garage, carport, or even a large tarp-covered area can work. Plus, spray cans give you more control over small areas, making them ideal for spot repairs, custom designs, or full-body jobs on smaller vehicles like motorcycles, trailers, or compact cars.
That said, spray cans do have limitations. They typically don’t offer the same depth, durability, or smoothness as professional finishes. But with proper technique—multiple thin coats, wet sanding, and polishing—you can minimize these drawbacks and achieve a surprisingly professional result.
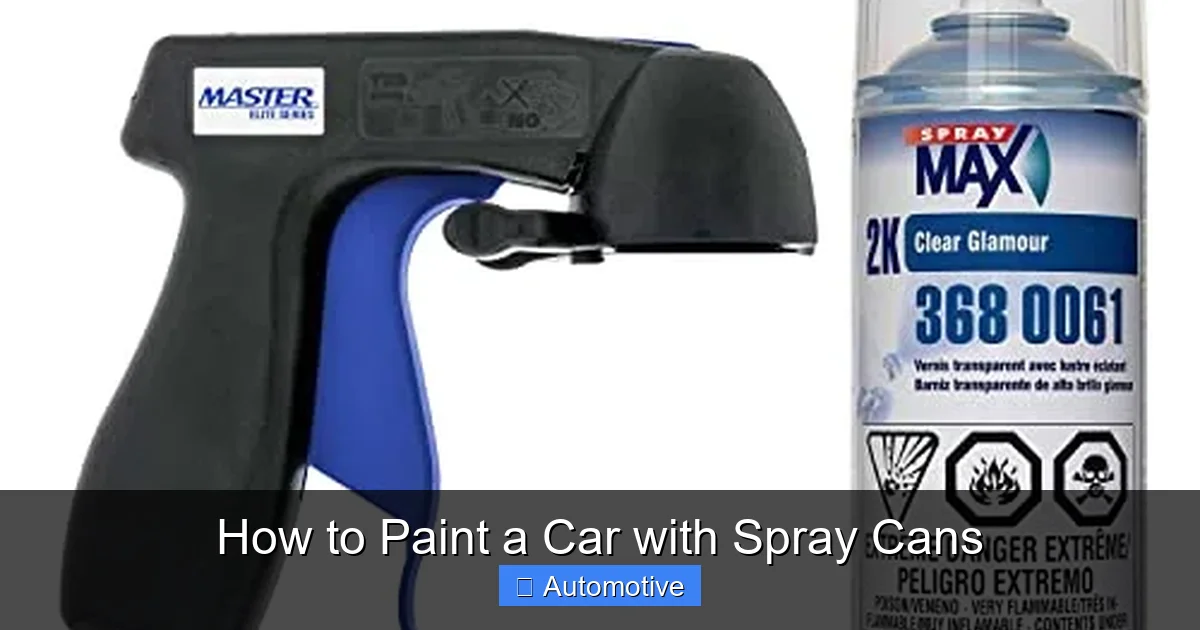
Tools and Materials You’ll Need
Visual guide about How to Paint a Car with Spray Cans
Image source: m.media-amazon.com
Before you pop the cap on that first can, make sure you’ve got everything you need. Rushing out mid-project for missing supplies is frustrating and can ruin your momentum. Here’s a complete checklist:
Essential Tools
- Sandpaper (various grits): Start with 180–220 grit for stripping old paint, then move to 320–400 for smoothing, and 600–1000 for final prep.
- Sanding blocks or orbital sander: For even pressure and consistent results.
- Tack cloths: To remove dust after sanding.
- Microfiber towels: For cleaning and wiping down surfaces.
- Masking tape and paper: To protect windows, trim, lights, and other areas you don’t want painted.
- Drop cloths or plastic sheeting: To protect the ground and surrounding area.
- Respirator mask (organic vapor rated): Spray paint fumes are toxic—don’t skip this.
- Safety goggles and gloves: Protect your eyes and skin from chemicals.
Paint and Finishing Supplies
- Primer (spray can): High-build primer helps fill minor imperfections and improves paint adhesion.
- Automotive spray paint: Choose enamel or urethane-based paint in your desired color. Brands like Dupli-Color, Rust-Oleum Automotive, and VHT offer quality options.
- Clear coat (spray can): Essential for protection and gloss. Use a high-gloss, UV-resistant clear coat.
- Wet sanding supplies: 1000–2000 grit wet/dry sandpaper, spray bottle with water, and a sanding block.
- Polishing compound and buffer (optional): For the final shine.
Optional but Helpful
- Air compressor and paint gun (for touch-ups): If you have one, it can help smooth out tricky areas.
- Heat gun or hair dryer: To speed up drying in cooler environments.
- Paint mixing cups and stir sticks: If you’re blending custom colors.
Having everything ready upfront saves time and reduces mistakes. Trust me—there’s nothing worse than realizing you’re out of primer halfway through.
Step-by-Step Guide to Painting Your Car

Visual guide about How to Paint a Car with Spray Cans
Image source: bangshift.com
Now for the fun part: actually painting your car. This process takes time—likely several days—so plan accordingly. Rushing leads to mistakes. Here’s how to do it right.
Step 1: Prep the Surface
This is the most important step. No amount of fancy paint will save a poorly prepped surface. Start by washing the car thoroughly with car soap and water. Remove all dirt, grease, and wax. Let it dry completely.
Next, assess the current paint. If it’s flaking or peeling, you’ll need to sand it down. Use 180–220 grit sandpaper to remove loose paint and create a rough surface for the new paint to grip. For areas with rust, sand until you reach bare metal, then apply a rust converter.
Once the surface is smooth and clean, wipe it down with a wax and grease remover (like Prep Solvent). This ensures no oils interfere with adhesion. Finally, use a tack cloth to pick up any remaining dust.
Step 2: Mask Off Areas
Use masking tape and paper to cover windows, trim, lights, mirrors, and any parts you don’t want painted. Be thorough—overspray is hard to remove and can ruin the look.
For curved areas like door handles or mirrors, use pre-cut masking kits or carefully shape the paper. Press the tape down firmly to prevent paint from seeping underneath. Lay down drop cloths to protect the ground and nearby surfaces.
Step 3: Apply Primer
Shake the primer can for at least one minute. Hold it 8–12 inches from the surface and spray in smooth, overlapping passes. Apply 2–3 thin coats, waiting 10–15 minutes between each.
Let the primer dry for at least 2 hours (or as directed on the can). Once dry, lightly sand with 400-grit sandpaper to smooth out any bumps or orange peel texture. Wipe clean with a tack cloth.
Primer not only helps the paint stick but also reveals imperfections you might have missed. Fill any small dents or scratches with body filler if needed, then re-sand and re-prime those spots.
Step 4: Spray the Base Coat
Now for the main event. Shake your spray paint can vigorously for 2–3 minutes. Test the spray pattern on a piece of cardboard first.
Start spraying in light, even coats. Move the can in a steady side-to-side motion, overlapping each pass by about 50%. Keep the can moving—don’t stop in one spot or you’ll get drips.
Apply 3–5 thin coats, waiting 10–15 minutes between each. Thin coats dry faster and are less likely to run. If you see any runs or sags, stop immediately and let it dry before lightly sanding and reapplying.
Pro tip: Spray in a “crosshatch” pattern—first left to right, then top to bottom—for even coverage. Avoid spraying in direct sunlight or high humidity, as this can cause bubbling or poor drying.
Step 5: Apply Clear Coat
Once the base coat is fully dry (usually 24 hours), it’s time for clear coat. This adds shine, depth, and protection.
Shake the clear coat can well. Apply 2–3 thin, even coats, just like the base paint. Wait 15–20 minutes between coats. The final coat should be slightly heavier to build up gloss, but still avoid thick application.
Let the clear coat cure for at least 48 hours before handling. Full cure can take up to 30 days, so avoid waxing or washing during this time.
Step 6: Wet Sand and Polish
After the clear coat has dried for 2–3 days, you can refine the finish. Use 1000-grit wet sandpaper and a spray bottle of water to gently sand the surface. Keep the area wet to prevent scratching.
Sand in straight lines, not circles, and check your progress frequently. The goal is to remove orange peel texture and minor imperfections—not to cut through the clear coat.
Once smooth, switch to 1500-grit, then 2000-grit for a finer finish. Wipe clean and inspect under bright light.
Finally, apply a polishing compound with a buffer or by hand. This brings out the deep, glossy shine. Finish with a coat of car wax for long-term protection.
Common Mistakes to Avoid
Even with the best intentions, DIY painters often run into problems. Here are the most common mistakes and how to avoid them:
Spraying Too Close or Too Fast
Holding the can too close (under 6 inches) causes runs and uneven texture. Moving too quickly leads to thin, patchy coverage. Keep a steady 8–12 inch distance and move at a consistent pace.
Applying Thick Coats
One heavy coat might seem efficient, but it’s a recipe for disaster. Thick paint dries slowly, traps solvents, and often sags. Always use multiple thin coats—patience pays off.
Skipping Primer
Some people skip primer to save time or money. Big mistake. Primer ensures adhesion, fills minor flaws, and creates a uniform surface. Without it, your paint may peel or chip prematurely.
Painting in Poor Conditions
Dust, humidity, and temperature all affect paint. Avoid painting on windy days (dust gets everywhere), in high humidity (causes blushing), or in direct sun (dries too fast). Ideal conditions: 70–80°F, low humidity, and minimal airflow.
Rushing the Drying Process
Peeling off tape too soon or handling the car before it’s fully cured can ruin your work. Follow the manufacturer’s drying times—don’t assume it’s dry just because it feels dry to the touch.
Not Testing the Paint First
Always test your spray paint on a scrap panel or hidden area. This helps you check color match, spray pattern, and drying behavior. It’s better to find issues early than after you’ve painted the whole car.
Tips for a Professional-Looking Finish
Want your DIY paint job to look like it came from a shop? These pro tips make a big difference:
Use a Paint Booth (or Create One)
If possible, paint in a clean, enclosed space. If you don’t have a spray booth, create one using plastic sheeting and a frame. Hang plastic from the ceiling and tape it to the walls to trap dust.
Maintain a Wet Edge
When spraying large panels, work in sections but keep a “wet edge” by overlapping slightly with the previous pass. This prevents lap marks and ensures even coverage.
Shake the Can Thoroughly
Paint separates in the can. Shake for at least 2 minutes before use, and shake periodically during application. A poorly mixed can leads to uneven color and texture.
Use a Light Touch
Press the nozzle gently and release smoothly. Jerky movements cause uneven spray patterns. Practice on cardboard until you’re comfortable.
Work in Good Lighting
Paint looks different under different lights. Use bright, even lighting (like LED shop lights) to spot imperfections as you go.
Be Patient with Polishing
The final polish is what makes the paint “pop.” Don’t rush it. Use a dual-action polisher if you have one, or work by hand with a microfiber pad. Multiple light passes work better than one heavy one.
Conclusion: Is DIY Spray Can Painting Worth It?
Painting a car with spray cans isn’t for everyone. It takes time, effort, and a willingness to learn from mistakes. But for the right person—a hands-on car enthusiast with a budget and a vision—it’s an incredibly rewarding project.
You won’t get a flawless, mirror-like finish like a high-end body shop. But with careful prep, quality materials, and attention to detail, you can achieve a durable, attractive paint job that turns heads. Plus, you’ll save thousands of dollars and gain valuable skills.
Remember: this is a marathon, not a sprint. Take your time, follow the steps, and don’t cut corners. The result will be a car that’s truly yours—painted with pride, one spray can at a time.
Frequently Asked Questions
Can you really paint a whole car with spray cans?
Yes, you can paint an entire car with spray cans, especially on smaller vehicles or project cars. While it won’t match a professional spray gun finish, with proper technique and multiple thin coats, you can achieve a smooth, durable result.
How long does spray can paint last on a car?
With a quality clear coat and proper maintenance, spray can paint can last 3–7 years or more. It’s less durable than factory paint, but regular waxing and UV protection help extend its life.
Do I need to sand between coats?
Lightly sanding between coats with 600–1000 grit wet sandpaper helps improve adhesion and smoothness. It’s not always necessary, but it significantly improves the final finish.
Can I paint over existing car paint?
Yes, but only if the old paint is in good condition and properly prepped. Sand the surface to create tooth, clean thoroughly, and apply primer for best results.
What’s the best spray paint for cars?
Look for automotive-specific enamel or urethane spray paints from reputable brands like Dupli-Color, Rust-Oleum Automotive, or VHT. Avoid hardware store paints—they lack UV protection and durability.
How long should I wait before driving the car after painting?
Wait at least 48 hours before driving, and avoid washing or waxing for 30 days. The paint needs time to fully cure—rushing it can lead to scratches or damage.


