How to Fix the Rear Cup Holder in a Ford F-150
Contents


A broken rear cup holder in your Ford F-150 is a minor but incredibly annoying problem that you can fix yourself in under an hour with basic tools. Most issues stem from worn plastic clips, a stuck mechanism, or a broken mount—all of which are repairable with patience and the right approach. This guide walks you through diagnosing the exact problem, gathering your tools, and performing a secure repair that will last, saving you a costly trip to the dealership.
Let’s be honest. That moment when your coffee cup tips over because the rear cup holder in your Ford F-150 popped open or simply won’t hold anything anymore is a special kind of frustration. It’s a small detail, but on a long road trip or daily commute, that little convenience matters. The good news? This is almost always a mechanical issue you can fix yourself. You don’t need to be a master mechanic or spend hundreds at the dealer. With some patience, a few common tools, and this guide, you’ll have that rear cup holder working like new again. We’re going to break it down, step by step, so you can tackle this job with confidence.
Key Takeaways
- Common Failure Points: The rear cup holder in an F-150 typically fails due to broken plastic retention clips, a jammed pivot mechanism, or a cracked mounting bezel, not a complex electrical issue.
- Essential Tools Are Simple: You usually only need screwdrivers (flathead and Phillips), plastic trim tools, and possibly a replacement kit—no special automotive tools required.
- Diagnosis is Key: Before starting, identify if the issue is a stuck mechanism, a broken part, or a loose mount. This determines your repair strategy and parts needed.
- Prevention is Easy: Avoid overloading the cup holder with oversized containers, clean debris regularly, and operate the mechanism gently to prevent premature wear.
- DIY Saves Significant Money: A dealership will charge $150-$300+ for this repair; doing it yourself with a $10-$30 parts kit is a major cost saving.
- Know When to Stop: If the mounting points are severely cracked or the trim is damaged, seeking a professional upholstery or interior specialist is more cost-effective.
- Year and Trim Variation: The exact design varies slightly between generations (e.g., 2015-2020 vs. 2021-2023), so visually confirm your mechanism before ordering parts.
📑 Table of Contents
Understanding the Rear Cup Holder Assembly in Your F-150
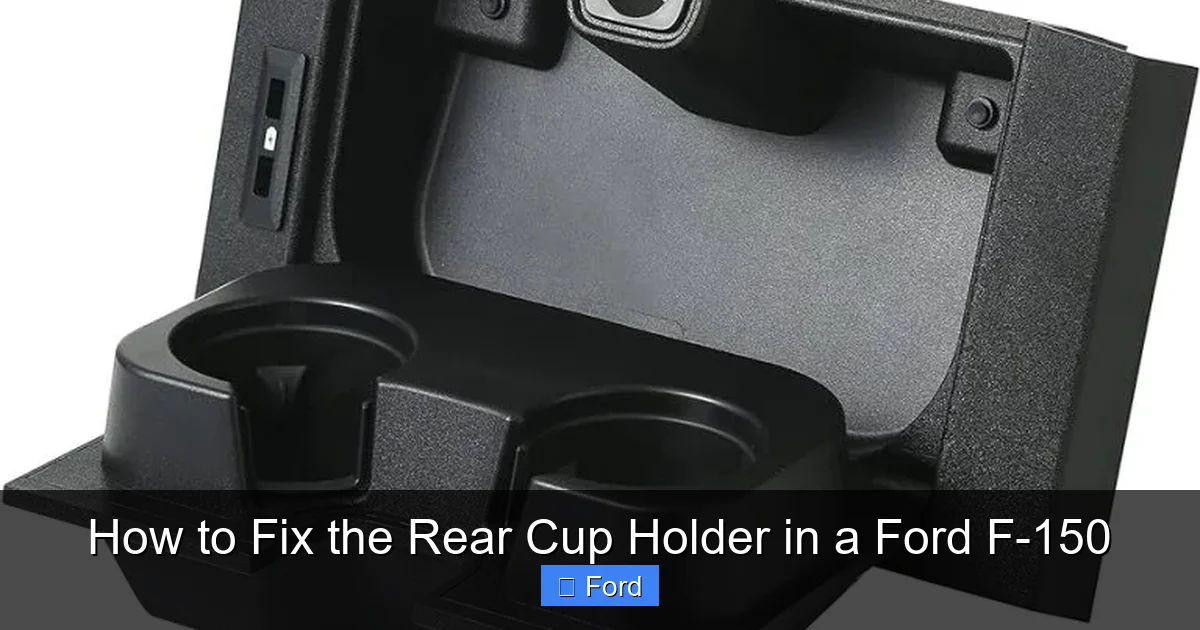
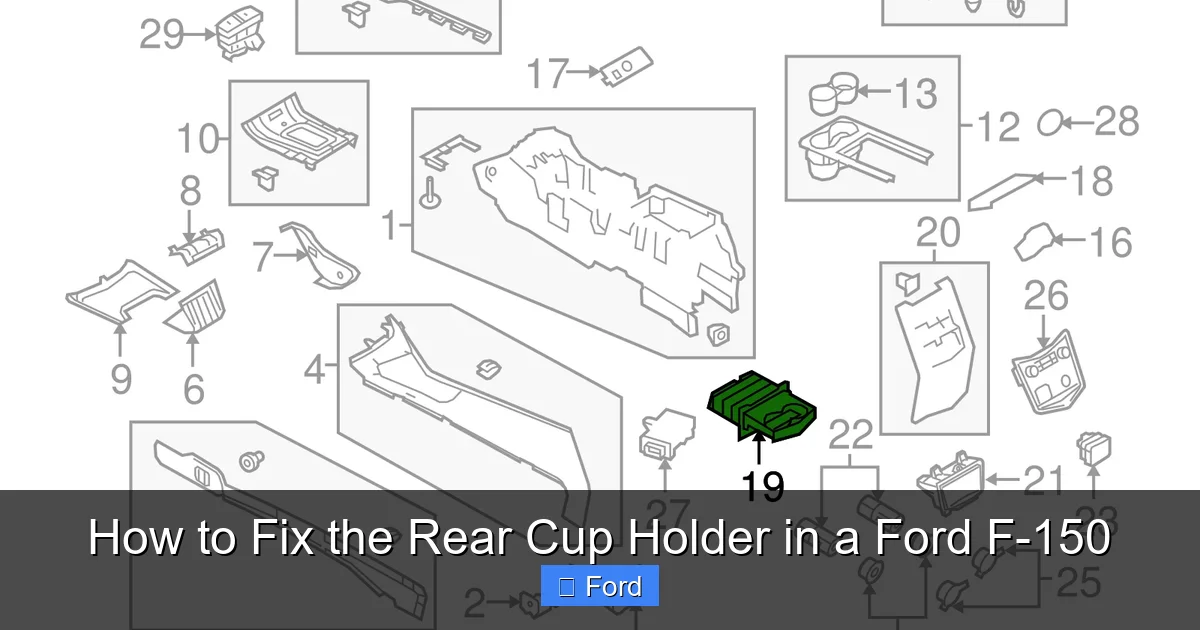
Before we grab any tools, it helps to know what we’re dealing with. The rear cup holder in your Ford F-150 isn’t just a simple hole in the dash or center console. It’s a small, clever piece of engineering designed to pop up when you press it and retract when not in use. The assembly typically consists of a few key parts working together:
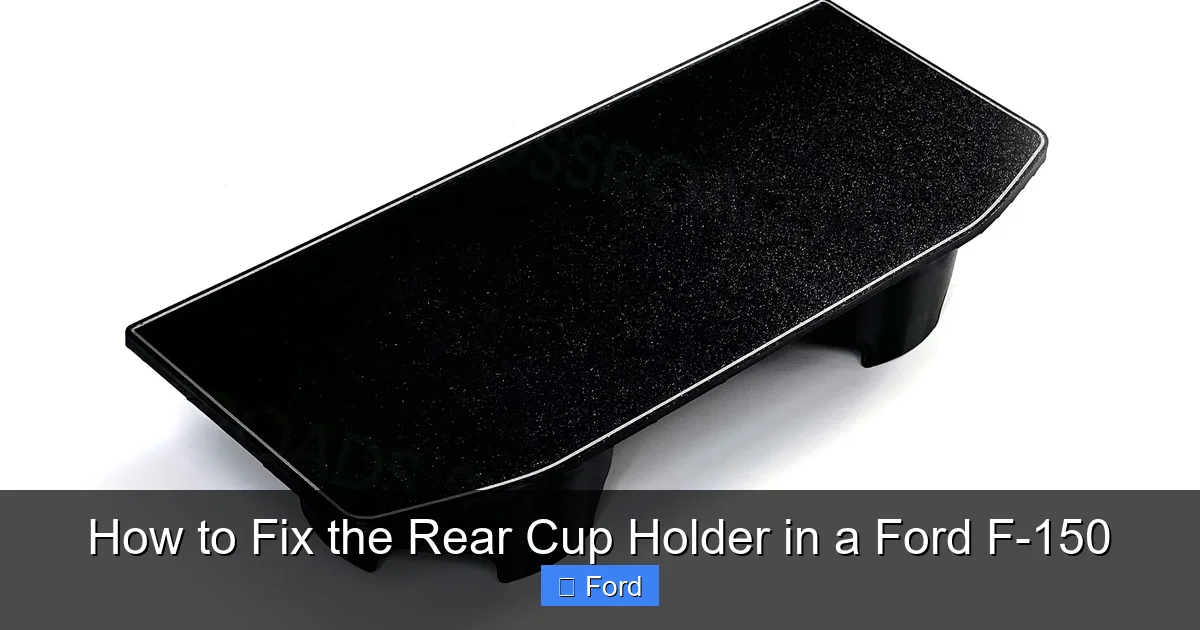
- The Bezel or Cap: This is the visible plastic cover you press down on. It’s usually textured or has a soft-touch coating.
- The Mechanism: Inside, there’s a small plastic pivot and spring system. When you press the bezel, it compresses a spring and rotates to open. When released, the spring pushes it back up.
- Retention Clips: Tiny plastic tabs or clips on the sides of the mechanism grip the inside of the mounting hole in your center console trim. These are the most common failure point. They snap or wear out, causing the whole unit to fall into the cavity.
- The Mounting Bezel/Retainer: This is the larger plastic frame that holds the entire assembly inside the hole in your truck’s center console. It can sometimes crack.
In most F-150s from the 12th generation (2015-2020) and the 13th generation (2021-2023), the design is very similar. The entire unit is held in place by those friction-fit plastic clips. There are no screws or bolts you can see from the top. The failure mode usually presents in one of three ways: the cup holder won’t pop up (stuck mechanism), it pops up but won’t stay up (broken clips), or it is missing entirely (clips broke and it fell in). Your first task is to figure out which one you have.
Identifying Your Specific Problem
Grab a flashlight and look closely at the empty hole where your cup holder should be. If you can see the mechanism inside, try to gently move it with a plastic trim tool or a flat, non-metallic object.
- If it feels loose and wobbly: The retention clips on the mechanism itself are broken. The mechanism is no longer anchored to the mounting bezel.
- If it feels stiff or doesn’t move at all: The internal spring or pivot is likely jammed or broken. You might need to replace the entire mechanism.
- If the plastic frame around the hole is cracked: The main mounting bezel is broken. This is more serious and may require a different repair approach or professional help.
- If it’s just gone: It fell into the console cavity. You’ll need to retrieve it before installing a new one.
This diagnosis will tell you if you need a simple $10 repair kit, a full mechanism replacement, or if the console itself is damaged. For most owners, it’s the first scenario—broken clips. This is good news, as it’s the easiest fix.
Tools and Preparation for the Repair
Now that you know what you’re facing, let’s get the toolkit ready. The beauty of this repair is its simplicity. You likely have most of these items already.
Visual guide about How to Fix the Rear Cup Holder in a Ford F-150
Image source: roadmomentum.com
Essential Tools for the Job
- Plastic Trim Removal Tools (or old credit cards): CRITICAL. Using metal tools like flathead screwdrivers will scratch your beautiful interior trim. Plastic pry tools are cheap and save your finish. If you don’t have them, an old gift card or credit card (cut up if needed) works in a pinch.
- Flathead Screwdriver (small, for leverage): A very small, short flathead can be helpful for getting behind the bezel once it’s loose. Use it wrapped in a cloth or with extreme care.
- Phillips Head Screwdriver: For removing any screws that might hold the lower trim panel. Most F-150s don’t have screws on the cup holder itself, but you might need to remove a small section of trim to access the mounting area from below.
- Flashlight or Headlamp: You’ll be working in the dark cavity of the center console. Good lighting is essential.
- Gloves: Optional, but keeps your hands clean from dust and any sharp plastic edges.
- Small Container or Magnetic Tray: To catch any tiny screws or clips you might dislodge.
Parts and Replacement Kits
This is where you need to be precise. You cannot just order a “Ford F-150 cup holder.” You need the specific part for your truck’s year and configuration. The best way is to:
- Remove the broken unit first. This lets you see the part numbers molded into the plastic.
- Take a clear photo. Show it to a parts counter at a Ford dealer or use it to search online.
- Search for your exact truck: Use terms like “2018 Ford F-150 rear center console cup holder assembly” or “2022 F-150 SuperCrew pop-up cup holder mechanism.”
You will find two main options: the entire assembly (bezel + mechanism) for around $25-$45 from Ford or aftermarket suppliers like Dorman, or just the plastic retention clips for about $5-$10 if the mechanism itself is fine. For most broken clip scenarios, buying the whole assembly is simpler and often cheaper than trying to source just the tiny clips. Popular aftermarket brands like Dorman and Standard Motor Products make excellent direct replacements. You can also find them on eBay and Amazon, but be sure to check seller ratings and compatibility notes carefully.
Pro Tip: While you have the area exposed, it’s a great time to vacuum out all the French fry crumbs, dust bunnies, and loose change that have accumulated in the console abyss. A clean workspace makes the repair much easier.
Step-by-Step Repair Guide for Common Issues
With tools and parts ready, let’s get to work. We’ll cover the two most common repairs: replacing a fallen or loose unit (broken clips) and fixing a stuck mechanism. Always work gently. These plastic parts are decades old and can be brittle.
Visual guide about How to Fix the Rear Cup Holder in a Ford F-150
Image source: crossroads3d.com
Scenario 1: The Cup Holder is Missing, Loose, or Clips are Broken (Most Common)
Symptom: The unit is wobbly, sinks into the console, or is completely gone.
Solution: Replace the entire pop-up assembly. This is a straightforward removal and installation.
Step 1: Access the Cavity. If the unit is still in there but loose, use your plastic trim tools. Gently insert a tool between the bezel and the surrounding trim on one side. You should feel a slight give as you pry. Work your way around the bezel, gently prying to disengage the retention clips. Be patient. If it’s fallen in, you’ll need to reach into the hole and feel for it. It may be sitting at the bottom of the console cavity. You might need to tilt the seat forward or remove a small storage bin or lower trim panel to get your arm in far enough. Look for any screws holding that lower trim first.
Step 2: Remove the Old Unit. Once all clips are disengaged, the mechanism should pop up and out. If it’s stuck, gently wiggle it. Do not use excessive force. If it resists, you may have missed a clip. If the old unit is broken, you may need to carefully pry the broken plastic tabs off the mounting bezel left in the hole. Use needle-nose pliers if needed.
Step 3: Prepare the New Unit. Before installing, compare the new assembly to the old one. Ensure the pivot points and clip locations match perfectly. Sometimes aftermarket parts have slightly different angles.
Step 4: Install the New Unit. This is the reverse of removal, but it requires a trick. Orient the new mechanism so the pivot points align with the slots in the mounting bezel. Do not just try to push it straight in. You need to insert it at a slight angle (usually 30-45 degrees), engaging one side’s clips first. Once one side is clipped in, gently press the other side down until you hear/feel all clips snap into place. The bezel should sit flush with the surrounding trim with no gaps. Test the action—it should pop up and down smoothly.
Scenario 2: The Cup Holder is Stuck and Won’t Move
Symptom: The bezel is flush with the trim and won’t press down, or it’s stuck in the open or closed position.
Solution: Often, debris or a broken spring is the culprit. You’ll likely need to replace the internal mechanism.
Step 1: Removal. Follow the removal steps from Scenario 1 to get the entire assembly out. If it’s stuck in the closed position, you may have to pry more aggressively, but be prepared for the plastic to potentially crack. If it’s stuck open, removal is usually easier.
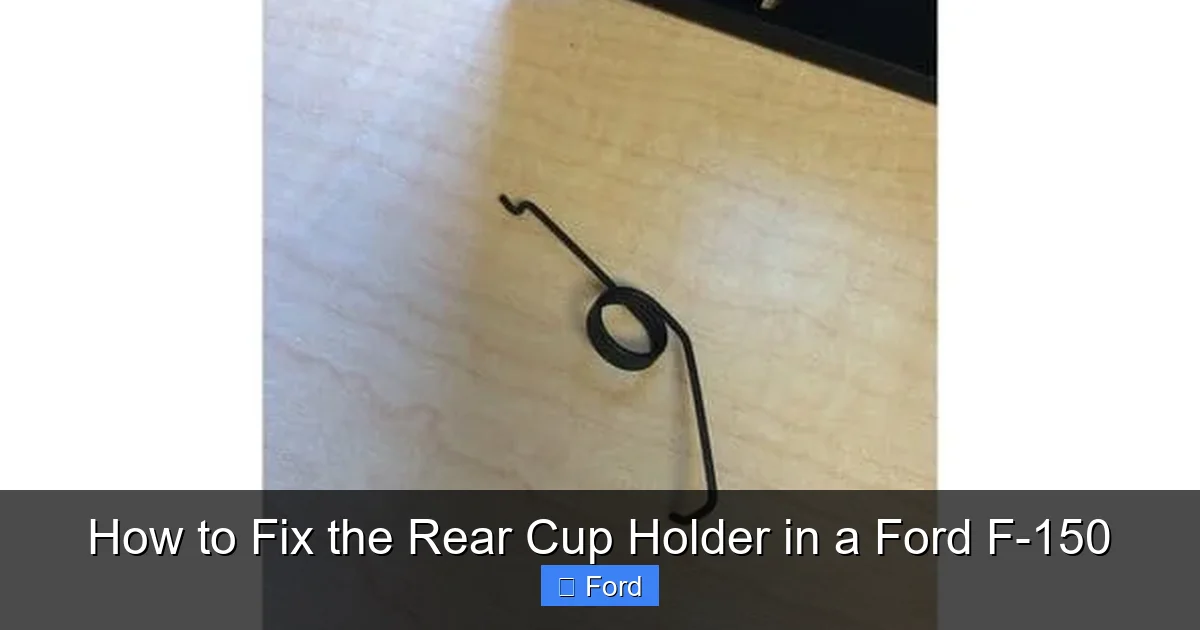
Step 2: Diagnosis & Cleaning. Once out, inspect the mechanism. Look for a broken coil spring (it’s tiny and can be easy to miss) or a plastic gear/pivot that has sheared off. Often, dried soda, sticky dust, or a small coin jammed in the pivot will cause binding. Use compressed air or a cotton swab with a little isopropyl alcohol to clean the pivot points thoroughly. Move the mechanism by hand to work the cleaner in. Let it dry completely.
Step 3: Repair or Replace. If cleaning frees it up, you can reinstall the same unit. If a spring is broken or a plastic part is fractured, the mechanism is not repairable. You must replace it. If you only bought the full assembly in Scenario 1, you’re already set. If you have just the mechanism, you’ll need to separate it from the bezel (they usually clip together) and install the new mechanism into your old, good bezel.
Step 4: Reinstallation. Reinstall the cleaned or new mechanism into the bezel, then remount the entire assembly into the console as described in Step 4 of Scenario 1.
Dealing with a Cracked Mounting Bezel
This is the trickiest situation. If the plastic frame around the hole in your center console is cracked, the new cup holder’s clips have nothing solid to grip. You have a few options:
- Plastic Welding/Repair: For small cracks, a plastic weld kit (like from Permatex) or even super glue can sometimes bridge the gap. This is a temporary fix at best.
- Epoxy Reinforcement: Clean the crack thoroughly, sand the area lightly, and apply a high-strength epoxy like J-B Weld. Reinforce from behind if you can access it by removing lower trim.
- Bezel Replacement: In some models, the large mounting bezel is a separate part from the cup holder mechanism. You may be able to order just that bezel and snap a new cup holder into it. This requires finding the correct part number, which can be difficult.
- Professional Upholstery Shop: This is often the best solution for a cracked bezel. An auto upholstery shop can sometimes fabricate a metal or heavy-duty plastic reinforcement plate that bolts or adheres behind the cracked area, providing a solid mounting surface. It’s more expensive than a DIY part but cheaper than a full console replacement.
Prevention and Long-Term Care
You’ve fixed it. Now let’s keep it fixed. The rear cup holder takes abuse. Here’s how to be kind to it.
Visual guide about How to Fix the Rear Cup Holder in a Ford F-150
Image source: cdn-illustrations.revolutionparts.io
Mind What You Put In There
This is the number one rule. The F-150’s rear cup holder is designed for standard-sized drink cups and small bottles. Do not use it for:
- Large, oversized travel mugs or tumblers (like 30oz+ Yetis). The weight and width strain the clips.
- Glass bottles or jars. The weight is concentrated on a small area.
- Full, heavy water jugs or gallon containers.
Stick to medium-sized disposable cups, soda cans, and standard plastic water bottles. If you must use a large mug, consider placing it on the rear floor or in a backseat organizer.
Operate with Care
The mechanism has a small, fragile plastic pivot. Don’t force it. If you press down and it doesn’t budge, stop. Forcing it will break the pivot or spring. Clean it out instead (see below). When popping it up, do so gently. Let the spring do the work; don’t yank on the bezel.
Regular Cleaning is Non-Negotiable
Every few months, with the cup holder in the closed position, use a vacuum cleaner’s crevice tool to suck out debris. Then, with the unit popped up, use a damp cloth to wipe the cavity and the mechanism itself. Pay special attention to the pivot point. A little bit of sticky residue from a spilled drink will attract dust and grit, which acts as an abrasive and grinds the mechanism down over time. For sticky residues, a cotton swab with a drop of isopropyl alcohol works wonders. Never spray liquid directly into the mechanism; apply it to the swab.
Check for Other Wear and Tear
While you’re down there inspecting, take a moment to check the surrounding trim. Make sure the area around the cup holder isn’t cracked or stressed. Catching a small stress crack early can prevent a larger failure. This kind of proactive inspection is a core part of smart car ownership. For a comprehensive overview of checking your vehicle’s vital components, our friendly guide to checking your oil is a great place to start building a maintenance habit.
When to Seek Professional Help
While this is a classic DIY repair, there are times when calling in a pro is the smarter, more cost-effective move.
Signs of a More Extensive Problem
- The Entire Console Trim is Damaged: If the plastic around the cup holder is shattered or multiple pieces are broken, the repair becomes a trim replacement job, which is more involved.
- You Suspect an Electrical Issue: In some higher-trim F-150s, the rear cup holder may have a small LED light or be part of a heated/cooled console system. If the light is out but the mechanism works, it’s likely just a bulb. If the mechanism itself is unresponsive and you suspect an electronic fault (rare), diagnosis requires a professional.
- You Lack the Tools or Confidence: If the idea of prying on your interior trim makes you nervous, it’s okay to pay for peace of mind. A good independent mechanic or Ford dealer can do this in 30 minutes.
- Repeated Failures: If you’ve replaced the mechanism once and it’s broken again in a few months, the mounting bezel is likely the culprit and needs reinforcement or replacement by a trim specialist.
Cost vs. Benefit Analysis
A dealership will typically charge 1-2 hours of labor (at $120-$180/hr) plus the part markup. Expect a bill of $200-$400+. An independent shop might be $100-$200. The DIY cost is the price of the part ($15-$40) and your time (30-90 minutes). For 95% of simple clip failures, DIY is the clear winner. However, if your truck is under warranty (bumper-to-bumper or extended), check first. Some power accessory warranties might cover interior trim failures. A quick call to your dealer’s service department with your VIN can clarify this. Don’t assume it’s not covered.
Remember, your truck’s electrical system is complex. While the cup holder is mechanical, other minor issues can arise. If you ever encounter a dead battery, our guide on how to fix a dead battery can help you diagnose whether it’s a simple charge or a deeper issue.
Conclusion: You Can Do This
Fixing the rear cup holder in your Ford F-150 is a perfect first-time or intermediate DIY project. It’s inexpensive, teaches you about your truck’s interior construction, and delivers immediate, tangible satisfaction. The key is a methodical approach: diagnose the exact failure, get the correct part, and work patiently with plastic-friendly tools. You’ll save a significant amount of money, avoid a dealership appointment, and restore one of those little conveniences that make driving your F-150 enjoyable. That feeling when you press down and the cup holder pops up smoothly, holding your drink securely on a bumpy road? Priceless. Now, go grab your trim tools and tackle that nagging annoyance. Your future self, sipping a securely held coffee, will thank you.
Frequently Asked Questions
Do I need to remove the front seats or center console to fix the rear cup holder?
No, in almost all F-150 models, the rear cup holder is accessed directly from the top of the center console. You may need to tilt the front seats forward or remove a small storage bin or lower trim panel to reach a fallen unit, but full console removal is very rarely required.
How long should the repair take a first-time DIYer?
Allow 45 minutes to an hour and a half. The first time involves diagnosis, part sourcing, and careful prying. Once you’ve done it and know the exact process for your specific year and trim, you can likely complete it in 20-30 minutes.
Can I just use glue to fix a broken clip instead of replacing the part?
It’s not recommended. The clips experience constant stress and movement. Glue will fail quickly. Replacing the entire mechanism (which includes new clips) is the only reliable, long-term fix. The part is inexpensive enough that a temporary glue repair ends up costing more in time and repeated failure.
Will a cup holder from a 2018 F-150 fit my 2021 model?
Probably not. While the basic design is similar, Ford often makes subtle changes between generations and even mid-year refreshes. The clip locations, pivot points, and bezel shape can differ. Always verify part compatibility by your specific model year and trim level (XL, XLT, Lariat, etc.) before purchasing.
Is there an aftermarket “heavy-duty” cup holder that doesn’t break?
Yes, some aftermarket suppliers offer reinforced versions with metal clips or thicker plastic. Search for “heavy-duty” or “reinforced” F-150 cup holder. However, the best prevention is still to avoid overloading the stock unit with oversized containers. A reinforced unit is a good option if you frequently use large tumblers.
My truck is still under the original warranty. Should I just take it to the dealer?
It’s worth a quick call to your dealer’s service department with your VIN. Interior trim failures like this are sometimes covered under the vehicle’s bumper-to-bumper warranty, which typically lasts 3 years/36,000 miles. However, wear-and-tear items are often excluded. A five-minute phone call can save you the DIY hassle if it’s covered.