

How to Connect a Tesla Wall Charger to the App
Contents
- 1 Key Takeaways
- 2 📑 Table of Contents
- 3 Before You Begin: The Essential Preparation Checklist
- 4 The Step-by-Step Connection Process: Let’s Get Paired
- 5 What to Do After a Successful Connection
- 6 Troubleshooting: Why Won’t It Connect?
- 7 Advanced Tips and Best Practices
- 8 Conclusion: Your Smart Charging Hub is Ready
- 9 Frequently Asked Questions


Connecting your Tesla Wall Charger to the Tesla app is a straightforward process that unlocks powerful features like remote monitoring, scheduling, and energy usage tracking. First, ensure your home Wi-Fi network is stable and your Wall Connector is powered on. Using the Tesla app, navigate to ‘Energy’ or ‘Charging,’ select ‘Add Product,’ and follow the on-screen prompts to put the Wall Connector into pairing mode. Success depends on a strong 2.4GHz Wi-Fi signal and completing each step carefully. Once connected, you can control charging, set schedules, and monitor power consumption directly from your phone.
So, you’ve got your shiny new Tesla Wall Connector installed, and it’s happily charging your vehicle. But you’re not getting the full experience. That little box on your wall is a smart device, a powerful piece of tech that, when connected to the Tesla app, transforms from a simple charger into a central hub for your home charging ecosystem. Connecting it is the key to unlocking remote control, energy monitoring, and smart scheduling. If you’re staring at the blinking lights wondering what to do next, you’re in the right place. This guide will walk you through every single step, from pre-flight checks to troubleshooting, so you can get your Wall Connector talking to your phone in no time.
Think of the Tesla Wall Connector as a dedicated, high-speed internet router for your car’s battery. Just like you need to connect your laptop to your Wi-Fi to access the internet, the Wall Connector needs to connect to your home Wi-Fi network to “talk” to Tesla’s servers and, by extension, your Tesla app. The process is designed to be user-friendly, but it relies on a few specific conditions being met. We’ll break it down into digestible parts, ensuring you understand not just the “how” but the “why” behind each step. By the end, you’ll be a pro at managing your home charging.
Key Takeaways
- Prerequisites are critical: A stable 2.4GHz Wi-Fi network (not 5GHz) and a powered Wall Connector are mandatory before starting the app setup.
- The app guides the process: The Tesla mobile app provides clear, step-by-step instructions, including how to activate pairing mode via the Wall Connector’s LED light ring.
- Connectivity issues are common: Weak Wi-Fi signals, incorrect passwords, or network firewalls are the primary reasons connection fails; troubleshoot these first.
- App features post-connection: Once linked, you can remotely start/stop charging, set daily schedules, view energy history, and adjust amperage for cost or grid management.
- Firmware updates happen automatically: A connected Wall Connector receives over-the-air updates to improve performance and compatibility, which require no user action.
- Multiple connectors can be managed: The app supports managing several Wall Connectors on one account, ideal for homes with multiple EVs or charging stalls.
- Security is enabled by default: The Wall Connector uses secure encryption for all app communications, and you can set a PIN for added physical access control.
📑 Table of Contents
Before You Begin: The Essential Preparation Checklist
Rushing into the app setup without checking these boxes is the number one cause of frustration. Spend five minutes here to save yourself twenty later. The connection process is a dance between your Wall Connector, your phone, and your home network. All three must be ready.
1. Confirm Your Wall Connector is Powered and Ready
This might seem obvious, but it’s crucial. Your Wall Connector must be properly hardwired or connected to a dedicated circuit breaker and powered on. You should see its status light ring illuminated. A solid green light typically means it’s powered and ready, while a blinking green indicates it’s in pairing mode (which we’ll trigger later). If there’s no light, check your home’s electrical panel and ensure the breaker is on. If you’re unsure about the installation, consult a licensed electrician. A powered unit is your starting point.
2. Verify Your Wi-Fi Network Compatibility
This is the most common technical stumbling block. The Tesla Wall Connector only connects to 2.4GHz Wi-Fi networks. It does not support 5GHz networks. Many modern routers are “dual-band,” broadcasting both signals, often with the same network name (SSID). Your phone might be connected to the 5GHz band for speed, but the Wall Connector needs the 2.4GHz band for better range and compatibility.
- How to check/separate your bands: Log into your router’s admin panel (usually via a web browser, address like 192.168.1.1). Look for wireless settings. You can often rename the networks to something like “MyWiFi-2.4G” and “MyWiFi-5G” to easily distinguish them. Ensure the 2.4GHz network is enabled and broadcasting.
- Signal Strength is Key: The Wall Connector’s built-in Wi-Fi antenna isn’t as powerful as your phone’s. You need a strong signal at the location of the charger. If your router is far away or has many walls in between, consider a Wi-Fi extender or mesh system to boost the signal specifically where the charger is installed.
3. Have Your Wi-Fi Password Handy
You’ll need to enter your Wi-Fi network password exactly as it is during the setup. This is the password for the 2.4GHz network you identified above. Double-check for any special characters, case sensitivity, and ensure there are no trailing spaces. If you’ve changed your password recently, use the new one.
4. Update Your Tesla App and Phone OS
An outdated app or phone operating system can cause communication glitches. Before you start, open your phone’s app store (Google Play or Apple App Store) and check for any updates to the “Tesla” app. Also, ensure your phone’s iOS or Android OS is updated to the latest version. This ensures you have the newest protocols for connecting to Tesla’s servers and your Wall Connector.
5. Ensure Your Tesla Vehicle is Not Actively Charging
While not always strictly necessary, it’s best practice to have your vehicle unplugged from the Wall Connector during the initial pairing. The Wall Connector can sometimes have trouble establishing a clean network connection while actively managing a charging session. Once connected, it will seamlessly handle charging.
The Step-by-Step Connection Process: Let’s Get Paired
With your checklist complete, it’s time for the main event. Grab your phone and head over to your Wall Connector. The process is initiated from the Tesla app and confirmed on the Wall Connector’s light ring. Follow these steps precisely.
Visual guide about How to Connect a Tesla Wall Charger to the App
Image source: carstale.com
Step 1: Open the Tesla App and Navigate to Energy
Unlock your phone and open the Tesla app. Log in if prompted. At the bottom of the screen, you’ll see a menu bar. Tap on the icon that looks like a battery or says “Energy”. This section manages all your home energy products, including Powerwalls, Solar, and your Wall Connector. If you don’t see an “Energy” tab, look for a “+” icon or a “Products” section—the interface can vary slightly by app version and region.
Step 2: Initiate “Add Product”
Inside the Energy section, look for a button or link that says “Add Product” or a “+” symbol. Tap it. The app will now scan for new, unconfigured Tesla products on your local network. Since your Wall Connector is powered but not yet on your Wi-Fi, it will appear as a discoverable device. You should see an entry for “Wall Connector” or a generic “Tesla Product.” Select it.
Step 3: Prepare the Wall Connector for Pairing
The app will now give you specific instructions to put your physical Wall Connector into “pairing mode.” This is the most important manual step. You need to press and hold the button on the Wall Connector (the small circular button on the face of the unit) until its light ring begins to blink rapidly. This blinking indicates the unit is broadcasting its Wi-Fi network (a temporary network named something like “Tesla_Wall_Connector_XXXX”) for setup.
- Timing: Hold the button for about 5-10 seconds. The light will transition from solid to a slow blink, then to a fast, rapid blink. Release the button once you see the fast blink.
- What if it doesn’t blink? Ensure you’re pressing the correct button (not the release button on the handle). Try pressing and holding for a full 10 seconds. If it still doesn’t enter pairing mode, there may be an issue with the unit’s power or firmware; consult Tesla support.
Step 4: Connect Your Phone to the Wall Connector’s Temporary Network
Now, your phone needs to talk directly to the Wall Connector. The app will instruct you to go to your phone’s Wi-Fi settings. You should see a new Wi-Fi network available, typically named “Tesla_Wall_Connector” followed by a series of numbers/letters. Select and connect to this network. You may be prompted for a password; the default is often “password” or it’s open—the app will guide you. Your phone is now connected directly to the charger, bypassing your home router for this step.
Step 5: Configure and Connect to Your Home Wi-Fi
Once your phone is connected to the Wall Connector’s temporary network, return to the Tesla app. It should detect the connection and proceed to the next screen. Here, you will see a list of available Wi-Fi networks (this is your home’s Wi-Fi list, as the Wall Connector is now acting as a bridge). Select your 2.4GHz home network from the list. Then, carefully enter your home Wi-Fi password in the provided field. Tap “Connect” or “Next.”
Step 6: Wait for Confirmation
The Wall Connector will now attempt to connect to your home Wi-Fi network. This can take 30-60 seconds. Watch the light ring on the Wall Connector. It will blink while trying to connect. A solid green light means success! The app on your phone should also show a confirmation message like “Wall Connector is connected.” You’ll likely see the temporary “Tesla_Wall_Connector” network disappear from your phone’s Wi-Fi list as your phone automatically reconnects to your home network. The Wall Connector is now online and linked to your Tesla account.
What to Do After a Successful Connection
Congratulations! The hard part is over. Now you can start enjoying the smart features. Open the Tesla app and go back to the Energy section. You should see your Wall Connector listed, often with its current status (e.g., “Idle,” “Charging,” “Scheduled”). Tap on it to access the control dashboard.
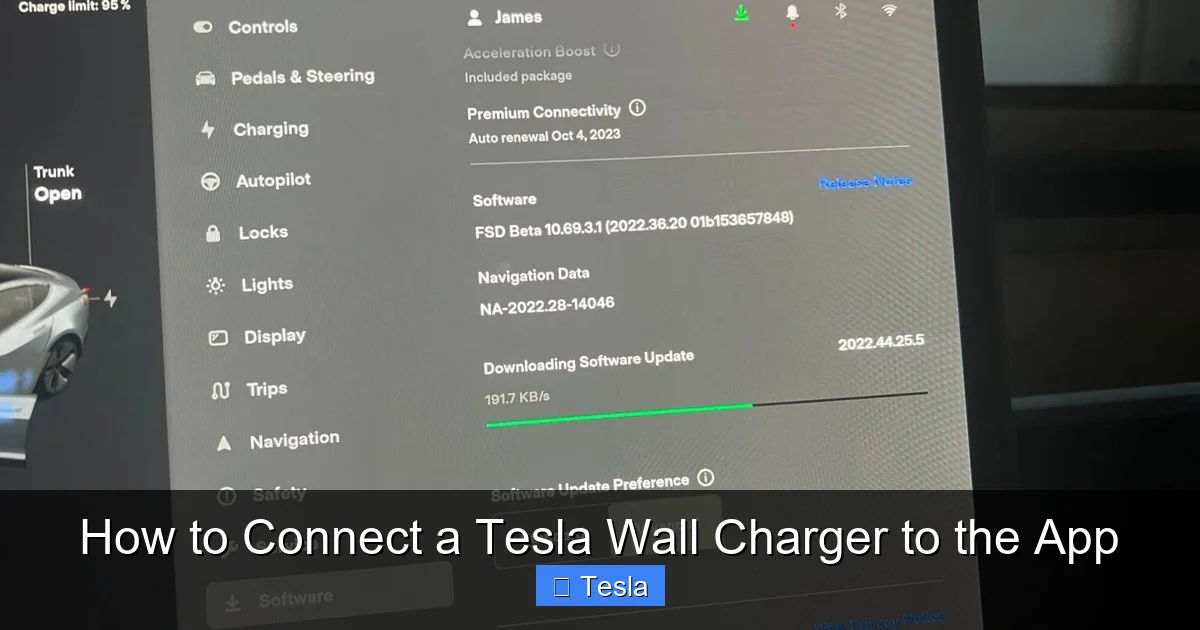
Visual guide about How to Connect a Tesla Wall Charger to the App
Image source: carstale.com
Exploring the Wall Connector Control Panel
This is your command center. Here’s what you can typically do:
- Start/Stop Charging: Immediately begin or halt a charging session for any vehicle plugged into that specific Wall Connector.
- Set Amperage: Adjust the maximum current (e.g., from 48A down to 20A). This is useful for managing total household electrical load or for slower, trickle charging. Note: Changing this setting affects all vehicles using that connector.
- Create Schedules: This is a killer feature. Set a daily schedule to only allow charging during specific hours (e.g., 12 AM – 5 AM). This is perfect for taking advantage of off-peak electricity rates or when your solar system is producing power. You can set multiple schedules for different days.
- View Energy History: See graphs and data on how much energy your Wall Connector has delivered over the past day, week, month, or year. This helps you track charging costs and usage patterns.
- Manage Access: You can grant or revoke access to other Tesla accounts (like a family member’s) for this specific Wall Connector.
- View Firmware & Details: Check the current software version and hardware info. Updates happen automatically in the background when connected.
Troubleshooting: Why Won’t It Connect?
Even with careful preparation, things can go wrong. Don’t panic. The blinking light codes on the Wall Connector are your best friend for diagnosis. Here’s a systematic approach to fix the most common issues.
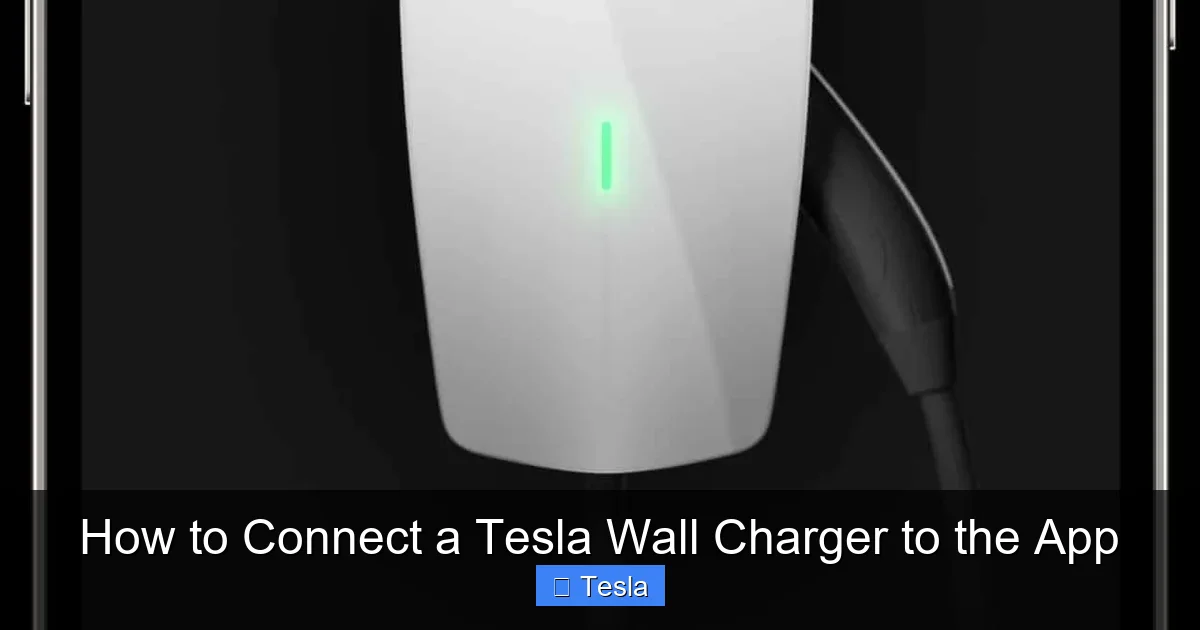
Visual guide about How to Connect a Tesla Wall Charger to the App
Image source: ilovetesla.com
Issue: The App Can’t Find the Wall Connector During “Add Product”
Symptom: You put the Wall Connector in pairing mode (fast blinking light), but the Tesla app doesn’t detect it.
Solutions:
- Restart Everything: Power cycle your Wall Connector by turning off its breaker for 30 seconds, then back on. Also, restart your phone and your home router. This clears any temporary network glitches.
- Check Proximity: You must be within 10-15 feet of the Wall Connector with your phone during the initial discovery and direct connection phases. Go stand right next to it.
- Forget Old Networks: On your phone, go to Wi-Fi settings and “Forget” any old Tesla_Wall_Connector networks from previous attempts. Then try the pairing mode process again.
- Disable VPN/Firewall: If you use a VPN on your phone or have a strict firewall on your home network, it can block discovery. Temporarily disable them for setup.
Issue: Wall Connector Fails to Connect to Home Wi-Fi (After Entering Password)
Symptom: You enter the password, but the Wall Connector’s light eventually turns red or starts a slow, irregular blink instead of solid green.
Solutions:
- Double-Check Password & Band: This is 90% of the problem. Are you absolutely sure you’re using the password for the 2.4GHz network? Try connecting another device (like a laptop) to that same 2.4GHz network with the same password to verify it works.
- Signal Strength: A weak signal will cause failure. Use a Wi-Fi analyzer app on your phone to check the signal strength at the Wall Connector’s location. You need at least -70dBm for a reliable connection. If it’s weaker, you must improve the signal with a repeater or access point.
- Router Settings: Some routers have “AP isolation” or “client isolation” settings that prevent devices on the network from seeing each other. Disable this. Also, ensure your router isn’t set to only allow specific devices (MAC filtering).
- Try a Hotspot: As a diagnostic test, create a mobile Wi-Fi hotspot on your phone (using your cellular data). Connect the Wall Connector to that hotspot (using your phone’s 2.4GHz band if possible). If it connects successfully, the problem is definitely with your home router’s configuration or signal.
Understanding the Wall Connector’s LED Light Ring Codes
The light ring isn’t just for show; it’s a diagnostic tool. Here’s what the patterns mean during and after setup:
- Solid Green: Power on and connected to Wi-Fi. Ready to charge.
- Blinking Green (Fast): Pairing mode (broadcasting temporary network).
- Blinking Green (Slow): Trying to connect to a Wi-Fi network.
- Solid Red: Fault or error. Unplug the connector, wait 10 seconds, and replug. If it persists, note the pattern (e.g., blinking red) and contact Tesla.
- Blinking Red/Green: Typically indicates a network authentication error (wrong password).
- Solid White/Blue: Charging in progress (color may vary by model year).
Advanced Tips and Best Practices
Once connected, you can optimize your setup further. These tips will help you get the most reliable and efficient smart charging experience.
Leveraging Schedules for Cost and Solar Savings
If you have a time-of-use (TOU) electricity plan, scheduling is your best friend. Set your Wall Connector to only charge during the cheap, off-peak hours (often late night). The app’s schedule is very flexible; you can set different times for weekdays vs. weekends. For solar owners, you can set a schedule to charge only when your solar system is producing excess power, effectively using free, clean energy. Pair this with the “Energy” section in the app to see exactly when your solar is generating and adjust your schedule accordingly. For more on managing home energy costs with EVs, you might find our article on how much does it cost to install a Tesla charger helpful, as it discusses long-term value.
Managing Multiple Wall Connectors and Vehicles
If you have a dual-port Wall Connector or multiple single-port units, they all appear in your app. You can name them (e.g., “Garage Left,” “Garage Right”) for easy identification. When you plug in, the app will ask which Wall Connector you’re using if it’s ambiguous. You can also set different schedules or amperage limits on each unit, which is great for balancing load if you have two EVs charging simultaneously.
Ensuring Long-Term Reliability
Your Wall Connector’s Wi-Fi connection should be stable for months. To keep it that way:
- Don’t Change Your Wi-Fi Password: If you do, you’ll need to re-run the setup process. Write down the password you used for the charger in a safe place.
- Update Your Router’s Firmware: Keep your home router’s software up to date to ensure compatibility and security.
- Static IP (Advanced): For ultimate reliability in complex networks, you can assign a static IP address to the Wall Connector in your router’s settings. This isn’t necessary for most homes but can prevent connection drops if your router’s DHCP lease times are short.
Conclusion: Your Smart Charging Hub is Ready
Connecting your Tesla Wall Charger to the app is a one-time setup that pays dividends every single day. It moves you from manually plugging in and hoping for the best to having complete, remote command over your charging. You can avoid peak electricity rates, maximize solar usage, monitor your energy footprint, and ensure your car is always ready when you need it—all from the convenience of your phone. The process hinges on three pillars: a stable 2.4GHz Wi-Fi signal, the correct use of pairing mode, and careful password entry. If you hit a snag, the Wall Connector’s light ring is your guide, and a methodical restart of your network devices solves most issues. Once that solid green light appears, you’ve successfully bridged your home’s power with your car’s digital brain. Enjoy the seamless, intelligent charging experience you paid for.
Frequently Asked Questions
Can I connect my Wall Connector to a 5GHz Wi-Fi network?
No, the Tesla Wall Connector only supports 2.4GHz Wi-Fi networks. This is for better range and compatibility with the device’s hardware. You must connect it to a 2.4GHz network, which may be a separate SSID on your dual-band router.
What does it mean if my Wall Connector’s light is blinking red and green?
A blinking red and green pattern usually indicates a Wi-Fi authentication failure, most commonly an incorrect Wi-Fi password. Re-enter your password carefully in the Tesla app during setup, ensuring you’re using the password for your 2.4GHz network.
My Wall Connector was connected but now shows as offline in the app. What happened?
This is typically a Wi-Fi connectivity issue. First, check if your home internet is working. Then, restart your Wall Connector by flipping its circuit breaker off and on. Also, restart your home router. If the problem persists, check for signal strength issues at the charger’s location.
Do I need to keep my phone connected to the same Wi-Fi as the Wall Connector to control it?
No. Once the Wall Connector is connected to your home Wi-Fi and your Tesla account, you can control it from anywhere via the Tesla app over the internet. Your phone can be on cellular data or any Wi-Fi network globally.
Can I connect a non-Tesla electric vehicle to a Tesla Wall Connector?
Yes, with an appropriate adapter (like a J1772 adapter for many non-Tesla EVs), you can physically plug in. However, the smart app features (scheduling, energy monitoring, remote start/stop) will only work when charging a Tesla vehicle. The connector will still provide power, but it won’t communicate with other brands’ apps or vehicles.
How many Wall Connectors can I add to one Tesla account?
There is no specific hard limit stated by Tesla for residential accounts. You can add multiple Wall Connectors to manage a home with several charging stalls. The app is designed to handle multiple units, allowing you to name and control each one individually.


