
How Do You Turn Off the Maintenance Required Light on a 2006 Toyota
Contents
- 1 Key Takeaways
- 2 📑 Table of Contents
- 3 Understanding the “Maintenance Required” Light
- 4 Preparation Before You Reset
- 5 Method 1: The Manual Odometer Reset (Most Common for 2006 Models)
- 6 Method 2: Using an OBD2 Scan Tool
- 7 After the Reset: What to Do Next
- 8 Model-Specific Notes for 2006 Toyotas
- 9 Conclusion: A Simple Task for a Happy Car
- 10 Frequently Asked Questions

Car Hydraulic Jack

Tire Repair Kit

Car Roof Rack Cross Bars

Tire Pressure Monitoring System (TPMS)
Turning off the maintenance required light on your 2006 Toyota is a simple, DIY task you can do in under a minute. You’ll typically use either the built-in odometer reset procedure or a basic OBD2 scanner. However, it’s crucial to remember that resetting the light does not replace the actual maintenance service it’s reminding you about—it only clears the reminder after the work is done.
That little wrench icon or “MAINT REQD” text glowing on your 2006 Toyota’s dashboard can be a nuisance. You know you’re a responsible owner, so why is your car nagging you? The good news is that this maintenance required light is not a warning of imminent breakdown; it’s a simple, mileage-based reminder from your Toyota’s onboard computer. And the even better news? You can turn it off yourself in less time than it takes to drink a cup of coffee, once you’ve actually done the maintenance it’s reminding you about. This guide will walk you through everything you need to know about that light, why it’s on, and exactly how to reset it on your 2006 model year Toyota, whether it’s a Camry, Corolla, RAV4, Tacoma, or any other model from that year.
Key Takeaways
- The light is a reminder, not an emergency: It signifies scheduled maintenance (usually an oil change) is due based on mileage or time, not a critical system failure.
- Two primary reset methods exist: Use the manual odometer/trip meter button sequence (no tools needed) or an OBD2 scan tool for a more universal reset.
- Always perform the required service first: Reset the light only after completing the necessary maintenance, like an oil and filter change, to avoid engine damage.
- Procedure varies slightly by model: While the 2006 Camry, Corolla, RAV4, and Tacoma share similar systems, always confirm your specific model’s steps in the owner’s manual.
- If the light returns quickly, investigate: A light that comes back on soon after a reset may indicate an unfinished service, a faulty sensor, or a more serious issue.
- No special technical skill is required: The manual method is designed for any owner to perform safely without risking vehicle electronics.
- Consult your owner’s manual: It contains the definitive, model-specific instructions and maintenance schedule for your 2006 Toyota.
📑 Table of Contents
Understanding the “Maintenance Required” Light
First, let’s demystify what this light actually is and isn’t. It’s part of Toyota’s Maintenance Reminder System. Unlike the “check engine” light, which signals a fault in the emissions or engine management system, the maintenance required light is a purely preventive care alert. It’s programmed to illuminate after a predetermined interval, typically every 5,000 miles (or 6 months, whichever comes first), to remind you that it’s time for routine service—most commonly an oil and filter change, but also including other inspections and replacements listed in your maintenance schedule.
How the System Works
Your 2006 Toyota’s computer constantly monitors the distance you drive. When the cumulative mileage reaches the programmed threshold since the last reset, it triggers the light. The system is not smart enough to know if you actually changed your oil; it only knows the miles have ticked by. This is why the first and most important step is to perform the required maintenance. Resetting the light without changing the oil or completing the service is simply lying to your car and yourself, potentially leading to accelerated engine wear. For a broader understanding of how these systems work across different models, you can read our general guide on how to turn off the maintenance light on a Toyota.
Why You Should Never Ignore It
While it’s not an urgent “stop driving” light, ignoring it for thousands of miles is a bad habit. Modern engines, even reliable Toyota ones, rely on clean oil at correct intervals. Driving with degraded oil increases friction, causes sludge buildup, and can dramatically shorten your engine’s life. The maintenance light is your car’s way of telling you it’s time to give it some care. Think of it as a helpful friend, not an annoying alarm.
Preparation Before You Reset
Before you touch any buttons, ensure you’ve completed the necessary service. For a 2006 Toyota, this is almost certainly an oil and filter change. You should have also had a basic inspection of tires, brakes, fluids, and belts. Once you’ve done the work (or had your trusted mechanic do it), you’re ready to reset the light. Gather nothing for the manual method—it uses your car’s own controls. If you plan to use a scan tool, you’ll need a basic OBD2 scanner that can perform basic service resets (most inexpensive ones do). You’ll also need your ignition key.
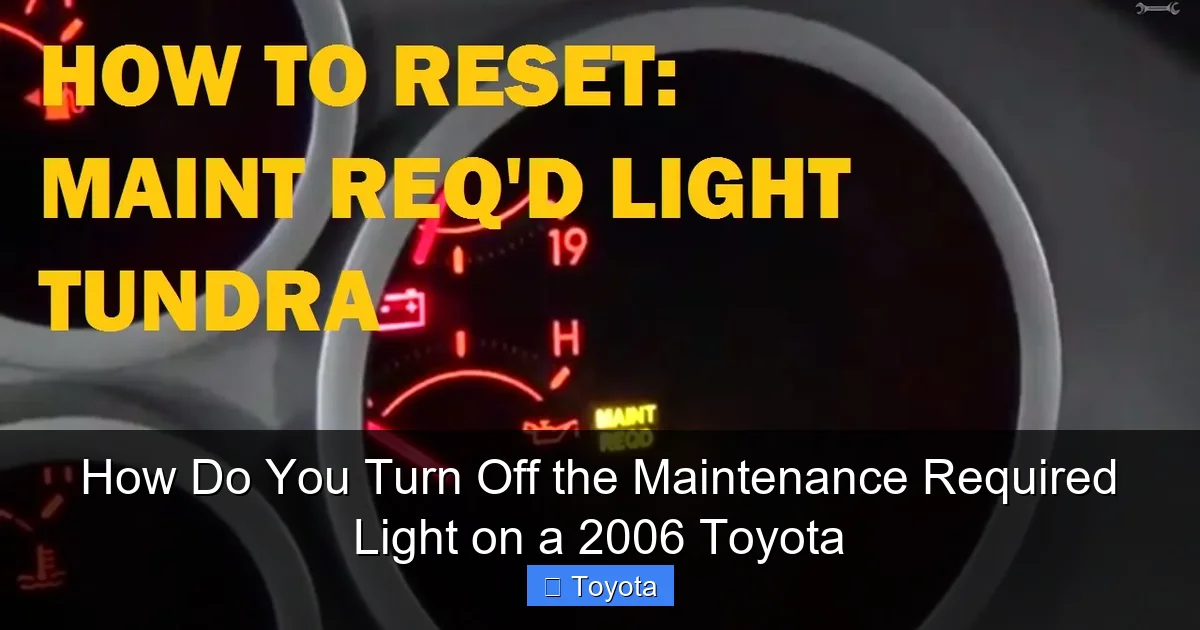
Visual guide about How Do You Turn Off the Maintenance Required Light on a 2006 Toyota
Image source: i.ytimg.com
Park your Toyota on a level surface, set the parking brake, and turn the engine off. You’ll be using the ignition in the “ON” or “ACC” position, but you won’t be starting the engine for the reset procedure. This is a safe, low-voltage operation. It’s also a perfect time to check your owner’s manual for the exact procedure and the recommended service interval for your specific model and engine type. For example, the procedure for a Toyota Tacoma might be identical to a Camry, but it’s always best to confirm.
Method 1: The Manual Odometer Reset (Most Common for 2006 Models)
This is the classic method and works on nearly all 2006 Toyota models without any special tools. It uses the trip meter/odometer button on your dashboard. The sequence is slightly different depending on whether your vehicle has a digital or analog odometer, but the principle is the same. For the vast majority of 2006 Toyotas (Camry, Corolla, RAV4, Tacoma, Highlander, etc.), you will use the following steps for a digital display.
Visual guide about How Do You Turn Off the Maintenance Required Light on a 2006 Toyota
Image source: i.ytimg.com
Step-by-Step Instructions for Digital Odometer
- Turn the ignition OFF. Make sure the car is completely off.
- Press and hold the “Trip/Reset” button. This is the button you normally use to toggle between odometer and trip meter readings or reset the trip meter. It’s usually on the instrument cluster near the speedometer.
- While still holding the button, turn the ignition to the “ON” position. Do not start the engine. Just turn the key to where the dashboard lights come on. You can also press the “Start” button without touching the brake pedal for push-button start models (though 2006 models were mostly key-based).
- Continue holding the button. The odometer display will change. It may show a series of dashes “—–” or a specific reset mode like “SET” or “dEl”. Keep holding the button for about 5-10 seconds.
- Release the button when the maintenance required light blinks and goes out. You should see the wrench icon or “MAINT REQD” text flash a few times and then disappear. The display may return to showing your normal odometer or trip meter reading.
- Turn the ignition OFF and then back ON to verify. Start the car or just cycle the key to ensure the light stays off. If it comes back on immediately, you may need to repeat the sequence or ensure you held the button long enough during the reset mode.
For Models with an Analog Odometer
Some base-model 2006 Toyotas may have a traditional rolling odometer. The process is similar but the feedback is different. You press and hold the trip meter reset button while turning the ignition to “ON.” Instead of a digital display change, you will watch the maintenance required light itself. It should blink a few times (usually 3-5 times) and then go out. Release the button after it goes out. If your light does not blink, try holding the button for a longer period (15-20 seconds) while the key is in the “ON” position.
What If It Doesn’t Work?
If the light does not reset after a couple of attempts, double-check that you are using the correct button. Some vehicles have a separate “Reset” button. Also, ensure you are turning the key to the “ON” position (dashboard lights on) and not trying to start the engine. The engine must remain off. If you’re still stuck, your vehicle’s system may require a scan tool, or you may have a different issue. Consulting a specific guide for your model, like how to reset the maintenance light on a Toyota Avalon, could provide model-specific nuances.
Method 2: Using an OBD2 Scan Tool
The manual method is preferred for its simplicity and cost (free). However, if the manual method fails for any reason, or if you simply prefer using technology, any basic OBD2 scanner that has “service reset” or “maintenance reset” capabilities will do the job. This is also the method you’d use for many newer vehicles, and it’s foolproof if you have the tool.
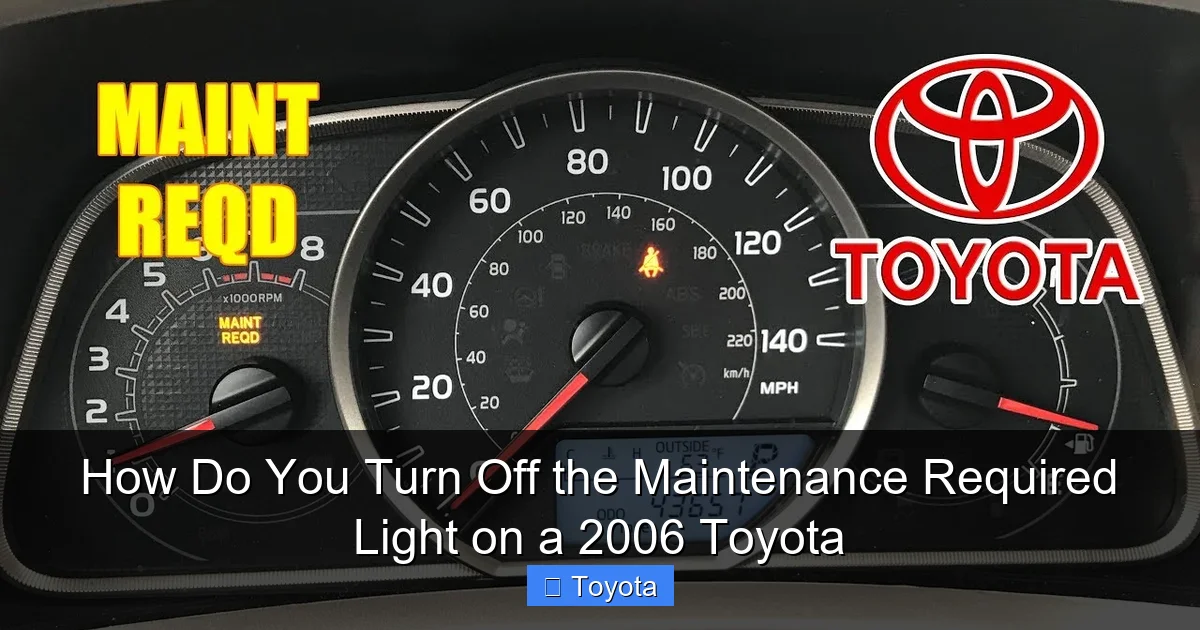
Visual guide about How Do You Turn Off the Maintenance Required Light on a 2006 Toyota
Image source: i.ytimg.com
Steps for Scanner Reset
- Locate the OBD2 port. This is a standardized 16-pin connector, usually found under the dashboard, just to the left of the steering column. It might have a plastic cover over it.
- Plug in your scanner. Turn the scanner on if it doesn’t power up automatically from the car’s OBD2 port.
- Turn the ignition to the “ON” position. Again, do not start the engine.
- Follow the scanner’s menu. Use the scanner’s buttons to navigate its menu. Look for options like “Service,” “Maintenance,” “Oil Reset,” “MAINT REQD Reset,” or “Wrench Icon Reset.” The exact wording varies by brand.
- Select the appropriate reset function. The scanner will communicate with your Toyota’s computer. It may ask you to confirm the reset. Follow the on-screen prompts.
- Wait for confirmation. The scanner should display a message like “Reset Successful” or “Service Light Reset.” You can then unplug the scanner.
- Verify the light is off. Check your dashboard. The maintenance required light should be extinguished. Start the engine to ensure it stays off.
Choosing a Scanner
You don’t need an expensive, professional-grade tool. Many affordable scanners (under $30-$50) from brands like Autel, Ancel, or Launch can perform this basic service reset on 2006 and newer Toyotas. When purchasing, check the product description or compatibility list to ensure it explicitly lists “maintenance light reset” or “service reset” for 2006 Toyota models. This is a great tool to have for other basic diagnostics too, like reading and clearing a check engine light on a Toyota Corolla.
After the Reset: What to Do Next
Congratulations! The nagging light is gone. But your job isn’t quite finished. Here are the critical next steps to ensure your reset was meaningful and your Toyota stays healthy.
Record the Reset Date and Mileage
Immediately note in your owner’s manual or a personal maintenance log the date and current odometer reading when you reset the light. This becomes your new baseline. The system will count down 5,000 miles (or the specified interval) from this point before illuminating again. This simple habit keeps you on top of future services.
Set a Calendar Reminder
Even if you don’t drive 5,000 miles in a year, the time-based interval (usually 6 or 12 months) still applies. Set a recurring reminder on your phone or calendar for the time-based service date. This ensures you don’t forget a service just because you’re a low-mileage driver.
Perform a Visual Check
Now is a great time to do a quick walk-around. Check tire pressure and tread depth. Look under the hood for any obvious leaks or issues. Check all fluid levels (oil, coolant, brake fluid, windshield washer). Catching a small problem early is always cheaper and easier than waiting.
Model-Specific Notes for 2006 Toyotas
While the process is overwhelmingly similar, here are quick confirmations for popular 2006 models:
- 2006 Toyota Camry: Uses the standard digital odometer reset method described above. The button is on the instrument cluster.
- 2006 Toyota Corolla: Identical procedure to the Camry. The reset button is on the odometer housing.
- 2006 Toyota RAV4: The manual method works perfectly. Ensure you are in the “ODO” display (not trip A or B) before starting the sequence for best results.
- 2006 Toyota Tacoma: The procedure is the same. Some owners report needing to hold the button slightly longer (10-15 seconds) for the light to blink. If you have a specific question, our dedicated guide on resetting the maintenance required light on a Toyota Tacoma can help.
- 2006 Toyota Highlander & Avalon: These larger models follow the same standard Toyota protocol. The Avalon’s button location might be slightly different, so consulting the manual is wise.
For any other 2006 Toyota model (Yaris, Sienna, 4Runner, Sequoia), the method is almost certainly the same. The key is the “Trip/Reset” button on the dash and the sequence of pressing it while turning the key to “ON.” If you ever move to a newer model, like learning how to reset the maintenance light on a 2021 Toyota RAV4, you’ll find the core concept remains, though menu navigation on a screen may replace the simple button sequence.
Conclusion: A Simple Task for a Happy Car
Turning off the maintenance required light on your 2006 Toyota is one of the easiest and most empowering DIY tasks you can do as a car owner. It reinforces the good habit of staying on top of scheduled service. Remember the golden rule: service first, reset second. Never use the reset procedure as a shortcut to skip necessary maintenance. By following the clear, tool-free odometer button sequence, you take control of your vehicle’s care schedule, save money on unnecessary dealership visits for a simple reset, and keep that reliable Toyota running smoothly for years to come. Now that you’ve conquered this, you might feel confident tackling other common light resets, like learning how to turn off the tire pressure light on a Honda Civic if you have multiple vehicles in your household. Your 2006 Toyota is counting on you for the maintenance, and you’ve got this!
Frequently Asked Questions
Can I just reset the light without doing the oil change?
Technically yes, but you should never do this. The light is a reminder that your engine needs fresh oil and a filter. Resetting it without performing the service is ignoring a critical maintenance need and will lead to increased engine wear and potential damage.
How many miles can I drive after the maintenance light comes on?
The system is designed to give you a buffer. You should plan to have the service done within 300-500 miles of the light illuminating. Driving significantly beyond that, especially without an oil change, risks harming your engine.
What if the light comes back on immediately after I reset it?
This usually means one of two things: either the reset procedure wasn’t completed correctly (try again, holding the button longer), or the system detected that the required service was not actually performed (e.g., the oil life monitor wasn’t reset by a professional scan tool after a service). Double-check your work.
Do I need a special tool to turn off this light?
No. For your 2006 Toyota, the manual odometer button method requires no tools at all. An OBD2 scanner is only needed if the manual method fails for some reason, or if you prefer using a tool.
What does the maintenance required light actually mean?
It means your Toyota’s onboard computer has calculated that it’s time for scheduled maintenance, based on the mileage and/or time since your last service. It is not an indication of a fault or a failing part.
My 2006 Toyota has a screen; is the process different?
The principle is the same. You will still use the trip/odometer reset button. The sequence might be accessed through the vehicle settings menu on the screen in some models, but the classic button-press-while-turning-key method is the standard for 2006 models with digital displays. Your owner’s manual will have the exact steps.


