How Do I Turn Off the Maintenance Required Light on a 2010 Toyota Camry
Contents
- 1 Key Takeaways
- 2 📑 Table of Contents
- 3 Understanding the “MAINTENANCE REQUIRED” Light on Your 2010 Camry
- 4 Step-by-Step: Resetting the Maintenance Required Light on a 2010 Toyota Camry
- 5 What Exactly Triggers the Maintenance Required Light?
- 6 The Critical Importance of Actual Maintenance vs. Just Resetting the Light
- 7 When Should You Seek Professional Help?
- 8 Common Mistakes and Troubleshooting Tips
- 9 Frequently Asked Questions


The “MAINTENANCE REQUIRED” light on your 2010 Toyota Camry is not an emergency warning but a friendly reminder that scheduled maintenance is due, typically an oil change. You can reset it yourself in under a minute using the odometer button on the dashboard after completing the necessary service. It is crucial to perform the actual maintenance first; simply resetting the light without addressing the underlying service needs can lead to engine damage.
Key Takeaways
- Purpose: The light is a maintenance minder reminder, not a fault indicator. It illuminates after a set mileage or time interval, usually signaling an oil change and other scheduled services.
- Prerequisite: Always complete the required maintenance (like an oil and filter change) before resetting the light. Resetting without servicing defeats the system’s purpose and risks engine wear.
- Simple Reset: The 2010 Camry uses a manual reset procedure via the odometer/trip meter button on the instrument cluster—no special tools or computer access are needed.
- Correct Procedure: The process involves turning the ignition on, locating the “ODO/TRIP” button, holding it while cycling the odometer display, and confirming the light blinks before turning off.
- Not a Check Engine Light: This is distinct from the yellow “Check Engine” light. The maintenance required light is for scheduled service; the check engine light indicates an emissions-related fault.
- When in Doubt, Consult: If the light returns quickly after a reset or you are unsure about the required service, refer to your owner’s manual or consult a trusted mechanic.
- System Reset: Resetting clears the current maintenance interval counter and starts a new countdown based on your driving habits and the service schedule.
📑 Table of Contents
- Understanding the “MAINTENANCE REQUIRED” Light on Your 2010 Camry
- Step-by-Step: Resetting the Maintenance Required Light on a 2010 Toyota Camry
- What Exactly Triggers the Maintenance Required Light?
- The Critical Importance of Actual Maintenance vs. Just Resetting the Light
- When Should You Seek Professional Help?
- Common Mistakes and Troubleshooting Tips
Understanding the “MAINTENANCE REQUIRED” Light on Your 2010 Camry
That small wrench icon glowing on your dashboard can be a bit annoying, can’t it? On your 2010 Toyota Camry, the “MAINTENANCE REQUIRED” light is a feature Toyota calls the Maintenance Minder System. It’s not a warning about something broken right now. Instead, think of it as your car’s sophisticated, built-in calendar and to-do list for upkeep. It calculates when your Camry needs routine service based on actual engine operating conditions, not just a simple mileage interval. This system considers factors like engine revolutions, temperature, and driving speed to determine when oil degradation and other service items are due. So, when it comes on, it’s saying, “Hey, it’s time for my check-up!”
For the 2010 model year, the Camry’s system primarily alerts you to an oil and filter change, which is the most frequent and critical maintenance item. However, depending on the specific service code that triggered the light (which you can view by cycling the odometer), it may also remind you of other scheduled inspections or replacements outlined in your owner’s manual’s maintenance table. The light will illuminate steadily and remain on every time you start the engine until you manually reset it after the work is done. This process tells the car’s computer, “The service has been performed; start counting for the next interval.” It’s a fantastic system for preventing forgotten oil changes, but it only works if you reset it after the work is complete. Many owners find the manual reset process surprisingly simple, which we’ll detail shortly.
How the Maintenance Minder System Works
The genius of the Maintenance Minder is its adaptability. Unlike older cars with a rigid “change oil every 5,000 miles” light, your Camry’s system uses algorithms. Severe driving conditions—like frequent short trips in cold weather, stop-and-go traffic, or dusty environments—cause the oil to degrade faster. The system senses these conditions through engine sensors and will illuminate the maintenance light sooner than if you only drove long, steady highway miles. This means your car is getting service reminders tailored to how you actually drive, not a generic estimate.
When the light first illuminates, it’s your signal to schedule service. If you continue driving for a short period after it comes on, say a few hundred miles, you generally won’t cause immediate harm. The system provides a buffer. However, ignoring it for thousands of miles is a different story. Degraded oil loses its lubricating and cooling properties, leading to increased engine wear and potentially costly repairs. Therefore, treating this light with prompt attention is one of the easiest ways to ensure your Camry’s 2.5L 4-cylinder or 3.5L V6 engine provides reliable service for years to come. For more general information on Toyota’s maintenance systems, you can read our guide on how to turn off the maintenance light on a Toyota.
Step-by-Step: Resetting the Maintenance Required Light on a 2010 Toyota Camry
Now for the part you’ve been waiting for. Resetting the maintenance required light on your 2010 Camry is a purely electronic process done through the instrument panel. You do not need any special scan tools, OBD-II adapters, or to pop the hood. It’s designed to be a homeowner DIY task. However, the absolute golden rule is this: only perform this reset after you or a professional has completed the necessary maintenance. If you just reset the light without changing the oil or performing the required service, you are simply erasing the reminder while your engine continues to run on potentially degraded fluids, which is a recipe for premature wear.
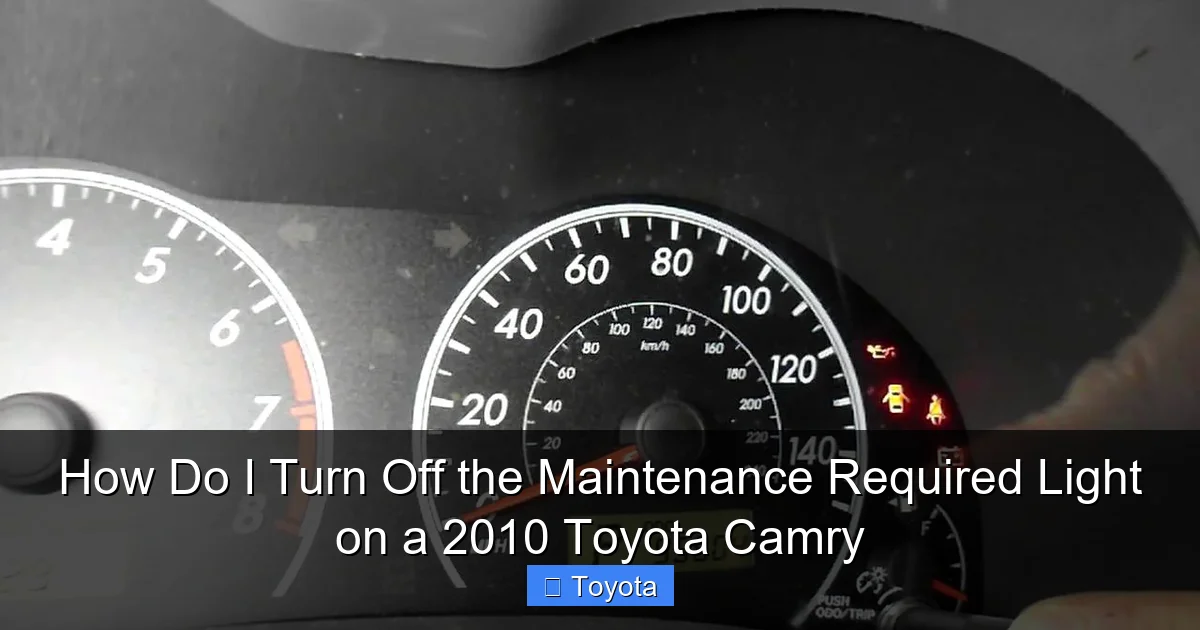
Visual guide about How Do I Turn Off the Maintenance Required Light on a 2010 Toyota Camry
Image source: i.ytimg.com
Before you begin, ensure the car is parked safely, the parking brake is set, and the transmission is in Park (or Neutral for a manual). You will be working with the ignition switch. The entire process should take less than 60 seconds once you know the steps. The method for the 2010 Camry involves the odometer/trip meter reset button, often labeled “ODO/TRIP” or just a single button near the speedometer. Let’s get into the precise sequence.
Preparation and Accessing the Reset Mode
First, get into the driver’s seat and close all the doors. You do not need the engine running, but you do need the electrical system powered on. Here is the initial setup:
- Insert your key into the ignition.
- Turn the key to the “ON” or “ACC” position. This is the position right before the engine starts, where all dashboard lights illuminate. Do not start the engine.
- Locate the button on your instrument cluster used to toggle between the odometer and trip meter displays. On the 2010 Camry, this is typically a small black button on the gauge cluster itself, near the speedometer or tachometer. It might have a label or a small symbol.
With the ignition in the “ON” position, your current odometer reading should be displayed on the digital screen in the gauge cluster. This is your starting point. If your trip meter is showing instead, press the button once to cycle back to the main odometer display. You need to see the total mileage the car has driven, not a trip A or B reading.
The Reset Sequence: Button Hold and Odometer Toggle
This is the critical part of the procedure. The sequence must be followed accurately:
- Turn the ignition ON. Ensure you see the odometer (total miles) on the display.
- Press and hold the “ODO/TRIP” button. You will need to hold it down continuously for several seconds.
- While still holding the button, turn the ignition OFF. Do not release the button.
- While continuing to hold the button, turn the ignition back ON. You may see the odometer display change or go blank momentarily.
- Continue holding the button. After a second or two, the display should show the maintenance required message or a series of dashes. The “MAINTENANCE REQUIRED” light may start to blink.
- Release the button. The light should blink a few times and then turn off. The odometer display will return to normal.
If the light does not turn off, the sequence was likely not performed correctly. The most common mistake is releasing the button too soon or not turning the ignition off and back on while holding it. Simply try the process again from the beginning. Sometimes, it takes two attempts to get the timing right. If the light still refuses to reset after several tries, it could indicate an electrical issue or that the system has not registered the completed service, in which case a professional diagnosis is warranted.
Verification and What to Expect Next
Once you have successfully completed the steps and released the button, turn the ignition completely off for about 10 seconds. Then, turn it back on to the “ON” position (without starting). Look at your dashboard. The “MAINTENANCE REQUIRED” light should be off. You should see your normal odometer reading. Start the engine and let it run for a moment; the light should remain off. This confirms the reset was successful. The system has now started its new countdown cycle based on your driving. The light will not come back on until the next service interval is due, which, for an oil change, is typically between 5,000 and 10,000 miles depending on your driving conditions.
It’s a good practice to note the current odometer reading in your service records or a personal logbook after a reset. This gives you a clear baseline for the next service. If you have your car serviced at a shop, always ask them to reset the light for you as part of the service. A reputable technician will always do this. If they forget, you now have the knowledge to do it yourself. For owners of other Toyota models, the procedure can vary slightly. For example, resetting the light on a Toyota Highlander or a Toyota Tacoma might use a different button combination or require the trip meter to be displayed first.
What Exactly Triggers the Maintenance Required Light?
Knowing what puts that wrench icon on your dash helps you understand what service is actually needed. As mentioned, the 2010 Camry’s Maintenance Minder is primarily an oil life monitor. The primary trigger is the engine oil’s degradation reaching a predetermined threshold. The system calculates this based on several parameters:
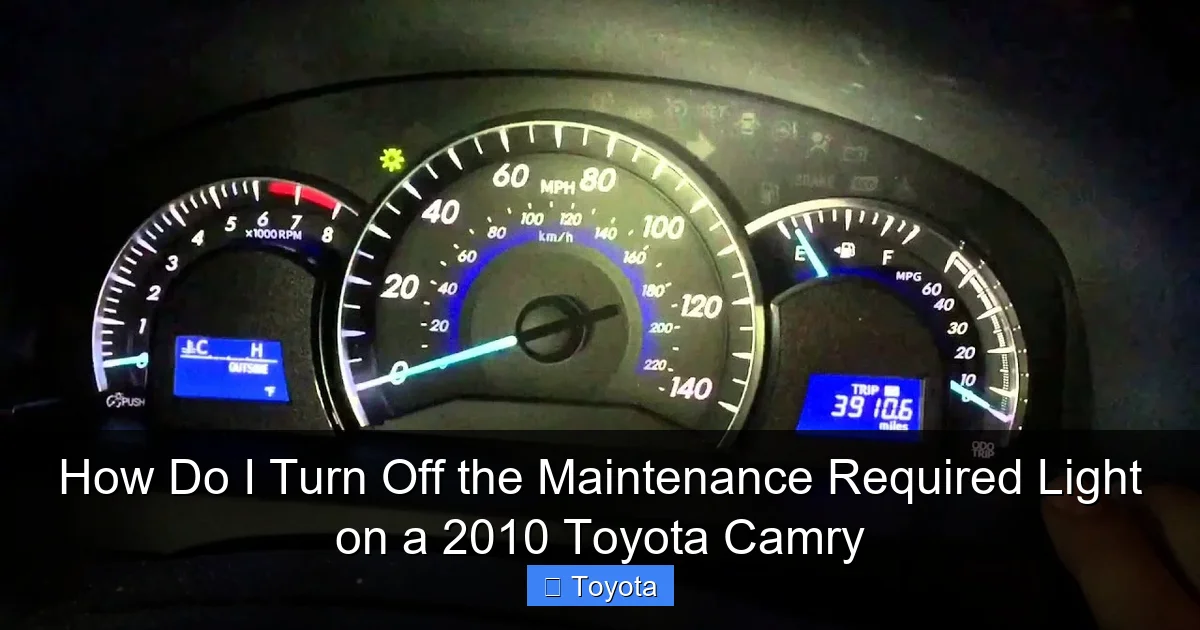
Visual guide about How Do I Turn Off the Maintenance Required Light on a 2010 Toyota Camry
Image source: i.ytimg.com
- Engine Revolutions: High-RPM driving wears oil faster than low-RPM cruising.
- Engine Temperature: Cold starts and short trips that don’t allow the engine to fully warm up are “severe” service, causing fuel dilution in the oil.
- Vehicle Speed: Consistent high-speed driving generates more heat.
- Time: Even if you don’t drive much, oil degrades over time. The system accounts for this.
When you take your Camry in for an oil change, the technician should not only drain the old oil, replace the filter, and refill with the correct grade and quantity (typically 0W-20 for the 2010 model) but also inspect other critical items. The maintenance schedule for a 2010 Camry at the “A1” or “B1” service level (which is what the light primarily indicates) includes:
- Oil and filter change.
- Multi-point inspection (tires, brakes, fluids, belts, hoses, etc.).
- Tire rotation and pressure check.
- Possible inspections of the cabin air filter, engine air filter, and other components based on mileage/time.
Sometimes, the maintenance required light can be linked to other service codes. If you cycle the odometer display while the light is on (by pressing the trip button), you might see a code like “A1” or “B1” appear briefly. This code tells you exactly what the system is requesting. “A” typically signifies an oil change only, while “B” signifies a more comprehensive service including oil change plus additional inspections. However, the light itself is the same. The system’s primary job is to ensure the oil is changed at the optimal time, which protects your engine from sludge and wear—two of the most common and expensive failure points.
The Difference Between “Maintenance Required” and “Check Engine”
This is a critical distinction every driver should know. The “MAINTENANCE REQUIRED” light is usually yellow or amber and looks like a wrench. It’s a proactive reminder for scheduled service. The “CHECK ENGINE” light is also yellow but looks like an engine block. It is reactive; it illuminates when the car’s computer (PCM) detects a problem with the emissions control system or another sensor that could cause increased pollution or poor performance. Problems like a loose gas cap, faulty oxygen sensor, or misfiring cylinder will trigger it. You should never ignore a check engine light, as it can indicate issues that will damage the catalytic converter or reduce fuel economy. You can reset a check engine light by fixing the problem, but often it requires a diagnostic scan tool to clear the fault code. For more on that specific light, see our article on how to reset the check engine light on a Toyota.
The Critical Importance of Actual Maintenance vs. Just Resetting the Light
Let’s be absolutely clear: resetting the maintenance light without performing the maintenance is a very bad idea. It’s like ignoring your doctor’s advice to get a physical and then erasing the appointment reminder from your phone. The light is a symptom of a need, not the need itself. The underlying need is for fresh, clean oil and a thorough vehicle inspection. Here’s why skipping the real work is dangerous:
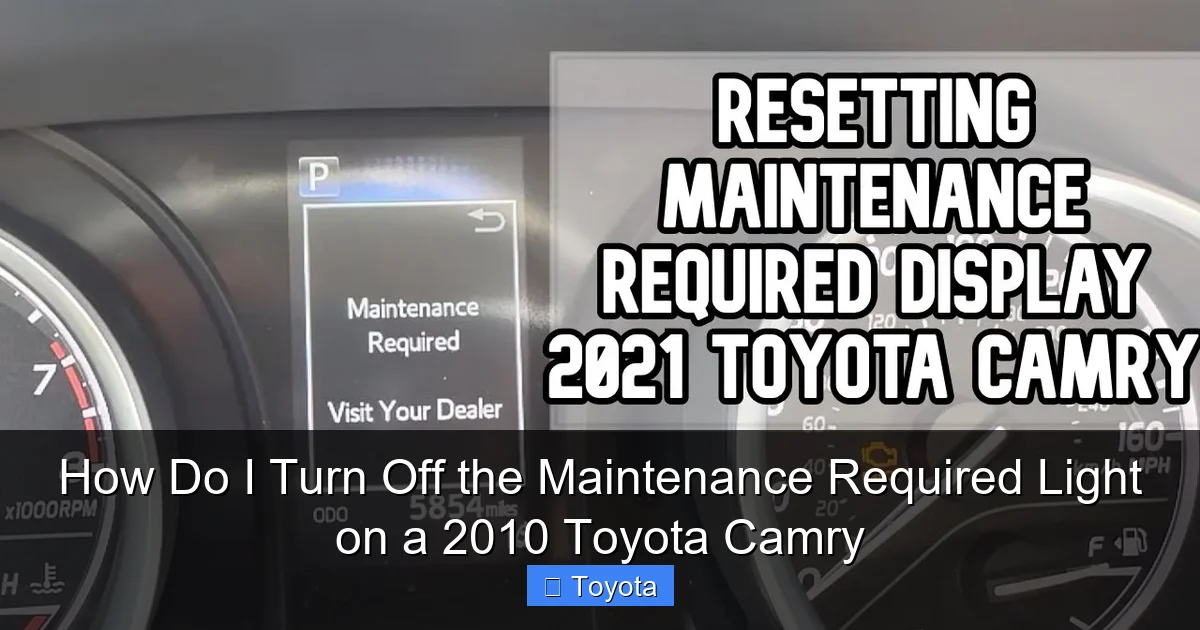
Visual guide about How Do I Turn Off the Maintenance Required Light on a 2010 Toyota Camry
Image source: autotoride.com
1. Engine Wear and Sludge: Engine oil’s primary jobs are to lubricate moving parts, reduce friction, cool the engine, and suspend contaminants. Over time, oil breaks down, loses viscosity, and becomes contaminated with metal shavings, fuel, and combustion byproducts. Running on old oil causes increased friction and heat, leading to premature wear on bearings, pistons, and valves. In extreme cases, it can lead to sludge formation—a thick, gooey mess that clogs oil passages and can cause catastrophic engine failure. Resetting the light doesn’t change the physical state of your oil.
2. Missed Safety Inspections: The “B” service interval includes a comprehensive safety check. A technician will inspect your brake pads and rotors for wear, check tire tread depth and pressure, examine suspension components, look for leaks, and test vital fluids like coolant, brake fluid, and transmission fluid. Catching a worn brake pad or a leaking seal during a routine service is far cheaper and safer than waiting for it to fail on the road. If you just reset the light, you miss this crucial safety net.
3. Voiding Warranty/Service Contracts: If your Camry is still under any form of warranty or a prepaid maintenance plan, failing to have the required services performed at the specified intervals (and documented) could void your coverage. The maintenance records serve as proof of proper care.
4. Devaluing Your Vehicle: A complete service history, with oil changes and inspections done at the recommended intervals, is a huge selling point. It proves to future buyers that the car was well-maintained. A car with a history of reset lights without corresponding service records will raise red flags and likely sell for less.
Think of the reset as the final “check-off” step in a maintenance process, not the process itself. The correct workflow is: Notice Light -> Perform Required Service -> Reset Light. Never invert that order. For specific maintenance schedules and what each code means, your owner’s manual is the ultimate authority.
When Should You Seek Professional Help?
While resetting the light is a simple DIY task, there are absolutely times when you should consult or hand the job over to a professional mechanic. The reset procedure itself is straightforward, but the context around the light is what matters.
The Light Comes On Immediately After a Reset: If you just had an oil change and the shop reset the light, but it comes back on within 100-200 miles, something is wrong. It could mean the oil level is low (a leak or burn-off), the wrong oil was used, or there is an underlying sensor or electrical issue causing the system to malfunction. Do not keep resetting it. Have a mechanic diagnose why the system thinks service is due so soon.
You Are Uncomfortable or Unsure: If the idea of fiddling with the ignition and buttons makes you nervous, or if you can’t locate the correct button, there’s no shame in having a dealer or quick-lube shop do it. It’s often part of their service anyway. A quick call to your Toyota dealer’s service department can also provide model-specific guidance.
Accompanying Symptoms: The maintenance light should come on alone, without other warning lights. If it illuminates simultaneously with the check engine light, oil pressure light, or any other red/yellow warning, stop driving (if safe) and seek help immediately. This indicates a potential serious problem, not just a service reminder.
You Need the Actual Service: Unless you are a confident DIY mechanic with the tools, space, and knowledge to perform a full oil change, tire rotation, and safety inspection, you should take your Camry to a trusted professional for the service itself. They will have the correct oil filter, high-quality oil, and the expertise to spot other potential issues. Many national chains and dealerships offer competitive pricing for these basic services.
Diagnosing Other Lights: If you are dealing with a different dashboard warning, like the Toyota Camry’s airbag light, that is a safety system issue that requires professional diagnostic equipment. That is not a simple reset procedure and should never be ignored.
Common Mistakes and Troubleshooting Tips
Even with a simple procedure, it’s easy to hit a snag. Let’s troubleshoot common issues and pitfalls.
Mistake 1: Not Performing the Service First
This is the #1 mistake, as emphasized. The reset is a signal to the car’s computer that service is complete. If you reset it first, you are lying to your car. The light will come back on at the appropriate interval, but your engine will have suffered unnecessary wear in the meantime. Always change the oil and filter first.
Mistake 2: Using the Wrong Button or Sequence
On the 2010 Camry, you must use the button that controls the odometer/trip meter display. This is not the same as the button that resets the individual trip meters (though they are often the same physical button used for different functions). The key is that you must be viewing the total odometer reading, not a trip meter, when you start the sequence. If you see “Trip A” or “Trip B” on the screen, press the button until the total mileage appears.
Mistake 3: Not Holding the Button Long Enough or Releasing Too Soon
The “hold” part of the procedure is non-negotiable. You must press and hold the button, then turn the key off, then turn it back on while still holding. Only after you see the light blink or the display change should you release. If you release the button as you turn the key back on, the sequence will fail. Practice the motion without the key if it helps: hold button, turn key off (simulate), turn key on (simulate), hold, then release.
Mistake 4: Trying to Reset with the Engine Running
The reset procedure only works with the ignition in the “ON” (accessory) position, but the engine must be off. Do not attempt this while the engine is running. The system will ignore the button presses. Turn the key back to the “OFF” position if you started the engine by accident.
What if the Light Won’t Turn Off?
If you’ve followed the steps meticulously multiple times and the light remains illuminated, there are a few possibilities. First, double-check that you are using the correct button for your specific trim level (LE, SE, XLE). While it’s almost universal, it’s worth confirming in your owner’s manual. Second, a weak or dead 12V battery can sometimes cause electrical glitches that prevent the reset from being saved. Ensure your battery is healthy. Third, and most likely, it could indicate a fault in the instrument cluster or the vehicle’s main computer (ECU). This is rare but possible. In this case, a professional scan with a diagnostic computer (like a Techstream tool at a Toyota dealer) is needed to communicate with the vehicle’s systems and force a reset or identify a fault code.
Light Comes Back On Too Soon
As mentioned, if the light returns after a very short distance (e.g., 50-100 miles), it’s a sign of a problem. Possible causes include: an extremely low oil level (check the dipstick!), a faulty oil level/pressure sensor, or the system not being properly reset after the last service (the counter was never cleared). Have the oil level checked immediately. If it’s full, a diagnostic scan is the next step.
By avoiding these common errors and understanding the “why” behind the procedure, you can confidently manage your Camry’s maintenance schedule. Remember, a well-maintained 2010 Toyota Camry is known for surpassing 200,000 miles with relative ease. Keeping up with these simple reminders is a cornerstone of that longevity.
Frequently Asked Questions
Can I drive my Camry with the maintenance required light on?
Yes, you can drive it for a reasonable distance, typically a few hundred miles. The light is a reminder, not an immediate danger signal like an oil pressure light. However, you should schedule and complete the required oil change and service as soon as possible to avoid engine wear from degraded oil.
How many miles can I drive after the light comes on before resetting it?
The system provides a buffer, but it’s not an exact number. As a rule of thumb, plan to get the service done within 500-1,000 miles of the light illuminating. Driving significantly beyond that risks engine damage due to old, ineffective oil. The light’s purpose is to prompt timely service.
Is the maintenance required light the same as the check engine light?
No, they are completely different. The maintenance required light (wrench icon) is for scheduled service like oil changes. The check engine light (engine icon) indicates a problem with the engine or emissions system that needs diagnosis. Never confuse the two; their meanings and required actions are distinct.
Do I have to change the oil before I can reset the light?
Absolutely, yes. Resetting the light without performing the oil change and other required services is counterproductive and harmful. The reset is the final step after the maintenance work is physically completed on the vehicle.
What tools do I need to reset the light?
No tools at all. You only need your ignition key and your finger to press and hold the odometer/trip meter button on the dashboard. The entire process is done manually through the car’s instrument cluster.
Will resetting the maintenance light also clear the check engine light or other warnings?
No. The maintenance required reset is a specific procedure for that one system only. It will not affect the check engine light, ABS light, airbag light, or any other warning indicator. Those lights have their own separate diagnostic and reset procedures, often requiring a scan tool to clear fault codes after the underlying problem is fixed.