
How Do I Turn Off the Check Engine Light on My 2013 Toyota Rav4?
Contents
- 1 Key Takeaways
- 2 📑 Table of Contents
- 3 Understanding the Check Engine Light: Your Car’s Cry for Help
- 4 Why You Should NEVER Just “Turn Off” the Light Without Diagnosis
- 5 How to Properly Diagnose the Problem Before Resetting
- 6 Methods to Reset the Check Engine Light on Your 2013 RAV4
- 7 When to Seek Professional Help for Your RAV4
- 8 Preventive Maintenance to Keep the Light Off
- 9 Conclusion: Knowledge is Power (and a Healthy RAV4)
- 10 Frequently Asked Questions
Turning off the check engine light on your 2013 Toyota RAV4 is a simple process, but it’s only the final step. The light is a warning that something is wrong. You must first diagnose the specific trouble code using an OBD-II scanner, address the underlying issue (like a loose gas cap or faulty sensor), and *then* reset the light. Ignoring the cause will only make the light return, often with a more serious problem.
Key Takeaways
- The check engine light is a symptom, not the problem: It indicates an issue the car’s computer has detected. Resetting it without fixing the cause is pointless and dangerous.
- You need an OBD-II scanner to read and clear codes: This inexpensive tool plugs into your RAV4’s port under the dashboard and tells you exactly what the computer is complaining about.
- Common, simple fixes exist: A loose or damaged gas cap is the #1 cause of a check engine light. Tightening or replacing it often resolves the issue instantly.
- Disconnecting the battery is a last resort: It will reset the light but also reset other systems (radio presets, clock, transmission adaptations). It does not fix the problem.
- Some issues require a professional: Problems with the catalytic converter, major sensor failures, or internal engine issues need a qualified mechanic’s expertise and tools.
- A “drive cycle” can sometimes reset the light: After a repair, the car’s computer may need to complete a specific driving pattern to confirm the fix before turning the light off itself.
- Don’t confuse it with the maintenance required light: The check engine light (usually yellow/amber) is for emissions/systems faults. The maintenance light (often “MAINT REQD”) is for scheduled service like oil changes. They are reset differently.
📑 Table of Contents
- Understanding the Check Engine Light: Your Car’s Cry for Help
- Why You Should NEVER Just “Turn Off” the Light Without Diagnosis
- How to Properly Diagnose the Problem Before Resetting
- Methods to Reset the Check Engine Light on Your 2013 RAV4
- When to Seek Professional Help for Your RAV4
- Preventive Maintenance to Keep the Light Off
- Conclusion: Knowledge is Power (and a Healthy RAV4)
Understanding the Check Engine Light: Your Car’s Cry for Help
That little amber icon that looks like an engine on your 2013 Toyota RAV4’s dashboard isn’t just being annoying. It’s your vehicle’s primary way of communicating that something in its complex network of sensors and systems isn’t operating within normal parameters. Officially called the Malfunction Indicator Lamp (MIL), the check engine light is part of your RAV4’s On-Board Diagnostics II (OBD-II) system, a standardized protocol mandated in all cars sold in the U.S. since 1996. When a sensor sends a reading that’s too high, too low, or absent entirely, the car’s computer (the Powertrain Control Module or PCM) stores a corresponding trouble code and illuminates the light to get your attention.
It’s crucial to understand that the light itself is not the problem. Think of it like a fever. The fever (the light) is a symptom of an infection (the underlying car problem). You can take fever-reducing medicine (reset the light), but if you don’t treat the infection, the fever will come back, and the infection could get much worse. The same principle applies to your RAV4. Simply turning off the light without diagnosing and repairing the cause is a waste of time and a surefire way to experience a breakdown or cause expensive damage. This guide will walk you through the correct, responsible process of dealing with your check engine light, from initial diagnosis to the final reset.
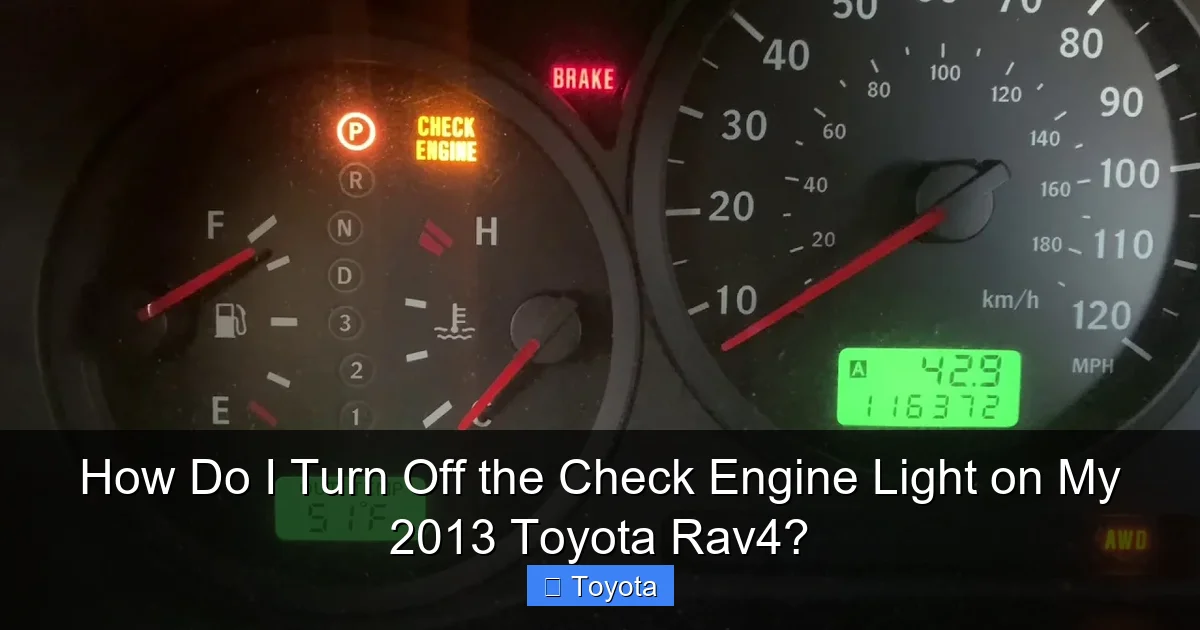
Why You Should NEVER Just “Turn Off” the Light Without Diagnosis
Before we get to the “how-to” of resetting the light, this is the most important section. The temptation to just clear the code and make the annoying light go away is strong, especially if your car seems to be driving fine. This is the worst thing you can do. Here’s why:
Visual guide about How Do I Turn Off the Check Engine Light on My 2013 Toyota Rav4?
Image source: cararac.com
The Light is Your Only Early Warning System
Modern vehicles like your 2013 RAV4 are designed to run efficiently and cleanly. The check engine light often illuminates for issues that haven’t yet affected performance but are increasing emissions or causing wear. A failing oxygen sensor, for instance, might not make the car drive poorly, but it will waste fuel and pollute more. If you ignore it, a small repair (like a $200 sensor) can cascade into a destroyed catalytic converter (a $2,000+ repair). The light gave you the early warning; erasing it throws that warning away.
It Will Almost Certainly Come Back, and Soon
The car’s computer is constantly monitoring all its sensors. If the problem that triggered the code is still present—say, a misfiring spark plug or a vacuum leak—the computer will detect the fault again, often within a few drive cycles (a drive cycle is the specific conditions the computer needs to run its tests), and the light will pop right back on. You’ve achieved nothing except a temporary illusion of a healthy car.
You’ll Fail Emissions Testing
In most states and counties, your RAV4 must pass an annual or biennial emissions test (smog check) to renew registration. One of the first things the testing station’s scanner does is check the status of your check engine light and look for stored trouble codes. If the light is on, or if the computer shows that a “monitor” (like the EVAP or catalytic converter monitor) hasn’t completed its self-test, you will automatically fail. A car with a recently cleared code may also fail because the monitors haven’t had time to run and set their “ready” status. You must fix the problem and then drive the car enough to let the monitors complete before testing.
You’re Driving Blind to a Serious Problem
Some codes indicate very serious issues. A code for a severe engine misfire, if ignored, can dump unburned gasoline into the exhaust system, overheating and destroying the catalytic converter. Codes related to the transmission or stability control systems could indicate a failure that might lead to a loss of vehicle control. The check engine light is your first alert that something in the powertrain or emissions system needs immediate attention. Resetting it without fixing the issue is like removing the battery from your smoke detector because it’s beeping.
How to Properly Diagnose the Problem Before Resetting
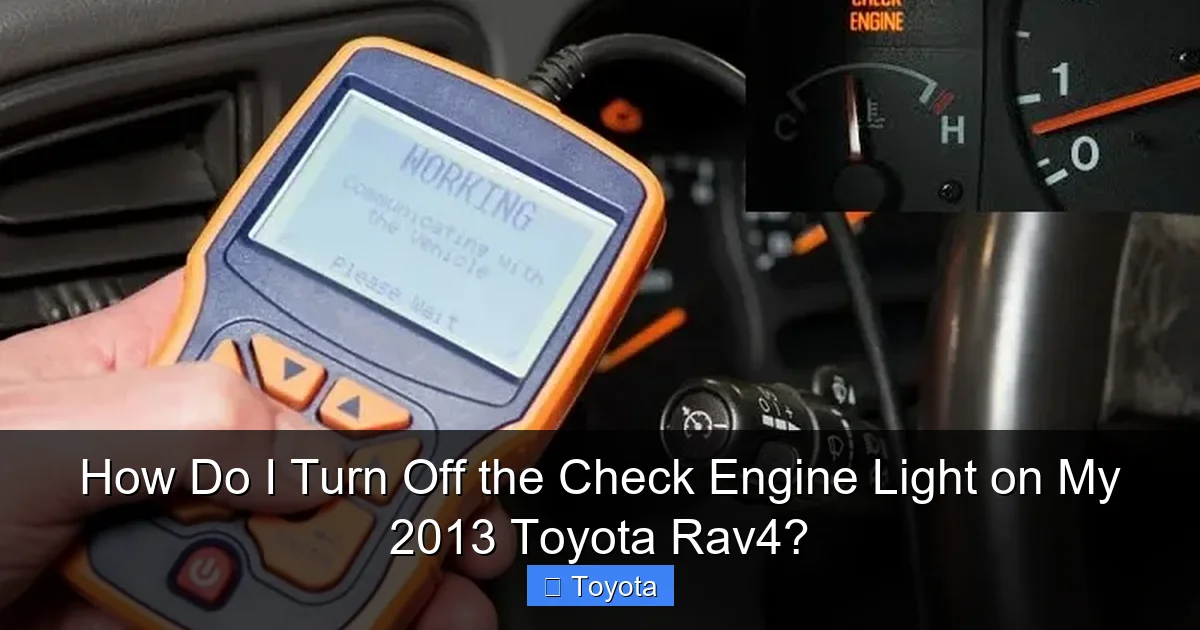
This is the non-negotiable first step. You must know why the light is on. The tool for this job is an OBD-II scanner. These range from free at some auto parts stores to $20 for a basic Bluetooth/wired reader you can keep in your glovebox, to hundreds for professional-grade tools.
Visual guide about How Do I Turn Off the Check Engine Light on My 2013 Toyota Rav4?
Image source: i.ytimg.com
Step 1: Locate the OBD-II Port
In your 2013 RAV4, the port is almost always located under the dashboard, just to the left of the steering column. It’s a trapezoidal-shaped 16-pin connector. You may need to remove a small plastic cover to access it.
Step 2: Read the Trouble Code(s)
Turn the ignition to the “ON” position (do not start the engine). Plug your scanner into the OBD-II port. Follow the scanner’s menu to select “Read Codes” or “Trouble Codes.” The scanner will communicate with the car’s computer and display one or more alphanumeric codes, like P0171, P0300, or P0455.
Step 3: Interpret the Code
This is the key. A code tells you which system the computer has a problem with, not necessarily the exact failed part. For example:
- P0171 / P0174 (System Too Lean): Means there’s too much air or not enough fuel in the mixture. Causes range from a simple loose gas cap (which seals the fuel system) to a dirty Mass Air Flow (MAF) sensor, a vacuum leak, or faulty fuel injectors.
- P0300 (Random/Multiple Cylinder Misfire Detected): The engine isn’t burning fuel properly in one or more cylinders. Could be spark plugs, ignition coils, fuel delivery, or a mechanical issue.
- P0455 (Evaporative Emission System Leak Detected): A large leak in the fuel vapor system. The most common cause is a loose or missing gas cap. It can also be a cracked hose or a faulty purge valve.
- P0420 (Catalyst System Efficiency Below Threshold): The catalytic converter isn’t cleaning exhaust gases effectively. This can be caused by a failing O2 sensor, an exhaust leak before the converter, or a clogged converter itself.
Use your scanner’s built-in definition (basic models have this) or an online database (search “[Your Code] Toyota RAV4”) to understand what the code means. Do not just clear the code after reading it. Write it down. This code is your starting point for diagnosis and repair.
Methods to Reset the Check Engine Light on Your 2013 RAV4
Once you have read the code, diagnosed the cause, and completed the necessary repair, you can reset the light. Here are the methods, in order of preference.
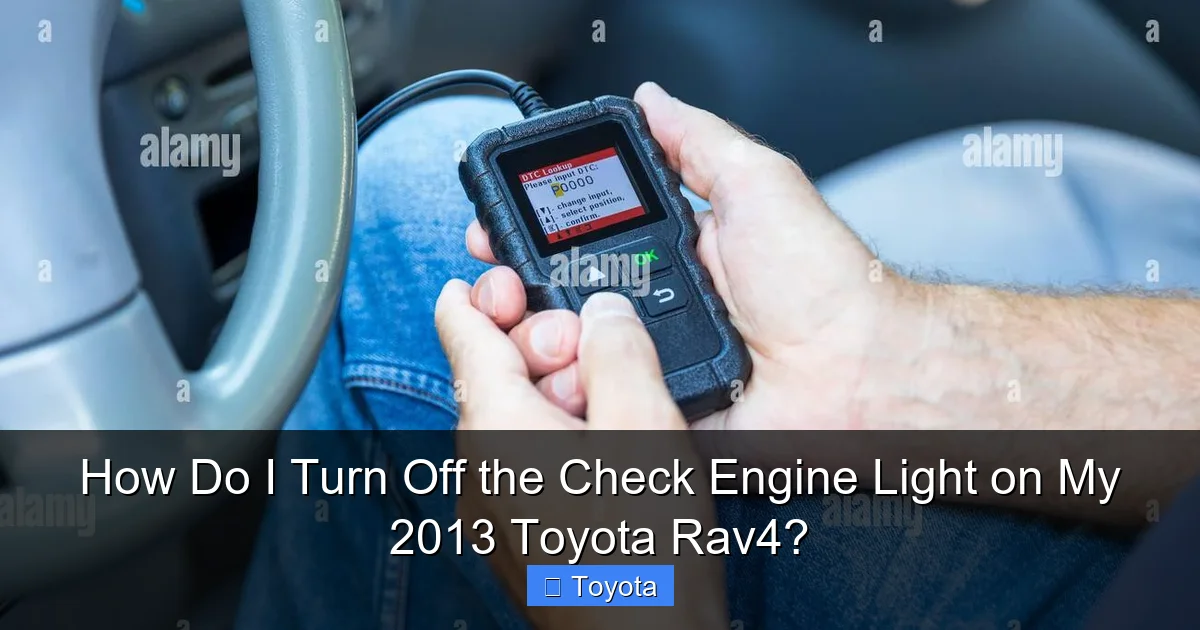
Visual guide about How Do I Turn Off the Check Engine Light on My 2013 Toyota Rav4?
Image source: c8.alamy.com
Method 1: The OBD-II Scanner (The Correct Way)
This is the standard, manufacturer-recommended method. Your scanner has a “Clear Codes” or “Erase Codes” function in its menu.
- Ensure the ignition is in the “ON” position (engine off).
- On your scanner, navigate to the “Clear Codes” option.
- Select it. The scanner will send a command to the car’s PCM to erase all stored trouble codes and turn off the MIL.
- The check engine light should go out immediately. You may see it flash once as a final confirmation before going dark.
Pro Tip: After clearing the code, some scanners have a function to check “Monitor Status” or “Readiness Monitors.” These are self-tests the car’s computer runs. For a successful emissions test, all monitors must show “Ready” or “Complete.” After a clear, they will all show “Not Ready.” You must then drive the car under various conditions (see the “Drive Cycle” section below) to allow the monitors to complete and set to “Ready.”
Method 2: The Drive Cycle (Letting the Car Do It Itself)
If you’ve made a repair and the problem is truly fixed, the car’s computer may automatically turn off the light after it successfully completes its internal self-tests, called “drive cycles.” This is common for minor issues like a tightened gas cap. The light may go out on its own after you’ve driven the car for 50-100 miles under mixed conditions (city and highway driving, with stops and starts). However, you can’t be sure it’s fixed until the code is cleared and the monitors set. Using a scanner to clear the code and then performing a proper drive cycle is the most reliable method.
Method 3: Disconnecting the Battery (The Blunt Force Method)
Warning: This method is generally discouraged for modern cars like your RAV4 because it causes more harm than good if done unnecessarily.
- It will reset the check engine light.
- It will also reset all other electronic memory: radio presets, clock, power window/seat settings, and most importantly, the PCM’s long-term fuel trim and transmission shift adaptations. Your RAV4 may drive slightly differently (hesitant, poor shifts) for a few drive cycles until the computer re-learns.
- It may trigger other temporary warning lights (like the VSC/TRAC light) that will also need to clear themselves after driving.
- It does not guarantee the underlying problem is fixed. The code will return if the issue persists.
If you must do this (e.g., your scanner has failed and you are certain the repair was successful), follow these steps: Open the hood. Disconnect the negative (-) battery terminal first. Wait at least 10-15 minutes to ensure all residual electrical charge is drained. Reconnect the terminal. The check engine light will be off, but you will need to drive the car for a while for all systems to re-initialize. You may need to re-enter radio security codes. This should be a last resort, not a first choice.
When to Seek Professional Help for Your RAV4
While many check engine light causes are DIY-friendly (gas cap, air filter), others absolutely require a professional technician’s skill, experience, and advanced diagnostic equipment.
Complex Diagnostic Trouble Codes
Codes like P0420 (Catalyst Efficiency) or P0300 (Misfire) have a huge range of potential causes. Pinpointing the exact faulty component often requires:
- Advanced live data scanning: Watching sensor data (fuel trim, oxygen sensor voltages, coolant temperature) in real-time while the engine is running to spot anomalies.
- Specialized tools: A smoke machine to find vacuum/EVAP leaks, a fuel pressure gauge, or an ignition oscilloscope to diagnose misfires.
- Mechanical knowledge: To differentiate between an electrical sensor problem and an actual internal engine issue (like low compression).
Misdiagnosing these can lead to replacing expensive parts that weren’t broken.
Multiple or Intermittent Codes
If your scanner pulls several codes from different systems (e.g., an oxygen sensor code, a misfire code, and a fuel trim code), the root cause might be something affecting multiple systems, like a major vacuum leak, a wiring harness issue, or a failing PCM. Diagnosing this “tree” of symptoms is complex.
Lack of Tools or Confidence
If you don’t own an OBD-II scanner, don’t understand the code, or are not comfortable performing the associated repairs (like replacing sensors, testing wiring, or inspecting for leaks), it is safer and more cost-effective in the long run to take your RAV4 to a trusted independent mechanic or a Toyota dealership. They can perform a professional diagnosis. A typical diagnostic charge (often $80-$150) is an investment that saves you from guessing and throwing parts at the problem.
Preventive Maintenance to Keep the Light Off
The best way to deal with a check engine light is to never see it. Adhering to your RAV4’s maintenance schedule is the single best defense.
Follow the Factory Maintenance Schedule
Your owner’s manual outlines critical services at specific mileage intervals. This includes:
- Regular Oil Changes: Dirty oil can harm sensors and cause sludge buildup.
- Air Filter Replacement: A clogged engine air filter restricts airflow, causing lean running codes (P0171).
- Spark Plug Replacement: Worn plugs cause misfires (P0300). For a 2013 RAV4, this is typically due at 120,000 miles, but check your manual.
- Fuel Filter Service: A restricted fuel filter can cause lean conditions.
Sticking to this schedule prevents many common causes of check engine lights. You can find the exact schedule for your model in your owner’s manual or by consulting a Toyota service guide.
Address Minor Issues Immediately
Notice a rough idle? A slight drop in fuel economy? A new noise? Don’t wait for the light. Investigate or have a professional look at it. Small problems are almost always cheaper and easier to fix when caught early.
Use Quality Fuel and Cap Your Gas Tank Properly
Always use the recommended octane fuel (regular 87 AKI for most 2013 RAV4 models). Poor-quality fuel can cause detonation and sensor issues. When refueling, make sure you hear at least three clicks when removing the nozzle, indicating the gas cap is properly seated. A loose cap is the #1 culprit for EVAP leak codes (P0455, P0442). If your cap is old, cracked, or the seal is damaged, replace it. They are inexpensive.
Conclusion: Knowledge is Power (and a Healthy RAV4)
Your 2013 Toyota RAV4’s check engine light is a valuable tool, not an adversary. By understanding that it’s a symptom of a specific electronic fault, you empower yourself to make smart decisions. The correct process is always: Scan > Read Code > Diagnose Cause > Repair Problem > Clear Code. Investing in a basic OBD-II scanner is the best first step for any car owner. It demystifies the light and gives you the information you need to either tackle a simple fix yourself or have an informed conversation with a mechanic. Remember, resetting the light without fixing the car is like silencing an alarm while your house is on fire—it provides a moment of quiet, but the destruction is already in motion. Treat that little amber engine icon with the respect it deserves, diagnose properly, and your RAV4 will reward you with many more years of reliable, trouble-free service.
Frequently Asked Questions
Can I just pull the fuse for the check engine light to turn it off?
No. The check engine light is controlled by the car’s computer (PCM). Pulling fuses may reset some systems but will not clear the stored trouble codes. The light will simply come back on when the computer powers up and sees the unresolved fault. You must clear the codes using an OBD-II scanner after a repair.
Will disconnecting the battery clear all codes and turn off the light?
Yes, disconnecting the negative battery terminal for 10-15 minutes will erase all stored trouble codes and turn off the check engine light. However, this is a blunt instrument. It also resets all other vehicle systems (radio, clock, transmission adaptations) and does not fix the underlying problem. The light and code will return quickly if the issue isn’t repaired. It’s not a recommended solution for a persistent problem.
How much does it cost to get the check engine light diagnosed and reset?
The cost varies. Many auto parts stores (like AutoZone, O’Reilly, Advance Auto Parts) offer free code scanning as a customer service. A basic OBD-II scanner can be purchased for $20-$50. If you take it to a repair shop, a professional diagnostic fee typically ranges from $80 to $150, which includes reading the codes, diagnosing the cause, and often resetting the light after the repair is complete. The reset itself is usually included in the diagnostic or repair labor.
My RAV4 is driving fine. Can I ignore the check engine light for a while?
It’s risky. While it may drive fine now, the underlying issue could be causing increased emissions, poor fuel economy, or damage to expensive components like the catalytic converter. The light is a warning that something is outside of specification. Ignoring it can turn a $100 fix into a $2,000 repair. You should diagnose and address it as soon as possible.
What’s the difference between the check engine light and the maintenance required light?
They are completely different. The check engine light (usually yellow/amber with an engine icon) indicates a fault in the engine, transmission, or emissions system detected by the computer. It requires diagnostic scanning. The maintenance required light (often says “MAINT REQD” or has a wrench icon) is a simple mileage-based reminder that it’s time for routine service like an oil change, tire rotation, or inspection. It is reset manually via the odometer button trip meter after the service is performed. You can learn how to reset the maintenance light here, but never confuse the two.
How many miles can I drive with the check engine light on?
There’s no safe number. It depends entirely on the severity of the fault. A loose gas cap? You can drive indefinitely after tightening it. A severe misfire or a code for a failed sensor controlling engine timing? You should stop driving immediately to avoid catastrophic engine damage. If the light is flashing (not just solid), it indicates a severe, immediate problem (like a misfire that could damage the catalytic converter). You should pull over safely and shut off the engine if the light is flashing. For a solid light, diagnose it within a few days to a week at most.


