How to Remove Trunk Cover Bmw X3
Contents
- 1 Key Takeaways
- 2 📑 Table of Contents
- 3 Understanding Your BMW X3 Trunk Cover
- 4 Essential Tools: What You Actually Need
- 5 Step-by-Step Removal Process
- 6 What’s Underneath? A Tour of the Hidden Compartments
- 7 Reinstallation: Putting It Back Together
- 8 Maintenance, Inspection, and Troubleshooting
- 9 When to Seek Professional Help
- 10 Conclusion: You’ve Got This!
- 11 Frequently Asked Questions
Removing the trunk cover on your BMW X3 is a straightforward DIY task that grants access to the spare tire, cargo space, and wiring. You’ll need basic tools like trim removal tools and a screwdriver, and must proceed with patience to avoid breaking plastic clips. Following our detailed guide ensures a safe, damage-free process, whether you’re installing a new liner or performing maintenance.
So, you need to get under the trunk cover of your BMW X3. Maybe you’re installing a new cargo liner, accessing the spare tire, or simply giving the hidden nooks and crannies a good clean. Whatever the reason, the process might seem a bit daunting at first glance. Those neat, contoured plastic panels can look like they’re permanently attached. But I’m here to tell you it’s a very manageable DIY project. With the right approach and a little patience, you can have that cover off in under 30 minutes without causing a single crack. This guide will walk you through every single step, for both the current G01 generation (2018-present) and the previous F48 generation (2014-2017). We’ll talk about the tools you actually need, the secret to finding every hidden fastener, and what to do once you have it off. Let’s pop the trunk and get started.
Key Takeaways
- Essential Tools: A plastic trim removal tool set, a Phillips-head screwdriver, and a flashlight are critical for a scratch-free job.
- Clip Awareness: The BMW X3 trunk cover uses many plastic retaining clips; prying them incorrectly is the most common cause of damage.
- Model Variations: While the core process is similar, G01 (2018+) and F48 (2014-2017) X3 models have slight differences in fastener locations.
- Systematic Approach: Work from the outer edges inward and remove all securing elements before lifting the cover to prevent stress on hinges.
- Inspect & Clean: Once removed, use the opportunity to inspect the spare tire well, check fluid levels like oil, and clean out debris.
- Reinstallation Matters: Ensure all clips and screws are properly aligned before snapping the cover back to prevent rattles and misalignment.
- When in Doubt: If a component feels stuck or you’re unsure, consult your owner’s manual or a professional to avoid costly repairs.
📑 Table of Contents
- Understanding Your BMW X3 Trunk Cover
- Essential Tools: What You Actually Need
- Step-by-Step Removal Process
- What’s Underneath? A Tour of the Hidden Compartments
- Reinstallation: Putting It Back Together
- Maintenance, Inspection, and Troubleshooting
- When to Seek Professional Help
- Conclusion: You’ve Got This!
Understanding Your BMW X3 Trunk Cover
Before we touch a tool, it helps to know what we’re dealing with. The trunk cover in your BMW X3, often called the “cargo floor cover” or “trunk liner panel,” is a single, large piece of molded plastic. Its primary job is to create a smooth, finished load floor and conceal the spare tire well, storage compartments, and all the wiring and hardware underneath. It’s not just a simple lid; it’s an integral part of the trunk’s interior design, which is why it’s secured in several places.
The Two Main Generations: F48 vs. G01
BMW has produced the X3 in two main generations during the last decade, and the trunk cover removal differs slightly.
- F48 (2014-2017): This model typically has the cover secured by a combination of plastic retaining clips around the perimeter and one or two screws, often hidden under small plastic caps or the cargo net anchors.
- G01 (2018-Present): The newer design relies even more heavily on plastic clips. It often features a full-width cargo net that must be removed first, and the clips can be more robust but also more fragile if pried incorrectly.
The principles are identical: locate all fasteners, release them carefully, and lift the panel. We’ll cover specifics for both as we go.
Essential Tools: What You Actually Need
You don’t need a garage full of equipment. In fact, using the wrong tools is the #1 reason people damage their plastic trim. Here’s your minimalist toolkit:
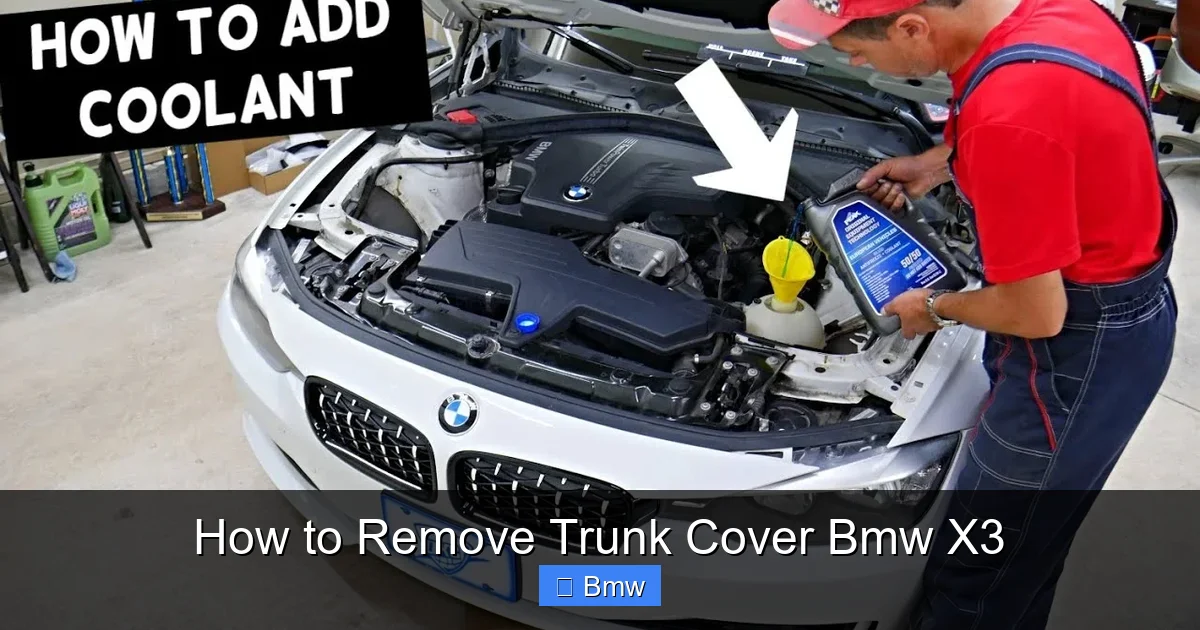
Visual guide about How to Remove Trunk Cover Bmw X3
Image source: thecarhow.com
- Plastic Trim Removal Tools (or “Pry Tools”): This is non-negotiable. A set of various widths and angles (available cheaply online) will let you pop clips without marring the paint or plastic. In a pinch, a broad, flat plastic putty knife can work, but dedicated tools are safer.
- Phillips-Head Screwdriver: A medium-sized #2 is usually perfect. Some models might use Torx bits (T20-T25), so having a small set of Torx bits is a good idea if you suspect screws.
- Flashlight or Headlamp: Trunks are dark places. A good light source is crucial for seeing clip locations and ensuring you’ve gotten them all.
- Gloves (Optional but Recommended): To keep your hands clean and protect them from sharp plastic edges.
What NOT to use: Never use metal screwdrivers, flathead chisels, or excessive force. These will gouge the plastic and break the thin retaining tabs on the clips. Think “persuasion,” not “force.”
Step-by-Step Removal Process
Now for the main event. Follow these steps in order. The key is to work slowly and feel for the clips releasing.
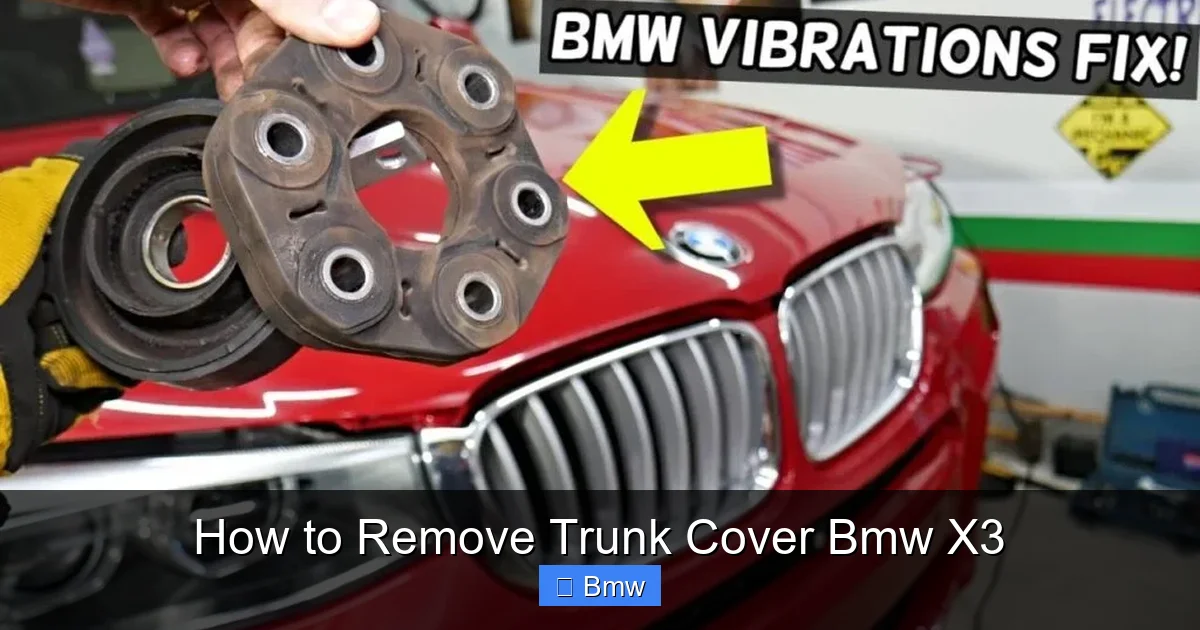
Visual guide about How to Remove Trunk Cover Bmw X3
Image source: thecarhow.com
Step 1: Prepare the Trunk Area
First, open the trunk. Remove any cargo nets, floor mats, or items stored on the cover. If your X3 has a full-width elastic cargo net attached to the sides, you’ll need to unclip it from its anchors first. These anchors are usually plastic clips on the side walls. Use your trim tool to gently pry the net’s hooks free.
Step 2: Locate All Fasteners
This is the detective work. Get down and look along the entire perimeter of the cover. You’re looking for two things:
- Plastic Retaining Clips: These are small, round, white or black plastic pieces. You’ll see them at regular intervals (every 4-8 inches). They have a center pin that pops out when pried. Use your trim tool to slip under the edge of the cover near a clip and gently lever upward. You should hear/feel a distinct “pop.”
- Screws: These are often hidden. Check:
- Under any rubber or plastic caps at the very front edge (near the tailgate seal).
- Under the cargo net anchor points if you haven’t already removed the net.
- Sometimes in the corners or under small round plugs.
Pro Tip: Start at one corner and work your way around. Don’t skip any section. A single missed clip will make the whole panel feel stuck and could cause it to flex and crack when you finally force it.
Step 3: Release the Clips
With all fasteners located, begin releasing them. Work your way around the perimeter. For clips, insert your trim tool at an angle between the cover and the metal body panel beneath. Apply steady, upward pressure. The clip’s center pin will pop up, and then the outer housing can be pulled free. You’ll often need to do this for both sides of a clip. For screws, simply unscrew them and set them aside in a safe spot.
Step 4: Disconnect Any Wiring or Hoses
Once all perimeter fasteners are free, the cover should lift slightly. Before lifting it all the way, check underneath. On some models, there might be a wiring harness for the trunk light or a small hose for a ventilation system clipped to the underside of the cover. Gently unclip any such connections. This is a common oversight that can snap connectors.
Step 5: Lift and Remove
With everything disconnected, grasp the cover near the rear tailgate hinge area. Lift it up and back, angling it to clear the lip of the trunk opening. It’s usually easiest to lift it straight up about 6 inches and then pull it toward you and out. Be mindful of the wiring you just disconnected. Set the cover aside on a soft surface, carpet side up, to avoid scratches.
What’s Underneath? A Tour of the Hidden Compartments
Congratulations! You now have full access. What you see depends on your model and whether it has a spare tire.
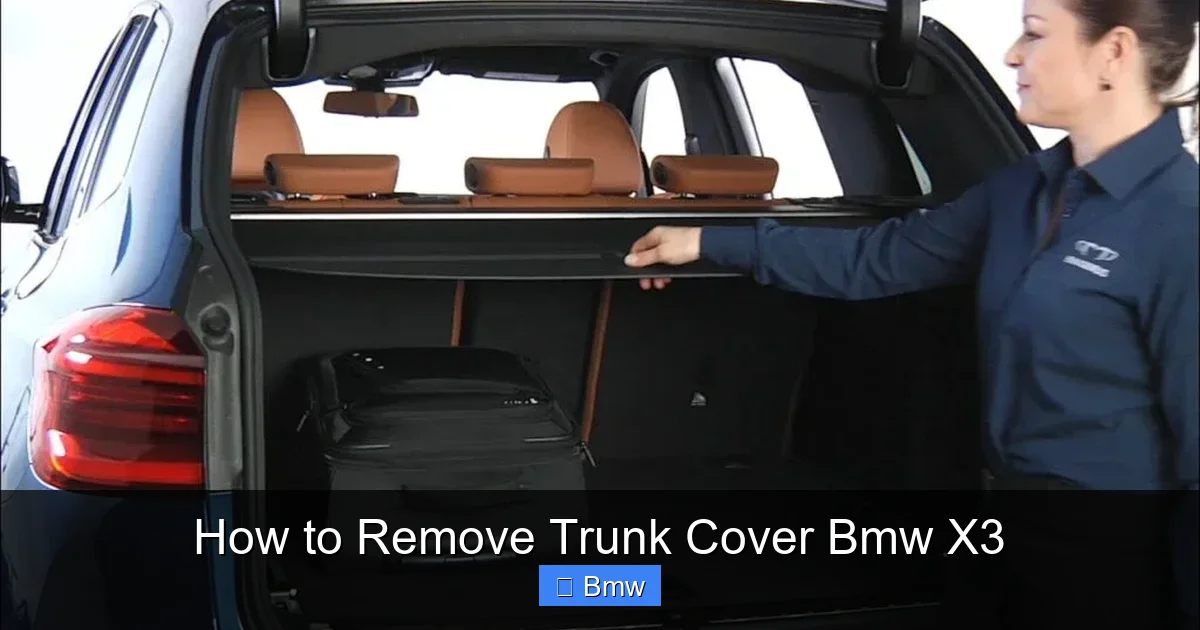
Visual guide about How to Remove Trunk Cover Bmw X3
Image source: thecarhow.com
- Spare Tire Well: The large circular recess in the center. Your spare tire and jack kit live here. This is a great time to check the spare’s air pressure (it often goes flat over time) and ensure the jack and lug wrench are present and in good condition.
- Storage Compartments: On many X3s, there are smaller rectangular bins on either side of the spare tire well. These are perfect for storing emergency supplies, the vehicle’s original tool kit, or jumper cables. They often have their own small lids.
- Wiring and Modules: You’ll see various wiring looms. This is the harness for the trunk light, license plate lights, and possibly the rear camera or sensors. You’ll also see the control module for the tailgate. Just look, don’t touch unless you’re diagnosing an electrical issue.
- Cargo Net Anchors: The metal hooks or plastic loops that your cargo net attaches to are mounted on the body panels here.
This is the perfect opportunity to vacuum out years of accumulated dirt, gravel, and leaves from these deep wells. Use a brush attachment to get into corners. If you notice any standing water or moisture, investigate the tailgate seal for leaks.
Reinstallation: Putting It Back Together
Reinstallation is essentially the reverse process, but a few key points will save you headaches later.
Aligning the Cover
Before you start snapping clips, do a “test fit.” Lift the cover into position and align it with the trunk opening. Ensure it sits flush all around. The front edge (closest to the tailgate) usually has a specific lip that hooks onto a small ledge on the body. Get this lip seated correctly first.
Re-engaging the Clips
Start at the front edge and work your way around. Instead of trying to snap each clip individually, press down firmly and evenly along a 12-inch section of the cover. The multiple clips will engage together, making it easier. You should hear a series of solid “clicks.” Go back and press down on any areas that feel loose. Ensure the cover is fully seated before moving to the next section.
Reconnecting and Final Checks
Reconnect any wiring harnesses you unplugged. Reinstall the cargo net if you had one. Re-screw any screws you removed, making sure any plastic caps are pressed back in flush. Finally, close the tailgate gently. Open and close it 2-3 times to ensure the cover doesn’t rattle or bind against the tailgate seal. If you hear a rattle, a clip is likely not fully engaged in that spot—press down on that area.
Maintenance, Inspection, and Troubleshooting
With the cover off, you have a golden chance to perform some essential checks.
Routine Inspection Checklist
- Spare Tire & Jack: Check pressure (typically 60 PSI for the compact spare). Ensure the jack crank handle is present and the jack itself isn’t rusted solid.
- Fluid Levels: While not directly under the cover, this is a great reminder. Check your engine oil. Knowing how much oil your BMW X3 takes and ensuring it’s at the correct level is critical for engine health. Also, peek at the coolant reservoir (usually visible from the engine bay, but some models have a secondary bottle here) for proper level and condition.
- Clean Thoroughly: Use a vacuum and a mild all-purpose cleaner. Avoid harsh chemicals that could degrade the plastic over time.
- Check for Rust/Corrosion: Look at the metal floor of the spare tire well and the surrounding body panels. Early detection of rust is much cheaper to treat.
Common Problems and Solutions
- Problem: A plastic clip is broken or missing.
Solution: Don’t panic. BMW uses standard-sized clips. You can buy a “trim clip assortment kit” from any auto parts store or online. The new clip simply pushes into the existing hole in the body panel. Take a broken one with you to match the size. - Problem: The cover feels warped or won’t sit flush after reinstallation.
Solution: This usually means a clip was missed or a wiring harness is pinched underneath. Carefully lift the cover again and re-inspect the perimeter and underside. - Problem: I can’t find all the fasteners!
Solution: Some are very well-hidden. Use your flashlight and feel along the seam with your fingers. On the G01, the front edge has about 8-10 small clips under the rubber seal lip. Gently pry the seal up slightly to see them.
When to Seek Professional Help
While this is a DIY-friendly job, there are scenarios where calling a pro is smarter. If you notice significant water intrusion in the trunk, the source might be a failed tailgate seal—a more complex fix. If you were removing the cover to diagnose an electrical issue like a non-working trunk light and the problem persists after reconnection, the fault could be in the wiring loom or a module, requiring specialized diagnostics. Also, if a major component like the tailgate strut or latch seems damaged while you’re working, stop and get it assessed. A failed strut can be a safety hazard, and the cost to replace a BMW windshield is high, so always use caution and proper tools around glass. Remember, the goal is to solve the problem, not create new ones.
Conclusion: You’ve Got This!
Removing the trunk cover on your BMW X3 is a rite of passage for any owner who wants to get hands-on with their vehicle. It demystifies a part of the car that’s usually hidden and empowers you to perform basic maintenance and installations. The secret weapons are the right plastic tools and a methodical, patient approach. By taking your time to locate every fastener and working from the edges inward, you’ll avoid the frustration of broken clips. Once it’s off, use that access to your advantage—check the spare, clean the well, and inspect components. When you put it back together, ensure every click is solid. You’ll finish the job with a sense of accomplishment and a deeper familiarity with your X3. Now, go ahead and pop that trunk. The hidden world underneath is waiting for you.
Frequently Asked Questions
What tools are absolutely necessary to remove a BMW X3 trunk cover?
You minimally need a set of plastic trim removal tools and a Phillips-head screwdriver. A flashlight is also highly recommended. Avoid metal tools to prevent damage to the plastic cover and paint.
How long should it take a beginner to remove the trunk cover?
For a first-timer, allocate 30-45 minutes. With experience, it can be done in 15-20 minutes. The time depends mostly on carefully locating and releasing all the plastic clips without breaking them.
What is the most common mistake people make?
The most common mistake is using a flat metal screwdriver or excessive prying force, which breaks the plastic retaining clips or cracks the cover itself. Always use wide, plastic pry tools and apply even, gentle pressure.
My trunk cover feels stuck even after I think I removed all screws. What do I do?
You likely have a missed plastic retaining clip. Go around the entire perimeter again with your flashlight and a trim tool. Feel for any areas where the cover is still securely attached. On G01 models, pay special attention to the front edge under the rubber seal.
Can I drive without the trunk cover installed?
Technically yes, but it’s not recommended. The cover protects your spare tire and stored items from dirt and moisture. It also keeps the load floor smooth and prevents items from sliding into the spare tire well. It’s a simple part that serves an important function.
How do I know if a broken clip needs to be replaced immediately?
If a clip is broken, the cover will be loose in that spot, potentially causing rattles or allowing the cover to flex and potentially crack further. It’s best to replace any broken clips before reinstalling the cover. Standard trim clip kits are inexpensive and readily available.