
How to Turn Off the Maintenance Required Light on a Toyota Rav4
Contents
- 1 Key Takeaways
- 2 📑 Table of Contents
- 3 Understanding the “MAINT REQD” Light: It’s Not What You Think
- 4 Before You Begin: Critical First Steps
- 5 Method 1: The Traditional Odometer Button Reset (For 2013-2018 Models)
- 6 Method 2: The Multi-Information Display (MID) Reset (For 2019+ Models)
- 7 Model Year Variations and Special Cases
- 8 Post-Reset: Verification and Best Practices
- 9 Proactive Maintenance: Beyond Just Resetting the Light
- 10 Frequently Asked Questions
The maintenance required light on your Toyota RAV4 is not an emergency warning—it’s a friendly reminder that scheduled service is due, typically an oil change. Resetting it is a simple process you can do yourself in under a minute after completing the necessary maintenance. The exact steps vary slightly depending on your RAV4’s model year and trim, primarily split between using the traditional odometer button or the modern multi-information display. Always perform the required service first, then follow the specific reset procedure for your vehicle to ensure your RAV4 stays in optimal condition and the light stays off until the next interval.
Key Takeaways
- The “MAINT REQD” light is a mileage-based service reminder, not a diagnostic trouble code. It illuminates after a preset interval (usually 5,000 miles) to notify you that routine maintenance like an oil and filter change is due.
- You must perform the actual maintenance (e.g., oil change) before resetting the light. Resetting without completing the service defeats the purpose of the reminder system and can lead to engine damage.
- The reset procedure depends on your RAV4’s generation. Models from 2013-2018 typically use the odometer/trip meter button, while 2019+ models use the steering wheel controls and multi-information display.
- The process does not clear any other dashboard warning lights. If a check engine light, oil pressure warning, or other serious indicator is on, address that issue separately before proceeding.
- If the light returns prematurely or cannot be reset, there may be an issue with the system or a sensor. Consult your owner’s manual or a certified Toyota technician for diagnosis.
- Keeping up with scheduled maintenance preserves your RAV4’s reliability, fuel efficiency, and resale value. The light is a tool to help you do that; don’t ignore it.
- Always refer to your specific owner’s manual for the definitive procedure and service intervals. While this guide covers the common methods, your manual is the ultimate source for your exact vehicle.
📑 Table of Contents
- Understanding the “MAINT REQD” Light: It’s Not What You Think
- Before You Begin: Critical First Steps
- Method 1: The Traditional Odometer Button Reset (For 2013-2018 Models)
- Method 2: The Multi-Information Display (MID) Reset (For 2019+ Models)
- Model Year Variations and Special Cases
- Post-Reset: Verification and Best Practices
- Proactive Maintenance: Beyond Just Resetting the Light
Understanding the “MAINT REQD” Light: It’s Not What You Think
That little wrench icon or “MAINT REQD” text glowing on your Toyota RAV4’s instrument panel can be a source of confusion and even a little anxiety. Is it serious? Is the engine about to fail? Take a deep breath. In the vast majority of cases, this light is simply your vehicle’s way of tapping you on the shoulder and saying, “Hey, it’s time for our regularly scheduled check-up.” Unlike the ominous check engine light, which signals an immediate problem detected by the engine computer, the maintenance required light is a pre-programmed, mileage-based timer. It’s a proactive tool designed to keep your RAV4 running smoothly and efficiently for the long haul.
Toyota’s maintenance reminder system is sophisticated for its simplicity. It doesn’t just count miles; it also factors in engine operating conditions, time, and sometimes even driving style to calculate when specific services are due. When you have your oil changed, the technician should reset this timer. However, if you perform the work yourself or take your RAV4 to a shop that forgets this step, the light will continue to illuminate, leading you to believe there’s an unresolved issue. This guide will demystify the process and empower you to turn off that light yourself, confidently and correctly, after you’ve done the necessary work.
Before You Begin: Critical First Steps
Rushing to reset the light without addressing the underlying service requirement is the most common mistake. The light is a consequence of a missed service interval, not the problem itself. Think of it like a calendar alert on your phone for a dentist appointment. You don’t delete the alert; you go to the appointment, then you mark it as done. The same principle applies here.

Visual guide about How to Turn Off the Maintenance Required Light on a Toyota Rav4
Image source: towingless.com
Verify the Required Service
Your first task is to determine why the light is on. Consult your Toyota RAV4 owner’s manual, specifically the maintenance schedule section. The standard interval for most modern RAV4s is every 5,000 miles or 6 months, whichever comes first, and typically includes:
- Oil and filter change (the most common trigger)
- Tire rotation and pressure check
- Comprehensive vehicle inspection (brakes, fluids, belts, hoses, etc.)
- Cabin air filter replacement (often at longer intervals)
If you’re unsure what service was last performed, it’s safest to perform a full oil and filter change and a tire rotation. This covers the most frequent triggers for the light. Using high-quality oil that meets Toyota’s specifications (like 0W-16 for many newer models) is crucial for engine health.
Gather Your Tools (You Likely Need Nothing)
The beauty of resetting the maintenance light on a RAV4 is that you almost never need any special tools. For the traditional method, you only need the ignition key or push-button start. For the newer multi-information display method, you just need to know how to navigate the steering wheel controls. Have your owner’s manual handy for reference, but this guide will walk you through it.
Safety First
Ensure your RAV4 is parked on a level surface, the parking brake is engaged, and the transmission is in “Park” (or “Neutral” for some manual procedures). If you’ve just finished an oil change, make sure the new oil level is correct by checking the dipstick. Never attempt to reset the light with the engine running or while driving.
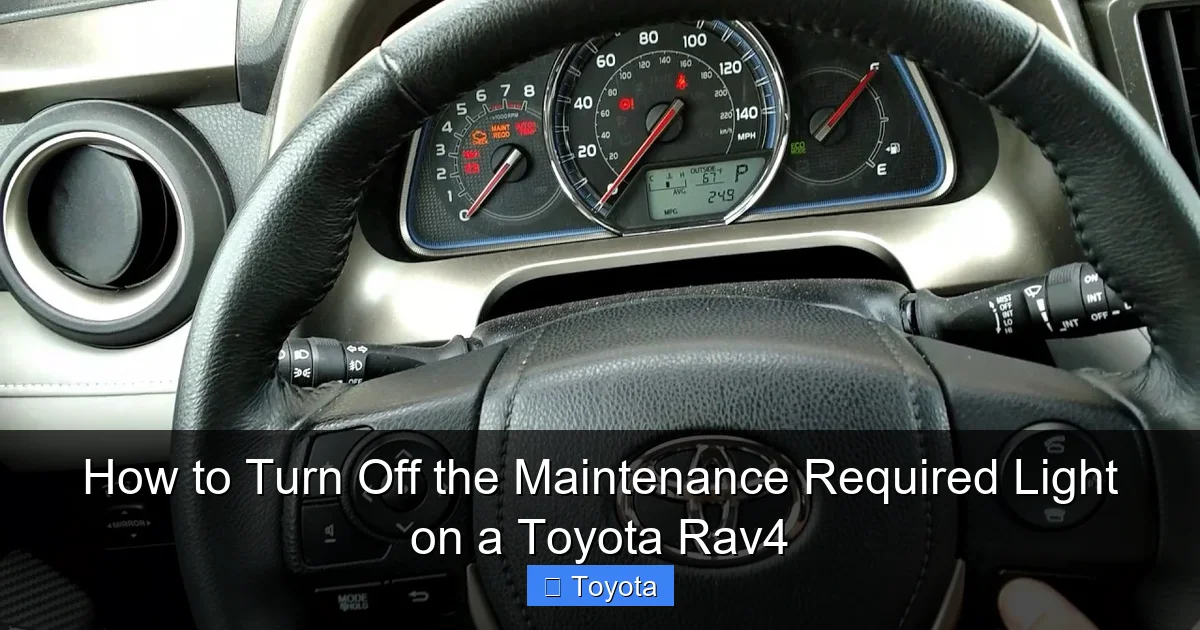
Method 1: The Traditional Odometer Button Reset (For 2013-2018 Models)
If you own a RAV4 from the fourth generation (model years approximately 2013-2018), your vehicle likely uses the classic, button-based reset procedure. This method is straightforward and relies on the odometer/trip meter display. It’s a physical process that feels very deliberate.
Visual guide about How to Turn Off the Maintenance Required Light on a Toyota Rav4
Image source: i.ytimg.com
Step-by-Step Walkthrough
Step 1: Turn the ignition to the “ON” position. Do not start the engine. Simply press the “Start/Stop” button once (without your foot on the brake) or turn the key to the “ON” or “IG-ON” position. All dashboard lights should illuminate, including the maintenance required light.
Step 2: Switch the odometer display to “Trip A” or “Trip B.” Use the button on your instrument cluster, often labeled “ODO/TRIP” or with a car and arrow icon. Press it repeatedly until you see “Trip A” or “Trip B” on the digital display. You must be on one of the trip meter screens, not the total odometer reading, for the next steps to work.
Step 3: Turn the ignition “OFF.” Press the “Start/Stop” button again to turn the car off, or turn the key to the “OFF” position.
Step 4: Initiate the reset sequence. Now, press and hold the “ODO/TRIP” button down. While continuing to hold it, turn the ignition back to the “ON” position (the same as Step 1). Keep holding the button.
Step 5: Watch the display and release. After a few seconds, you should see the maintenance required light begin to blink, and the odometer display will change to show a series of dashes “—” or a resetting counter. Once the display returns to showing “Trip A” or “Trip B” normally, and the wrench light has gone out, you can release the button.
Step 6: Verify the reset. Turn the ignition off and then back on. The maintenance required light should remain off. Start the engine and confirm the light does not reappear. If it does, repeat the process, ensuring you hold the button long enough during the sequence.
Pro Tip: The timing of turning the key while holding the button can be tricky. If it doesn’t work on the first try, turn everything off, take a breath, and try again carefully. The key is holding the trip meter button before and during the transition from OFF to ON.
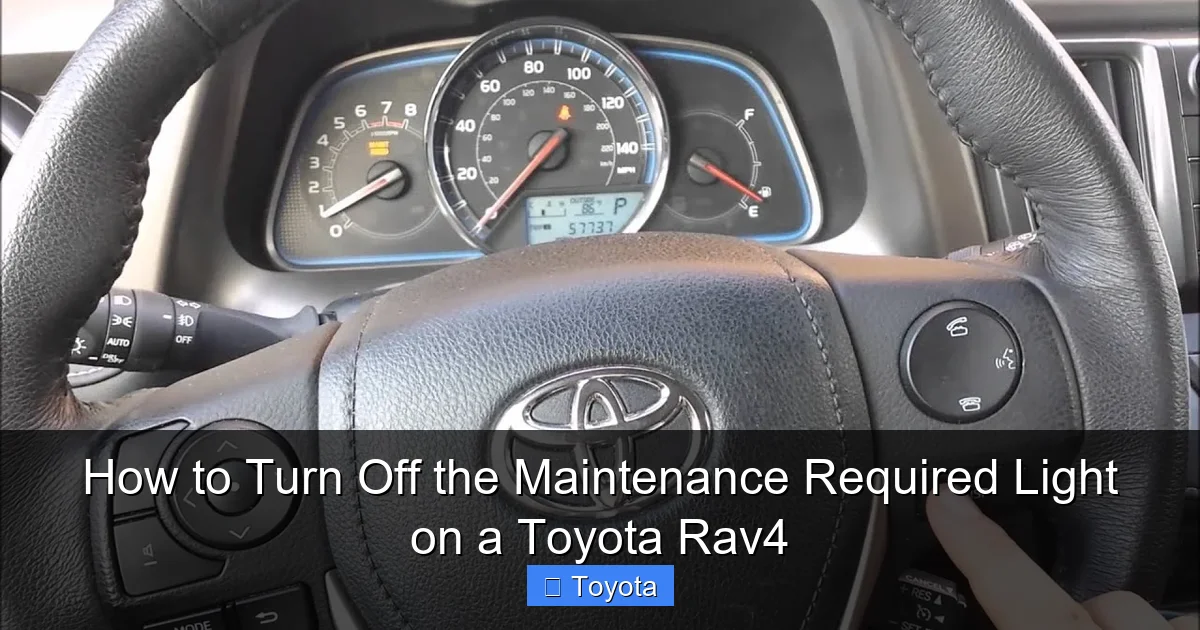
Method 2: The Multi-Information Display (MID) Reset (For 2019+ Models)
Starting with the fifth-generation RAV4 (2019 model year and newer), Toyota moved to a more intuitive, menu-driven system using the steering wheel controls and the larger color multi-information display. This method feels more like navigating a smartphone and is generally easier, once you know where to go.
Visual guide about How to Turn Off the Maintenance Required Light on a Toyota Rav4
Image source: i.ytimg.com
Navigating the Menu System
Step 1: Turn the ignition to the “ON” position. Again, do not start the engine. All dashboard lights, including the wrench icon, should be on.
Step 2: Access the vehicle settings menu. Using the buttons on the left side of your steering wheel (often labeled with a “Menu” or “Settings” icon and up/down arrows), navigate to the “Settings” or “Vehicle Settings” menu on your MID. The exact label can vary. You’re looking for an option related to “Maintenance,” “Service,” or “Scheduled Maintenance.”
Step 3: Select the maintenance reset option. Once inside the maintenance menu, you should see an option like “Maintenance Reset” or “Reset Maintenance Data.” Use the arrow keys to highlight it and press the “Enter” or “Set” button (usually the center button on the steering wheel stalk).
Step 4: Confirm the reset. The system will likely ask for confirmation, such as “Reset Maintenance?” or “Yes/No.” Select “Yes” or “Reset” and confirm. You should see a message like “Maintenance data reset” or a progress bar.
Step 5: Exit and verify. Exit the menu system by pressing the “Return” or “Back” button on the steering wheel. Turn the ignition off and then back on. The maintenance required light should be extinguished. Start the engine to double-check.
Visual Aid Tip: The process is very similar to resetting other reminders, like the seatbelt chime on a 2022 RAV4. If you can navigate one settings menu, you can likely find the other. This menu-based system is consistent across many of Toyota’s newer models, including the 2022 Toyota Highlander.
Model Year Variations and Special Cases
While the two methods above cover the vast majority of RAV4s on the road, there are always nuances. Hybrid models, different regional specifications, and mid-cycle refreshes can introduce small changes. Here’s how to approach them.
The Hybrid RAV4
The reset procedure for the gasoline-electric hybrid RAV4 (available since 2016) is identical to its non-hybrid counterpart for the same model year. The maintenance reminder system is integrated into the vehicle’s central computer and does not differentiate between powertrain types for this specific light. The steps for a 2020 RAV4 Hybrid are exactly the same as for a 2020 RAV4 LE. You can find a model-specific example in our guide for how to turn off the maintenance light on a 2020 Toyota RAV4.
European-Spec and Early Fifth-Gen Models
Some early 2019 RAV4s or models sold in specific markets might have a slightly different menu structure. If you cannot find “Maintenance Reset” in your settings menu, look for “Service,” “Sched. Maint.,” or even a wrench icon within the “Vehicle Information” section. The core concept of using the steering wheel controls to access a computer menu remains the same.
What If the Light Won’t Reset?
If you’ve completed the service and followed the correct procedure for your model year meticulously, but the light remains on or comes back on very quickly (within 100 miles), there is a problem. Possible causes include:
- A Faulty Reset: The procedure wasn’t completed correctly. Try again.
- A Bad Sensor: The oil life sensor or another monitoring sensor may have failed.
- An Unaddressed Issue: Another system fault (like a loose gas cap) can sometimes interfere. Check if any other warning lights are on.
- Electrical Glitch: A temporary software glitch. Disconnecting the battery for 10 minutes can sometimes clear it, but this may reset other systems like radio presets.
At this point, it’s time to consult a professional. A Toyota dealer or reputable independent shop can use a diagnostic scan tool to check for any stored codes and manually reset the maintenance system if necessary. This is also covered in more general guides, such as our article on how to reset the maintenance required light on a Toyota.
Post-Reset: Verification and Best Practices
You’ve successfully turned off the light. The job isn’t quite done. A few final steps ensure everything is in order.
Confirming a Successful Reset
As mentioned, turn the ignition off and on again. Start the engine and let it idle for a few seconds. The maintenance required light should stay off during normal operation. Take the car for a short drive (1-2 miles). The light should not reappear. If it does, the reset was not stored properly, or a new fault has occurred.
Recording the Service
Even though the computer’s timer is reset, you should maintain your own physical or digital service record. Note the date, mileage, and service performed (e.g., “Oil & Filter Change, 5W-20, Tire Rotation”). This log is invaluable for your own tracking and for proving maintenance history when you sell the vehicle. It also helps you anticipate the next service.
Resetting Other Maintenance Items
Some Toyota models, including certain RAV4 trims, allow you to set multiple maintenance reminders (e.g., for tire rotation, cabin filter) within the same menu system. After resetting the main “MAINT REQD” light, explore the menu to see if other specific interval reminders need to be updated to match your service. This level of detail is more common in higher-trim models with full digital displays.
Proactive Maintenance: Beyond Just Resetting the Light
Resetting the light is the final step in a maintenance cycle. The real value lies in the consistent, timely completion of the services the light reminds you about. Viewing this light as an enemy to be silenced is the wrong approach. See it as your RAV4’s personal assistant, helping you protect one of your most significant investments.
Adhering to the Schedule
Sticking to the 5,000-mile/6-month interval (or the interval specified in your manual for your driving conditions) is non-negotiable for modern engines using low-viscosity oils. Severe driving conditions—like frequent short trips, extreme temperatures, dusty roads, or heavy towing—may require more frequent service. Your owner’s manual has a “Severe Service” schedule. When in doubt, err on the side of caution and change the oil sooner.
The Importance of Quality Parts and Fluids
Using the correct oil specification (e.g., Toyota Genuine Motor Oil or an equivalent meeting API and ILSAC standards) is critical. The wrong oil can cause premature wear and even trigger the maintenance light erroneously if the oil life calculation is thrown off. Similarly, using a quality oil filter that meets Toyota specifications ensures proper filtration and flow. Don’t be tempted by cheap, off-brand filters that can restrict flow or fail.
DIY vs. Professional Service
Resetting the light is a perfect DIY task. Performing the oil change itself is also a manageable DIY project for many, saving you money and giving you a direct connection to your vehicle. However, the comprehensive inspection that comes with a scheduled service is best left to trained eyes. A professional technician will check brake pad thickness, suspension components, fluid levels and condition (transmission, coolant, brake), and look for any developing issues you might miss. Consider a hybrid approach: DIY the simple oil/filter change and tire rotation, then have a pro do the full inspection every other interval, or annually.
For other Toyota models, the principles are identical. Whether you’re dealing with a Toyota Tacoma or a Toyota Avalon, the maintenance light function and reset logic are fundamentally the same across the Toyota lineup. This consistency is a hallmark of Toyota’s engineering philosophy.
Frequently Asked Questions
Why does my maintenance required light come on right after an oil change?
The most common reason is that the technician simply forgot to reset the maintenance reminder timer. The light is not automatically reset by the act of changing the oil; it must be manually triggered through the vehicle’s menu or button sequence. Always ask the shop to confirm they reset it, and then verify it’s off before you drive away.
What’s the difference between the “MAINT REQD” light and the “Check Engine” light?
The “MAINT REQD” light is a simple, pre-programmed reminder for scheduled service like an oil change. It is not connected to any sensors and does not indicate a fault. The “Check Engine” light (or “Service Engine Soon”) is triggered by the engine computer when it detects a problem with emissions, ignition, fuel, or other systems that could increase pollution or cause damage. The check engine light requires immediate diagnosis with a scan tool.
Can I reset the maintenance light without actually getting an oil change?
Technically, yes, you can follow the reset procedure without performing the service. However, this is strongly discouraged. The light exists to protect your engine. Resetting it without changing the oil means your engine is running on degraded, potentially harmful oil, which can lead to premature wear, sludge buildup, and costly engine repairs. You would be disabling your own safety net.
How often should the maintenance required light come on?
For most Toyota RAV4 models, it illuminates every 5,000 miles or 6 months, whichever occurs first. This interval is based on severe driving conditions, which is the recommended schedule for most drivers. If you exclusively drive long distances on the highway in ideal conditions, you might stretch it slightly, but adhering to the 5,000-mile interval is the safest practice for engine longevity.
Will an OBD2 scanner turn off the maintenance light?
Yes, a professional-grade or advanced OBD2 scanner that has access to manufacturer-specific systems can reset the maintenance reminder. Basic, inexpensive code readers typically only read and clear check engine light codes and cannot access the maintenance system. If you’re at a shop, they will use a scan tool to reset it after service.
What happens if I ignore the maintenance required light for too long?
Ignoring the light means you are operating your RAV4 past its recommended service interval. The most immediate risk is engine damage from old, depleted oil that no longer provides proper lubrication, cooling, and cleaning. Other components like brakes, tires, and fluid levels also go unchecked, increasing the risk of failure, unsafe driving conditions, and significantly higher repair costs down the line. The light is a low-cost warning to prevent a high-cost problem.


