
Does Window Tint Go Inside or Outside
Contents
- 1 Key Takeaways
- 2 📑 Table of Contents
- 3 Does Window Tint Go Inside or Outside? The Definitive Answer
- 4 Why Window Tint Is Installed on the Inside
- 5 The Risks of Installing Tint on the Outside
- 6 Types of Window Tint and Where They’re Applied
- 7 Legal Considerations and Tint Laws
- 8 Professional Installation vs. DIY: What You Need to Know
- 9 Maintaining Your Window Tint
- 10 Conclusion: Inside Is the Right Choice
- 11 Frequently Asked Questions
Most window tint is installed on the inside of your car windows, not the outside. This protects the film from weather, scratches, and damage while ensuring better adhesion and longevity. While some specialty films are applied externally, interior installation remains the standard for safety, durability, and performance.
Key Takeaways
- Interior installation is standard: Over 95% of automotive window tint is applied to the inside of windows for protection and durability.
- Outside tinting is rare and risky: External application exposes film to harsh weather, debris, and peeling, reducing lifespan.
- Legal compliance matters: Tint laws regulate visible light transmission (VLT), and improper installation can lead to fines or failed inspections.
- Professional installation ensures quality: DIY kits often result in bubbles, peeling, or uneven edges; pros use precision tools and clean rooms.
- Film type affects placement: Dyed, metalized, ceramic, and carbon films are all designed for interior use unless specified otherwise.
- Rear windshield considerations: Defroster lines and heating elements require special care during interior tinting to avoid damage.
- Maintenance extends life: Proper cleaning and avoiding ammonia-based products help maintain clarity and adhesion over time.
📑 Table of Contents
- Does Window Tint Go Inside or Outside? The Definitive Answer
- Why Window Tint Is Installed on the Inside
- The Risks of Installing Tint on the Outside
- Types of Window Tint and Where They’re Applied
- Legal Considerations and Tint Laws
- Professional Installation vs. DIY: What You Need to Know
- Maintaining Your Window Tint
- Conclusion: Inside Is the Right Choice
Does Window Tint Go Inside or Outside? The Definitive Answer
If you’re thinking about tinting your car windows, you’ve probably asked yourself: *Does window tint go inside or outside?* It’s a common question, and the answer might surprise you. While it might seem logical to apply tint to the outside of your windows—after all, that’s where the sun hits first—the reality is quite different. In fact, the vast majority of automotive window tint is installed on the **inside** of your car’s glass.
Why? Because interior installation offers better protection, longer lifespan, and superior performance. The film is shielded from rain, snow, road debris, and UV exposure that can degrade it over time. Plus, it’s easier to apply cleanly and securely from the inside, where you have more control and access. While there are niche cases where external tinting is used—like on commercial buildings or specialty vehicles—for everyday drivers, interior application is the gold standard.
In this guide, we’ll break down everything you need to know about window tint placement, including why inside is best, the risks of outside installation, types of tint films, legal considerations, and tips for maintaining your tint. Whether you’re a first-time buyer or considering a redo, this article will help you make an informed decision.
Why Window Tint Is Installed on the Inside
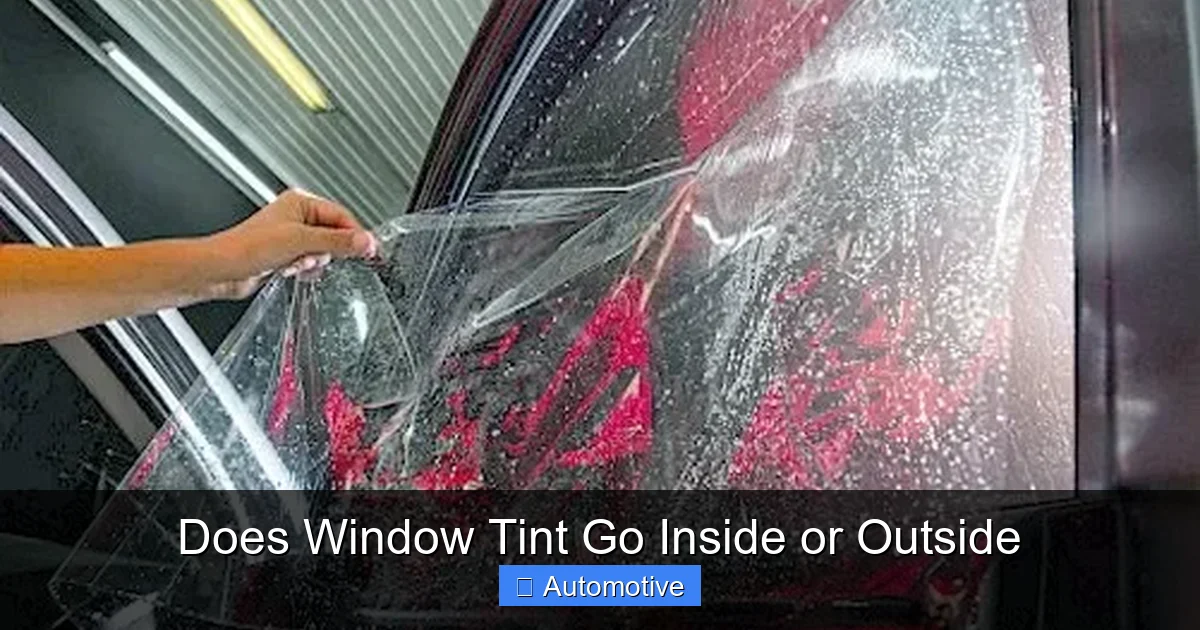
Visual guide about Does Window Tint Go Inside or Outside
Image source: lirp.cdn-website.com
Protection from Environmental Damage
One of the biggest reasons window tint is applied to the inside of car windows is protection. The exterior of your vehicle is constantly exposed to the elements—UV rays, rain, snow, dirt, bird droppings, and road salt. If tint were applied to the outside, it would quickly degrade. The adhesive would weaken, the film could bubble or peel, and the color might fade unevenly.
By placing the tint on the inside, it’s shielded from these harsh conditions. The glass itself acts as a barrier, protecting the film while still allowing it to block heat and UV rays. This means your tint stays clear, smooth, and effective for years.
Better Adhesion and Application Control
Applying window tint requires precision. The process involves cleaning the glass thoroughly, cutting the film to fit, applying a soapy solution, and then squeegeeing out air bubbles. Doing this from the inside gives technicians better access and control. They can work in a clean, dry environment—often in a climate-controlled shop—without wind, dust, or moisture interfering.
Inside installation also allows for easier handling of the film. Technicians can use tools like heat guns and squeegees more effectively when working from the cabin side. This leads to fewer imperfections, tighter seals around edges, and a more professional finish.
Compatibility with Defrosters and Antennas
Many modern cars have rear windows equipped with defroster lines or embedded antennas. These components generate heat and can interfere with external tinting. If tint were applied to the outside, the heat from the defroster could cause the film to warp, bubble, or even detach.
Interior tinting avoids this issue. The film is applied behind the glass, so it doesn’t come into direct contact with heating elements. Skilled installers know how to work around these features, ensuring the tint doesn’t obstruct functionality or damage the defroster.
Easier Maintenance and Replacement
When tint is on the inside, it’s much easier to maintain. You can clean it with a soft cloth and mild cleaner without worrying about scratching or damaging the film. If the tint ever needs to be replaced—due to bubbling, peeling, or discoloration—it’s a straightforward process. The old film can be peeled off from the inside, and a new one applied without affecting the exterior of your vehicle.
In contrast, removing external tint can be messy and risky. It might leave residue on the glass or even damage the paint if adhesive seeps into seams or edges.
The Risks of Installing Tint on the Outside
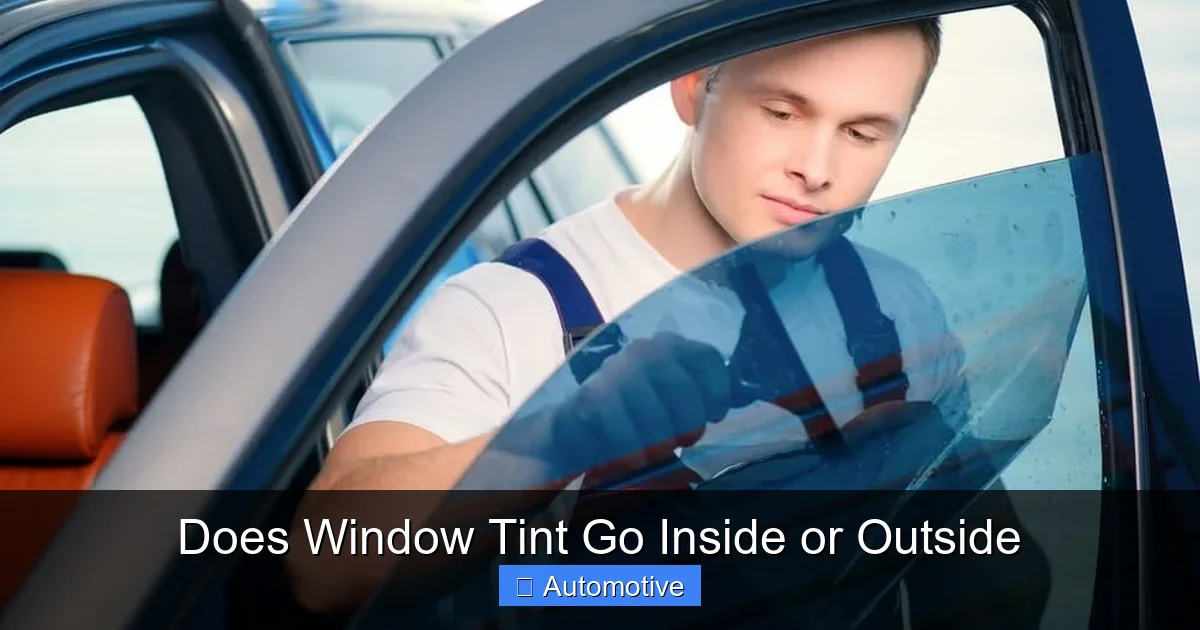
Visual guide about Does Window Tint Go Inside or Outside
Image source: vehiclefreak.com
Exposure to Weather and Debris
While it might seem like a good idea to block sunlight before it hits the glass, applying tint to the outside of your windows comes with serious drawbacks. The film is directly exposed to rain, snow, hail, and UV radiation. Over time, this exposure causes the adhesive to break down, leading to peeling, bubbling, or discoloration.
Even minor scratches from road debris—like gravel or tree branches—can ruin the appearance of external tint. Unlike interior film, which is protected by the glass, outside tint is vulnerable to everyday wear and tear.
Reduced Lifespan and Performance
Because external tint is so exposed, it typically lasts far less than interior tint. While a quality interior tint can last 5–10 years, external applications may start to degrade within 1–2 years. This means you’ll spend more money on replacements and lose the benefits of heat and UV protection sooner.
Additionally, external tint doesn’t adhere as well to glass. Wind, temperature changes, and moisture can cause the film to lift at the edges, creating gaps that let in air and reduce effectiveness.
Potential Damage to Paint and Trim
Applying and removing external tint can damage your car’s exterior. The adhesive used on some films can seep into door seals, window trim, or even the paint itself. When it’s time to remove the tint, you might be left with sticky residue or discolored areas that require professional detailing to fix.
In extreme cases, improper removal can lift paint or warp plastic trim. This is especially true for older vehicles or those with delicate finishes.
Limited Availability and Expertise
Very few professional installers offer external window tinting because it’s not recommended for most vehicles. This means your options are limited, and you may have to rely on DIY kits—which are even riskier when applied to the outside.
Without proper tools and experience, you’re more likely to end up with bubbles, wrinkles, or uneven edges. And if something goes wrong, there’s no easy fix.
Types of Window Tint and Where They’re Applied
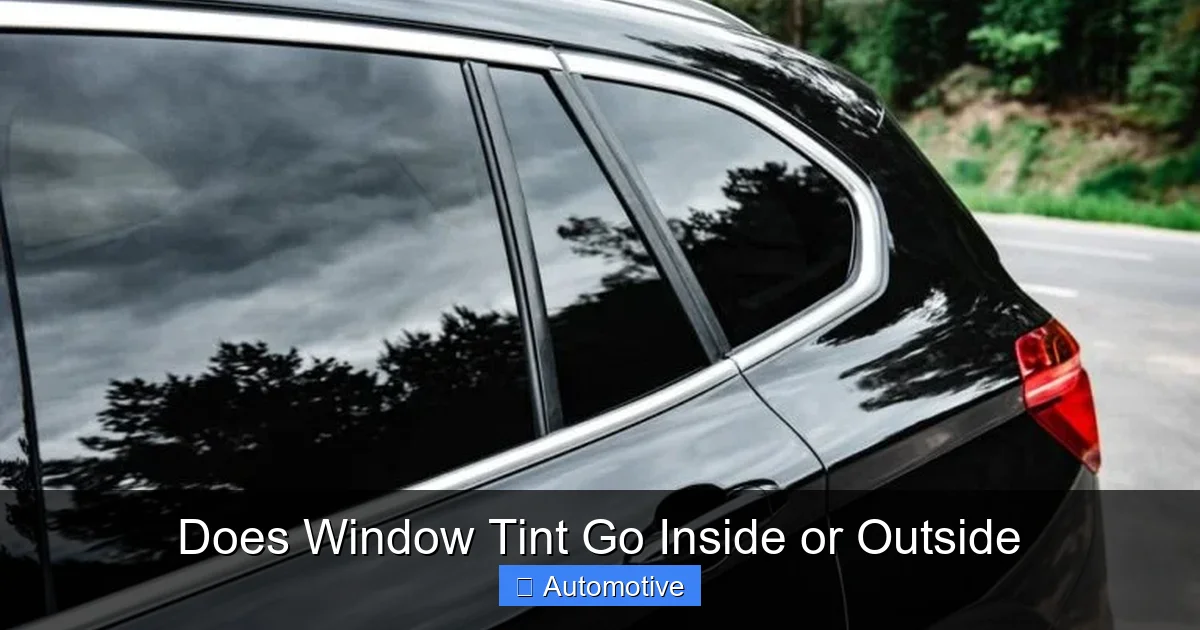
Visual guide about Does Window Tint Go Inside or Outside
Image source: vehiclefreak.com
Dyed Window Tint
Dyed tint is the most affordable and common type of window film. It uses a layer of dye between adhesive and protective coatings to absorb heat and reduce glare. Because it’s thin and flexible, it’s ideal for interior installation. The dye layer is protected by the glass, preventing fading from UV exposure.
However, dyed tint can be prone to fading over time, especially in hot climates. That’s why it’s crucial to keep it inside, where it’s shielded from direct sunlight.
Metalized Tint
Metalized tint contains tiny metallic particles that reflect heat and UV rays. This makes it more durable and effective at blocking infrared radiation. Like dyed tint, it’s designed for interior use. The metal layer can interfere with GPS, cell signals, or keyless entry if applied incorrectly, so professional installation is key.
Carbon Tint
Carbon tint uses carbon particles to block heat and UV without interfering with electronic signals. It has a sleek, matte finish that resists fading and gives your car a modern look. Again, it’s applied to the inside of the window for maximum protection and longevity.
Ceramic Tint
Ceramic tint is the premium option. It uses non-conductive ceramic particles to block up to 99% of UV rays and 80% of infrared heat. It’s the most durable and effective type, and it’s always installed on the interior. Ceramic films are scratch-resistant, don’t fade, and maintain clarity for years.
Hybrid and Spectrally Selective Films
Some advanced films combine multiple technologies—like dye and ceramic—to offer balanced performance. These are also applied internally and are often used in high-end vehicles or commercial fleets.
Legal Considerations and Tint Laws
Understanding Visible Light Transmission (VLT)
Window tint laws are based on Visible Light Transmission (VLT), which measures how much light passes through the glass. For example, a 50% VLT tint allows half the light to pass through, while a 5% tint (often called “limo tint”) blocks 95% of light.
Each state has its own regulations regarding how dark you can tint your windows. Front side windows typically have stricter limits than rear windows or the back windshield. Some states also require a medical exemption for very dark tints.
Why Installation Side Matters for Compliance
While the law doesn’t usually specify *where* the tint is applied, improper installation can lead to failed inspections or fines. If external tint peels or bubbles, it may no longer meet legal standards. Interior tint, when applied correctly, maintains its VLT rating and appearance over time.
Additionally, some states require a sticker or label indicating the tint’s VLT percentage. This is usually placed on the inside of the window, further supporting interior installation.
State-by-State Variations
For example:
– **California:** Front side windows must allow more than 70% of light in. Rear windows and back windshield can be darker.
– **Texas:** Front side windows must allow at least 25% light. Rear windows can be any darkness.
– **New York:** Front side windows must allow more than 70% light. Rear windows can be darker.
Always check your local laws before tinting. A professional installer will know the regulations and ensure your tint is compliant.
Professional Installation vs. DIY: What You Need to Know
Why Professionals Do It Better
While DIY tint kits are available online and in auto stores, they rarely deliver the same quality as professional installation. Pros use precision tools, clean rooms, and high-grade films that aren’t available to consumers. They also have the experience to handle tricky areas like curved windows, defrosters, and door seals.
A professional job typically includes:
– Complete window disassembly (removing door panels for side windows)
– Deep cleaning with specialized solutions
– Precise cutting using plotters or templates
– Heat-shrinking to fit curved glass
– Squeegee techniques to eliminate bubbles
Common DIY Mistakes
DIYers often struggle with:
– Dust and lint trapped under the film
– Uneven cuts that don’t fit properly
– Air bubbles that won’t disappear
– Adhesive failure due to improper cleaning
– Damage to window regulators or speakers during reassembly
Even a small mistake can ruin the look and function of your tint. And if you damage your window motor or defroster, repair costs can far exceed the price of professional installation.
Cost Comparison
A DIY tint kit might cost $20–$50, but professional installation typically ranges from $150 to $400, depending on the vehicle and film type. While it’s more expensive upfront, the longevity, appearance, and warranty (often 5–10 years) make it a smarter long-term investment.
Maintaining Your Window Tint
Cleaning Tips
To keep your tint looking great:
– Wait at least 30 days after installation before cleaning.
– Use a soft microfiber cloth and ammonia-free cleaner.
– Avoid abrasive sponges or scrubbers.
– Don’t use Windex or other glass cleaners with ammonia—they can degrade the film.
Avoiding Damage
– Don’t roll down windows for 3–5 days after installation to let the adhesive cure.
– Keep pets from scratching the windows.
– Use sunshades when parked to reduce heat buildup.
When to Replace Tint
Signs it’s time for a replacement include:
– Bubbling or peeling at the edges
– Discoloration or purple hue (common with dyed films)
– Scratches or cloudiness
– Reduced heat rejection
Most quality tints last 5–10 years, but harsh climates or poor maintenance can shorten that lifespan.
Conclusion: Inside Is the Right Choice
So, does window tint go inside or outside? The answer is clear: **inside**. Interior installation protects the film, ensures better adhesion, and delivers longer-lasting results. While external tinting might seem like a shortcut, it comes with too many risks and drawbacks to be practical for most drivers.
Whether you choose dyed, metalized, carbon, or ceramic tint, having it professionally applied to the inside of your windows is the best way to enjoy cooler interiors, reduced glare, UV protection, and enhanced privacy. Plus, you’ll stay compliant with local laws and avoid costly repairs.
Investing in quality tint and professional installation pays off in comfort, safety, and vehicle value. So skip the DIY gamble and the risky outside application—go inside, and enjoy the benefits for years to come.
Frequently Asked Questions
Can you put window tint on the outside of a car?
Technically yes, but it’s not recommended. External tint is exposed to weather, debris, and UV rays, which cause it to degrade quickly. It also risks damaging your paint and trim during application and removal.
Why is interior window tint more durable?
Interior tint is protected by the glass, shielding it from rain, snow, and road debris. It also avoids direct UV exposure, which prevents fading and adhesive breakdown, leading to a lifespan of 5–10 years.
Will external tint void my car’s warranty?
It might. Some manufacturers warn against modifications that could damage paint or electronics. External tinting increases the risk of adhesive damage, which could affect warranty coverage on exterior components.
Can I install window tint myself?
You can, but it’s challenging. DIY kits often result in bubbles, peeling, or poor fit. Professional installers use specialized tools and techniques to ensure a flawless, long-lasting result.
Does window tint affect defroster performance?
Only if installed incorrectly. Interior tint applied properly won’t interfere with rear defrosters. In fact, it can help reduce heat buildup, making defrosting more efficient.
How long does it take for window tint to fully cure?
Most tint takes 3–5 days to cure completely. During this time, avoid rolling down windows or cleaning the glass to prevent peeling or bubbling.


