How to Set Seat in a Subaru Outback
Contents
- 1 Key Takeaways
- 2 📑 Table of Contents
- 3 Understanding Your Subaru Outback Seat Features
- 4 Step-by-Step Guide to Setting Your Driver’s Seat
- 5 Using Memory Seat Settings (If Equipped)
- 6 Adjusting the Steering Wheel for Optimal Comfort
- 7 Accommodating Passengers and Cargo
- 8 Maintaining Your Seat Adjustments
- 9 Conclusion
- 10 Frequently Asked Questions

Car Armrest Cushion

Interior Cleaner Spray

LED Emergency Road Flares
Side Window Sunshade
Setting the seat in your Subaru Outback properly is essential for comfort, control, and safety on the road. This guide walks you through every step—from adjusting seat position and lumbar support to memorizing settings and accommodating passengers—so you can drive with confidence and ease.
Driving a Subaru Outback is a pleasure—whether you’re cruising down the highway, navigating city streets, or heading off the beaten path for a weekend adventure. But even the most capable SUV can’t compensate for an uncomfortable or poorly adjusted driver’s seat. That’s why knowing how to set seat in a Subaru Outback correctly is one of the most important things you can do before hitting the road.
A well-positioned seat isn’t just about comfort—it directly impacts your ability to control the vehicle, react quickly in emergencies, and stay alert during long drives. Many drivers overlook seat adjustments, settling for a “close enough” position that can lead to back pain, numb legs, or even reduced pedal control. But with just a few minutes of attention, you can transform your driving experience.
In this comprehensive guide, we’ll walk you through every step of setting your Subaru Outback seat for maximum comfort, safety, and efficiency. Whether you’re a new Outback owner or just looking to fine-tune your setup, you’ll find practical tips, expert advice, and model-specific instructions to help you get it right—every time.
Key Takeaways
- Proper seat positioning improves driving posture and reduces fatigue on long trips. Adjust the seat so your back is supported, knees slightly bent, and feet comfortably reach the pedals.
- Use the power seat controls (if equipped) to fine-tune seat height, tilt, and forward/back movement. These features allow precise customization for drivers of all sizes.
- Lumbar support adjustment helps prevent lower back pain during extended drives. Find the right level of firmness to support your spine’s natural curve.
- Save your preferred seat settings using the memory function (available on higher trims). This lets you instantly restore your ideal setup with the press of a button.
- Adjust the steering wheel in tandem with the seat for optimal reach and visibility. Your arms should rest comfortably at a slight angle when gripping the wheel.
- Ensure rear passengers have adequate legroom by balancing front seat placement. Slide the front seat forward slightly if needed, but never compromise driver comfort.
- Always test your seat setup before driving, especially after transporting heavy items or passengers. A well-adjusted seat enhances safety and driving performance.
📑 Table of Contents
Understanding Your Subaru Outback Seat Features
Before diving into adjustments, it’s helpful to understand what your Subaru Outback seat offers. Depending on the trim level and model year, your Outback may come with manual or power-adjustable seats, heated and ventilated options, lumbar support, and memory settings. Knowing what’s available will help you make the most of your seat’s capabilities.
Manual vs. Power Seat Controls
Most base and mid-level Subaru Outback trims come with manual seat adjustments. These typically include a lever or handle under the front of the seat to move it forward and backward, and a knob or lever on the side to adjust seat height and tilt. While manual controls require a bit more effort, they’re reliable and straightforward.
Higher trims, such as the Limited, Touring, and Wilderness models, often feature 8- or 10-way power-adjustable driver’s seats. These include electric motors that allow you to adjust the seat’s position, height, cushion tilt, and lumbar support with the push of a button. Some models even include power-adjustable passenger seats.
Additional Seat Features
Many Subaru Outbacks come equipped with heated front seats—and sometimes rear seats—ideal for cold mornings. Ventilated seats, which use fans to circulate air through the seat cushion, are available on premium trims and help keep you cool in warm weather.
Lumbar support is another key feature. It’s designed to fill the gap between your lower back and the seat, promoting proper spinal alignment. Some models offer manual lumbar adjustment via a dial, while others use power controls for more precise tuning.
Finally, if your Outback has the memory seat function (usually found on Limited and Touring trims), you can save up to three different seat positions. This is especially useful for households with multiple drivers.
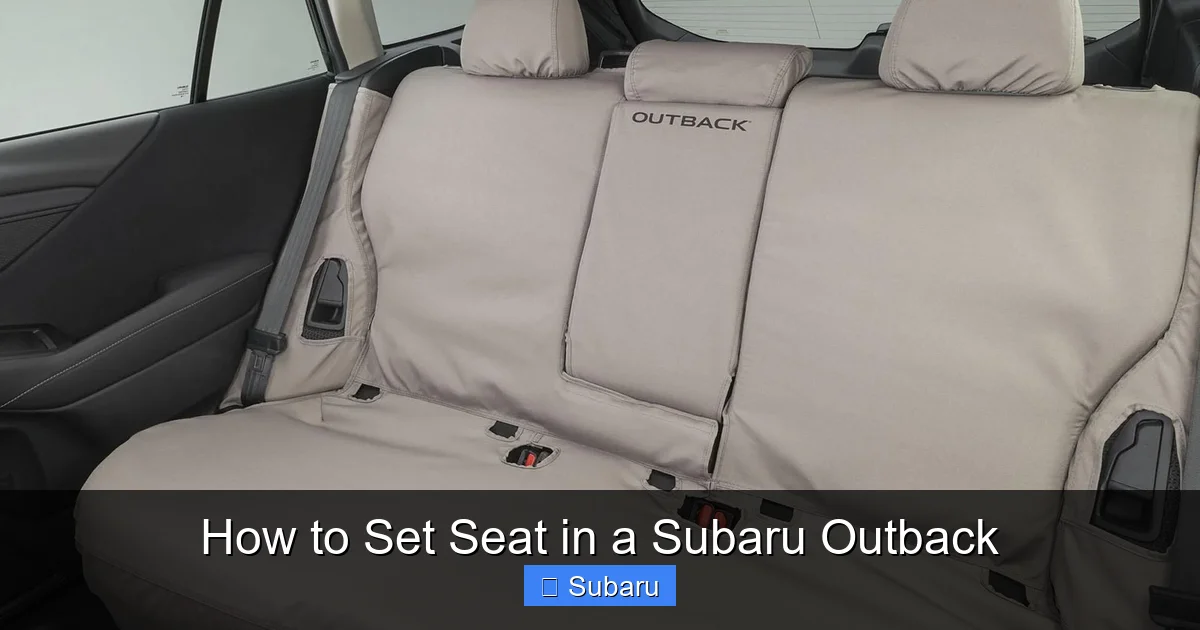
Step-by-Step Guide to Setting Your Driver’s Seat

Visual guide about How to Set Seat in a Subaru Outback
Image source: images.simplepart.com
Now that you know what your seat can do, let’s walk through the process of setting it up correctly. Follow these steps in order for the best results.
Step 1: Adjust Seat Position (Forward/Backward)
Start by sliding the seat forward or backward so your feet can comfortably reach the pedals. Sit upright with your back against the seatback. Press the brake pedal fully with your heel on the floor and your toe on the pedal.
Your knee should be slightly bent—about 120 to 135 degrees—when the pedal is fully depressed. If your leg is fully extended, the seat is too far back. If your knee is bent too much, it’s too far forward.
For manual seats, pull up the lever under the front of the seat and slide it into position. For power seats, use the forward/backward button on the side of the seat.
Pro tip: After adjusting, test the clutch (if equipped) and accelerator as well. Your left foot should rest comfortably on the footrest or clutch without stretching.
Step 2: Set Seat Height and Tilt
Next, adjust the seat height so you have a clear view of the road and dashboard. You should be able to see over the steering wheel and have a good view of the instrument cluster.
For manual seats, use the lever on the side of the seat to raise or lower the front and rear. Some models have a single lever that adjusts both, while others have separate controls.
Power seats often have separate buttons for front and rear height adjustment. Use them to level the seat or create a slight forward tilt (front lower than rear) to reduce pressure on your thighs.
Avoid sitting too low—this can make it harder to see over the hood and increase the risk of injury in a collision. Conversely, sitting too high can reduce headroom and make you feel unstable.
Step 3: Adjust Lumbar Support
Lumbar support is crucial for preventing lower back pain, especially on long drives. Sit back in the seat and feel for the natural curve of your lower spine. The lumbar support should gently press into this curve.
For manual lumbar adjustment, turn the dial on the side of the seat until you feel comfortable support. For power lumbar, use the up/down or in/out buttons to increase or decrease firmness.
If your seat has no lumbar adjustment, consider using a small cushion or rolled-up towel behind your lower back.
Step 4: Set Seatback Recline
The seatback should be reclined slightly—about 100 to 110 degrees from vertical. This allows you to sit upright without straining your neck or shoulders.
To adjust, use the lever or button on the side of the seat. Lean back slowly while adjusting until you find a position where your head is naturally aligned with your spine and you can see the road clearly.
Avoid reclining too far—this reduces control and increases the risk of injury in a crash. Also, don’t sit bolt upright, as this can cause fatigue and discomfort.
Step 5: Adjust Headrest Position
The headrest is a critical safety feature. It should be positioned so the top is level with the top of your head, and the back of your head is close to the cushion—no more than 2–3 inches away.
To adjust, press the release button (if equipped) and slide the headrest up or down. Some models allow you to tilt the headrest forward for better support.
Never drive with the headrest removed or positioned too low. In a rear-end collision, a properly adjusted headrest can prevent whiplash.
Using Memory Seat Settings (If Equipped)
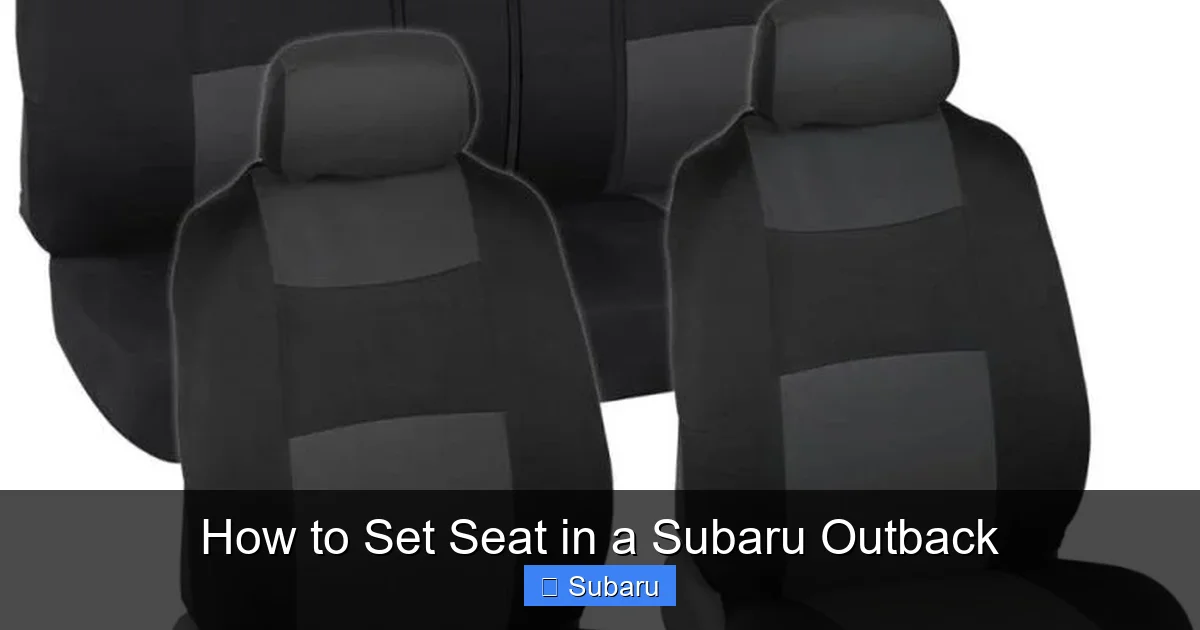
Visual guide about How to Set Seat in a Subaru Outback
Image source: wonderfulengineering.com
If your Subaru Outback has memory seat functionality, you can save your ideal seat position and restore it instantly—perfect for families or couples who share the vehicle.
How to Save a Seat Memory Setting
1. Adjust your seat, lumbar support, and steering wheel to your preferred position.
2. Press and hold the “SET” button on the door panel until you hear a beep.
3. While holding “SET,” press one of the memory buttons (1, 2, or 3) to save the setting.
4. Release both buttons. The system will confirm the save with another beep.
Now, whenever you press that memory button, the seat and steering wheel will automatically move to your saved position.
Using Memory Settings with Key Fobs
Some Outback models link memory settings to your key fob. When you unlock the car with a specific fob, the seat automatically adjusts to the saved position for that driver.
To enable this feature:
1. Save your seat memory as described above.
2. With the driver’s door closed and the ignition off, press and hold the memory button (1, 2, or 3) for about two seconds.
3. The system will link the setting to the key fob currently in use.
This is especially convenient if multiple people drive the same vehicle. Just use your own key, and the seat adjusts automatically.
Adjusting the Steering Wheel for Optimal Comfort

Visual guide about How to Set Seat in a Subaru Outback
Image source: images.simplepart.com
Your seat and steering wheel work together to create a comfortable driving posture. Even with a perfectly adjusted seat, an improperly positioned wheel can cause strain.
Steering Wheel Height and Tilt
Most Subaru Outbacks have a tilt and telescoping steering wheel. To adjust:
1. Pull the lever under the steering column toward you.
2. Tilt the wheel up or down and pull it in or out to find a comfortable position.
3. Push the lever back to lock it in place.
Your arms should rest lightly on the wheel with a slight bend in the elbows—about 120 degrees. Your shoulders should be relaxed, and your hands should grip the wheel at the “9 and 3” or “10 and 2” positions.
Avoid reaching too far forward or having your arms fully extended. This can cause fatigue and reduce control.
Syncing Seat and Steering Adjustments
When adjusting your seat, always recheck the steering wheel position. Moving the seat forward or backward changes your reach. Take a moment to fine-tune the wheel after each seat adjustment.
Some higher trims include power steering wheel adjustment, which can be saved with the seat memory settings. This ensures both the seat and wheel move together when you select your memory profile.
Accommodating Passengers and Cargo
While the driver’s seat is the priority, it’s important to consider passenger comfort and cargo space when setting your seat.
Balancing Front and Rear Legroom
If you’re tall, you may need to slide the front seat back to find a comfortable position. But this can reduce legroom for rear passengers.
To strike a balance:
– Slide the front seat back just enough for comfort—don’t max it out.
– Use the seat height adjustment to create more knee room without moving the seat too far back.
– Ask rear passengers to slide their seats forward slightly if needed.
On long trips, consider alternating driving duties if possible, so everyone gets a chance to stretch.
Adjusting for Cargo Load
If you’re carrying heavy items in the cargo area, the rear of the vehicle may sag slightly. This can affect your seating position, especially if you’re sitting in the back.
After loading cargo, take a moment to readjust your seat if needed. Also, check that your rearview and side mirrors still provide clear visibility.
Maintaining Your Seat Adjustments
Once you’ve set your seat perfectly, it’s important to maintain that setup.
Regular Checks
After transporting heavy passengers or cargo, or if someone else has driven your Outback, recheck your seat position. Even small changes can affect comfort and safety.
Make it a habit to verify your seat and steering wheel settings every time you drive, especially on long trips.
Cleaning and Care
Dirt and debris can interfere with seat mechanisms. Clean your seats regularly using a vacuum and appropriate cleaner for fabric or leather.
For power seats, avoid spilling liquids near the controls. If a button becomes sticky or unresponsive, have it inspected by a Subaru service technician.
When to Seek Professional Help
If your seat won’t adjust, makes unusual noises, or moves on its own, there may be an electrical or mechanical issue. Don’t ignore these signs—have your vehicle inspected by a certified Subaru technician.
Also, if you experience persistent back pain despite proper adjustments, consult a healthcare professional. You may need additional support or a different seating solution.
Conclusion
Setting the seat in your Subaru Outback correctly is a simple but essential step toward safer, more comfortable driving. By taking the time to adjust your seat position, lumbar support, headrest, and steering wheel, you’ll improve your posture, reduce fatigue, and enhance your control behind the wheel.
Whether you have manual or power-adjustable seats, the principles remain the same: prioritize comfort, safety, and visibility. Use the memory function if available, and always recheck your setup after changes in passengers or cargo.
Remember, a well-adjusted seat isn’t a one-time task—it’s an ongoing practice. Make it part of your pre-drive routine, and you’ll enjoy every mile in your Outback with confidence and ease.
Frequently Asked Questions
How do I adjust the seat height in a Subaru Outback?
Use the lever or button on the side of the seat to raise or lower the front and rear. For manual seats, pull the lever up to lift and push down to lower. Power seats have separate buttons for front and rear height adjustment.
Can I save my seat position in a Subaru Outback?
Yes, if your Outback has memory seat functionality (typically on Limited and Touring trims), you can save up to three seat positions using the memory buttons on the door panel. Some models also link settings to your key fob.
Why is lumbar support important in the driver’s seat?
Lumbar support helps maintain the natural curve of your lower spine, reducing back pain and fatigue during long drives. Adjust it so it gently presses into the small of your back without causing discomfort.
How far should my head be from the headrest?
The back of your head should be no more than 2–3 inches from the headrest. The top of the headrest should align with the top of your head to provide proper protection in a collision.
Should I adjust the steering wheel when setting my seat?
Yes. After adjusting your seat, always check the steering wheel position. Your arms should have a slight bend when gripping the wheel, and your shoulders should remain relaxed.
What if my seat won’t move or makes a grinding noise?
This could indicate a mechanical or electrical issue. Avoid forcing the adjustment and have your vehicle inspected by a Subaru service technician to prevent further damage.