
How to Reset Battery Light on Toyota Corolla
Contents
- 1 Key Takeaways
- 2 📑 Table of Contents
- 3 Why Is the Battery Light On in Your Toyota Corolla?
- 4 How to Diagnose the Battery Light Issue
- 5 How to Reset the Battery Light on a Toyota Corolla
- 6 What to Do If the Battery Light Comes Back On
- 7 Preventing Future Battery Light Problems
- 8 When to See a Mechanic
- 9 Conclusion
- 10 Frequently Asked Questions
Is your Toyota Corolla’s battery light glowing on the dashboard? Don’t panic—this common issue often stems from a loose connection or minor electrical glitch. Resetting the battery light is usually quick and easy, and in most cases, you can do it yourself without a trip to the mechanic.
Key Takeaways
- Check the battery connections first: Loose or corroded terminals are a leading cause of the battery light staying on.
- Inspect the alternator: A failing alternator may not charge the battery properly, triggering the warning light.
- Use the ignition cycle method: Turning the key on and off in a specific sequence can reset the light in many Corolla models.
- Disconnect the battery temporarily: A 10–15 minute disconnect can reset the vehicle’s computer and clear the light.
- Scan for error codes: Use an OBD2 scanner to identify underlying issues that may be causing the light to stay on.
- Monitor the light after reset: If it returns, there’s likely a deeper electrical problem requiring professional diagnosis.
- Regular maintenance prevents issues: Clean terminals and check belt tension to avoid future battery light problems.
📑 Table of Contents
Why Is the Battery Light On in Your Toyota Corolla?
Seeing the battery light illuminate on your Toyota Corolla’s dashboard can be unsettling. It’s one of those warning symbols that immediately grabs your attention—usually shaped like a battery or labeled “ALT” or “CHG.” But before you assume the worst, it’s important to understand what this light actually means.
The battery light doesn’t always mean your battery is dead. Instead, it typically signals an issue with the charging system. Your Corolla’s engine generates power through the alternator, which recharges the battery while the car runs. If the alternator isn’t producing enough voltage, or if there’s a break in the electrical circuit, the battery light will come on to warn you.
Common Causes of the Battery Light
Several factors can trigger the battery light, and most are fixable without major repairs. Here are the most common culprits:
- Loose or corroded battery terminals: Over time, the connections at the battery can loosen or become coated with white or green corrosion. This disrupts the flow of electricity and prevents proper charging.
- Worn serpentine belt: The belt that drives the alternator can slip or break, especially if it’s old or cracked. A slipping belt reduces alternator output.
- Faulty alternator: The alternator is the heart of the charging system. If it fails, the battery won’t recharge, and the light will stay on.
- Bad voltage regulator: Often built into the alternator, the voltage regulator controls how much power is sent to the battery. If it malfunctions, the system can overcharge or undercharge.
- Blown fuse or damaged wiring: A short circuit or blown fuse in the charging circuit can interrupt power flow.
- Weak or old battery: While less common, a failing battery may not hold a charge, causing the system to work harder and trigger the light.
Understanding these causes helps you narrow down the issue. In many cases, the problem is minor—like a loose cable—and can be resolved quickly. But if the alternator is failing, you’ll need professional help to avoid being stranded.
How to Diagnose the Battery Light Issue
Before attempting to reset the battery light, it’s smart to diagnose the root cause. Resetting the light without fixing the problem is like turning off a smoke alarm while the fire still burns—it won’t solve anything.
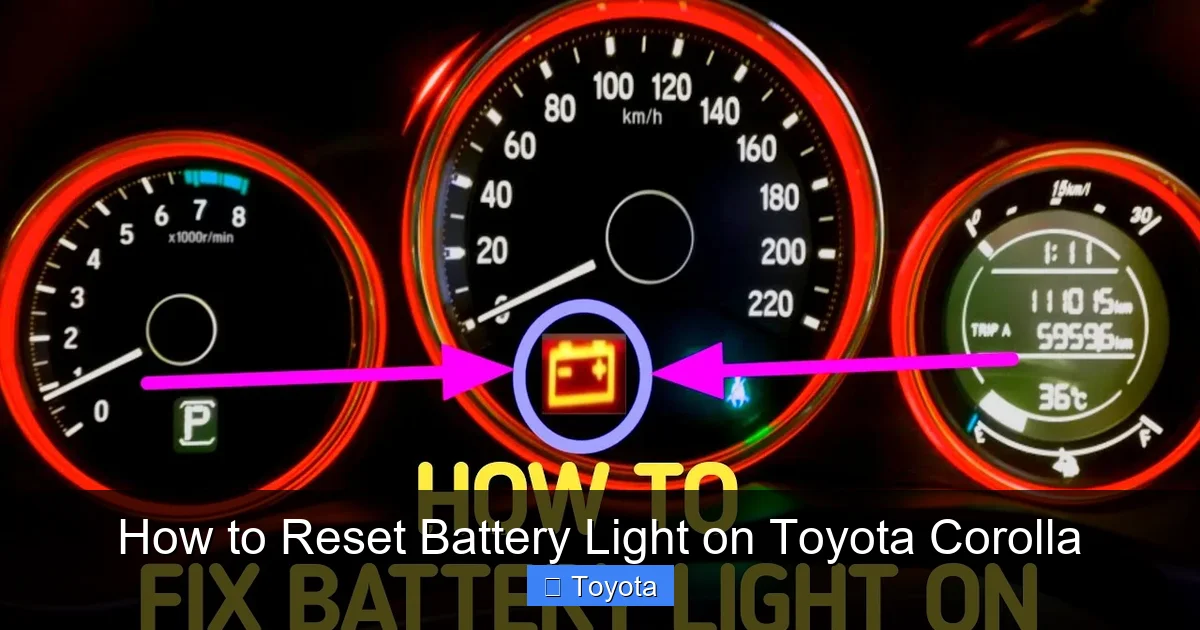
Visual guide about How to Reset Battery Light on Toyota Corolla
Image source: cartireinflator.com
Step 1: Check the Battery Terminals
Start by popping the hood and inspecting the battery. Look at the positive (+) and negative (-) terminals. Are they tight? Do they look clean?
- If the terminals are loose, use a wrench to tighten them. Be careful—over-tightening can damage the posts.
- If you see white, green, or blue crusty buildup, that’s corrosion. It acts like insulation and blocks electricity.
To clean corrosion, mix baking soda and water (about 1 tablespoon per cup of water), then scrub the terminals with an old toothbrush. Rinse with clean water and dry thoroughly. Reconnect the cables and ensure they’re snug.
Step 2: Test the Battery Voltage
Grab a multimeter—a basic tool available at any auto parts store for under $20. Set it to DC voltage (usually marked “V~” or “20V”).
- With the engine off, touch the red probe to the positive terminal and the black probe to the negative. A healthy battery should read between 12.4 and 12.7 volts.
- Start the engine and check again. The voltage should rise to 13.7–14.7 volts. If it stays below 13 volts, the alternator may not be charging properly.
This simple test tells you a lot. If the voltage is low with the engine running, the alternator is likely the issue. If it’s normal, the problem might be elsewhere.
Step 3: Inspect the Serpentine Belt
The serpentine belt wraps around the alternator pulley and several other components. If it’s loose, cracked, or glazed, it can slip and reduce alternator output.
- Look for cracks, fraying, or shiny spots on the belt.
- Press down gently on the belt midway between two pulleys. It should deflect about ½ inch. More than that means it’s too loose.
If the belt looks worn or is loose, it may need tightening or replacement. Some Corollas have an automatic tensioner; others require manual adjustment. Check your owner’s manual for specifics.
Step 4: Listen for Unusual Noises
Start the engine and listen near the alternator. A failing alternator may produce a whining, grinding, or squealing sound. This is often due to worn bearings inside the unit.
If you hear noise, especially when the engine is cold or under load (like when headlights are on), the alternator may be on its way out.
Step 5: Use an OBD2 Scanner
Modern Toyota Corollas (2000 and newer) have onboard diagnostics (OBD2) systems that can store trouble codes related to the charging system.
- Plug an OBD2 scanner into the port under the dashboard (usually near the steering column).
- Turn the ignition to “ON” (don’t start the engine) and let the scanner read the codes.
- Look for codes like P0562 (low system voltage) or P0563 (high system voltage), which point to charging issues.
Even if no codes appear, the scanner can show live data like battery voltage and alternator output. This helps confirm whether the system is working correctly.
How to Reset the Battery Light on a Toyota Corolla
Once you’ve addressed any underlying issues, it’s time to reset the battery light. In many cases, simply fixing the problem (like tightening a loose cable) will make the light go off on its own. But if it stays on, a manual reset may be needed.
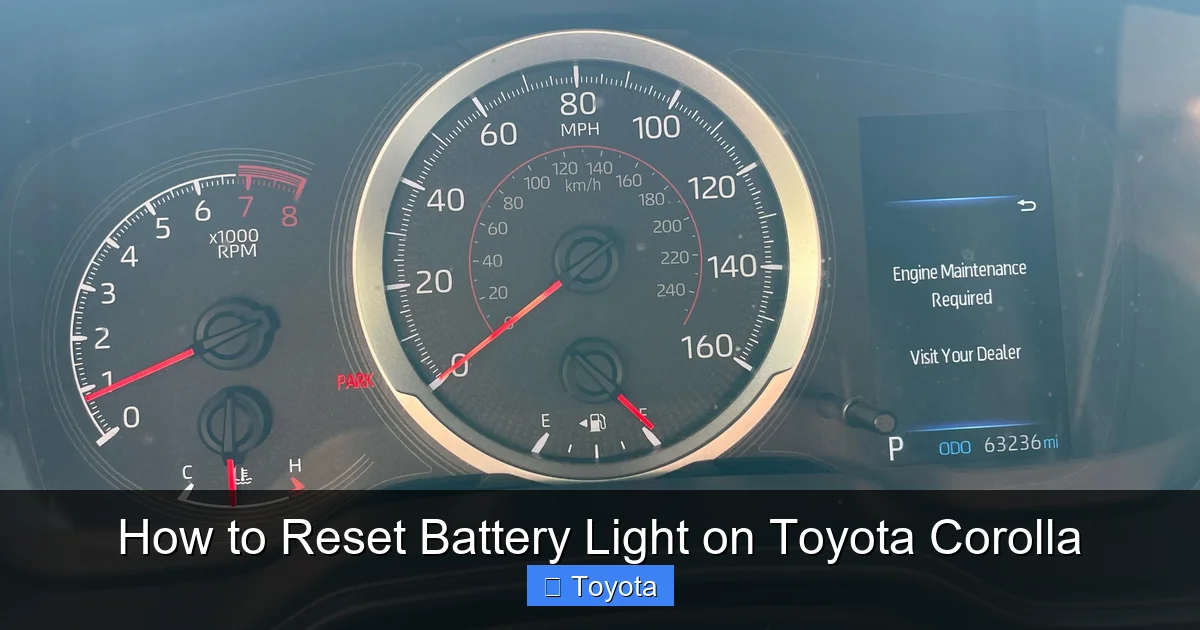
Visual guide about How to Reset Battery Light on Toyota Corolla
Image source: i.redd.it
Method 1: The Ignition Cycle Reset
This is the simplest method and works on many Toyota Corolla models from the 2000s to the 2020s.
- Turn the ignition to the “ON” position (dashboard lights up, but engine is off).
- Wait 10–15 seconds.
- Turn the key back to “OFF.”
- Wait another 10–15 seconds.
- Repeat this cycle 3–5 times.
- Start the engine and check if the battery light is off.
This process resets the vehicle’s computer (ECU) and clears temporary glitches. It’s especially effective after reconnecting a battery or cleaning terminals.
Method 2: Disconnect the Battery
If the ignition cycle doesn’t work, try a full power reset by disconnecting the battery.
- Turn off the engine and remove the key.
- Open the hood and locate the battery.
- Use a wrench to loosen the negative (-) terminal first (to avoid sparks near the positive terminal).
- Remove the negative cable and tuck it away so it doesn’t touch the terminal.
- Wait 10–15 minutes. This allows the ECU to fully power down and reset.
- Reconnect the negative terminal and tighten it securely.
- Start the engine and check the dashboard.
Note: Disconnecting the battery may reset other systems, like the radio presets or clock. You may need to re-enter security codes for the radio if your Corolla has one.
Method 3: Drive Cycle Reset
Some Corolla models require a “drive cycle” to reset the battery light after repairs.
- Start the engine and let it idle for 2–3 minutes.
- Drive at a steady speed of 30–40 mph for 5–10 minutes.
- Accelerate gently to 50–60 mph and maintain for another 5 minutes.
- Stop and turn off the engine.
- Restart and check if the light is off.
This allows the ECU to relearn charging parameters and confirm the system is working. It’s particularly useful after alternator or battery replacement.
Method 4: Use a Scan Tool
If you have access to an OBD2 scanner with reset capabilities, you can clear the light electronically.
- Plug the scanner into the OBD2 port.
- Turn the ignition to “ON.”
- Navigate to the “Clear Codes” or “Reset” option on the scanner.
- Confirm the reset.
- Turn off the ignition, then restart the engine.
This method is clean and effective, but requires a scanner. Many auto parts stores offer free code reading and reset services if you don’t own one.
What to Do If the Battery Light Comes Back On
You’ve reset the light, but it returns after a few days or miles. This is a red flag. It means the underlying issue wasn’t fully resolved.
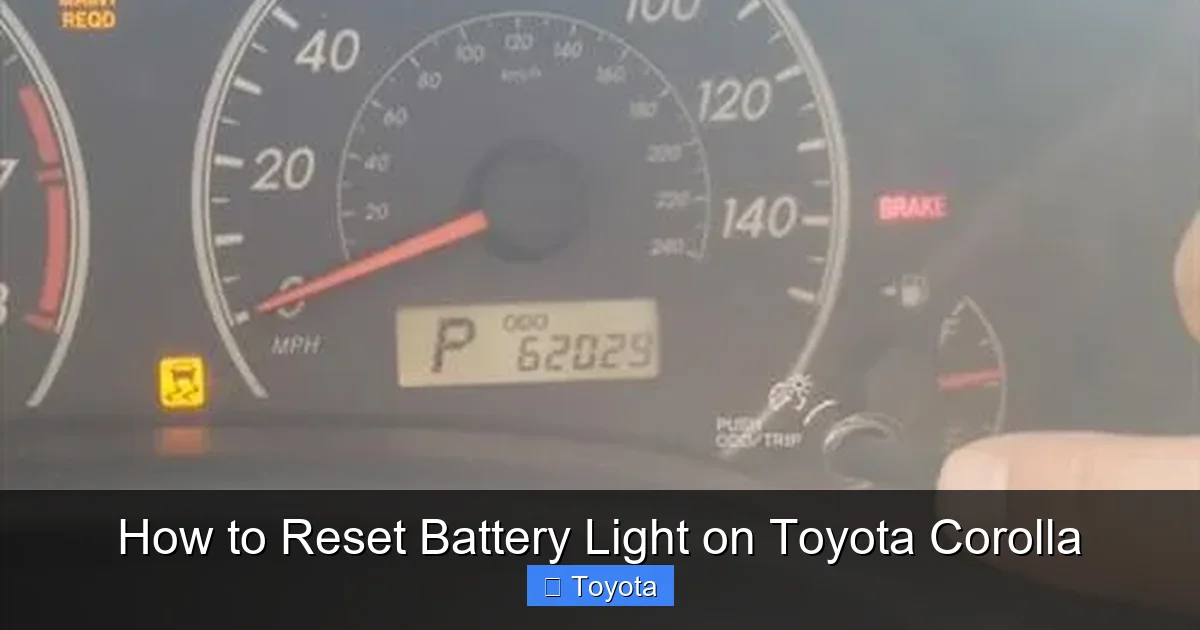
Visual guide about How to Reset Battery Light on Toyota Corolla
Image source: backyardmechanic.org
Recheck the Basics
Go back to the basics: terminals, belt, and voltage. Sometimes corrosion returns quickly, or a belt loosens over time. Re-tighten connections and clean terminals again.
Test the Alternator Output
Use your multimeter to check voltage at the battery with the engine running. If it’s below 13.5 volts, the alternator isn’t charging properly.
You can also perform a “load test”: turn on headlights, AC, and rear defroster, then check voltage. It should stay above 13 volts. If it drops significantly, the alternator is struggling.
Check for Parasitic Drain
A parasitic drain occurs when something in the car continues to draw power when the engine is off. This can drain the battery and trigger the light.
- Use a multimeter in series with the negative battery cable to measure current draw.
- A normal draw is 20–50 milliamps. Anything over 100 mA suggests a problem.
- Common culprits: trunk light staying on, faulty relay, aftermarket electronics.
Identifying and fixing the drain can prevent repeated battery light issues.
Inspect the Ground Connections
The charging system relies on good ground connections. The battery negative cable connects to the engine block and chassis. If these connections are corroded or loose, voltage can drop.
- Locate the ground strap (usually from battery to engine or chassis).
- Clean the contact points with a wire brush.
- Tighten all bolts securely.
A poor ground can mimic alternator failure, so don’t overlook this step.
Consider Professional Diagnosis
If you’ve tried everything and the light keeps coming back, it’s time to visit a trusted mechanic or Toyota dealership. They have advanced diagnostic tools to test the alternator, voltage regulator, and wiring under load.
They can also perform a “charging system test” using a carbon pile load tester, which simulates real-world conditions and reveals hidden weaknesses.
Preventing Future Battery Light Problems
The best way to deal with the battery light is to avoid it altogether. Regular maintenance goes a long way in keeping your Corolla’s electrical system healthy.
Clean Battery Terminals Regularly
Every 6 months, inspect and clean the battery terminals. Use a terminal cleaner spray or the baking soda method mentioned earlier. Apply a thin layer of dielectric grease to prevent future corrosion.
Check the Serpentine Belt
Inspect the belt every 12,000 miles or during oil changes. Look for cracks, fraying, or glazing. Replace it every 60,000–100,000 miles, depending on your model and driving conditions.
Test the Battery and Charging System
Most auto parts stores offer free battery and charging system tests. Get this done once a year, especially before winter when cold weather stresses the battery.
Avoid Short Trips
Short trips don’t give the alternator enough time to fully recharge the battery. If you mostly drive short distances, consider taking longer drives occasionally or using a battery maintainer.
Watch for Warning Signs
Pay attention to early symptoms: dimming headlights, slow engine cranking, or electrical glitches. These can signal a developing charging issue before the battery light comes on.
Replace the Battery When Needed
Car batteries typically last 3–5 years. If your Corolla’s battery is older than that, consider replacing it proactively. A weak battery forces the alternator to work harder, increasing the risk of failure.
When to See a Mechanic
While many battery light issues are DIY-friendly, some require professional attention. Seek help if:
- The battery light stays on even after a full reset and voltage checks.
- You hear unusual noises from the alternator area.
- The serpentine belt is broken or severely damaged.
- You suspect an electrical short or parasitic drain.
- Your Corolla has a history of electrical problems.
A qualified technician can perform a thorough inspection, run advanced diagnostics, and replace faulty components like the alternator or voltage regulator.
Conclusion
The battery light on your Toyota Corolla doesn’t have to be a source of stress. In most cases, it’s a warning you can address with a few simple steps: checking connections, testing voltage, and resetting the system. Whether you use the ignition cycle method, disconnect the battery, or scan for codes, the goal is the same—restore proper charging and keep your Corolla running smoothly.
Remember, resetting the light is only half the battle. The real key is diagnosing and fixing the root cause. By staying proactive with maintenance and paying attention to early warning signs, you can avoid repeated issues and extend the life of your battery and alternator. And when in doubt, don’t hesitate to consult a professional—your Corolla will thank you with reliable performance for years to come.
Frequently Asked Questions
Why is my Toyota Corolla battery light on but the car starts fine?
The battery light indicates a charging system issue, not necessarily a dead battery. Your car may start because the battery still has enough charge, but the alternator isn’t recharging it properly. Check voltage with a multimeter to confirm.
Can I drive my Corolla with the battery light on?
You can drive short distances, but it’s risky. The battery will drain over time, and you could be stranded. Have the charging system checked as soon as possible.
How long does it take for the battery light to reset after fixing the issue?
In many cases, the light turns off immediately after the problem is fixed. If not, a manual reset using the ignition cycle or battery disconnect usually clears it within minutes.
Will disconnecting the battery reset the check engine light too?
Yes, disconnecting the battery can reset the check engine light, but it may also reset other systems like radio presets. Use an OBD2 scanner for a cleaner reset without losing settings.
Is the battery light the same as the check engine light?
No. The battery light specifically warns about the charging system. The check engine light covers a broader range of engine and emissions issues. They can come on together, but they’re separate warnings.
How much does it cost to fix a Toyota Corolla battery light issue?
Costs vary. Cleaning terminals is free. Replacing a serpentine belt costs $100–$200. An alternator replacement ranges from $400–$800, including parts and labor.


