
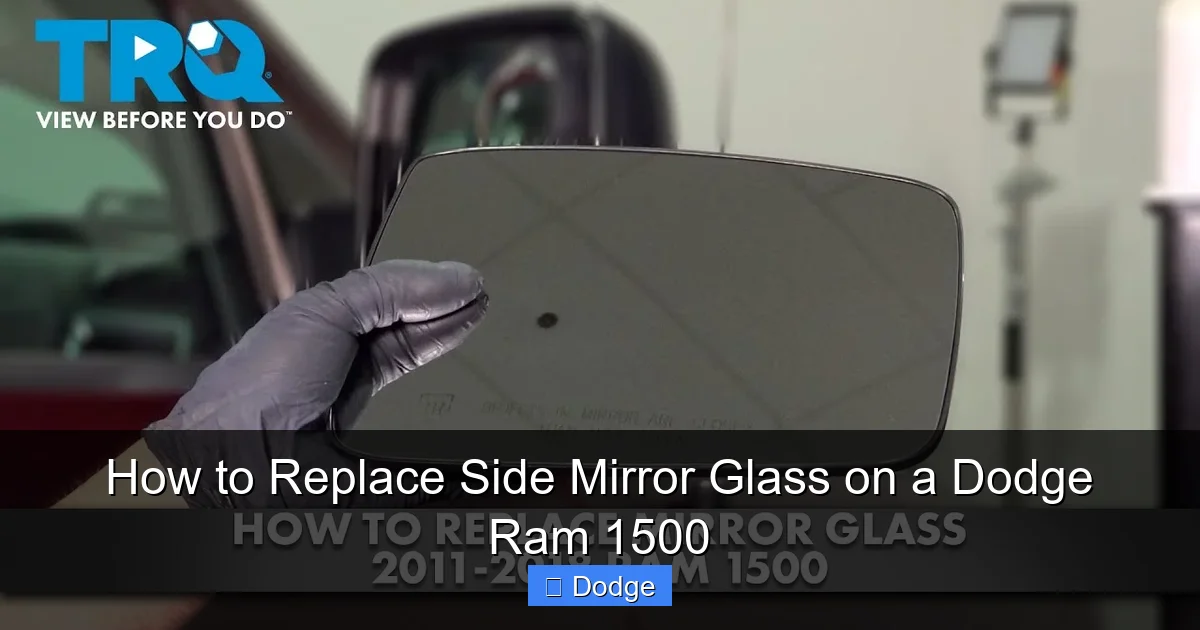
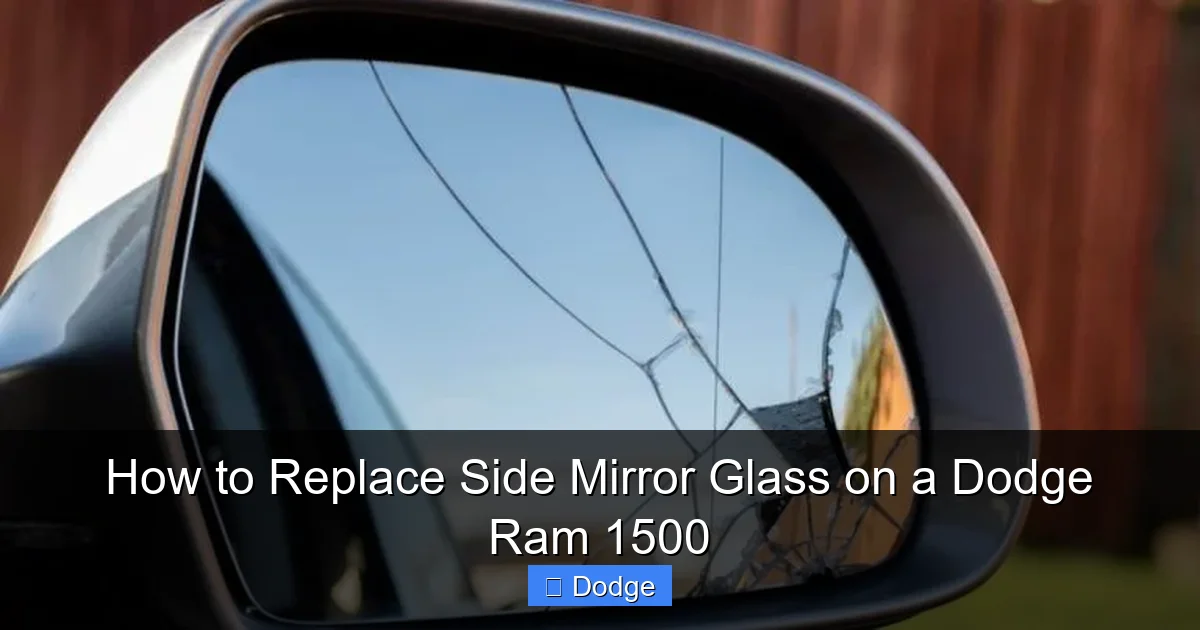
How to Replace Side Mirror Glass on a Dodge Ram 1500
Contents
- 1 Key Takeaways
- 2 📑 Table of Contents
- 3 Why Replacing Your Dodge Ram 1500 Side Mirror Glass Matters
- 4 Understanding Your Dodge Ram 1500 Side Mirror System
- 5 Tools and Materials You’ll Need
- 6 Step-by-Step Guide to Replacing the Side Mirror Glass
- 7 Tips for a Smooth Replacement Experience
- 8 Common Mistakes to Avoid
- 9 Conclusion
- 10 Frequently Asked Questions


Replacing the side mirror glass on your Dodge Ram 1500 is easier than you think. With basic tools and a little patience, you can restore clear visibility and safety in under an hour—no mechanic required.
Key Takeaways
- Know your mirror type: Determine if your mirror has heating, turn signals, or power adjustment to choose the right replacement glass.
- Gather the right tools: You’ll need a trim removal tool, socket wrench, and possibly a flathead screwdriver—no specialty equipment needed.
- Disconnect the battery: Always disconnect the negative terminal before working on electrical components to avoid short circuits.
- Handle glass carefully: Use gloves and eye protection when removing broken glass to prevent injury.
- Test before reassembly: Reconnect power and test all functions (heating, adjustment, signals) before fully securing the mirror.
- Buy OEM or quality aftermarket glass: Ensure compatibility and durability by choosing reputable brands or factory parts.
- Take photos during disassembly: Snap pictures at each step to make reassembly faster and error-free.
📑 Table of Contents
Why Replacing Your Dodge Ram 1500 Side Mirror Glass Matters
If you’ve ever cracked or shattered the side mirror glass on your Dodge Ram 1500, you know how frustrating it can be. That little piece of glass plays a huge role in your safety—it gives you a clear view of blind spots, helps you change lanes confidently, and supports advanced features like heated defrosting and turn signal indicators. When it’s damaged, your visibility drops, and your risk of accidents increases.
The good news? You don’t need to pay a dealership $300–$600 for a full mirror assembly replacement. In most cases, you can simply swap out the glass itself for a fraction of the cost. Whether your mirror was hit by a rogue shopping cart, cracked from a rock chip, or just worn out over time, replacing the glass is a straightforward DIY job. And with the right guidance, you can do it in under an hour using basic tools.
This guide walks you through the entire process—from identifying your mirror type to installing the new glass and testing all functions. We’ll keep it simple, safe, and practical, so even if you’ve never touched a car tool before, you’ll feel confident tackling this repair. Let’s get started.
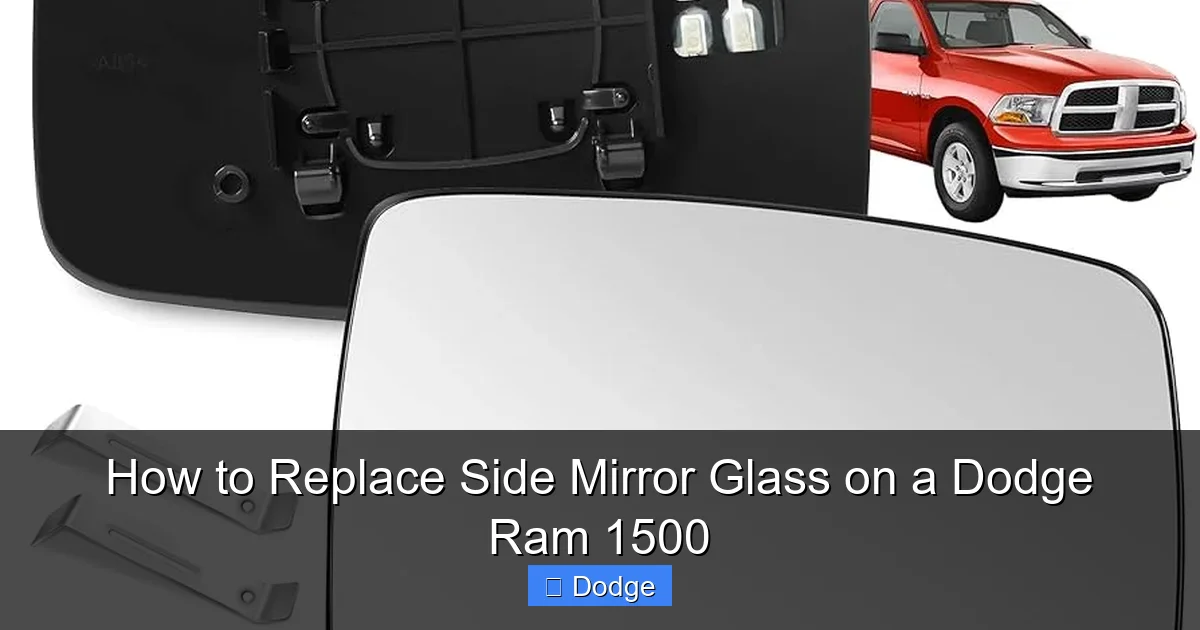
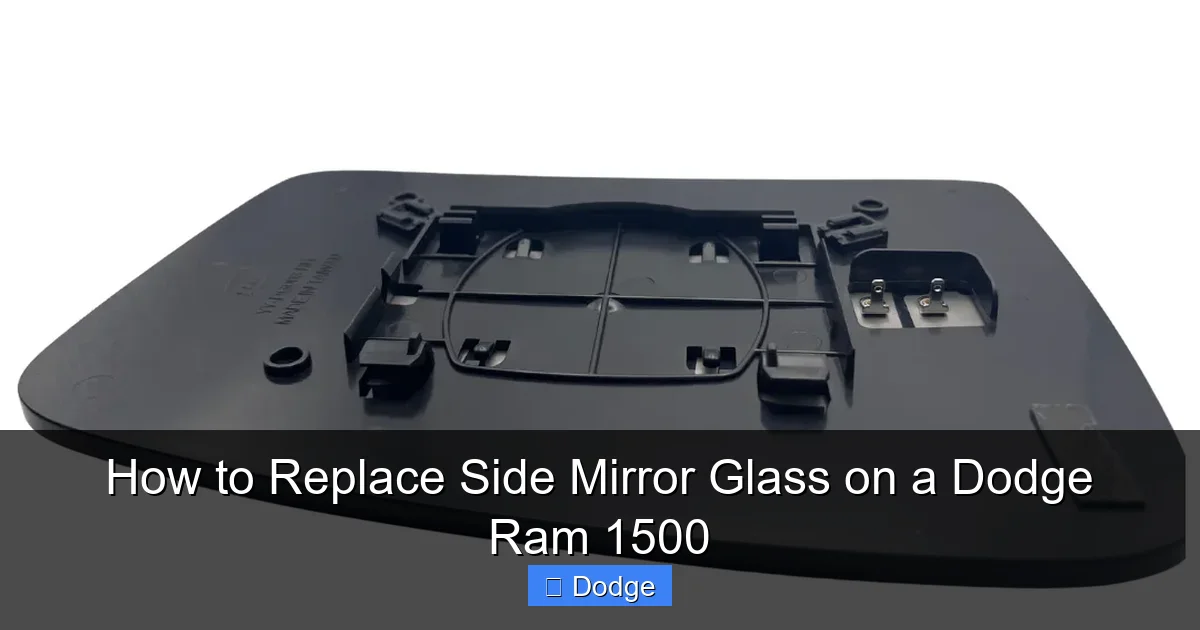
Understanding Your Dodge Ram 1500 Side Mirror System
Visual guide about How to Replace Side Mirror Glass on a Dodge Ram 1500
Image source: m.media-amazon.com
Before you grab your tools, it’s important to understand what kind of side mirror your Dodge Ram 1500 has. Not all mirrors are created equal—some are basic manual units, while others come packed with advanced features. Knowing your setup will help you choose the right replacement glass and avoid surprises during installation.
Types of Side Mirrors on the Dodge Ram 1500
The Dodge Ram 1500 has evolved over the years, and so have its mirror systems. Depending on your model year (2009–2024) and trim level (Tradesman, Big Horn, Laramie, Limited, etc.), your mirror may include:
– **Manual mirrors:** Found on base models, these require you to adjust the glass by hand from inside the cab.
– **Power-adjustable mirrors:** Use electric motors to tilt and angle the glass via buttons on the door panel.
– **Heated mirrors:** Include a heating element that clears frost and fog—common in colder climates.
– **Turn signal indicators:** Integrated LED lights that blink when you use your turn signal.
– **Blind-spot monitoring (BSM):** Some newer models have sensors embedded in the mirror housing that alert you to vehicles in your blind spot.
– **Puddle lamps:** Small lights under the mirror that illuminate the ground when you unlock the truck.
How to Identify Your Mirror Features
To determine which features your mirror has, look for visual clues:
– Check the door control panel: If there’s a button with a mirror icon and arrows, you have power adjustment.
– Look for a small “heat” symbol (usually a squiggly line) on the mirror glass or control panel—this indicates heating.
– Observe the mirror housing: If you see tiny LED lights near the edge, you likely have turn signal indicators.
– Test the mirror: Turn on the defroster or use your turn signal to see if the mirror responds.
Why This Matters for Replacement
Replacing the glass isn’t just about fitting a new piece in place. If your mirror has electrical features, the new glass must be compatible with those systems. For example:
– Heated glass has a thin wire mesh embedded in it that connects to the truck’s electrical system.
– Turn signal glass includes a wiring harness that links to the indicator circuit.
– Power-adjustable glass has a motorized mount that allows remote control.
Using the wrong type of glass—say, installing non-heated glass on a heated mirror—won’t damage your truck, but it will disable that feature. So always match the replacement to your original setup.
Tools and Materials You’ll Need
Visual guide about How to Replace Side Mirror Glass on a Dodge Ram 1500
Image source: mirorfame.com
One of the best things about replacing side mirror glass on a Dodge Ram 1500 is that you don’t need a garage full of tools. Most of what you’ll need is probably already in your toolbox. Here’s a complete list to get you prepared.
Essential Tools
– **Trim removal tool (or plastic pry tool):** Prevents scratches when popping off interior door panels.
– **Socket wrench with 10mm socket:** Used to remove bolts behind the mirror.
– **Flathead screwdriver:** Helpful for gently prying loose clips or connectors.
– **Needle-nose pliers:** Useful for disconnecting small electrical connectors.
– **Work gloves:** Protect your hands from sharp glass edges.
– **Safety glasses:** Essential when handling broken glass.
– **Flashlight:** Helps you see inside the mirror housing.
Replacement Parts
– **New side mirror glass:** Make sure it matches your mirror type (heated, power, etc.) and side (driver or passenger).
– **Adhesive (if needed):** Some aftermarket glass uses adhesive pads instead of clips—check your product instructions.
Optional but Helpful
– **Digital camera or smartphone:** Take photos during disassembly to guide reassembly.
– **Electrical tape:** To secure loose wires temporarily.
– **Cleaning cloth:** Wipe down the mirror housing before installing new glass.
Where to Buy Replacement Glass
You have several options for purchasing replacement glass:
– **Dealership:** Offers OEM (original equipment manufacturer) parts with perfect fit and warranty, but at a higher price.
– **Auto parts stores:** Advance Auto, AutoZone, O’Reilly, and NAPA carry both OEM and aftermarket options.
– **Online retailers:** Amazon, RockAuto, and 1A Auto offer competitive pricing and detailed fitment guides.
When shopping, use your VIN (Vehicle Identification Number) to ensure compatibility. Most websites let you enter your truck’s year, make, model, and trim to filter results.
Step-by-Step Guide to Replacing the Side Mirror Glass
Visual guide about How to Replace Side Mirror Glass on a Dodge Ram 1500
Image source: sideviewparts.com
Now that you’re prepared, let’s walk through the actual replacement process. We’ll cover both driver and passenger side mirrors, as the steps are nearly identical. Just remember: always work on one side at a time to avoid mixing up parts.
Step 1: Disconnect the Battery
Safety first! Even though you’re not working directly on the engine, the mirror’s electrical components are connected to your truck’s wiring system. A short circuit could damage the mirror or blow a fuse.
1. Open the hood and locate the battery.
2. Use a wrench to loosen the nut on the negative (black) terminal.
3. Remove the cable and tuck it away from the battery post.
4. Wait 5–10 minutes to let any residual charge dissipate.
Step 2: Remove the Interior Door Panel
To access the mirror mounting bolts, you’ll need to remove the interior door panel. Don’t worry—it’s easier than it looks.
1. Use a trim removal tool to pop off any plastic covers hiding screws (usually behind the door handle or armrest).
2. Unscrew all visible screws (typically 4–6, depending on your model).
3. Gently pry around the edges of the panel with the trim tool. Start at the bottom and work your way up.
4. Lift the panel slightly and disconnect any electrical connectors (for window switches, door locks, etc.).
5. Set the panel aside in a safe place.
Step 3: Access the Mirror Mounting Bolts
With the door panel off, you’ll see the back of the mirror assembly.
1. Locate the three 10mm bolts securing the mirror to the door frame.
2. Use your socket wrench to remove them. Keep the bolts in a small container so you don’t lose them.
3. Carefully pull the mirror assembly away from the door. You’ll see electrical connectors attached to the back.
Step 4: Disconnect Electrical Connectors
This step varies slightly depending on your mirror’s features.
1. Identify the connectors: Most mirrors have one main harness (for power adjustment) and possibly a second for heating or turn signals.
2. Press the release tab on each connector and gently pull them apart.
3. If you’re unsure which is which, take a photo before disconnecting.
Step 5: Remove the Old Glass
Now comes the delicate part—removing the damaged glass.
1. If the glass is intact, gently press on the back of the mirror (from inside the housing) to pop it out. It’s usually held in place by clips or adhesive.
2. If the glass is broken, wear gloves and safety glasses. Use needle-nose pliers to carefully remove large shards.
3. For adhesive-mounted glass, use a heat gun or hair dryer to soften the glue, then gently pry it loose.
4. Clean any remaining adhesive or debris from the mirror housing with a cloth.
Step 6: Install the New Glass
Time to put in the new piece.
1. If your new glass uses clips, align it with the mounting points and press firmly until it clicks into place.
2. If it uses adhesive, remove the backing and press the glass firmly onto the housing. Hold for 30 seconds to ensure a strong bond.
3. Reconnect the electrical connectors to the new glass (if applicable).
Step 7: Reattach the Mirror and Door Panel
Reverse the disassembly steps.
1. Plug the electrical connectors back into the mirror.
2. Position the mirror against the door and reinstall the three 10mm bolts. Tighten securely but don’t over-torque.
3. Reconnect any door panel electrical connectors.
4. Align the door panel and press it into place. Reinstall screws and plastic covers.
Step 8: Reconnect the Battery and Test
Almost done!
1. Reattach the negative battery cable and tighten the nut.
2. Turn on the ignition (don’t start the engine yet).
3. Test all mirror functions:
– Adjust the mirror using the door controls.
– Turn on the defroster to test heating (if equipped).
– Use the turn signal to check indicator lights.
4. If everything works, start the engine and take a short test drive to ensure stability.
Tips for a Smooth Replacement Experience
Even with clear instructions, things can go sideways. Here are some pro tips to help you avoid common pitfalls.
Work in a Clean, Well-Lit Area
A cluttered workspace increases the risk of losing small parts or damaging components. Lay out your tools and keep the area free of dirt and debris.
Label Connectors and Bolts
If you’re replacing both mirrors, label the bolts and connectors with tape or sticky notes. This prevents confusion when reassembling.
Don’t Force Anything
If a part won’t budge, double-check for hidden screws or clips. Forcing it can break plastic housings or damage wiring.
Use OEM or High-Quality Aftermarket Glass
Cheap glass may fit poorly or lack the durability of OEM parts. Invest in a reputable brand to avoid repeat repairs.
Check for Recalls or Warranties
Some Dodge Ram models have had mirror-related recalls. Check the NHTSA website or contact your dealer to see if your repair is covered.
Consider Upgrading
If your truck has basic mirrors, this is a great time to upgrade to heated or power-adjustable glass (if compatible). Just make sure your wiring supports the new features.
Common Mistakes to Avoid
Even experienced DIYers make errors. Here’s what to watch out for:
– **Skipping the battery disconnect:** This can cause electrical shorts or blown fuses.
– **Using the wrong glass type:** Always match heating, power, and signal features.
– **Over-tightening bolts:** This can crack the mirror housing or strip threads.
– **Ignoring safety gear:** Broken glass can cause serious cuts.
– **Rushing the adhesive cure time:** If using glue, wait the recommended time before driving.
Conclusion
Replacing the side mirror glass on your Dodge Ram 1500 is a practical, money-saving repair that anyone can do. With the right tools, a little patience, and this guide, you’ll have your mirror working like new in under an hour. Not only will you save hundreds of dollars compared to a dealership quote, but you’ll also gain confidence in your ability to maintain your truck.
Remember: safety comes first. Always disconnect the battery, wear protective gear, and test all functions before hitting the road. And if you’re ever unsure, consult your owner’s manual or reach out to a trusted mechanic.
Your Dodge Ram is built to last—and so are its repairs when done right. So next time that mirror takes a hit, don’t panic. Just grab your tools and get to work.
Frequently Asked Questions
Can I replace just the glass, or do I need a whole new mirror?
Yes, you can replace just the glass in most cases. The glass is a separate component that snaps or adheres into the mirror housing, so you don’t need to buy the entire assembly unless the housing is damaged.
How much does replacement glass cost?
Replacement glass typically costs between $30 and $120, depending on features like heating, power adjustment, and whether it’s OEM or aftermarket. Full mirror assemblies can cost $200–$600.
Will my insurance cover mirror glass replacement?
If you have comprehensive coverage, your insurance may cover the cost, especially if the damage was caused by an accident, vandalism, or weather. Check your policy and deductible before filing a claim.
Can I drive with a cracked side mirror?
It’s not recommended. A cracked mirror reduces visibility and may be illegal in your state. Most places require functional side mirrors for safe driving.
Do I need special tools to replace the glass?
No, basic hand tools like a socket wrench, trim removal tool, and screwdriver are sufficient. You don’t need specialized equipment.
How long does it take to replace the glass?
Most people can complete the job in 30–60 minutes, especially after the first time. If you’re new to car repairs, allow extra time to work carefully.


