How to Remove the Back Seat in a Volvo Xc60
Contents
- 1 Key Takeaways
- 2 📑 Table of Contents
- 3 Why You Might Need to Remove the Back Seat in Your Volvo XC60
- 4 Understanding Your Volvo XC60’s Rear Seat Design
- 5 Tools and Preparation: What You’ll Need
- 6 Step-by-Step Guide: Removing the Back Seat Base
- 7 Removing the Rear Seat Backrest
- 8 Reinstalling the Back Seat: Tips for a Secure Fit
- 9 Common Mistakes and How to Avoid Them
- 10 When to Seek Professional Help
- 11 Conclusion
- 12 Frequently Asked Questions
Removing the back seat in a Volvo XC60 is simpler than it looks, but it requires knowing the right steps to avoid damage. This guide walks you through the entire process—from locating hidden latches to handling seat belts and wiring—so you can access your trunk, clean thoroughly, or perform repairs with confidence.
Key Takeaways
- Know your model year: The removal process varies slightly between first-generation (2008–2017) and second-generation (2018–present) XC60s, so confirm your vehicle’s generation first.
- Start with the bottom cushion: The rear seat base is usually removed before the backrest, and it’s often held in place by two or four release levers near the front edge.
- Use gentle force: Never yank or pry aggressively—Volvo seats are designed to release with moderate pressure once the latches are disengaged.
- Disconnect seat belt and wiring (if applicable): Some models have integrated seat belt pretensioners or heating elements that must be disconnected before full removal.
- Store hardware safely: Keep bolts, clips, and connectors in a labeled container so you don’t lose them during reassembly.
- Check for hidden fasteners: Under floor mats or behind trim panels, there may be additional bolts securing the seat frame—don’t skip inspection.
- Reinstall carefully: Align the seat properly and ensure all latches click securely to maintain safety and comfort.
📑 Table of Contents
- Why You Might Need to Remove the Back Seat in Your Volvo XC60
- Understanding Your Volvo XC60’s Rear Seat Design
- Tools and Preparation: What You’ll Need
- Step-by-Step Guide: Removing the Back Seat Base
- Removing the Rear Seat Backrest
- Reinstalling the Back Seat: Tips for a Secure Fit
- Common Mistakes and How to Avoid Them
- When to Seek Professional Help
- Conclusion
Why You Might Need to Remove the Back Seat in Your Volvo XC60
Whether you’re deep-cleaning your interior, installing a child seat, accessing the spare tire, or performing under-seat repairs, knowing how to remove the back seat in a Volvo XC60 is a valuable skill. Unlike some vehicles where seats are bolted down permanently, the XC60 features a user-friendly design that allows owners to remove both the bottom cushion and backrest without special tools—most of the time.
Volvo prioritizes safety and practicality, and that extends to interior accessibility. The rear seats are engineered for easy removal to accommodate large cargo, facilitate maintenance, or provide access to components beneath the upholstery. However, because the process isn’t always intuitive—especially with hidden latches and integrated safety systems—many owners hesitate or risk damaging their seats by forcing them out incorrectly.
This guide will walk you through every step, tailored to both generations of the XC60, so you can remove your back seat confidently and safely. We’ll cover what to expect, what tools you might need, and how to avoid common pitfalls. By the end, you’ll not only know how to remove the back seat in a Volvo XC60—you’ll understand why each step matters.
Understanding Your Volvo XC60’s Rear Seat Design
Before diving into removal, it’s important to understand how the rear seat is constructed. The Volvo XC60 features a split-folding rear seat—typically 60/40 or 40/20/40 depending on the model year and trim—that allows flexible cargo and passenger configurations. Each section consists of two main parts: the seat base (bottom cushion) and the seat back (backrest).
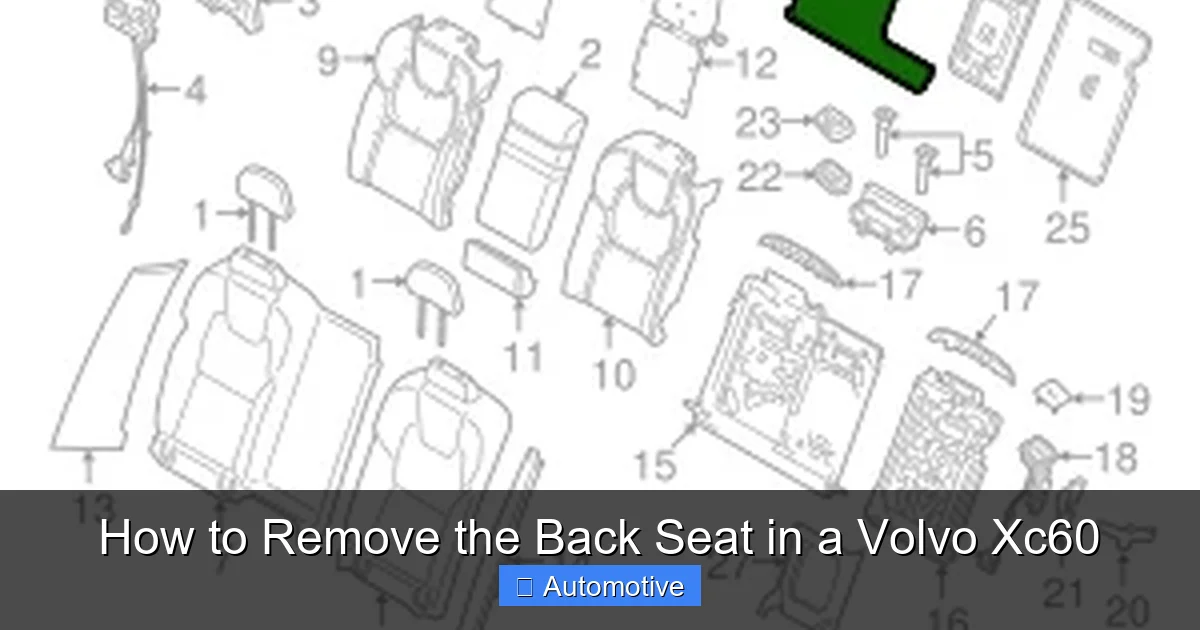
Visual guide about How to Remove the Back Seat in a Volvo Xc60
Image source: dz310nzuyimx0.cloudfront.net
First vs. Second Generation Differences
The first-generation XC60 (2008–2017) and the second-generation (2018–present, also known as the XC60 II) have notable differences in seat design and attachment methods. While both use latch-based systems for the seat base, the newer model integrates more electronics, such as heated seat controls and advanced seat belt sensors, which may require extra care during removal.
In the first-gen XC60, the seat base is typically secured by two manual release levers located at the front edge of the cushion, near the floor. Pulling these levers upward releases the seat, allowing it to be lifted out. The backrest folds forward but is not usually removed unless for major repairs—though some owners do detach it for full access.
The second-gen XC60 retains a similar latch system but often includes additional safety features. For example, the seat belt pretensioner may be integrated into the seat frame, and heated seats rely on wiring that runs beneath the cushion. This means you might need to disconnect electrical connectors before lifting the seat out completely.
Integrated Safety Features
Modern Volvos are packed with safety technology, and the rear seats are no exception. Many XC60 models come equipped with:
- Seat belt pretensioners: These tighten the belt during a collision and are often mounted within the seat structure.
- Occupancy sensors: Detect whether a passenger is seated and adjust airbag deployment accordingly.
- Heated seat elements: Common in higher trims, these require electrical connections under the seat.
Because of these features, it’s crucial to handle the seat gently and avoid cutting or damaging wires. If your XC60 has heated rear seats, you’ll likely see a small wiring harness near the front edge of the seat base. This must be disconnected before removal to prevent damage.
Tools and Preparation: What You’ll Need
One of the best things about removing the back seat in a Volvo XC60 is that you rarely need specialized tools. Most of the process relies on manual latches and simple connectors. However, having the right items on hand will make the job smoother and safer.
Visual guide about How to Remove the Back Seat in a Volvo Xc60
Image source: i.ytimg.com
Essential Tools and Supplies
- Flathead screwdriver or trim removal tool: Useful for gently prying up floor mats or accessing hidden latches.
- Socket wrench or Allen key (optional): Some older models or specific trims may have bolts securing the seat frame—usually 10mm or Torx T30.
- Electrical connector release tool (optional): Helps disconnect wiring harnesses without damaging clips.
- Gloves: Protect your hands from sharp edges or dirt under the seat.
- Clean cloth or towel: Place under the seat when lifting to protect the carpet.
- Small container or bag: Store any bolts, clips, or connectors you remove.
Safety Precautions
Before you begin, take a few safety precautions:
- Turn off the ignition and remove the key: This prevents accidental activation of seat heaters or airbag systems.
- Disconnect the battery (optional but recommended for heated seats): If your XC60 has heated rear seats, disconnecting the negative terminal of the battery eliminates the risk of short circuits.
- Clear the area: Remove any items from the trunk and back seat to give yourself room to work.
- Work on a flat, well-lit surface: Good lighting helps you spot latches and connectors easily.
Identifying Your Seat Configuration
Not all XC60s are identical. Before removal, confirm your seat layout:
- 60/40 split: One larger section (driver side) and one smaller (passenger side).
- 40/20/40 split: Three sections, with the middle seat folding independently—common in newer models.
The removal process is similar for each section, but the 20% middle seat may have additional wiring if it includes a center armrest with USB ports or climate controls. Always check for hidden connectors before lifting.
Step-by-Step Guide: Removing the Back Seat Base
The seat base is the easiest part to remove and is usually the first step. It provides access to the area beneath and must be taken out before the backrest in most cases.
Visual guide about How to Remove the Back Seat in a Volvo Xc60
Image source: i.ytimg.com
Step 1: Fold Down the Backrest
Start by folding the rear seat backrest forward. Pull the release lever (usually located on the side of the seat or in the trunk) to unlock the backrest. Fold it down completely so it lies flat against the seat base. This gives you better access to the front edge of the cushion and prevents strain on the hinges.
Step 2: Locate the Release Levers
Kneel in front of the seat and look along the front edge of the cushion, near where it meets the floor. You’ll see two small levers—one on the left and one on the right. These are typically black or gray plastic and may be recessed slightly into the foam.
In some models, especially the first-gen XC60, these levers are labeled with a small arrow or “PULL” indicator. On newer models, they may be less obvious but are still present. If you can’t see them, run your fingers along the edge of the seat base—you should feel a small plastic tab.
Step 3: Pull the Levers and Lift the Seat
Grasp both levers firmly and pull them upward simultaneously. You’ll hear a soft “click” as the latches disengage. Once both sides are released, lift the front edge of the seat base upward and tilt it backward.
The seat should come out easily—no forcing required. If it feels stuck, double-check that both levers are fully pulled and that no debris is blocking the latch mechanism. Never use a pry bar or hammer; this can crack the plastic housing or damage the floor anchors.
Step 4: Disconnect Wiring (If Applicable)
If your XC60 has heated rear seats, you’ll notice a wiring harness connected near the front center of the seat base. This is usually a small black plug with two or four wires.
- Press the release tab on the connector.
- Gently pull the plug apart.
- Set the connector aside in a safe place—don’t let it dangle or get caught under the seat.
If you’re unsure whether your seat is heated, check the climate control panel for rear seat heat buttons or consult your owner’s manual.
Step 5: Remove the Seat Base Completely
Once the latches are released and any wiring is disconnected, lift the entire seat base out of the vehicle. It’s lightweight but bulky, so carry it carefully to avoid scratching interior trim or door sills.
Place the seat on a clean, flat surface—like a driveway or garage floor—upside down to protect the upholstery. If you’re cleaning underneath, now’s the time to vacuum or wipe down the exposed carpet and floor panels.
Removing the Rear Seat Backrest
Unlike the seat base, the backrest is not designed for frequent removal. However, it may be necessary for deep cleaning, accessing the spare tire, or replacing seat components. The process is slightly more involved and varies between generations.
Step 1: Ensure the Seat Base Is Removed
You cannot remove the backrest while the seat base is in place. Make sure the cushion is already out of the vehicle before proceeding.
Step 2: Locate the Backrest Release Mechanism
In most XC60 models, the backrest is secured by two bolts at the base of the seat frame, hidden beneath the upholstery or trim. To access them:
- Look for a small fabric flap or plastic cover at the bottom of the backrest, near the floor.
- Gently peel back the flap or pry off the cover with a flathead screwdriver.
- You’ll see two bolts—typically 10mm or Torx T30—securing the backrest hinges to the floor.
In some newer models, the bolts may be accessed from the trunk side. Open the trunk and look behind the rear wheel well trim. You may need to remove a plastic panel to reach the bolts.
Step 3: Remove the Bolts
Use a socket wrench or Allen key to loosen and remove both bolts. Keep them in your container—they’re easy to lose and essential for reassembly.
Once the bolts are out, the backrest should pivot forward slightly. However, it may still be held in place by seat belt components or wiring.
Step 4: Disconnect Seat Belt and Pretensioner (If Applicable)
The rear seat belt is often integrated into the backrest frame. In many XC60s, the belt retractor is mounted directly to the seat, and the pretensioner (a safety device that tightens the belt in a crash) is wired into the vehicle’s airbag system.
- Locate the seat belt anchor point where the belt feeds into the seat.
- You may need to remove a plastic cover to access the pretensioner connector.
- Disconnect the electrical plug by pressing the release tab and pulling it apart.
⚠️ Warning: Do not cut or damage the pretensioner wiring. If you’re unsure, consult a Volvo service manual or consider professional assistance.
Step 5: Lift the Backrest Out
With the bolts removed and connectors disconnected, carefully lift the backrest upward and tilt it forward. It should come free from the hinges. Have a helper if the seat is heavy or awkward to maneuver.
Set the backrest aside in a safe location. Avoid placing it on sharp objects or wet surfaces.
Reinstalling the Back Seat: Tips for a Secure Fit
Reassembly is essentially the reverse of removal, but attention to detail ensures safety and comfort.
Step 1: Reconnect Wiring and Seat Belt
Before placing the backrest back, reconnect any electrical connectors for the pretensioner or heated elements. Ensure the plugs are fully seated and the release tabs click into place.
Step 2: Align and Secure the Backrest
Position the backrest over the hinge mounts and insert the bolts. Tighten them securely—but don’t over-torque, as this can strip the threads.
Step 3: Reinstall the Seat Base
Place the seat base back into position, aligning the latch hooks with the floor anchors. Press down firmly on the front edge until you hear a click. Reconnect any wiring harnesses.
Step 4: Test the Latches and Functionality
Pull up on the seat base to ensure it’s locked in place. Sit in the seat and adjust the backrest to confirm smooth operation. Test heated seats (if equipped) to verify electrical connections.
Final Tip: Reset the Occupancy Sensor
After reassembly, the vehicle may need to recalibrate the rear occupancy sensor. Start the car and sit in the rear seat for a few minutes. If the airbag warning light appears, consult your owner’s manual or visit a Volvo service center.
Common Mistakes and How to Avoid Them
Even with clear instructions, mistakes happen. Here are the most common errors and how to prevent them:
- Forcing the seat out: If it doesn’t release easily, stop and recheck the latches. Forcing can break plastic components.
- Ignoring wiring: Always disconnect electrical connectors before lifting the seat. Damaged wires can lead to expensive repairs.
- Losing bolts or clips: Use a labeled container to store hardware. Take a photo before disassembly for reference.
- Skipping the battery disconnect: On heated seat models, disconnecting the battery prevents accidental shorts.
- Improper reassembly: Ensure all latches click and bolts are tight. A loose seat compromises safety.
When to Seek Professional Help
While most owners can remove the back seat in a Volvo XC60 without issue, some situations call for expert assistance:
- If you suspect airbag or pretensioner damage.
- If wiring is frayed or connectors are broken.
- If the seat won’t release despite correct steps—there may be a mechanical fault.
- If you’re uncomfortable working with electrical systems.
Volvo dealerships and certified mechanics have the tools and knowledge to handle complex seat removals safely.
Conclusion
Learning how to remove the back seat in a Volvo XC60 empowers you to maintain, clean, and customize your vehicle with confidence. Whether you’re accessing the spare tire, installing a cargo barrier, or simply giving your interior a deep clean, this skill saves time and money.
Remember: patience and preparation are key. Take your time, follow the steps carefully, and respect the integrated safety systems. With the right approach, removing and reinstalling your rear seat is a straightforward task that enhances both the functionality and longevity of your XC60.
Frequently Asked Questions
Can I remove the back seat in a Volvo XC60 without tools?
Yes, in most cases you can remove the seat base without tools using the built-in release levers. However, removing the backrest usually requires a socket wrench or Allen key to undo the hinge bolts.
Is it safe to drive without the back seat installed?
Technically yes, but it’s not recommended. The seat provides structural support and houses safety components like seat belt pretensioners. Driving without it may affect safety system performance and void warranties.
Do I need to disconnect the battery when removing the seat?
Only if your XC60 has heated rear seats or active safety systems. Disconnecting the battery prevents accidental electrical shorts and protects sensitive components.
Why won’t my seat base release when I pull the levers?
The latches may be stuck due to dirt, debris, or misalignment. Clean the area around the levers and try again. If it still won’t budge, check for hidden bolts or consult a service manual.
Can I remove just one side of the split rear seat?
Yes, the 60/40 or 40/20/40 split allows you to remove individual sections. Each side has its own release levers and may have separate wiring if heated.
Will removing the back seat affect my car’s resale value?
No, as long as the seat is reinstalled correctly and all components are undamaged. In fact, showing that you’ve maintained and accessed interior components can be a positive sign of care.