How to Remove Paint Protection Film from a Car
Removing paint protection film from a car doesn’t have to be stressful or damaging. With the right tools, techniques, and patience, you can strip the film cleanly without harming your vehicle’s paint. This guide walks you through every step—from preparation to cleanup—so you can do it confidently at home.
Key Takeaways
- Use heat to loosen the adhesive: A heat gun or hair dryer softens the glue, making it easier to peel off the film without tearing.
- Work in small sections: Tackling one area at a time prevents the adhesive from re-hardening and reduces the risk of damage.
- Choose the right removal tools: Plastic scrapers, microfiber cloths, and adhesive removers help safely lift the film and clean residue.
- Avoid sharp metal tools: They can scratch or gouge the paint, especially on curved or delicate surfaces.
- Clean and polish after removal: Residual adhesive and minor oxidation may remain—use detailing products to restore shine.
- Test a small area first: Always do a spot test to ensure your method won’t damage the paint or clear coat.
- Consider professional help for old or damaged film: If the film is brittle, cracked, or has been on for over 7 years, a detailer may be safer.
📑 Table of Contents
Why Remove Paint Protection Film?
Paint protection film (PPF), also known as clear bra, is a transparent polyurethane layer applied to a car’s exterior to shield it from rock chips, bugs, UV rays, and minor abrasions. It’s a smart investment for preserving your vehicle’s appearance and resale value. But like any protective layer, it doesn’t last forever. Over time, PPF can yellow, crack, peel at the edges, or lose its clarity—especially if it’s been on for five to ten years.
When the film starts to deteriorate, it no longer serves its purpose. In fact, damaged or degraded PPF can trap moisture underneath, leading to paint oxidation or even corrosion. That’s why removing it becomes necessary. Whether you’re prepping for a new wrap, repainting, or simply restoring your car’s original finish, knowing how to Remove Paint protection film from a car properly is essential. Doing it wrong can result in scratches, adhesive residue, or worse—permanent paint damage.
Many car owners assume that removing PPF requires a professional, but with the right approach, it’s a task you can handle at home. The key is patience, the correct tools, and a gentle touch. This guide will walk you through the entire process, from assessing the condition of your film to finishing with a polished, showroom-ready surface.
When Should You Remove Paint Protection Film?
Not all PPF needs to come off immediately. High-quality films from brands like XPEL, SunTek, or 3M can last up to 10 years with proper care. However, there are clear signs that it’s time for removal. If you notice yellowing—especially around edges or seams—it’s a sign the film is breaking down. UV exposure causes polyurethane to degrade, turning it brittle and discolored.
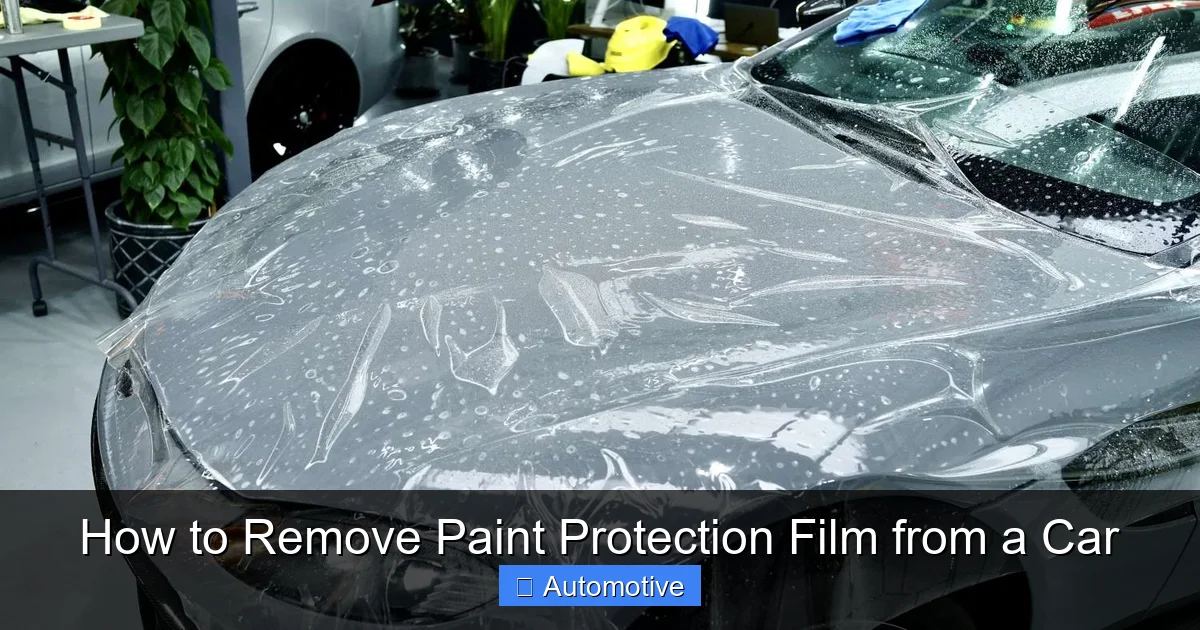
Visual guide about How to Remove Paint Protection Film from a Car
Image source: d1qt70pdm993vm.cloudfront.net
Another red flag is lifting or bubbling. If the film starts to peel at the corners or lift along panels, moisture can seep underneath. This not only looks bad but can also lead to paint damage over time. Similarly, if the film has deep scratches, cracks, or cloudiness that won’t clear up with polishing, it’s lost its protective function.
You might also want to remove PPF if you’re planning to sell your car. While some buyers appreciate the protection, others prefer a clean, film-free surface so they can apply their own. Additionally, if you’re getting a new paint job or installing a vinyl wrap, the old PPF must be removed first. Finally, if you’re upgrading to a newer, more advanced film, removal is a necessary step.
Assessing the Film’s Condition
Before you start peeling, take a close look at the film. Run your fingers over it—does it feel smooth or rough? Are there areas where it’s lifting or cracking? Use a bright flashlight to check for trapped dirt, bubbles, or discoloration. If the film is still in good shape but you just want it off, the removal process will be easier. But if it’s old, brittle, or damaged, you’ll need to proceed with extra care.
One useful test is the “nail test.” Gently press your fingernail into an edge of the film. If it lifts easily, that’s a good sign. If it resists or cracks, the adhesive may be brittle, and you’ll need more heat and patience. Also, check the paint underneath in a hidden area—like behind a door panel or under the hood. If the paint looks faded or different in color, it may have been protected for so long that removing the film could reveal a noticeable contrast.
Tools and Materials You’ll Need
Having the right tools makes all the difference when learning how to remove paint protection film from a car. You don’t need expensive equipment, but using the wrong items—like a metal scraper or harsh chemicals—can ruin your paint. Here’s a list of essentials to gather before you begin:
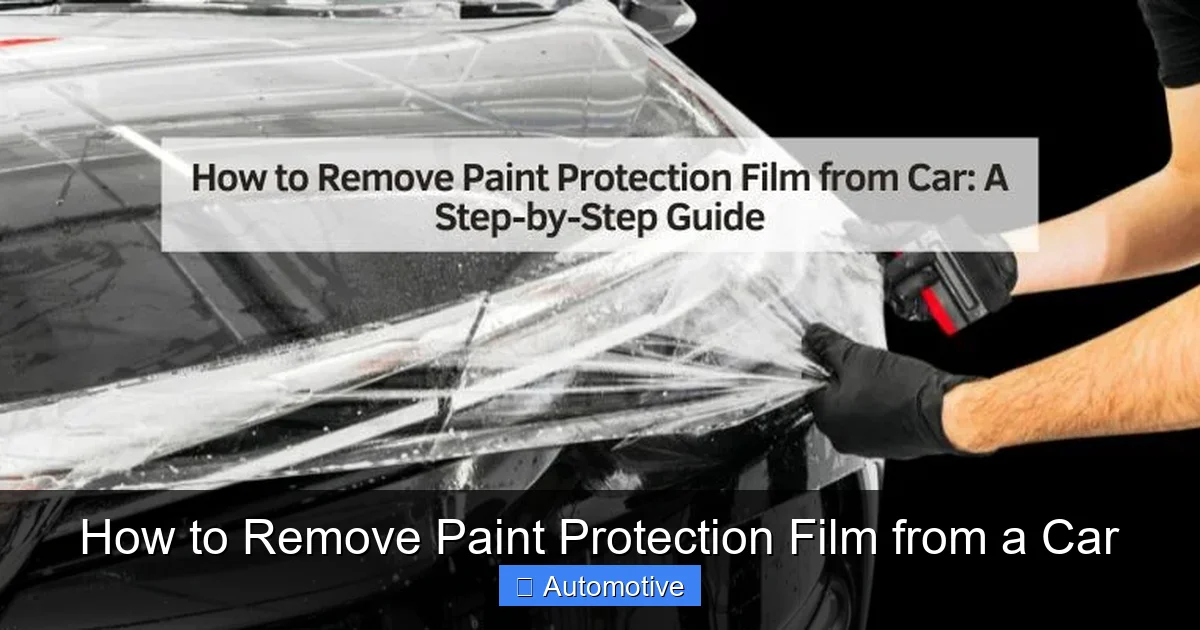
Visual guide about How to Remove Paint Protection Film from a Car
Image source: thedailyautomotive.com
- Heat source: A heat gun or high-quality hair dryer. Avoid open flames or torches—they can melt the film or damage the paint.
- Plastic razor blades or scrapers: These are gentle on paint and effective at lifting edges without scratching.
- Microfiber towels: Use clean, soft towels for wiping and cleaning. Avoid abrasive cloths.
- Adhesive remover: Products like Goo Gone, 3M Adhesive Remover, or isopropyl alcohol (70% or higher) help dissolve leftover glue.
- Spray bottle with soapy water: A mix of mild dish soap and water helps lubricate the surface and prevent scratching during removal.
- Automotive clay bar: Useful for removing stubborn adhesive residue after the film is off.
- Car wash soap and water: For pre-cleaning and post-removal washing.
- Polish and wax: To restore shine and protect the paint after removal.
Optional but helpful tools include a steam cleaner (for gentle heat), nitrile gloves (to protect your hands), and a detailing spray for final touch-ups. If you’re working on a large vehicle like an SUV or truck, consider using a larger heat gun or working with a partner to manage the film as it’s peeled.
Where to Buy These Tools
Most of these items are available at auto parts stores like AutoZone, O’Reilly, or Advance Auto Parts. You can also find them online through Amazon, eBay, or specialty detailing retailers like Chemical Guys or Meguiar’s. For professional-grade adhesive removers, check out detailing supply websites. Prices vary, but you can expect to spend $30–$70 for a basic kit, depending on brand and quality.
Step-by-Step Guide to Removing Paint Protection Film
Now that you’re prepared, it’s time to get started. The process of removing paint protection film from a car is methodical but straightforward. Follow these steps carefully to avoid damage and ensure a clean result.
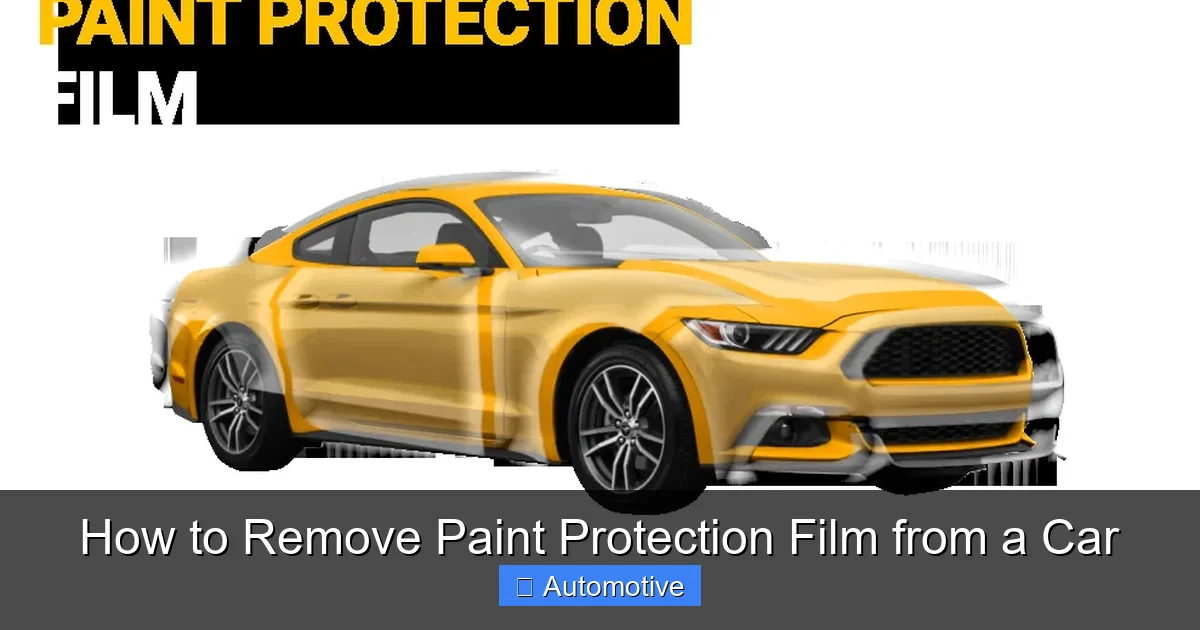
Visual guide about How to Remove Paint Protection Film from a Car
Image source: detailingbull.com
Step 1: Wash the Vehicle
Begin by thoroughly washing the car with car wash soap and water. This removes dirt, grime, and debris that could scratch the surface during removal. Pay special attention to the areas covered by PPF—dirt trapped under the film can cause micro-scratches when you peel. Rinse well and dry with a microfiber towel. A clean surface also helps you see the condition of the film more clearly.
Step 2: Heat the Film
Use a heat gun or hair dryer on a medium setting to warm up a small section of the film—about 6 to 12 inches square. Hold the heat source 6–8 inches away and move it in slow, circular motions. The goal is to soften the adhesive without overheating the paint. You’ll know it’s ready when the film becomes slightly pliable and starts to lift at the edges.
Be cautious not to overheat. Excessive heat can damage the clear coat or cause the film to melt and become sticky. If you’re using a heat gun, keep it moving and avoid concentrating on one spot for too long. A hair dryer is safer for beginners, though it may take a bit longer.
Step 3: Lift the Edge
Once the film is warm, use a plastic razor blade or your fingernail to gently lift a corner. Start at a seam, edge, or corner of a panel—these areas are easier to access. If the film resists, apply more heat. Don’t force it; forcing can tear the film or pull off chunks of paint.
When you’ve got a small tab lifted, grip it firmly but gently. Pull slowly and at a low angle—around 30 to 45 degrees—away from the surface. Keep the heat gun nearby to re-warm the film as you go. If the film starts to tear, stop, reheat, and continue.
Step 4: Peel Slowly and Steadily
Continue peeling the film in one smooth motion. Work in sections, reheating as needed. The adhesive should release cleanly if the film is in decent condition. For older or brittle films, you may need to peel in shorter strips. If the film breaks, don’t panic—just lift the broken piece and continue.
Tip: Have a helper hold the peeled section to prevent it from re-adhering or flapping in the wind. If you’re working alone, use tape to secure the lifted edge to the car or a nearby surface.
Step 5: Remove Adhesive Residue
Once the film is off, you’ll likely see a sticky residue left behind. This is normal. To remove it, spray a small amount of adhesive remover onto a microfiber cloth—not directly on the paint—and gently rub the area. Let it sit for 30–60 seconds to break down the glue, then wipe away.
For stubborn spots, use a clay bar. Lubricate the area with soapy water or detailing spray, then glide the clay bar back and forth. It will pick up embedded adhesive like magic. Avoid using steel wool or abrasive pads—they can scratch the clear coat.
Step 6: Wash and Polish
After all residue is gone, wash the area again to remove any chemical traces. Then, inspect the paint under bright light. You may notice swirl marks, light oxidation, or a dull spot where the film was. This is common, especially if the film protected the paint for years.
Use a dual-action polisher or hand polish to restore the shine. Apply a mild compound or finishing polish with a foam pad, working in small sections. Follow up with a wax or sealant to protect the freshly exposed paint. This step not only improves appearance but also prevents future damage.
Common Mistakes to Avoid
Even with the best intentions, mistakes can happen. Here are some common pitfalls and how to avoid them:
- Using metal scrapers: Metal tools can scratch or gouge the paint, especially on curved surfaces like fenders or bumpers. Always use plastic scrapers.
- Peeling too fast: Rushing causes the film to tear, leaving behind small pieces that are harder to remove. Slow and steady wins the race.
- Overheating the paint: Too much heat can blister or damage the clear coat. Keep the heat source moving and use moderate settings.
- Skipping the wash: Dirt on the surface acts like sandpaper during removal. Always clean first.
- Using household cleaners: Bleach, ammonia, or harsh solvents can strip wax and damage paint. Stick to automotive-safe products.
- Ignoring residue: Leaving adhesive behind attracts dirt and looks unsightly. Take the time to clean it thoroughly.
Another mistake is assuming all PPF comes off easily. Films applied in cold weather or with low-quality adhesives may be more stubborn. In such cases, extra heat and patience are key. If you’re unsure, test a small, hidden area first.
When to Call a Professional
While DIY removal is possible for most cars, there are situations where calling a professional is the smarter choice. If the film is extremely old—say, 8 to 10 years or more—it may have bonded tightly to the paint. Brittle, cracked, or yellowed film can be difficult to remove without specialized tools.
Similarly, if your car has custom paint, matte finishes, or delicate wraps, DIY removal risks damage. Professionals have access to steam cleaners, infrared heaters, and industrial-grade solvents that are safer for sensitive surfaces. They also have the experience to handle tricky areas like mirrors, door handles, and tight contours.
Costs vary, but expect to pay $100–$300 for professional PPF removal, depending on the vehicle size and film condition. While it’s an added expense, it may be worth it for high-value or classic cars. Plus, many detailers offer package deals that include polishing and waxing after removal.
Aftercare and Maintenance
Once the film is off and the paint is clean, your job isn’t quite done. The exposed paint may look different from the rest of the car—especially if the film protected it for years. This is normal and often referred to as “film shadow.” The protected area may appear shinier or less faded.
To blend the appearance, consider a full paint correction. This involves compounding, polishing, and waxing the entire panel or vehicle to create a uniform finish. It’s a bit of work, but the results are worth it. If you’re not comfortable doing this yourself, a detailer can help.
Going forward, decide whether you want to reapply PPF. If so, now is the perfect time—your paint is clean and prepped. Modern films are more durable, clearer, and easier to install than older versions. Brands like XPEL Ultimate Plus offer self-healing properties and 10-year warranties.
If you choose not to reapply, maintain the paint with regular washing, waxing, and garage storage. Use a UV protectant spray to prevent fading, especially if your car sits in the sun often.
Final Thoughts
Learning how to remove paint protection film from a car might seem intimidating at first, but it’s a manageable task with the right preparation and mindset. The key is to work slowly, use gentle tools, and prioritize the safety of your paint. With heat, patience, and the right products, you can strip the film cleanly and restore your car’s surface to its original glory.
Remember, not all films are created equal. Older or lower-quality PPF may require more effort, but the principles remain the same. And if you ever feel unsure, don’t hesitate to consult a professional. Your car’s finish is worth the investment—whether in time, tools, or expert help.
By following this guide, you’ll not only save money but also gain confidence in maintaining your vehicle. Whether you’re prepping for a new look or simply refreshing your ride, removing PPF is a valuable skill every car owner should know.
Frequently Asked Questions
Can I remove paint protection film myself?
Yes, most car owners can remove PPF at home with the right tools and techniques. It requires patience, heat, and gentle handling to avoid damaging the paint.
Will removing PPF damage my car’s paint?
If done correctly, no. Using plastic tools, heat, and adhesive removers safely lifts the film without harming the clear coat. Avoid metal scrapers and harsh chemicals.
How long does it take to remove PPF from a car?
For an average sedan, expect 2–4 hours, depending on the film’s condition and your experience. Larger vehicles or brittle films may take longer.
What if the film tears while peeling?
Don’t panic. Stop peeling, reheat the torn area, and gently lift the edge again. Work in smaller sections if needed to prevent further tearing.
Can I reuse the removed PPF?
No, paint protection film is not reusable. Once removed, it loses its adhesive properties and clarity, making it unsuitable for reapplication.
Should I reapply PPF after removal?
It’s recommended if you want continued protection. Modern PPF is more durable and clearer than older versions, offering excellent long-term benefits.