
How to Remove Maintenance Required on Toyota Corolla
Contents
- 1 Key Takeaways
- 2 📑 Table of Contents
- 3 Understanding Your Corolla’s Service Reminder System
- 4 Essential Preparation: Safety and Knowledge First
- 5 The Standard Reset Procedure: The Button Method (Most Common)
- 6 What If the Button Method Doesn’t Work? Alternative Solutions
- 7 Model Year Considerations: What’s Different?
- 8 After the Reset: What Comes Next?
- 9 Frequently Asked Questions

Car Wax Polish

Chain Lubricant Spray

LED Indicator Light

Car Battery Charger
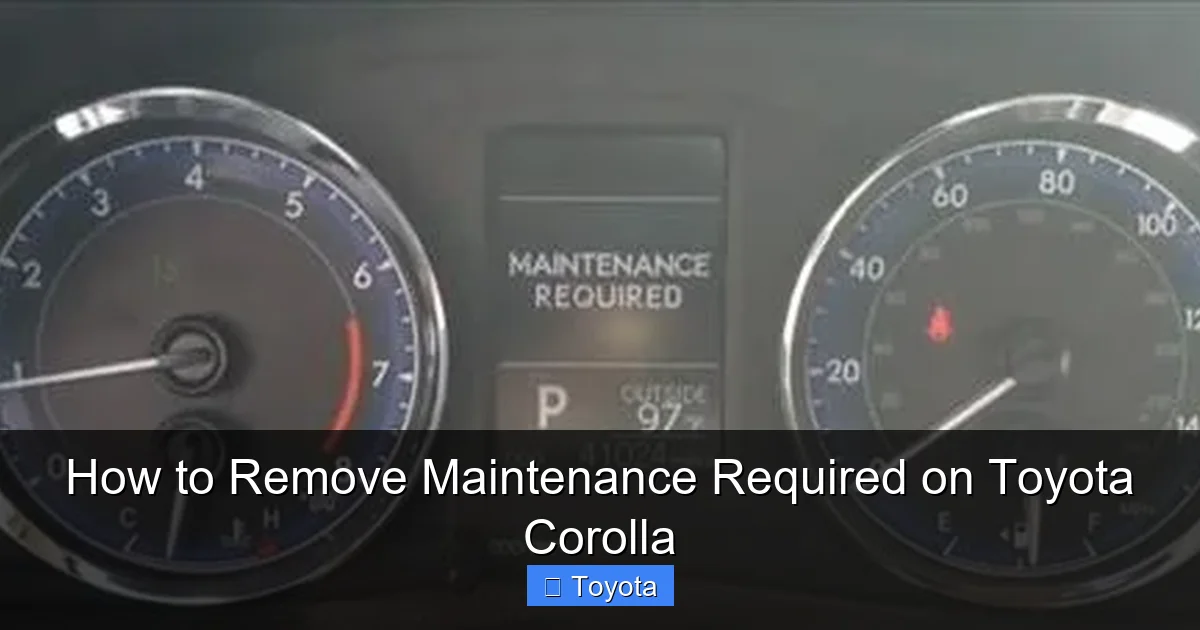
The “MAINTENANCE REQUIRED” light on your Toyota Corolla is a helpful reminder, not an emergency signal. It illuminates after a set mileage or time interval to prompt you for routine service, like an oil change. Resetting it is a simple process you can do yourself after completing the necessary maintenance. This guide provides clear, model-specific instructions to safely turn off that light, ensuring your Corolla’s service tracker is accurate. Always perform the actual maintenance first before resetting the light.
That little “MAINTENANCE REQUIRED” or “MAINT REQD” light glowing on your Toyota Corolla’s dashboard can be a mild annoyance. You know you’re a responsible owner, but maybe you just had the oil changed and the mechanic forgot to turn it off. Or perhaps you did the work yourself and now need to know how to silence the reminder. Whatever the reason, learning to reset this light is a simple yet empowering piece of car ownership knowledge. It’s not about bypassing a warning; it’s about accurately updating your vehicle’s internal service clock after you’ve completed the necessary upkeep. This comprehensive guide will walk you through every step, for virtually every Toyota Corolla model year, ensuring you can handle this task with confidence.
First, let’s set the record straight. This light is your car’s polite nudge, not a panicked scream. It’s programmed to illuminate after a specific mileage or time interval—often 5,000 miles or 6 months—has passed since the last reset. It does not mean something is currently broken. That job belongs to the Check Engine light. The Maintenance Required light is a proactive tool, part of Toyota’s long-standing reputation for reliability and owner-friendly maintenance scheduling. Understanding this distinction is the first step to demystifying your dashboard.
Key Takeaways
- The light is a mileage/time tracker: It’s a simple reminder system, not a diagnostic trouble code. It comes on after a preset interval (e.g., 5,000 miles or 6 months) since the last reset.
- Reset only AFTER maintenance: You must complete the required service (like an oil and filter change) before resetting the light. Resetting without doing the work is unsafe and defeats the system’s purpose.
- Method varies by model year: Older Corollas (pre-2014) typically use a button and odometer trick. Newer models (2014+) often use a menu on the multi-information display accessed via steering wheel buttons.
- A scan tool is a universal backup: If the standard method fails or is confusing, any basic OBD2 scan tool with “Maintenance Reset” capability can clear the light.
- It’s not the “Check Engine” light: The Maintenance Required light (usually “MAINT REQD”) is different from the Check Engine light (a engine icon). The latter indicates a problem needing diagnosis.
- Ignoring it has consequences: While the car won’t break down immediately, skipping scheduled maintenance can lead to severe engine wear, poor fuel economy, and voided warranty components.
- Consult your manual: Your owner’s manual has the definitive procedure and interval schedule for your specific Corolla’s model year and trim.
📑 Table of Contents
- Understanding Your Corolla’s Service Reminder System
- Essential Preparation: Safety and Knowledge First
- The Standard Reset Procedure: The Button Method (Most Common)
- What If the Button Method Doesn’t Work? Alternative Solutions
- Model Year Considerations: What’s Different?
- After the Reset: What Comes Next?
Understanding Your Corolla’s Service Reminder System
Before you start pushing buttons, it helps to understand what you’re communicating with. The system is elegantly simple. Inside your Corolla’s Engine Control Unit (ECU), there’s a counter. When you (or your mechanic) perform a reset, that counter is set to zero. The car then tracks your mileage and days. Once you hit the predetermined threshold (set by Toyota engineering based on recommended service intervals), the ECU triggers the “MAINT REQD” light to come on. It’s a mileage-based scheduler, plain and simple.
What Triggers the Light?
The primary trigger is the odometer reading. For many models, the interval is 5,000 miles. However, the system also factors in time. If you drive very little, the light may illuminate based on a 6-month or 12-month timer, even if you haven’t hit the mileage mark. This ensures critical fluids don’t age in the engine. The specific interval can vary slightly by model year and engine type. For instance, some older models with different oil specifications might use a 7,500-mile interval. Your owner’s manual is the ultimate authority here.
It’s Not a Substitute for Actual Service
Here is the most critical rule: Never reset the Maintenance Required light without performing the scheduled maintenance first. This light is a safety net for your investment. Resetting it to avoid an oil change or tire rotation is like erasing a to-do list without doing the work. The consequences are real: accelerated engine wear from dirty oil, uneven tire wear from skipped rotations, and potentially costly repairs down the line. The light exists to protect your engine and maintain your Corolla’s legendary reliability. Treat it as a helpful assistant, not an enemy to be silenced.
Essential Preparation: Safety and Knowledge First
Now that you understand the “why,” let’s talk about the “how.” But before you touch anything, a few minutes of preparation will make the process smooth and foolproof.
Visual guide about How to Remove Maintenance Required on Toyota Corolla
Image source: backyardmechanic.org
Gather Your Tools (You Probably Already Have Them)
For the standard button method, you need nothing more than your car keys and your fingers. For the scan tool method, you’ll need an OBD2 scan tool. You don’t need a fancy, expensive one. Any basic tool from an auto parts store (often available for loan) that has a “Maintenance Reset” or “Oil Reset” function will work. Ensure your scan tool is compatible with your Corolla’s model year. It’s also a good idea to have your owner’s manual handy for reference.
When You Should NOT Attempt a Reset
There are clear situations where you should not proceed with resetting the light yourself:
- If you haven’t performed the maintenance: We’ve said it before, but it bears repeating. Change the oil, rotate the tires, replace the filters, and inspect the brakes first.
- If the light is flashing: A steady “MAINT REQD” is normal for a reminder. A flashing light, though rare for this system, could indicate a different issue. Consult your manual or a professional.
- If your Corolla has a persistent Check Engine light: The presence of a Check Engine light (a different icon, often shaped like an engine) indicates an active fault code. Address that issue first, as it may be related to the very systems the maintenance light is tracking.
- If you are unsure of the procedure: If the steps below don’t match what you see on your dashboard, stop. Using the wrong sequence can sometimes cause other electronic gremlins. Refer to your manual or seek guidance from a reputable source for your specific year.
The Standard Reset Procedure: The Button Method (Most Common)
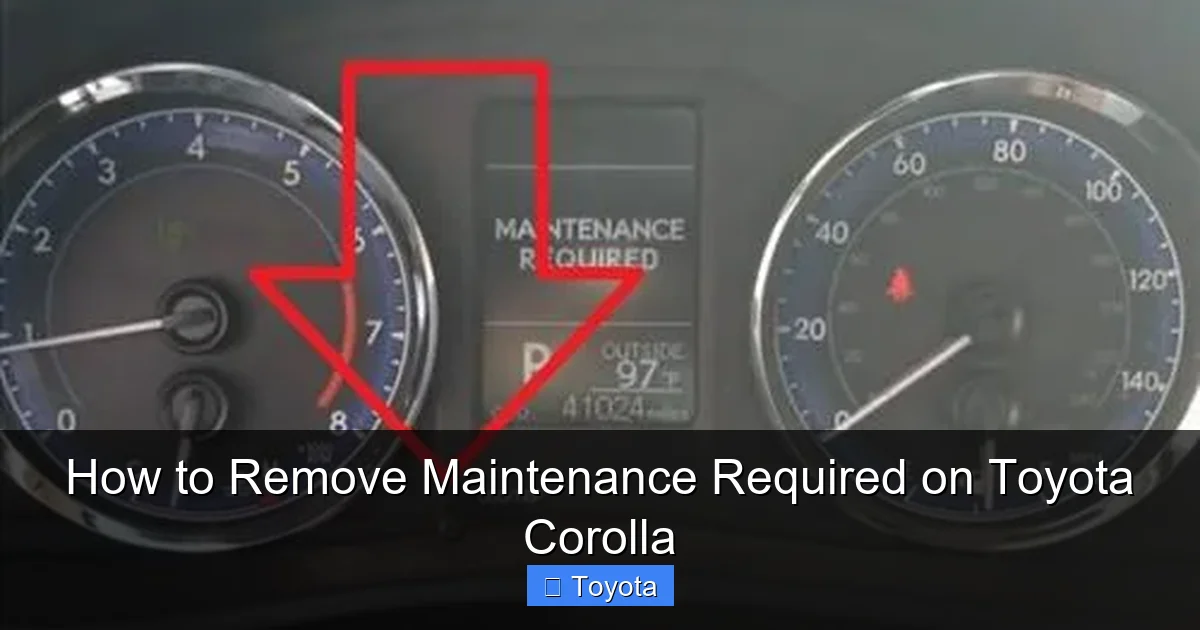
This is the method you’ll use for the vast majority of Toyota Corollas from the early 2000s up through the early 2020s. It uses the trip meter reset button on the instrument cluster. The exact steps differ slightly based on your display type. First, identify your dash setup.
Visual guide about How to Remove Maintenance Required on Toyota Corolla
Image source: i.ytimg.com
For Corollas with a Traditional Odometer & Button (Pre-2014 & Some Later Models)
This classic method is straightforward. You’ll be using the button that normally resets your trip mileage.
- Turn the ignition ON. Do not start the engine. Just press the start button once (or turn the key to the “ON” or “ACC” position) so all dashboard lights come on, but the engine is off.
- Locate the “Trip/Reset” button. It’s usually on the instrument cluster, near the speedometer, and might be labeled “Trip,” “ODO/TRIP,” or have a reset symbol.
- Turn the ignition OFF. Now, press and hold the “Trip/Reset” button.
- While holding the button, turn the ignition back ON. Keep holding the button. You’ll see the odometer display change. It might show a series of dashes “—–” or the word “DISP” or “SETTING.”
- Release the button. After a few seconds, the display will cycle. You need to press the button repeatedly to navigate to the maintenance reset menu. This is the tricky part. You’re looking for an option that says “MAINT REQD” or a wrench icon, or sometimes just “SET” when the odometer shows the total mileage.
- Select and reset. Once the correct menu is displayed, press and hold the button again. You should see the “MAINT REQD” light begin to blink, then go out. The display may show “DONE” or return to the normal odometer reading.
- Verify. Turn the ignition off, then back on. The light should be off. Start the engine to be sure.
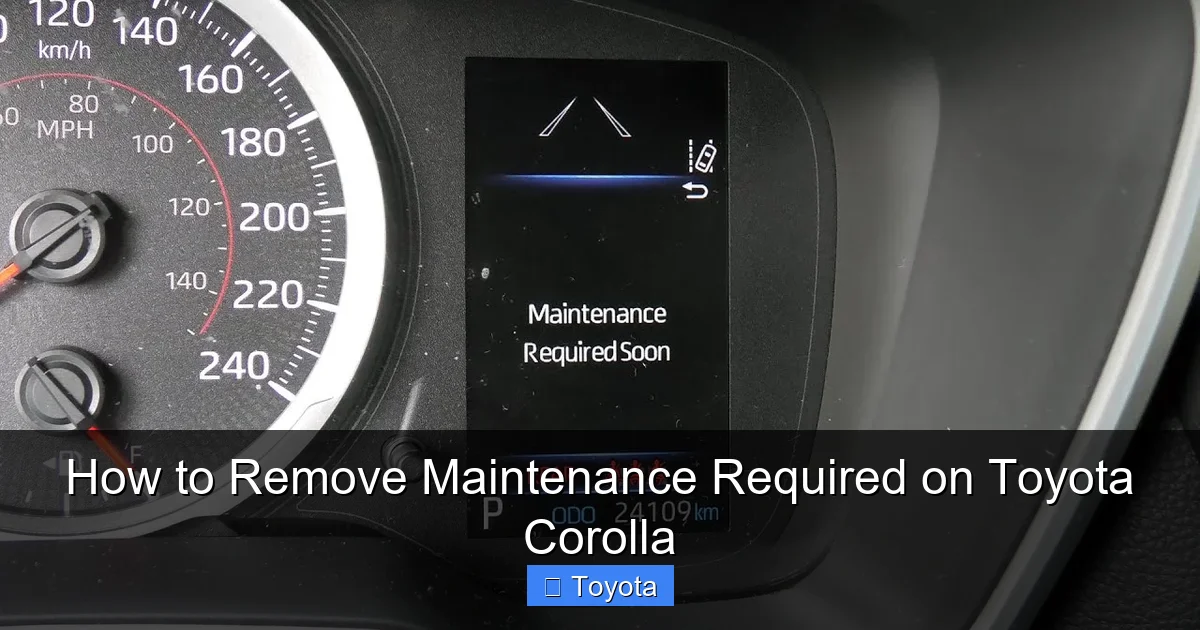
For Corollas with a Multi-Information Display & Steering Wheel Controls (2014+)
Newer Corollas moved these functions to a menu on the digital screen, controlled by buttons on the steering wheel. This is often easier.
- Turn the ignition ON. Engine off, all dash lights on.
- Use the arrow buttons on the steering wheel. Find the button that says “Menu,” “Info,” or has up/down arrows. Press it to cycle through the display options on the screen between the speedometer and tachometer.
- Navigate to the “Settings” or “Vehicle Settings” menu. Keep pressing the button/menu until you see an option like “Settings,” “Vehicle Settings,” or a gear icon.
- Enter the settings menu. Press the “Enter” or “Set” button (often the central button on the steering wheel stalk).
- Find the Maintenance menu. Use the arrow buttons to scroll through the settings list. Look for “Maintenance,” “Maintenance Reset,” or “Oil Maintenance.”
- Execute the reset. Select it. The screen will likely ask you to confirm (“Yes/No” or “Reset/Return”). Select “Yes” or “Reset.” You should see a confirmation message like “Maintenance Reset Completed” or “Done.”
- The light should extinguish immediately. Turn the car off and on to confirm.
Pro Tip: If you get lost in the menu, just turn the car off and start over. You can’t break anything by exploring the menus with the engine off.
What If the Button Method Doesn’t Work? Alternative Solutions
Sometimes, the standard method might not apply. Maybe you have a very new model with a different interface, or the procedure has changed. Don’t panic. You have reliable alternatives.

Visual guide about How to Remove Maintenance Required on Toyota Corolla
Image source: i.ytimg.com
Using an OBD2 Scan Tool
This is the most universal method and works on any OBD2-compliant vehicle (all Corollas since 1996). Any decent scan tool will have a “Maintenance Reset” or “Oil Service Reset” function.
- Locate the OBD2 port. It’s under the dashboard, just below the steering column, usually near the driver’s knees. It’s a trapezoidal 16-pin connector.
- Plug in your scan tool. With the ignition OFF, connect the scan tool’s cable to the port.
- Turn the ignition ON. Engine off.
- Navigate the scan tool menu. Follow the tool’s prompts. You’ll typically go to “Body” or “Control Module” then find “Maintenance Reset” or “Oil Reset.”
- Follow the on-screen instructions. The tool will guide you. It may ask you to confirm mileage, date, or service type. Input the correct information (e.g., 0 miles or current mileage after service).
- Execute and verify. The tool will send the command to the ECU. The light should go out. Disconnect the tool and turn the car off/on to check.
This method is foolproof and is what dealerships and professional shops use. If you’re ever stuck, this is your go-to. You can often borrow a basic scan tool for free from your local auto parts store.
The Dealer or Professional Shop
If you’re uncomfortable with electronics, or if the light refuses to reset after multiple correct attempts, a quick visit to a Toyota dealer or a trusted independent mechanic is the answer. They have the latest factory scan tools (like the Techstream) and can reset it in seconds, often for a minimal fee or even for free if you just had service done there. There’s no shame in this; sometimes the professional touch is the easiest path.
Model Year Considerations: What’s Different?
While the core concept is identical, the user interface has evolved. Here’s a quick cheat sheet for common Corolla generations:
- Pre-2009 Models: Almost exclusively the odometer button method. The sequence is very consistent: key ON, OFF, hold button, key ON, release, then multiple presses to find the reset mode.
- 2009-2013 Models: Transition period. Some use the old button method, others introduced the steering wheel menu. The manual is key here.
- 2014-2018 Models (E210 Generation): Primarily use the steering wheel menu and multi-information display. The “Menu” button on the left stalk is your gateway.
- 2019-Present Models (Also E210, but refreshed): The process is largely the same as 2014-2018, but the menu structure might be slightly refined. Look for “Vehicle Settings” on the screen.
- Hybrid Corollas: The process is identical to their gasoline counterparts in the same model year range. The maintenance reminder system works the same way.
When in doubt, search online for “How to reset maintenance light on [Your Exact Year & Model, e.g., 2017 Toyota Corolla SE]”. The specificity will get you the most accurate YouTube video or forum post. For a general guide that covers the principles, you can also refer to our overview of Toyota’s system, but always cross-check with your specific vehicle.
After the Reset: What Comes Next?
The light is off. Success! But your job isn’t quite done. A few final steps ensure everything is in order.
Verify the Reset and Reset Interval
After turning the light off, drive the car for a short distance. The light should stay off. If it comes back on immediately, you likely didn’t complete the reset sequence correctly. Try again. If it comes back on after a few miles, it might mean the system didn’t accept the reset, or there’s an underlying electrical issue. Also, note what the odometer reads when you reset it. That’s your new baseline. The light will come on again at that mileage + the service interval (e.g., +5000 miles).
Schedule Your Next Service
Now is the perfect time to mark your calendar or set a phone reminder for your next service based on the new baseline mileage. If you just had an oil change, set a reminder for 5,000 miles from now. If you just rotated tires, note that too. This turns the passive light into an active planning tool.
Keep Records
Whether you do the work yourself or take it to a shop, keep a record of the service (date, mileage, what was done). This is invaluable for your own tracking, for potential future buyers, and for warranty claims. If you reset the light, the car’s internal memory is cleared. Your personal log is the only permanent record of what was done and when.
By following these steps, you’ve not only solved a minor dashboard puzzle but have also taken active control of your Toyota Corolla’s maintenance schedule. This simple act of resetting the light is the final, satisfying step in a cycle of responsible ownership that keeps your Corolla running smoothly for years to come.
Frequently Asked Questions
What’s the difference between the Maintenance Required light and the Check Engine light?
The Maintenance Required light (usually “MAINT REQD”) is a simple mileage-based reminder for routine service like oil changes. The Check Engine light (an engine-shaped icon) indicates an active problem detected by the car’s computer, such as a misfire or emissions issue, and requires diagnostic scanning. They serve completely different purposes.
Can I reset the Maintenance Required light without changing the oil?
Technically yes, using the methods described. However, you absolutely should not. The light is a reminder that your engine needs fresh oil and filter. Resetting it without performing the service means your engine will continue running on degraded oil, leading to increased wear, sludge buildup, and potential catastrophic failure. Always do the maintenance first.
Why did the Maintenance Required light come back on so soon after I reset it?
This usually means one of two things: 1) The reset procedure wasn’t followed correctly, and the system didn’t register the new zero point, or 2) There is an underlying electrical issue or a faulty sensor that is causing the system to malfunction. Double-check your steps. If it persists, have a professional scan the vehicle for any related fault codes.
Can I permanently disable or remove the Maintenance Required light?
There is no safe or recommended way to permanently disable this light. It’s a built-in safety feature of your car’s computer. Tampering with it would require reprogramming the ECU, which is complex, potentially illegal in some jurisdictions (as it alters emissions-related systems), and will void any remaining warranty. The correct approach is to reset it after proper service.
What if the reset procedure in my owner’s manual doesn’t work?
First, double-check that you are performing the steps exactly as written for your specific model year and trim. Small differences matter. If it still fails, your next best step is to use a generic OBD2 scan tool with a maintenance reset function. If that also fails, there may be a glitch in the system, and a visit to the dealer or a specialist with a more advanced diagnostic computer is necessary.
How often will the Maintenance Required light come on?
It’s programmed to illuminate at a set interval, most commonly every 5,000 miles or every 6 months, whichever comes first. This interval is based on Toyota’s recommended service schedule for normal driving conditions. If you frequently drive in severe conditions (extreme temperatures, dusty environments, heavy towing), you may need to service more frequently, but the light interval itself is fixed. You reset the counter after each service, and the clock starts over.


