
How to Install a Maxxair Vent Cover
Contents
Installing a Maxxair vent cover is a simple upgrade that enhances ventilation, blocks rain, and reduces noise in your RV or van. With the right tools and a bit of patience, you can complete this project in under an hour and enjoy better airflow all season long.
If you’ve ever been caught in a sudden downpour while trying to cool down your RV or van with the roof vent open, you know the frustration. You’re stuck—either close the vent and suffocate in heat, or leave it open and risk water pouring in. That’s where the Maxxair vent cover comes in. It’s a game-changer for anyone who lives on the road, camps frequently, or just wants better airflow without the weather worries.
The Maxxair vent cover is more than just a plastic shield—it’s a smart, aerodynamic solution designed to let your roof vent fan breathe freely, even when it’s raining sideways. Whether you’re parked at a remote campsite or driving down the highway with the fan on, this cover keeps moisture out while maximizing ventilation. And the best part? Installing one is easier than you might think. You don’t need to be a mechanic or a contractor. With a few basic tools and about an hour of your time, you can upgrade your RV’s ventilation system and enjoy a cooler, quieter, and drier interior.
In this guide, we’ll walk you through everything you need to know about how to install a Maxxair vent cover—from choosing the right model to securing it properly and maintaining it over time. We’ll cover the tools you’ll need, step-by-step instructions, common pitfalls to avoid, and tips for getting the best performance. Whether you’re a weekend warrior or a full-time RVer, this upgrade is worth your time. Let’s get started.
Key Takeaways
- Improved Airflow: Maxxair vent covers allow your roof vent fan to run even in the rain, boosting airflow and reducing indoor humidity.
- Weather Protection: These covers shield your vent opening from rain, snow, and debris, keeping your interior dry and clean.
- Easy DIY Installation: Most models require only basic tools and can be installed in 30–60 minutes by one person.
- Noise Reduction: The aerodynamic design helps minimize wind noise compared to standard dome-style covers.
- Universal Fit: Maxxair covers are compatible with most standard 14” x 14” RV roof vents, including those from Dometic and FAN-TASTIC.
- No Drilling Required (in most cases): Many installations use existing mounting holes, preserving your roof’s integrity.
- Long-Term Durability: Made from UV-resistant, high-impact polycarbonate, these covers withstand harsh weather for years.
📑 Table of Contents
Why Install a Maxxair Vent Cover?
Before we dive into the installation process, it’s worth understanding why so many RV owners swear by the Maxxair vent cover. It’s not just about keeping rain out—though that’s a huge benefit. It’s about creating a more comfortable, functional living space on wheels.
One of the biggest advantages is **all-weather ventilation**. Traditional roof vents must be closed during rain or high winds, which traps heat and moisture inside. This can lead to condensation, mold, and that stale, stuffy feeling you get after a long drive. With a Maxxair cover, your fan can stay on 24/7, pulling in fresh air and pushing out humidity—even in a thunderstorm. That means better air quality, less odors, and a more pleasant environment.
Another major perk is **noise reduction**. Older dome-style vent covers can whistle or rattle at highway speeds, especially if they’re not perfectly sealed. The Maxxair’s low-profile, aerodynamic design cuts down on wind resistance and minimizes noise. Many users report a noticeable drop in cabin noise after installation, making long drives more peaceful.
Then there’s the **protection from debris**. Leaves, pine needles, and even small animals can find their way into an open vent. The Maxxair cover acts as a barrier, keeping your interior clean and your fan blades free from obstructions. Plus, it helps prevent UV damage to the vent itself, extending the life of your roof components.
Finally, the **aesthetic upgrade** shouldn’t be overlooked. The sleek, modern look of a Maxxair cover gives your RV a more polished, professional appearance. It’s a small detail, but it adds up when you’re trying to make your rig feel like home.
Choosing the Right Maxxair Vent Cover
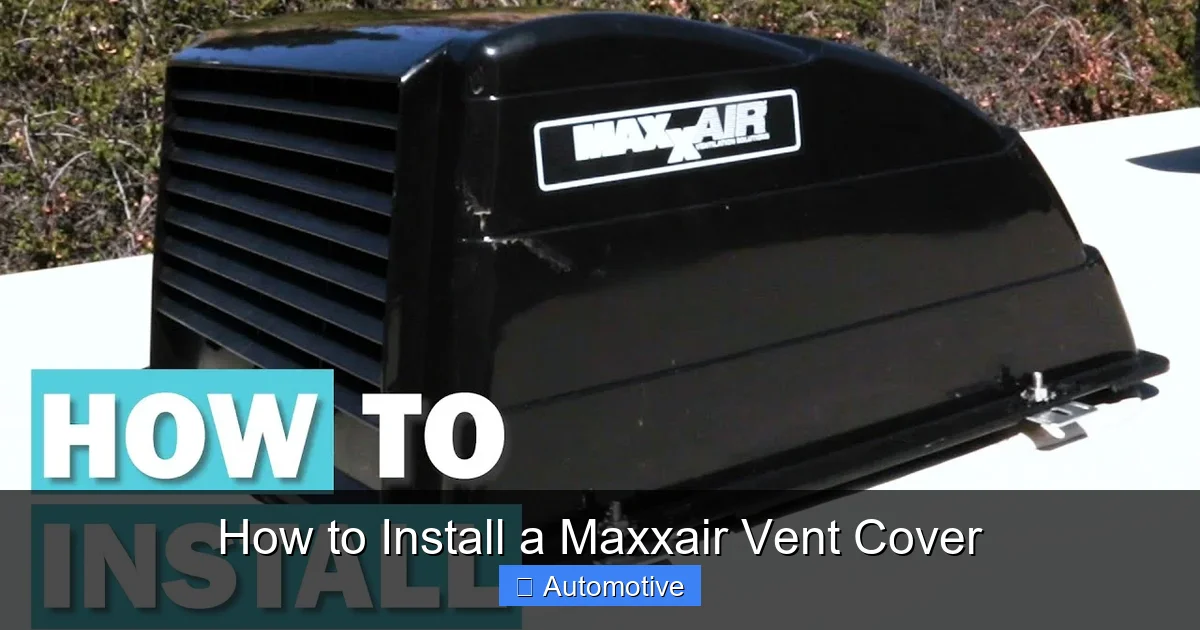
Visual guide about How to Install a Maxxair Vent Cover
Image source: gocarlife.com
Not all Maxxair vent covers are created equal. While they all serve the same basic function, there are a few key differences to consider before you buy. Getting the right model ensures a smooth installation and optimal performance.
Maxxair MaxxFan vs. Maxxair Standard Cover
The first decision is whether you need the **MaxxFan-specific model** or the **standard vent cover**. If you have a MaxxFan (a popular roof-mounted fan with built-in controls), you’ll want the Maxxair MaxxFan Cover. It’s designed to fit snugly over the fan housing and includes a built-in rain sensor that automatically closes the fan when it detects moisture—though the cover still allows airflow underneath.
If you have a standard roof vent (like a FAN-TASTIC Vent or Dometic model), go with the **Maxxair Standard Vent Cover**. This version fits over most 14” x 14” openings and works with any fan or passive vent. It’s a universal solution that’s compatible with a wide range of setups.
Clear vs. Smoke Tint
Maxxair offers covers in both **clear** and **smoke-tinted** versions. The clear option gives you maximum visibility and lets in natural light—great if you like to see the sky or monitor weather conditions. The smoke tint reduces glare and offers a bit of privacy, which some RVers prefer. There’s no performance difference between the two, so it comes down to personal preference.
Check Compatibility
Before purchasing, double-check that your roof vent opening is standard size—typically 14” x 14”. Most RVs and vans use this size, but older models or custom builds might vary. Measure the outer dimensions of your existing vent or consult your owner’s manual. Also, ensure your roof is relatively flat around the vent. Maxxair covers are designed for flat or gently sloped roofs; heavily curved surfaces may require additional sealing or modifications.
Accessories and Add-Ons
Some kits come with extra features like **LED lighting** or **remote controls**, especially with the MaxxFan models. If you’re upgrading an older fan, consider whether these extras are worth the investment. For most users, the standard cover is more than sufficient.
Tools and Materials You’ll Need
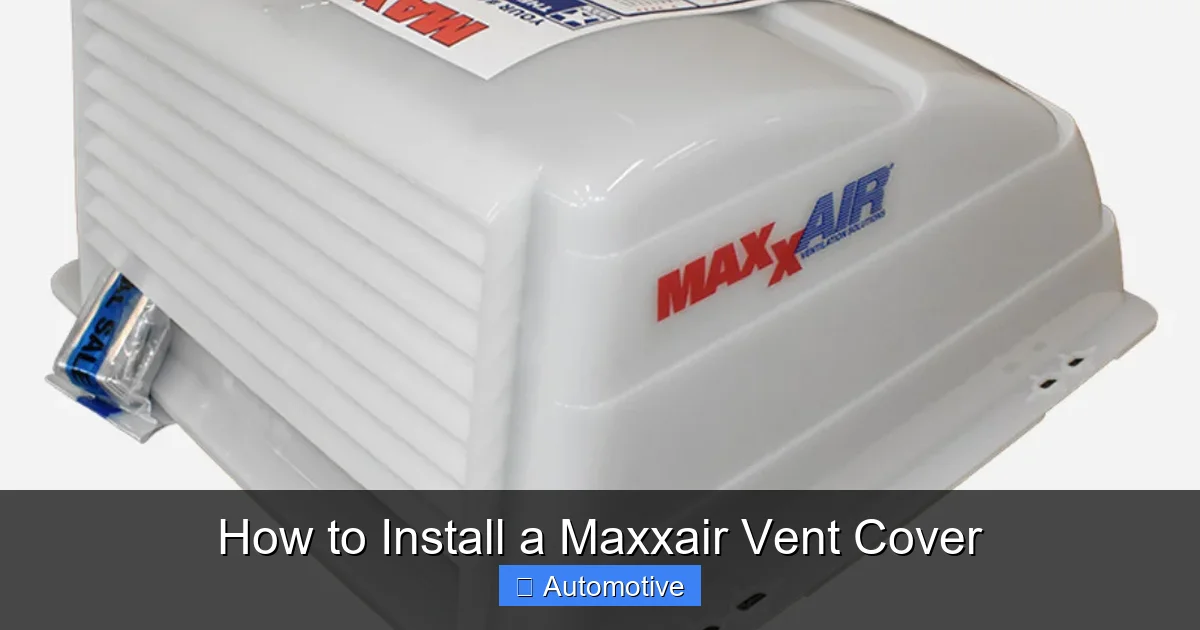
Visual guide about How to Install a Maxxair Vent Cover
Image source: rvparts.co.nz
One of the best things about installing a Maxxair vent cover is that it doesn’t require a full toolbox or specialized equipment. Most people already have what they need lying around the garage or RV.
Here’s a complete list of tools and materials:
- Maxxair vent cover kit (includes cover, mounting hardware, and instructions)
- Phillips head screwdriver or cordless drill with Phillips bit
- Silicone sealant (Dicor self-leveling lap sealant or similar RV-safe product)
- Caulking gun
- Rubbing alcohol and clean cloth (for cleaning the roof surface)
- Measuring tape
- Pencil or marker
- Safety gear (gloves, safety glasses, and non-slip shoes)
- Ladder (stable and tall enough to safely reach the roof)
- Helper (optional but recommended) – Having someone hand you tools or hold the ladder makes the job safer and easier.
Optional but Helpful Tools
- Trim removal tool – Helps gently pry up old seals without damaging the roof.
- Heat gun or hair dryer – Useful if old adhesive is stubborn.
- Vacuum or brush – To clean debris from the vent opening before installation.
Safety First
Working on a roof can be dangerous, especially on a moving vehicle or uneven surface. Always use a sturdy ladder, wear non-slip shoes, and avoid working in high winds or wet conditions. If you’re not comfortable working at height, consider hiring a professional or asking a friend for help.
Step-by-Step Installation Guide
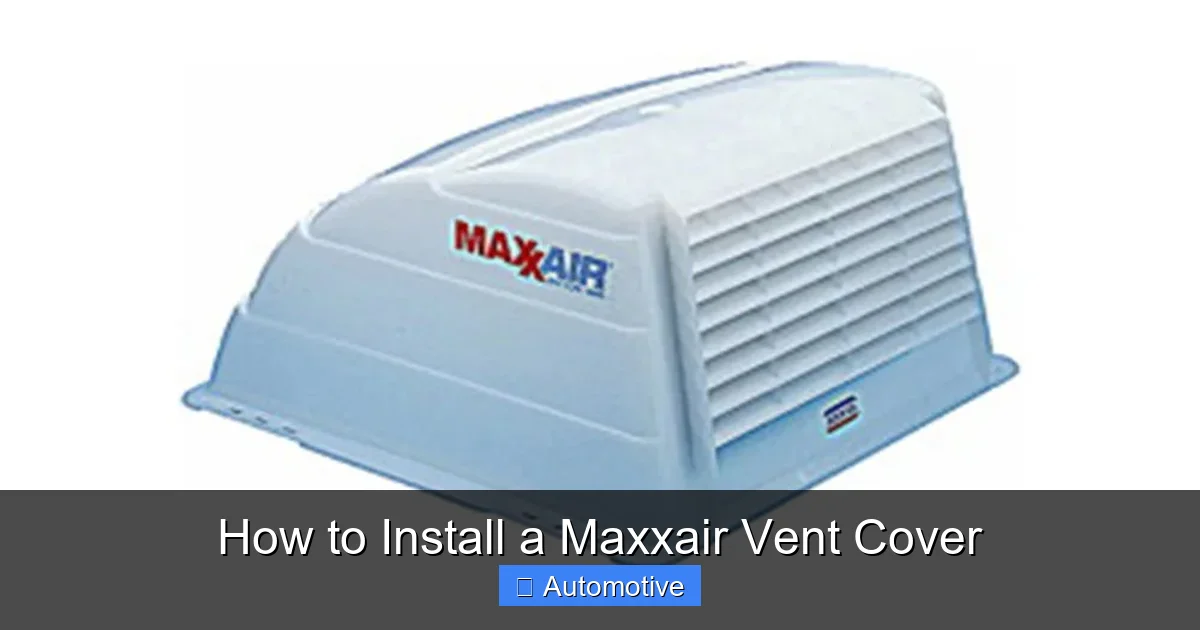
Visual guide about How to Install a Maxxair Vent Cover
Image source: edmontonrv.com
Now for the main event: installing your Maxxair vent cover. Follow these steps carefully, and you’ll have a secure, weatherproof installation in under an hour.
Step 1: Prepare the Work Area
Start by parking your RV on a level surface and ensuring the roof is clean and dry. Remove any debris, leaves, or dirt from around the vent opening. Use a vacuum or brush to clear the interior of the vent as well—this ensures proper airflow once the cover is installed.
Next, inspect the existing vent and mounting hardware. If you’re replacing an old cover or damaged vent, now is the time to remove it. Use a screwdriver to loosen the screws, and gently pry up the old unit. Be careful not to damage the roof membrane or surrounding sealant.
Step 2: Clean and Dry the Roof Surface
Use rubbing alcohol and a clean cloth to wipe down the area where the new cover will sit. This removes grease, old adhesive, and any residue that could prevent a proper seal. Let the surface dry completely before moving on.
Step 3: Test Fit the New Cover
Before applying any sealant, place the Maxxair cover over the vent opening to ensure it fits properly. It should sit flush with the roof and align with the existing screw holes. If it doesn’t fit, double-check your measurements and the model you purchased.
Step 4: Apply Silicone Sealant
Using a caulking gun, apply a generous bead of silicone sealant around the perimeter of the vent opening on the roof. Focus on the areas where the cover will make contact. Don’t skimp—this seal is what keeps water out.
Pro tip: Apply the sealant in a continuous bead, but avoid getting it inside the vent opening. You want a clean, even line that will compress when the cover is installed.
Step 5: Secure the Cover
Carefully place the Maxxair cover over the vent, aligning it with the screw holes. Press down firmly to compress the sealant and create a watertight bond. Then, insert the provided screws through the cover and into the roof. Tighten them evenly—don’t overtighten, as this can crack the plastic or damage the roof.
Most Maxxair covers use the existing mounting holes, so no new drilling is needed. If your model requires new holes, mark them carefully and drill slowly to avoid cracking the roof material.
Step 6: Seal the Screw Heads
Once the cover is secure, apply a small dab of silicone sealant over each screw head. This prevents water from seeping through the screw holes and adds an extra layer of protection.
Step 7: Final Inspection
Step back and inspect your work. The cover should sit flat, with no gaps or warping. Run your hand around the edges to feel for any unevenness. If everything looks good, clean up any excess sealant with a damp cloth.
Let the sealant cure for at least 24 hours before exposing the cover to rain or heavy use. Check the manufacturer’s instructions for specific curing times.
Common Installation Mistakes to Avoid
Even with clear instructions, it’s easy to make small mistakes that can lead to leaks, noise, or premature wear. Here are some common pitfalls and how to avoid them.
Skipping the Sealant
One of the biggest mistakes is thinking the cover will seal on its own. The silicone sealant is essential—it fills gaps and creates a waterproof barrier. Don’t skip this step, even if the fit seems tight.
Overtightening Screws
Tightening screws too much can crack the plastic cover or damage the roof. Use a hand screwdriver or low-torque drill setting. Tighten just enough to secure the cover without warping it.
Ignoring Roof Condition
If your roof is damaged, cracked, or has old, brittle sealant, installing a new cover won’t fix the problem. Inspect the roof before installation and repair any issues first. A new cover over a compromised roof will only delay the inevitable.
Not Cleaning the Surface
Dirt, grease, or old adhesive can prevent the sealant from bonding properly. Always clean the roof surface thoroughly before applying sealant.
Installing in Bad Weather
Avoid installing the cover in rain, high humidity, or extreme heat. Silicone sealant needs dry conditions to cure properly. If you must install in less-than-ideal weather, use a temporary tarp to protect the area.
Maintenance and Care Tips
Once your Maxxair vent cover is installed, a little maintenance goes a long way in keeping it performing at its best.
Regular Cleaning
Dust, pollen, and road grime can build up on the cover over time. Clean it every few months with mild soap and water. Avoid harsh chemicals or abrasive scrubbers, which can scratch the surface.
Check the Seal
Inspect the sealant around the edges and screw heads twice a year. Look for cracks, gaps, or peeling. Reapply sealant as needed to maintain a watertight seal.
Lubricate Moving Parts (if applicable)
If your cover has a motorized fan or moving components, follow the manufacturer’s recommendations for lubrication. Most Maxxair covers are passive, but MaxxFan models may require occasional maintenance.
Monitor for Damage
After long trips or severe weather, check the cover for cracks, warping, or loose screws. Address any issues promptly to prevent leaks or further damage.
Conclusion
Installing a Maxxair vent cover is one of the most practical and cost-effective upgrades you can make to your RV or van. It enhances ventilation, protects against the elements, reduces noise, and improves your overall comfort on the road. And with the right tools and a bit of patience, it’s a project anyone can tackle.
From choosing the right model to applying the final bead of sealant, this guide has walked you through every step of the process. Remember to prioritize safety, take your time, and don’t skip the sealant—it’s the key to a long-lasting installation.
Whether you’re a full-time traveler or a weekend adventurer, a Maxxair vent cover helps you make the most of your time outdoors. So go ahead, upgrade your vent, and enjoy cooler, cleaner, and quieter travels—rain or shine.
Frequently Asked Questions
Can I install a Maxxair vent cover in the rain?
No, it’s best to install the cover in dry conditions. Silicone sealant needs a dry surface to cure properly, and working on a wet roof can be dangerous. Wait for a clear day or use a tarp to protect the area.
Will the Maxxair cover fit my existing roof vent?
Most Maxxair covers are designed to fit standard 14” x 14” roof vents, including models from Dometic, FAN-TASTIC, and others. Measure your vent opening and check the product specifications before purchasing.
Do I need to drill new holes to install the cover?
In most cases, no. Maxxair covers are designed to use the existing mounting holes from your current vent. Only drill new holes if specifically instructed by the manufacturer.
Can I run my roof fan with the Maxxair cover installed?
Yes! That’s one of the main benefits. The cover allows air to flow freely while keeping rain out, so you can run your fan even in wet weather.
How long does the silicone sealant take to cure?
Most RV-safe silicone sealants take 24 hours to fully cure. Avoid exposing the area to water or heavy use during this time. Check the product label for exact curing instructions.
Is the Maxxair vent cover difficult to remove for maintenance?
No, it’s designed for easy access. Simply remove the screws and lift the cover off. Just remember to reapply sealant when reinstalling to maintain a watertight seal.


