How to Clean Bmw Leather Seats
Contents
- 1 Key Takeaways
- 2 📑 Table of Contents
- 3 Why BMW Leather Seats Deserve Special Attention
- 4 Knowing Your BMW’s Leather: It’s Not All the Same
- 5 Essential Tools and Products: What You Actually Need
- 6 The Step-by-Step Deep Cleaning Process
- 7 Conditioning and Protection: The Secret to Longevity
- 8 Special Cases: Tackling Tough Stains and Spills
- 9 Long-Term Maintenance: Keeping Pristine Between Deep Cleans
- 10 Conclusion
- 11 Frequently Asked Questions

Car Vacuum Cleaner (Portable)

LED Emergency Road Flares

Tire Pressure Monitoring System (TPMS)
Interior Cleaner Spray
Cleaning BMW leather seats requires specific care to maintain their luxurious feel and appearance. Using the wrong products or techniques can cause permanent damage, discoloration, and cracking. This guide provides a complete, step-by-step process using BMW-approved methods, from identifying your leather type to proper conditioning and long-term maintenance, ensuring your investment stays pristine for years.
Key Takeaways
- Use Only BMW-Approved or pH-Neutral Cleaners: Harsh household cleaners, solvents, or abrasive products will strip natural oils and damage the delicate leather finish, leading to dryness and cracks.
- Always Test in a Hidden Area First: Before applying any product to the entire seat, test it on a small, inconspicuous spot like the seat bottom or side bolsters to check for colorfastness and adverse reactions.
- Condition Regularly, Not Just Clean: Cleaning removes dirt, but conditioning replenishes essential oils lost during cleaning and from sun exposure. This is the critical step to prevent leather from drying out and cracking.
- Address Stains Immediately: The longer a spill or stain sits, the harder it is to remove and the more likely it is to penetrate and permanently discolor the leather.
- Gentle Technique is Non-Negotiable: Never scrub aggressively. Use soft microfiber cloths and gentle, circular motions. Excessive pressure or stiff brushes will scratch the surface and damage the leather grain.
- Know When to Seek Professional Help: For deep cracks, severe discoloration, or stains that won’t budge with home methods, consult a professional automotive upholstery specialist to avoid making the damage worse.
- Prevention is the Best Strategy: Use high-quality car seat covers for daily protection, park in shade or use sunshades, and avoid sharp objects on seats to significantly reduce the need for intensive cleaning.
📑 Table of Contents
- Why BMW Leather Seats Deserve Special Attention
- Knowing Your BMW’s Leather: It’s Not All the Same
- Essential Tools and Products: What You Actually Need
- The Step-by-Step Deep Cleaning Process
- Conditioning and Protection: The Secret to Longevity
- Special Cases: Tackling Tough Stains and Spills
- Long-Term Maintenance: Keeping Pristine Between Deep Cleans
- Conclusion
Why BMW Leather Seats Deserve Special Attention
You chose a BMW for its exceptional driving dynamics, engineering precision, and that unmistakable aura of luxury. A huge part of that luxury experience is the interior, and at the heart of it are the leather seats. They’re not just a place to sit; they’re a tactile connection to the brand’s commitment to quality and comfort. But this premium material isn’t indestructible. In fact, it’s quite sensitive. The rich, supple leather in your BMW—whether it’s the standard SensaTec faux-leather, genuine Nappa, or the opulent Merino—requires a specific, gentle approach. Using generic all-purpose cleaners or the wrong technique is a one-way ticket to dry, cracked, and discolored seats that cheapen the entire cabin experience. Understanding how to clean BMW leather seats correctly is fundamental to protecting your vehicle’s value and ensuring every drive feels as special as the first.
The cost of replacement is a sobering reality. Re-upholstering BMW leather seats can run into thousands of dollars. That’s why a proactive, informed maintenance routine isn’t just about cleanliness—it’s about smart ownership. This guide will walk you through everything, from identifying exactly what type of leather you have to the final conditioning step that locks in moisture and softness. We’ll cut through the confusion and give you a clear, confident method to keep your BMW’s interior looking showroom fresh.
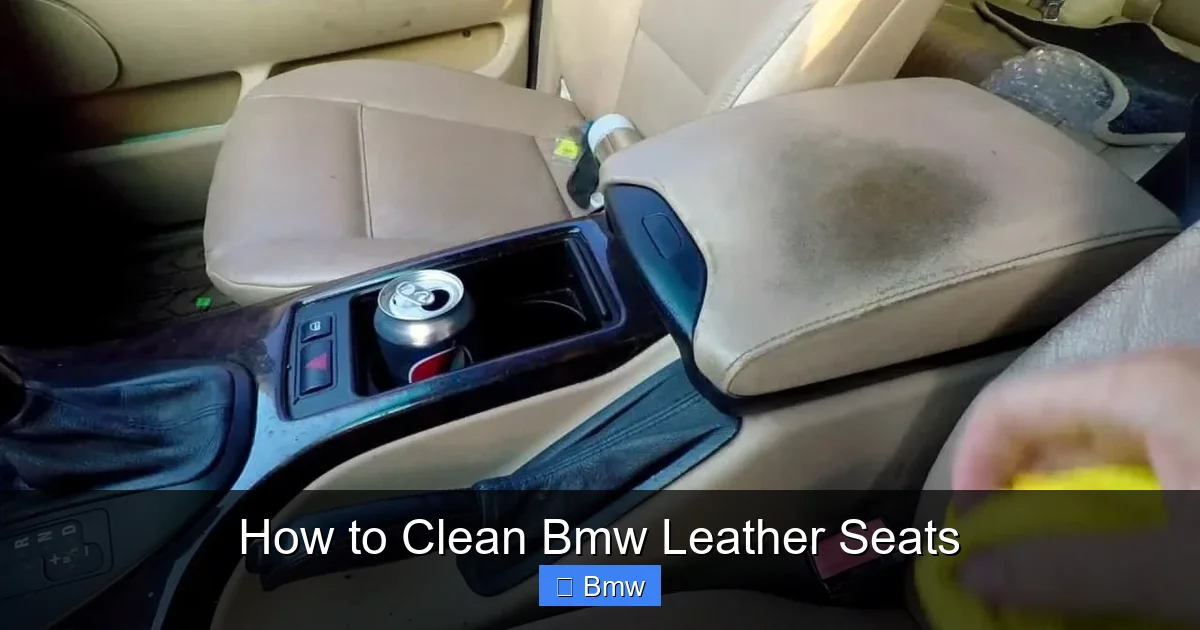
Knowing Your BMW’s Leather: It’s Not All the Same
Before you even think about a cleaning product, you need to know what you’re dealing with. BMW uses several different materials across its model range and trim levels. Using a product safe for one type might be disastrous for another.
Visual guide about How to Clean Bmw Leather Seats
Image source: cleanestor.com
Common BMW Interior Materials
- SensaTec (often called “leatherette” or “faux leather”): This is BMW’s proprietary synthetic material. It’s incredibly durable, stain-resistant, and easy to clean. It’s common in many base and sport trims. The cleaning process is simpler, but you still need pH-neutral cleaners to avoid surface degradation.
- Genuine Leather (Nappa): Found in most higher trims, Nappa leather is soft, luxurious, and breathable. It’s more porous than synthetics, so it absorbs spills faster and requires more frequent conditioning to stay supple. It’s also more susceptible to staining and sun damage.
- Merino Leather: This is BMW’s top-tier, full-grain aniline-dyed leather. It’s the most natural and luxurious but also the most high-maintenance. It’s highly absorbent and can be easily stained by oils and liquids. Specialized, gentle cleaners and conditioners are a must.
So, how do you identify yours? The simplest way is to check your owner’s manual or window sticker. You can also do a touch and visual test: genuine leather will have natural imperfections and a distinct grain, while SensaTec will have a very uniform, almost plastic-like texture and pattern. If you’re unsure, assume it’s genuine leather and use the gentlest methods.
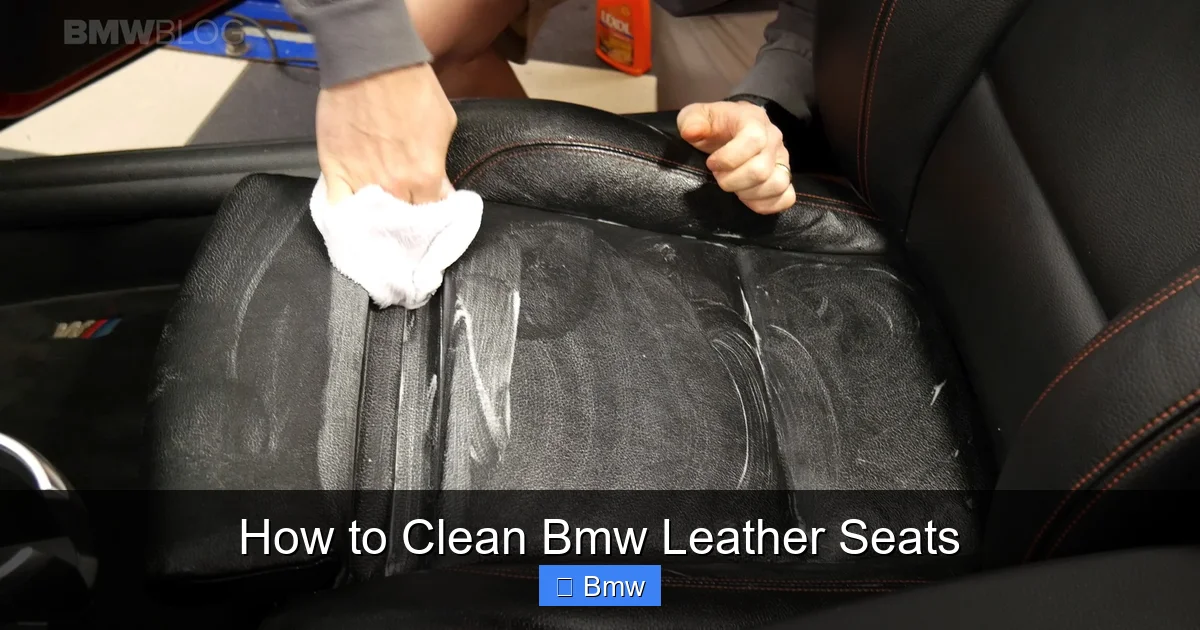
Essential Tools and Products: What You Actually Need
Armed with the knowledge of your seat material, it’s time to gather your arsenal. The right tools make the job easy and safe. Forget about household dish soap, vinegar, or magic erasers—these are leather’s worst enemies. Here’s your checklist:
Visual guide about How to Clean Bmw Leather Seats
Image source: cdn.bmwblog.com
- Two Soft, Clean Microfiber Cloths: One for applying cleaner, one for wiping away residue. Microfiber is lint-free and ultra-soft, preventing scratches. Never use paper towels or terry cloth.
- Soft-Bristled Horsehair or Boar Hair Brush: For gently agitating dirt in the grain without damaging the surface. Avoid nylon or synthetic bristles.
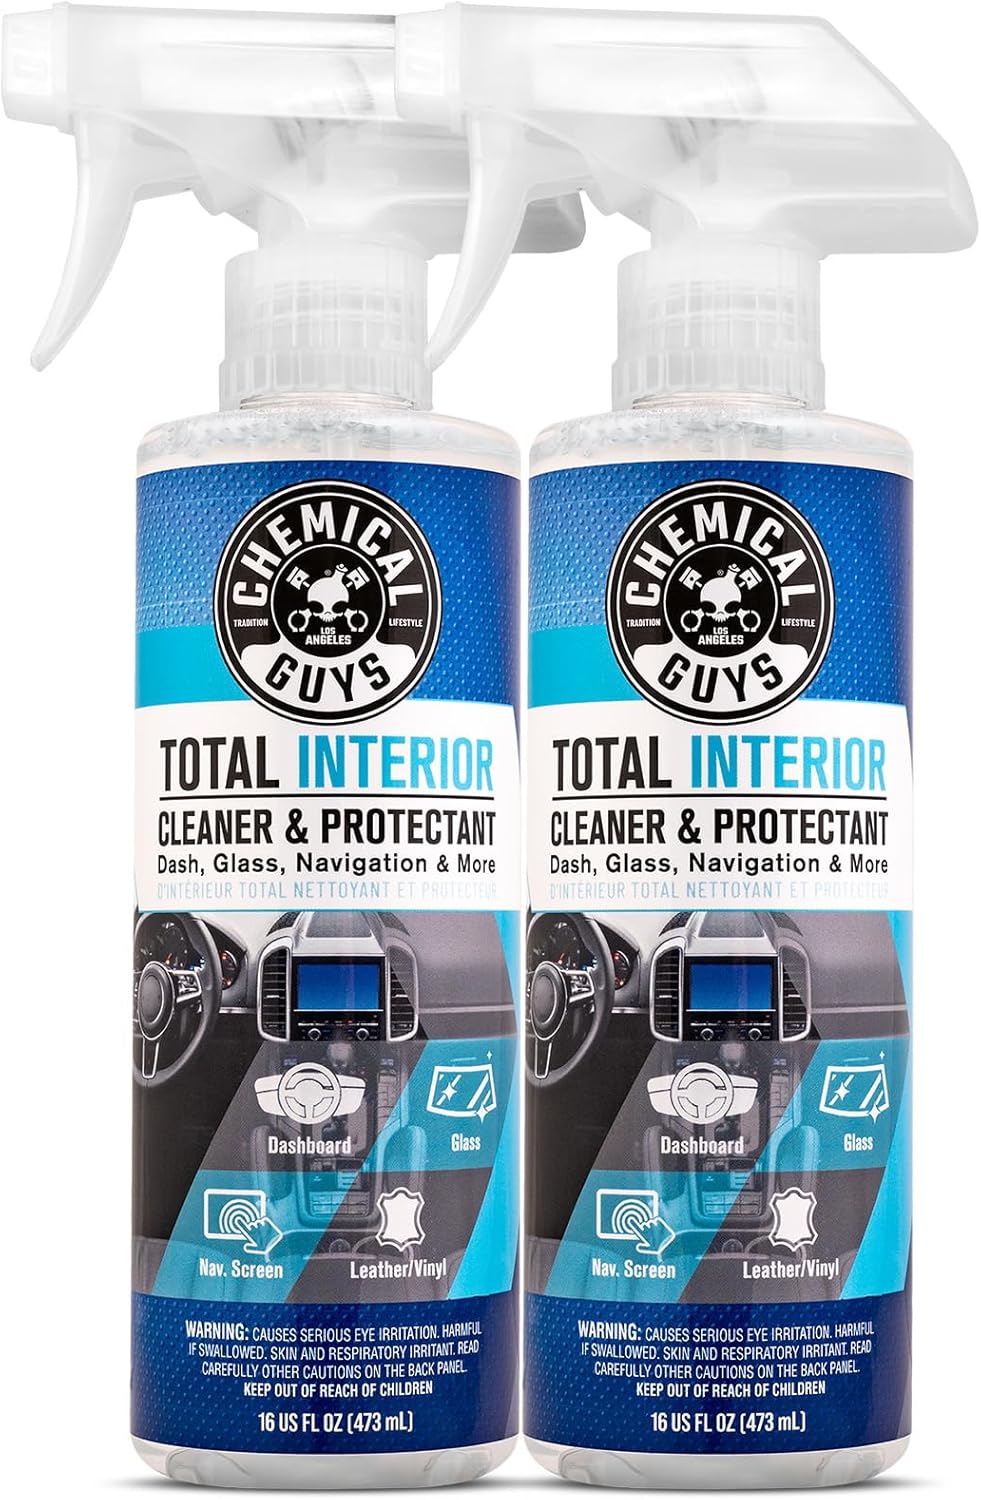
- pH-Neutral, Leather-Specific Cleaner: This is the most critical item. Look for products explicitly designed for automotive leather. They clean without stripping protective coatings. Brands like Lexol, Chemical Guys, or BMW’s own care products are excellent choices. If cleaning white leather BMW seats, you must use a dedicated cleaner to avoid yellowing or darkening.
- High-Quality Leather Conditioner: After cleaning, you must replenish oils. Choose a water-based, non-greasy conditioner that doesn’t leave a sticky film. Avoid products with silicone or waxes that can clog pores.
- Soft, Dry Towel: For final drying and buffing.
- Vacuum with Soft Brush Attachment: To remove loose dirt, crumbs, and debris before any liquid contact. This prevents grinding grit into the leather during cleaning.
Optional but helpful: a spray bottle to dilute cleaner if needed, and cotton swabs for tight stitching and crevices. Remember, the goal is to use as few products as possible with the highest quality. More products mean more risk of residue buildup.
The Step-by-Step Deep Cleaning Process
Now for the main event. Follow this methodical process for a thorough, safe clean. Always work in a shaded area or cool garage; direct sun can cause cleaners to dry too fast and leave residues.

Visual guide about How to Clean Bmw Leather Seats
Image source: leatherek.com
Step 1: Preparation and Dry Cleaning
Start by removing all loose items from the seats and floor. Use the vacuum with the soft brush attachment to thoroughly clean every surface of the seat—the cushions, backrests, bolsters, and all seams and stitching. Pay special attention to seams where dirt accumulates. This dry vacuuming removes 80% of the dirt and is the most important step to prevent scratching during the wet clean.
Step 2: Test Your Cleaner
Dampen a corner of your first microfiber cloth with the leather cleaner. Choose a hidden spot, like the bottom rear of the seat or the inside of a seat bolster. Gently rub a small area and let it sit for a minute. Wipe it dry with the clean cloth and check for any color transfer (color on your cloth) or adverse reaction (darkening, stiffening). If all is clear, you’re good to proceed.
Step 3: Application and Agitation
Spray a moderate amount of cleaner directly onto your first microfiber cloth (not directly onto the leather, to avoid overspray into seams). Working in 1-2 square foot sections, gently wipe the leather surface. For textured leather, use the soft horsehair brush in light, circular motions to lift dirt from the grain. You’ll see the dirt transferring to the cloth. Don’t oversaturate the leather; it should be damp, not wet. Reapply cleaner to the cloth as needed.
Step 4: Wipe and Remove Residue
Immediately after cleaning a section, use your second clean, dry microfiber cloth to wipe away any remaining cleaner and lifted dirt. Use a clean part of the cloth for each pass. This prevents you from redepositing dirt. Continue this clean/wipe cycle across the entire seat, working systematically.
Step 5: Drying
Once the entire seat is clean and wiped, allow it to air dry completely. This may take 15-30 minutes depending on humidity. Do not use hair dryers, heat guns, or park in direct sun to speed it up. Heat can set any remaining moisture and cause stiffness. Ensure the seat is completely dry to the touch before moving to the next step.
Conditioning and Protection: The Secret to Longevity
This step is non-negotiable and where many people go wrong. Cleaning opens the leather’s pores and removes its natural oils and any applied protectants. If you stop here, you’ve actually made your leather more vulnerable to drying out. Conditioning restores that essential lubrication, keeping the leather soft, flexible, and resistant to cracking.
How to Condition Properly
Apply a small amount of conditioner to a clean, dry microfiber cloth. You want it to be damp with conditioner, not dripping. Rub a thin, even layer into the leather using gentle, circular motions. Again, work in sections. Let the conditioner sit for 5-10 minutes to allow it to penetrate. Then, use a separate clean, dry microfiber cloth to buff away any excess. The leather should feel slightly tacky at first, then absorb fully and feel smooth and supple. There should be no sticky or greasy residue. Condition every 2-3 months, or more frequently in hot, dry climates or with heavy sun exposure.
If your leather is severely dried, has light cracks, or feels rough, conditioning alone may not be enough. At this point, you might need a more intensive leather repair product. For significant damage, it’s best to consult resources on repairing leather car seats quickly and effectively to avoid causing further harm with the wrong products.
Special Cases: Tackling Tough Stains and Spills
Life happens. Here’s how to handle common BMW seat disasters without panic.
- Greasy/Oily Stains (food, makeup, lotion): Sprinkle a tiny amount of cornstarch or talcum powder on the stain. Let it sit for 10 minutes to absorb the oil, then brush it off with a soft cloth. Clean the area as usual with your leather cleaner. Do not rub the oil in.
- Ink Stains: These are notoriously tricky. Do not use rubbing alcohol straight away, as it can damage the dye. Try a dedicated ink remover for leather, following the product instructions precisely. Test extensively in a hidden area. If the ink is fresh, blot (don’t rub) with a clean cloth to absorb as much as possible. Often, professional help is the safest bet for ink.
- Protein-Based Stains (blood, vomit, dairy): Use cold water only. Warm or hot water will set the stain. Blot immediately with a cold, damp cloth. Then use your leather cleaner. For persistent organic stains, an enzymatic cleaner designed for leather may be necessary.
- Water Spots/Discoloration: Often, this is from minerals in the water. After cleaning and conditioning, the problem may persist. This can sometimes be a sign of damage to the leather’s finish. Avoid using heat. If the spot remains, it may require professional re-dyeing.
Golden Rule: For any unknown stain or if you’re at all hesitant, stop and seek professional advice. It’s better to have a slightly stained seat than one with a hole from an aggressive removal attempt.
Long-Term Maintenance: Keeping Pristine Between Deep Cleans
The goal is to make deep cleaning a quarterly event, not a weekly crisis. Daily habits make all the difference.
- Vacuum Weekly: Remove surface grit and debris before it gets ground in.
- Wipe Spills Immediately: Blot, don’t rub. Use a clean, dry microfiber cloth. For liquid spills, absorb from the outside of the stain inward to prevent spreading.
- Use Sun Protection: UV rays are the number one cause of leather fade and drying. Always use a sunshade when parked. Park in shade or a garage whenever possible. Consider having high-quality window tint installed to block UV rays.
- Avoid Harsh Elements: Don’t sit on the seats with dirty jeans, work clothes, or sharp objects like keys in your pocket. Be mindful of belts, watches, and zippers that can scuff the surface.
- Consider Protective Covers: For daily drivers or families, investing in custom-fit, high-quality car seat covers to safeguard your leather seats is the ultimate preventative measure. They can be removed and washed easily, taking the brunt of wear and tear.
By integrating these simple habits, you’ll dramatically extend the time between major cleanings and keep your BMW’s interior looking its best with minimal effort.
Conclusion
Learning how to clean BMW leather seats is an investment in your vehicle’s longevity and your driving pleasure. It’s a straightforward process when you have the right knowledge and tools: Identify your leather, use pH-neutral products, work gently, and never skip the conditioner. Remember, the goal isn’t just to remove dirt, but to nourish and protect the material that adds so much character to your car. By following this guide and adopting a regular maintenance mindset, you’ll preserve that luxurious feel and sophisticated look for countless miles to come. Your BMW’s interior is a sanctuary—treat it with the care it deserves, and it will continue to reward you with an exceptional experience every single time you get behind the wheel.
Frequently Asked Questions
Can I use household cleaners like soap or vinegar on my BMW leather seats?
No. Household soaps are often alkaline and will strip the leather’s natural oils and protective finishes, causing drying and cracking. Vinegar is acidic and can damage the leather’s surface dye and finish. Always use a dedicated, pH-neutral automotive leather cleaner.
How often should I deep clean and condition my BMW leather seats?
A deep clean and condition is recommended every 2-3 months for normal use. If you live in a hot, sunny climate, have children or pets, or use the car daily, you may need to do it as often as once a month. Regular weekly vacuuming and immediate spot cleaning are essential between deep cleans.
What should I do if my leather seats have developed small cracks or feel stiff?
First, ensure the seats are clean and fully dry. Apply a high-quality leather conditioner liberally, working it into the cracks with a soft cloth. Let it sit overnight. If stiffness or cracking persists, the leather may be permanently dried out. For deeper cracks, you may need a leather repair kit or professional restoration services, as conditioning alone cannot fix structural damage.
Is it safe to use a steam cleaner on BMW leather seats?
Generally, no. Steam cleaners introduce excess moisture and heat, which can penetrate the leather and foam underneath, leading to mold, mildew, and warping. The high pressure can also force water into seams and stitching. Stick to the damp-cloth method described in this guide for safe, effective cleaning.
Can I use the same cleaning method for both genuine leather and SensaTec seats?
The core process (vacuum, test, gentle clean, dry, condition) is the same for both. However, genuine leather is more porous and absorbent, so it may require a bit more conditioner and is more prone to staining. SensaTec is more stain-resistant but can be more easily scratched by abrasives, so gentleness is even more critical. Always check your owner’s manual for BMW’s specific recommendations for your material.
My BMW has light-colored (beige/cream) leather. Are there special considerations?
Yes. Light leather shows dirt and stains more readily and is more susceptible to discoloration from dyes in clothing (like dark jeans). You must use a cleaner specifically designed for light or white leather to prevent yellowing or darkening. Clean more frequently, and be extra vigilant about blotting spills immediately. For tough stains on light leather, consult our specific guide on cleaning white leather BMW car seats for targeted advice.