
How Do You Reset the Service Light on a 2016 Toyota Tacoma?
Contents
- 1 Key Takeaways
- 2 📑 Table of Contents
- 3 Understanding Your 2016 Toyota Tacoma’s Service Lights
- 4 Essential Tools and Precautions Before You Begin
- 5 Method 1: Resetting the Maintenance Required Light (Wrench Icon)
- 6 Method 2: Resetting the Check Engine Light (MIL)
- 7 Troubleshooting: When the Light Won’t Stay Off
- 8 Pro Tips and Best Practices for Tacoma Owners
- 9 Conclusion: Knowledge is Power Under the Hood
- 10 Frequently Asked Questions
Resetting the service light on a 2016 Toyota Tacoma depends on which light is illuminated. The “Maintenance Required” light (a wrench icon) signals routine service like an oil change and can be reset manually via the odometer button. The “Check Engine” light (an engine icon) indicates a diagnostic trouble code and requires an OBD2 scanner to clear after the underlying issue is repaired. Never reset the Check Engine light without first diagnosing and fixing the problem, as it will simply return. This guide covers both procedures in detail, with safety precautions and troubleshooting tips.
Key Takeaways
- Two Different Lights: The “Maintenance Required” (wrench) light is for scheduled service. The “Check Engine” (engine) light is for emissions or engine issues. They require different reset procedures.
- Manual Reset for Maintenance Light: The Maintenance Required light is reset using only the ignition and odometer buttons—no tools needed.
- Scanner Required for Check Engine Light: The Check Engine light must be cleared with an OBD2 scanner after the fault is repaired. A generic scanner works.
- Safety First: Always address the root cause of a Check Engine light. Resetting it without repair is unsafe and illegal in many areas for emissions testing.
- Know Your Symbols: A wrench icon means “time for service.” An engine icon means “something is wrong.” Misidentifying them leads to incorrect actions.
- Reset May Not Stick: If the underlying problem isn’t fixed, the light will return, sometimes within minutes or days of driving.
- Professional Help is Okay: If you’re uncomfortable or the light persists, a mechanic or parts store can read codes and reset the light properly.
📑 Table of Contents
- Understanding Your 2016 Toyota Tacoma’s Service Lights
- Essential Tools and Precautions Before You Begin
- Method 1: Resetting the Maintenance Required Light (Wrench Icon)
- Method 2: Resetting the Check Engine Light (MIL)
- Troubleshooting: When the Light Won’t Stay Off
- Pro Tips and Best Practices for Tacoma Owners
- Conclusion: Knowledge is Power Under the Hood
Understanding Your 2016 Toyota Tacoma’s Service Lights
So, that little light on your Tacoma’s dashboard just came on. Don’t panic! It’s your truck’s way of talking to you. But to understand what it’s saying, you first need to know which light is talking. The 2016 Tacoma has two primary “service” lights, and they mean very different things. Mixing them up is the most common mistake owners make. Let’s break it down in simple terms.
The “Maintenance Required” Light (The Wrench Icon)
This light looks like a little wrench. It’s your truck’s gentle reminder that it’s due for routine, scheduled maintenance. For a 2016 Tacoma, this is almost always based on mileage or time intervals, typically every 5,000 miles, and it’s most commonly tied to an oil change reminder. It’s a preventive alert, not an emergency. Think of it as your truck’s calendar alert saying, “Hey, it’s been a while since my last check-up. Let’s keep me running perfectly.” This light is designed to be reset by you, the owner, after you’ve completed the required maintenance, like an oil and filter change. The process is simple and requires no special tools, just your ignition key and the odometer button.
The “Check Engine” Light (The Engine Icon)
This light, shaped like an engine block (sometimes just says “Check Engine”), is a whole different story. This is your truck’s reactive alert. It means the engine computer (ECU) has detected a problem that could affect emissions, fuel economy, or engine performance. It could be something as simple as a loose gas cap or as serious as a failing catalytic converter. This light cannot and should not be reset until the underlying problem is diagnosed and repaired. Resetting it without fixing the issue is like silencing a smoke alarm without checking for fire—dangerous and pointless, as it will just come back on. Clearing this light requires an OBD2 (On-Board Diagnostics) scanner to communicate with the truck’s computer.
Why is this distinction so critical? Because the steps you take next are completely opposite. For the wrench, you reset it after service. For the engine light, you must diagnose and repair before resetting. Let’s dive into the tools and steps for each.
Essential Tools and Precautions Before You Begin
Before you touch anything, let’s talk about what you might need and, more importantly, what you need to know to stay safe and avoid damage. The preparation differs significantly between the two lights.
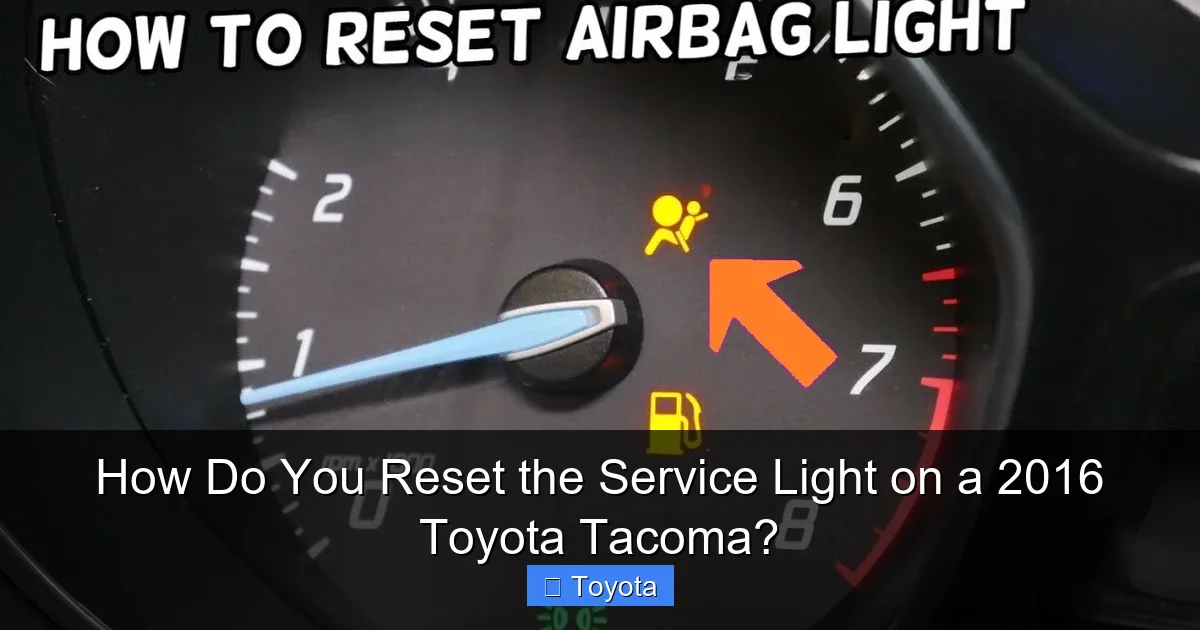
Visual guide about How Do You Reset the Service Light on a 2016 Toyota Tacoma?
Image source: i.ytimg.com
For the Maintenance Required Light (Wrench)
You need absolutely no tools. Just your Tacoma’s key or push-button start. However, you do need to ensure the vehicle is in a safe, stationary state. The procedure requires the ignition to be turned on without the engine running. Make sure your Tacoma is in “Park” (or “Neutral” for a manual), the parking brake is set, and it’s on a level surface. That’s it. Simple, right?
For the Check Engine Light (Engine Icon)
Here, you need at least one essential tool: a basic OBD2 scanner. These are widely available. You can borrow one from an auto parts store (like AutoZone or Advance Auto Parts, often with a free loaner program), buy an inexpensive Bluetooth/Wi-Fi scanner that pairs with your phone (like an OBDLink or BAFX), or use a more advanced standalone tool. You also need the root cause of the light to be fixed. If you simply clear the code without repairing the faulty oxygen sensor, leaking hose, or bad spark plug, the light will return, usually within a few drive cycles. Driving with a serious Check Engine light can cause further damage, so diagnosis is step one. You can read the diagnostic trouble codes (DTCs) for free at many parts stores, which tells you what system the computer is complaining about.
Universal Safety Precautions
Whether you’re resetting a wrench or an engine light, always ensure the truck is in Park with the parking brake on. For the Check Engine light procedure, never attempt to reset it while the engine is running. Turn the ignition to the “ON” position (all dash lights on, but engine off) before plugging in the scanner. Also, be aware that disconnecting the battery to reset lights is not recommended for modern vehicles like the 2016 Tacoma. It can cause other systems (like radio, clock, power windows) to lose their settings and may not clear all codes, especially those related to the emissions system which require a specific drive cycle to reset.
Method 1: Resetting the Maintenance Required Light (Wrench Icon)
This is the easy one. The 2016 Tacoma uses a trip-odometer-based reset procedure. It’s the same method used for many Toyota models, including the 2017 Toyota Highlander and others in the family. Follow these steps precisely.

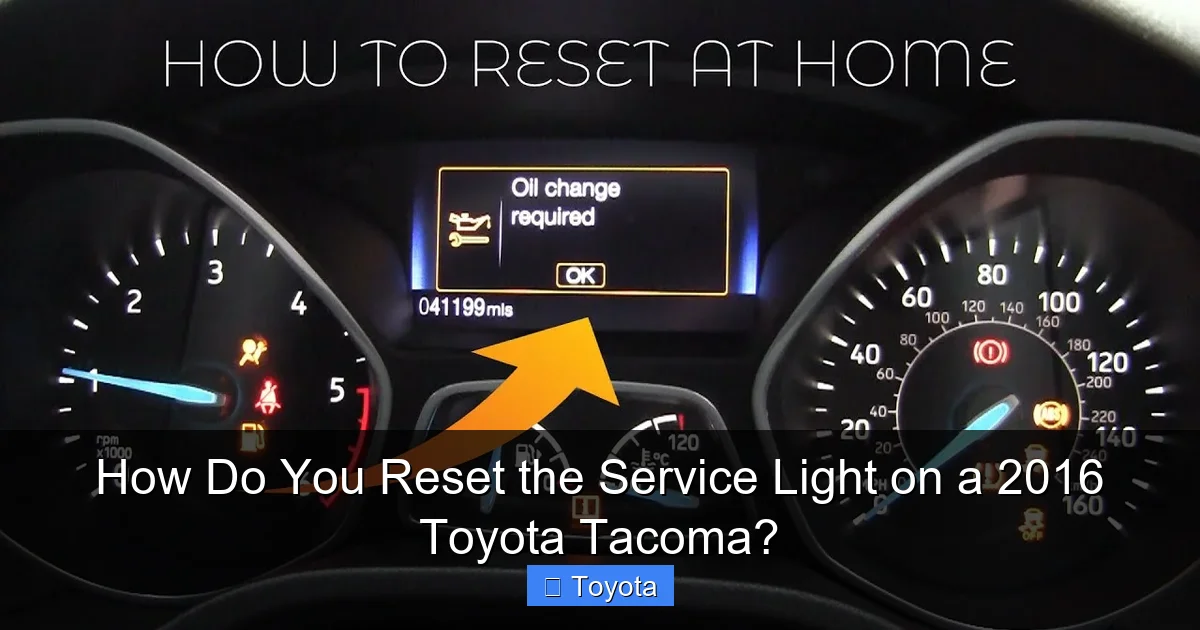
Visual guide about How Do You Reset the Service Light on a 2016 Toyota Tacoma?
Image source: i.ytimg.com
Step-by-Step Button Reset Procedure
Step 1: Start with your truck turned OFF. The key should be out of the ignition or, if you have a push-start, ensure you have the key fob with you and the vehicle is off.
Step 2: Press and release the “ODO/TRIP” button on your instrument cluster to turn the display to show the odometer (total mileage). You should see the total miles, not a trip A or B reading.
Step 3: Now, press and hold the “ODO/TRIP” button down. While holding it, turn the ignition key to the “ON” position (the position right before “START” where all dash lights illuminate). Do not start the engine. Keep holding the button.
Step 4: After a few seconds (typically 5-10), the odometer display will change. It will show a series of dashes “—–” that count down, or it might flash “MAINT REQD” or a mileage number. Keep holding the button until you see the wrench icon disappear and the odometer reading return to normal.
Step 5: Release the button. Turn the ignition off, then back on to verify the wrench light is gone. Start the engine to confirm everything is working. The light should now be off until the next service interval (usually 5,000 miles after your last reset).
Pro Tip: If the light doesn’t reset on the first try, repeat the process. Ensure you’re starting from a complete “OFF” state and that you’re holding the button long enough through the dash sequence. For a more detailed visual guide specific to the Tacoma, you can refer to our dedicated article on how to reset the maintenance required light on a Toyota Tacoma.
Method 2: Resetting the Check Engine Light (MIL)
This process is more technical and has a crucial prerequisite: the problem must be fixed. Assuming you’ve already diagnosed the issue (using a scanner to read the codes) and made the necessary repairs—replaced the faulty sensor, tightened the gas cap, fixed the misfire—here is how to clear the light.
Visual guide about How Do You Reset the Service Light on a 2016 Toyota Tacoma?
Image source: i.ytimg.com
Using an OBD2 Scanner to Clear Codes
Step 1: Locate the OBD2 port. In your 2016 Tacoma, it’s under the dashboard, just below the steering column, on the driver’s side. It’s a 16-pin trapezoidal connector. It may have a cover labeled “OBD II” or “DLC.”
Step 2: Turn the ignition to the “ON” position (do not start the engine). This powers up the vehicle’s computer network.
Step 3: Plug your OBD2 scanner’s cable into the port. The connection should be snug.
Step 4: Turn on your scanner. It will boot up and likely auto-connect to your Tacoma’s computer. You may need to select “Read Codes” or a similar option first to see what was stored. This is your confirmation that the repair was successful. You should see “P” codes (e.g., P0171, P0300). After repair, you may see “No Codes” or “System OK.”
Step 5: Navigate the scanner’s menu to find the “Erase Codes,” “Clear Codes,” or “Clear DTCs” function. Select it. The scanner will send the command to the truck’s ECU to wipe the stored fault codes and turn off the Check Engine light.
Step 6: Wait for the scanner to confirm the codes are cleared. It may show a message like “Codes Cleared” or ” MIL Off.” You can then unplug the scanner.
Step 7: Start the engine. The Check Engine light should be off. Drive the truck normally for a few days. The light should stay off. If it comes back on, it means the problem was not fully fixed, or a new, separate problem has occurred. You’ll need to re-run diagnostics.
Important Note: The process for clearing a Check Engine light is fundamentally the same across most modern vehicles, including the procedure for resetting the check engine light on a Toyota Corolla. The scanner interface and code meanings are standardized.
Troubleshooting: When the Light Won’t Stay Off
You followed the steps, but the light is back. Or it never turned off. Here’s what to do, separated by light type.
For a Persistent Maintenance Required Light (Wrench)
If you reset the wrench light and it comes back on almost immediately or within a few hundred miles, the reset likely didn’t take. Double-check your procedure. Did you start from the “OFF” position? Did you hold the button long enough to see the dashes? Try it again. If it still returns, it’s possible the vehicle’s maintenance reminder system has a different interval set (some models allow customization via a menu in the settings). Consult your owner’s manual for the exact reset procedure for your specific trim (SR, TRD Off-Road, etc.). As a last resort, a Toyota dealer can use their proprietary diagnostic tool (Techstream) to force a reset.
For a Returning Check Engine Light (Engine Icon)
This is the most common and critical issue. A Check Engine light that returns after a reset means the repair was incomplete or incorrect. The computer continuously monitors the system that triggered the code. If the fault persists, it turns the light back on. Here is your action plan:
- Re-read the Codes: Plug your scanner back in. What code(s) are stored now? Is it the same one? A different one?
- Review Your Repair: Did you replace the correct part? Was a sensor connector fully seated? Was a vacuum hose re-attached securely? Did you use the correct OEM or quality equivalent part?
- Perform a “Drive Cycle”: Some repairs require the vehicle to complete a specific drive cycle (a set of driving conditions like idling, cruising, decelerating) for the computer to verify the fix. The light may stay off initially but return after a few drive cycles if the monitor hasn’t run successfully.
- Consider Multiple Issues: Sometimes, two unrelated problems exist. You fixed one (cleared that code), but another, older code was still stored and is now active. A full system scan is needed.
- When to See a Pro: If you’ve confirmed the repair was done correctly (e.g., you replaced the diagnosed bad oxygen sensor) and the light still returns, there may be a wiring issue, a faulty new part, or a more complex problem. It’s time to consult a trusted mechanic. For other Toyota-specific electrical quirks, issues like a flashing AC light on a Tacoma also require specific diagnostics beyond a simple reset.
Pro Tips and Best Practices for Tacoma Owners
Resetting a light is a small part of truck ownership. Here’s how to stay ahead of the game and keep your Tacoma reliable.
Don’t Ignore the Wrench—But Don’t Fear It
The Maintenance Required light is your friend. It’s based on Toyota’s extensive engineering data about when fluids degrade and parts wear. When it comes on, schedule your oil change and multi-point inspection. Resetting it without doing the service is defeating its purpose and risks long-term engine wear. Use the reset as the final step after the service is complete.
Treat the Check Engine Light as a Diagnostic Message
Never, ever ignore a solid Check Engine light. While it may not be an immediate “stop driving” emergency (unless it’s flashing, which indicates a severe misfire—stop driving immediately), it should be addressed within a few days. A small problem, like a failing evaporative emissions (EVAP) system component that causes a small leak, can waste fuel and eventually fail an emissions test. A more serious problem, like a misfire, can damage the catalytic converter, leading to a very expensive repair. The code is a starting point, not a diagnosis. A P0301 code means “Cylinder 1 Misfire Detected,” but the cause could be a spark plug, ignition coil, fuel injector, or compression issue.
Invest in a Good OBD2 Scanner
For a Tacoma owner, a $30-$100 Bluetooth scanner that pairs with an app like Torque or an OBDLink is a fantastic investment. It allows you to read and clear codes yourself, monitor real-time engine data, and track performance. This empowers you to understand issues before taking it to a shop and can save you diagnostic fees if the problem is simple, like a loose gas cap. Just remember: reading codes is free; diagnosing the cause is the skill.
Keep Simple Maintenance Records
When you reset the Maintenance Required light, make a note in your phone or a physical log: “10/26/23 – Oil Change, 45,000 miles – Reset Maint Req.” This helps you track your service history and confirms you’ve completed the work the light was asking for.
Conclusion: Knowledge is Power Under the Hood
Resetting the service light on your 2016 Toyota Tacoma is a straightforward process, but its success hinges entirely on correctly identifying which light is on and why. The wrench-shaped Maintenance Required light is a simple, tool-free reminder for scheduled service like an oil change. The engine-shaped Check Engine light is a complex diagnostic warning that must be investigated and repaired before it can be ethically and effectively cleared with an OBD2 scanner. By understanding this fundamental difference, you empower yourself to be a proactive vehicle owner. You’ll avoid unnecessary trips to the shop for simple resets and, more importantly, you’ll address genuine problems before they escalate into costly repairs. Remember, your Tacoma’s lights are communication tools. Listen to what they say, respond appropriately, and your reliable truck will continue to serve you well for many miles to come. When in doubt, a quick code read at a local parts store or a consultation with a trusted mechanic is always the wisest course of action.
Frequently Asked Questions
Can I drive my Tacoma with the Service Light on?
Yes, but it depends on the light. With the Maintenance Required (wrench) light, you can drive normally but should schedule your oil change soon. With a solid Check Engine light, you can drive short distances to a repair shop but should avoid long trips. If the Check Engine light is flashing, stop driving immediately as it indicates a severe misfire that can damage the engine.
Do I need a special tool to reset the Maintenance Required light?
No special tools are needed. The Maintenance Required light on a 2016 Tacoma is reset using only the ignition key and the “ODO/TRIP” button on the dashboard, following a specific sequence of holding the button while turning the key on.
What’s the real difference between the Maintenance Light and Check Engine Light?
The Maintenance Required light is a pre-programmed reminder for routine service based on time/mileage (like an oil change). The Check Engine light illuminates when the computer detects a fault affecting emissions or engine performance, storing a diagnostic code. One is preventive; the other is reactive.
How often does the Maintenance Required light come on?
For the 2016 Tacoma, it typically illuminates every 5,000 miles, coinciding with the recommended oil change interval. It will come on shortly after you start the engine and stay on until it is manually reset after the maintenance is performed.
Why does my Check Engine light come back on after I reset it?
The most common reason is that the underlying problem was not properly diagnosed or repaired. The computer continuously tests the system. If the fault persists, it will turn the light back on, often within a few drive cycles. The reset only clears the memory; it does not fix the mechanical or electrical issue.
Will disconnecting the battery reset the Check Engine light?
It might, but it’s not a reliable or recommended method. Disconnecting the battery can clear some codes, but many require a specific “drive cycle” to reset and will return. It also resets other vehicle systems (radio, clock, transmission adaptations) and can cause inconvenience. Using an OBD2 scanner is the correct procedure.


